

Job-ready Online Courses: Click, Learn, Succeed, Start Now!
1. Install Ubuntu on VirtualBox
This step by step tutorial will explain how to install Ubuntu on VirtualBox. Learn how to create ubuntu virtual machine. Moreover, we will learn how to maximize the size of the Ubuntu desktop.
Virtualbox provides a virtualization framework using which we can run guest OS in parallel to host operating system. This could be useful when certain setups/services cannot be configured on host OS. Alternatively, you can create virtual machine and install Ubuntu using VMWare Player
So, let’s start the Installation of Ubuntu on VirtualBox.
How to Install Ubuntu on VirtualBox – Step by Step guide
2. How To Install Ubuntu On Virtual Box?
Before starting you need to install VirtualBox, follow this tutorial to install virtual box on Windows / Mac
2.1. Open VirtualBox
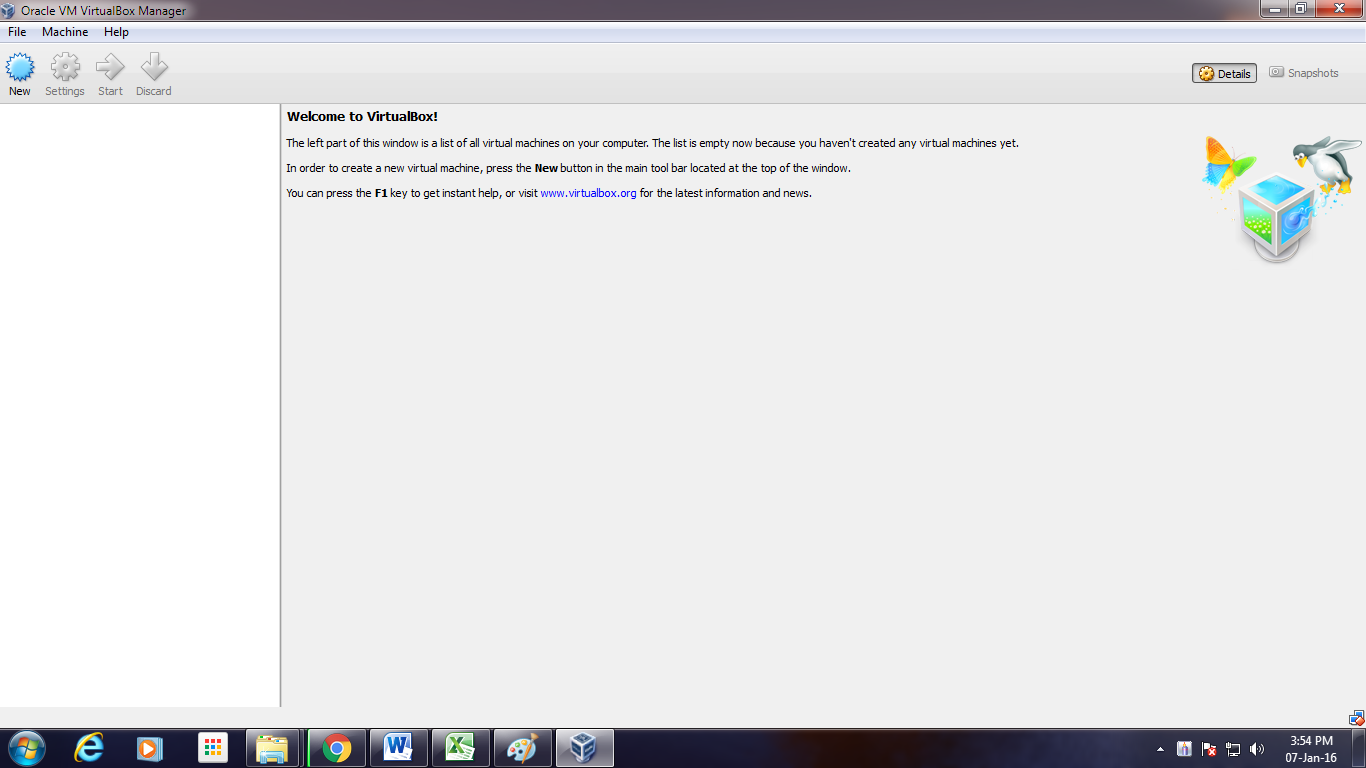
Step.1 To Install Ubuntu on VirtualBox – Open VirtualBox
2.2. Click on “New” to create a virtual machine
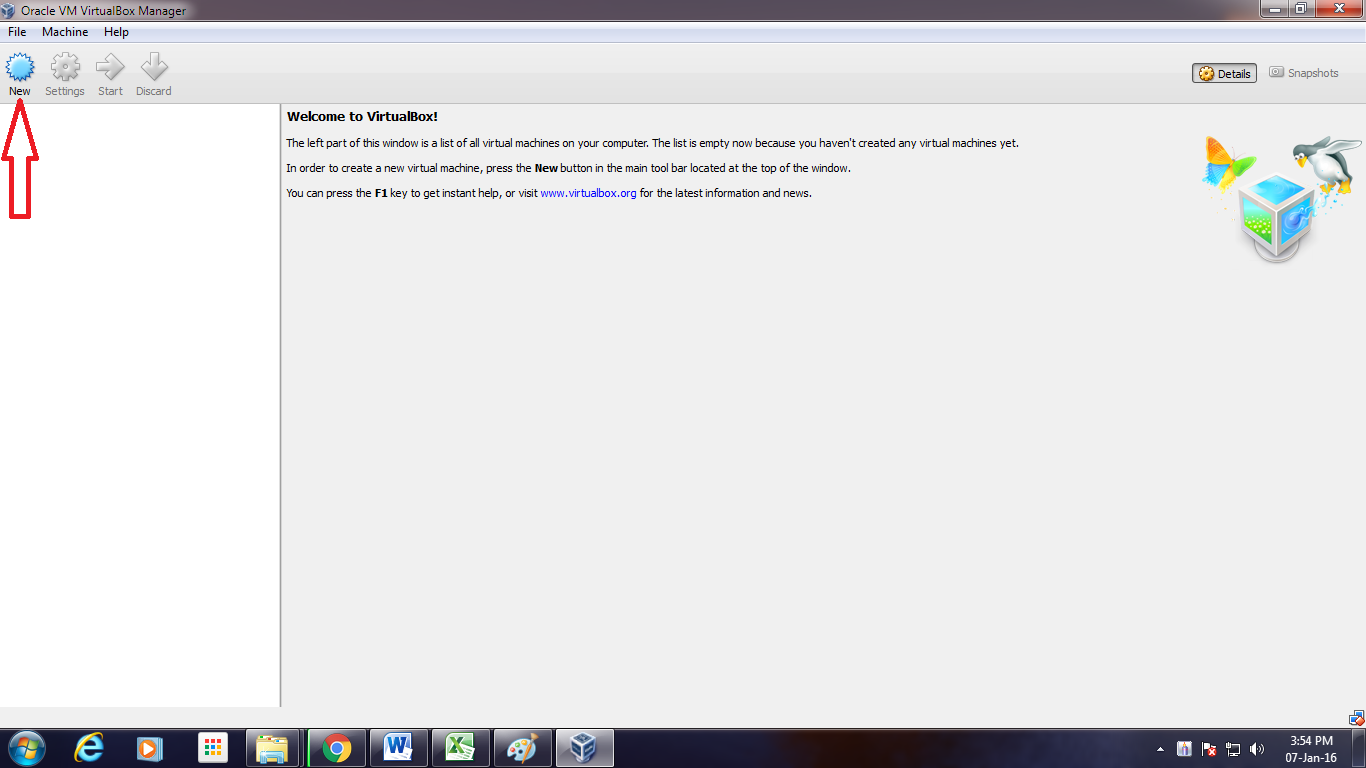
Step.2 To Install Ubuntu on VirtualBox – Create a New Machine
2.3. Enter Name for your Virtual Machine
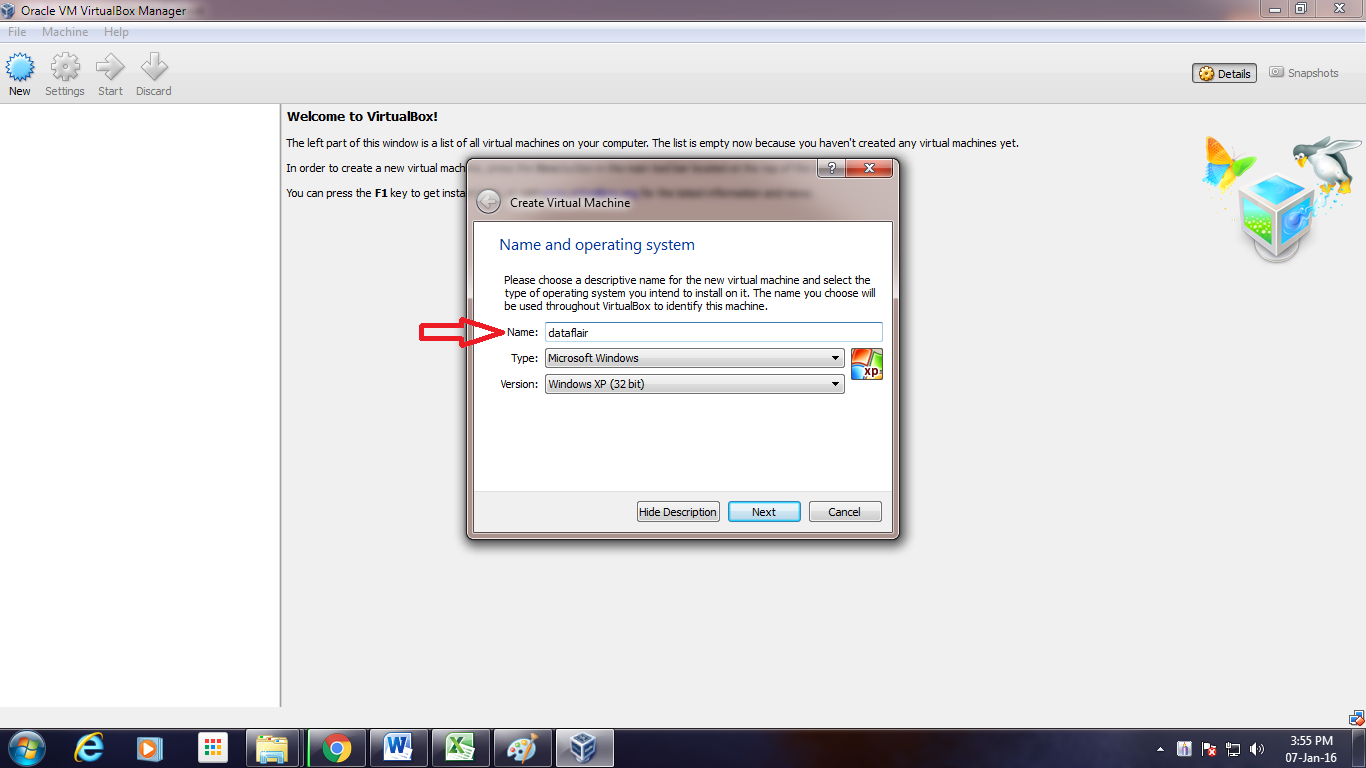
Step.3 To Install Ubuntu on VirtualBox – Create a Name for Virtual Machine
Enter the name for your Virtual Machine (Ex: dataflair)
2.4. Select “Linux” Operating System from “Type”
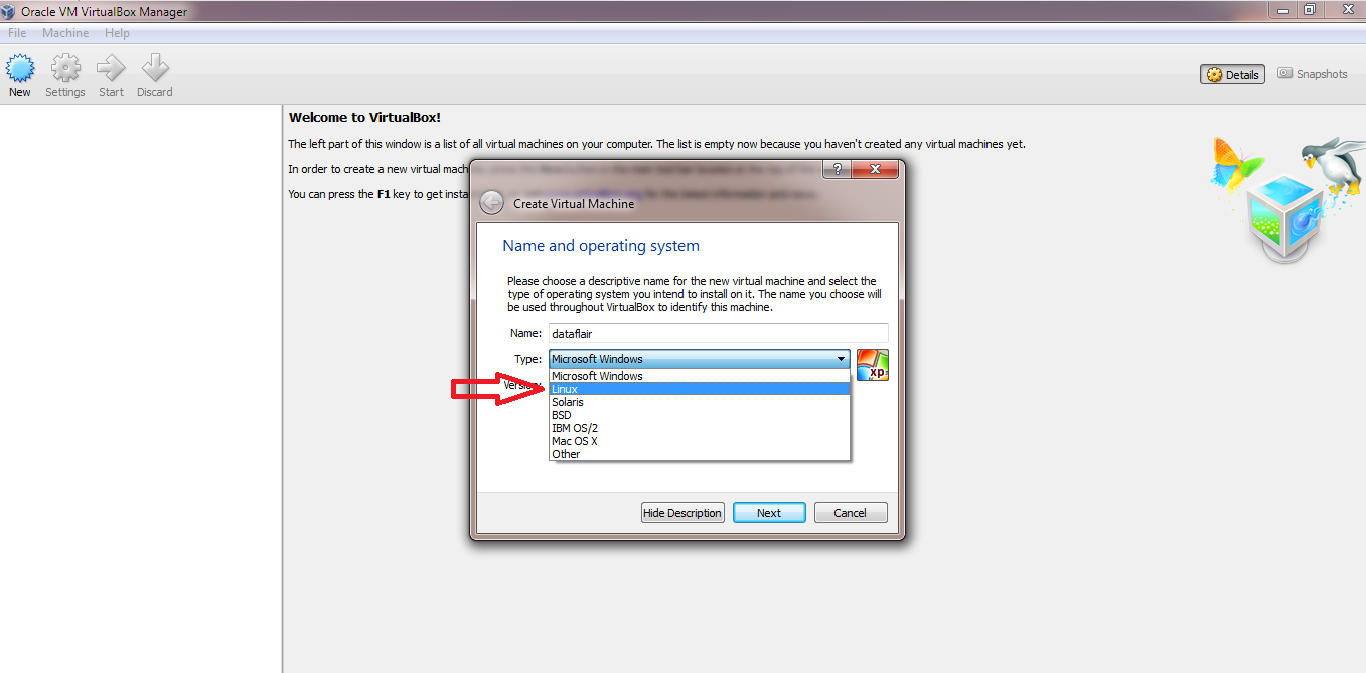
Step.4 To Install Ubuntu on VirtualBox – Chose OS for Virtual Machine
2.5. Click “Next”
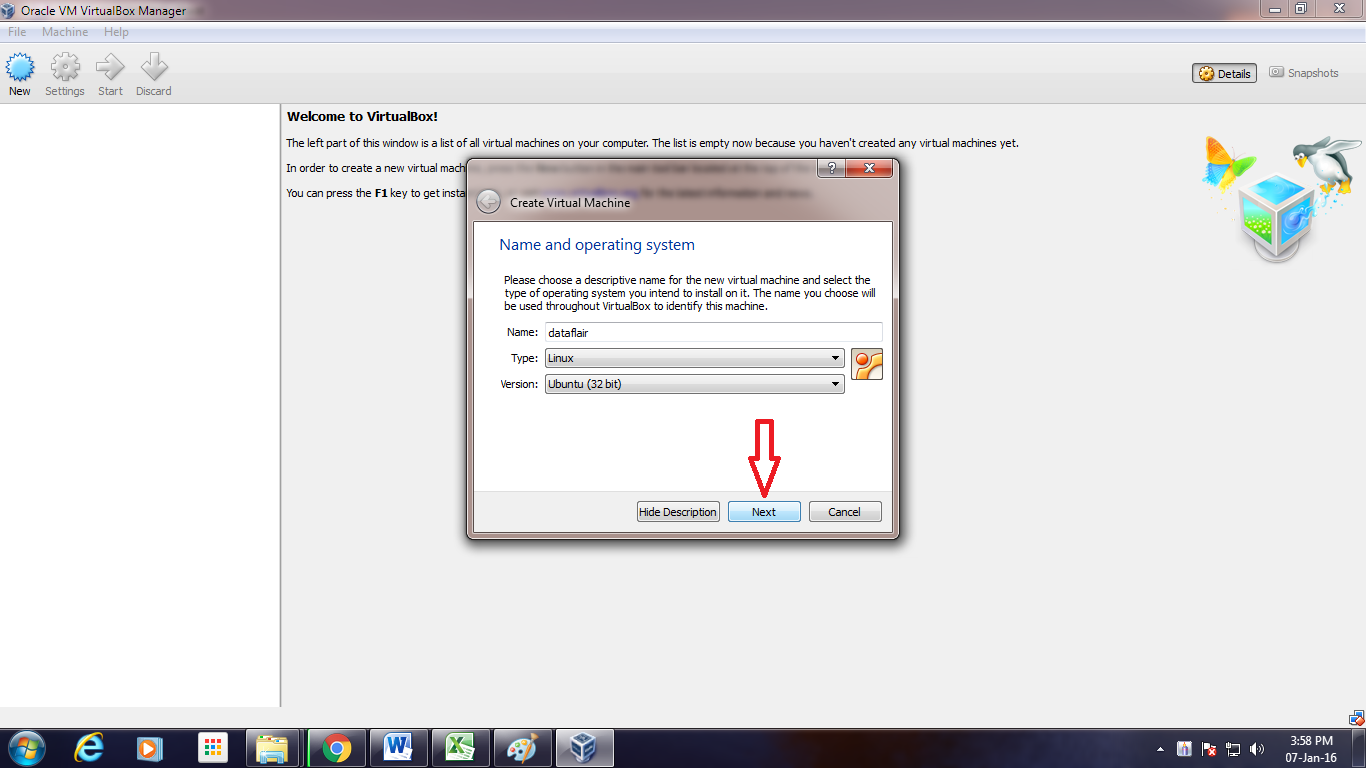
Step.5 To Install Ubuntu on VirtualBox – Next
2.6. Enter amount of memory (RAM) =1024 MB and click “Next”
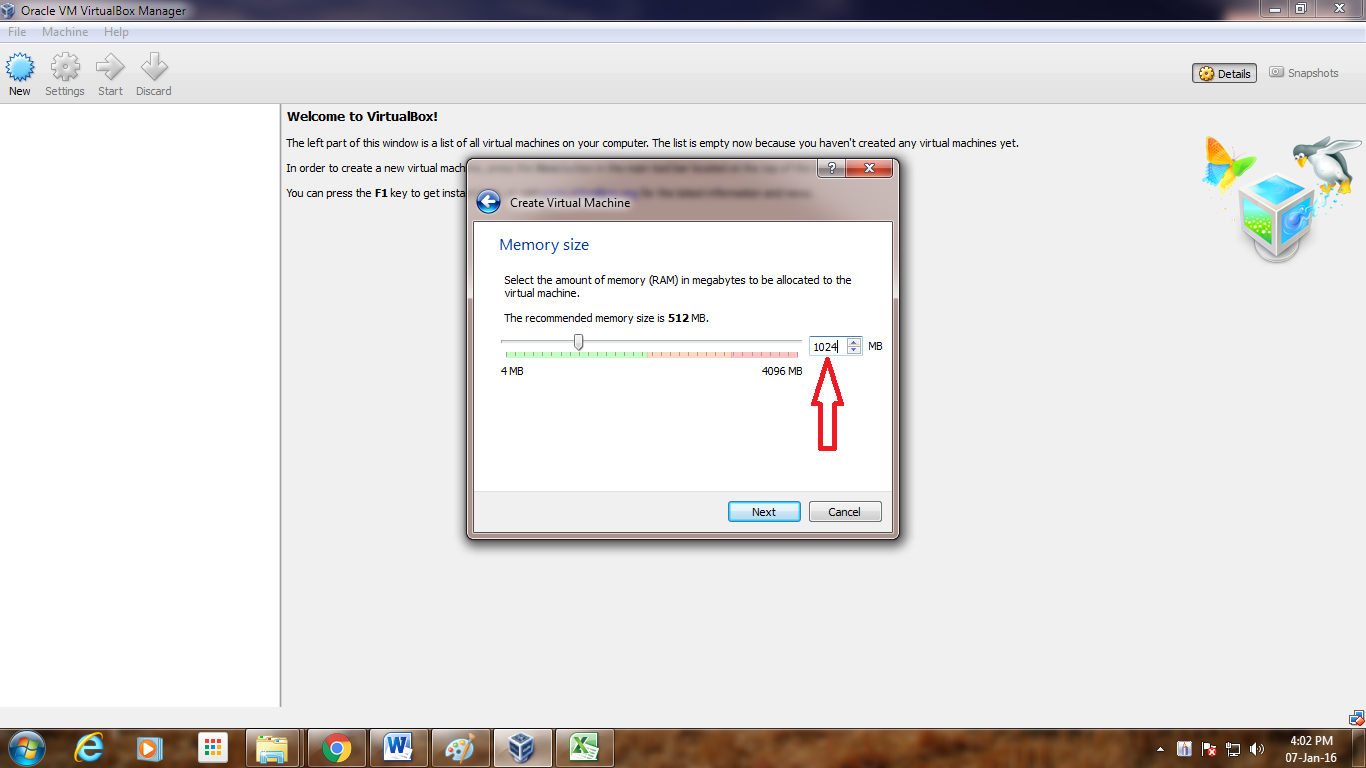
Step.6 To Install Ubuntu on VirtualBox – Select the RAM size for your Virtual Machine
2.7. Click “Create” to create hard drive
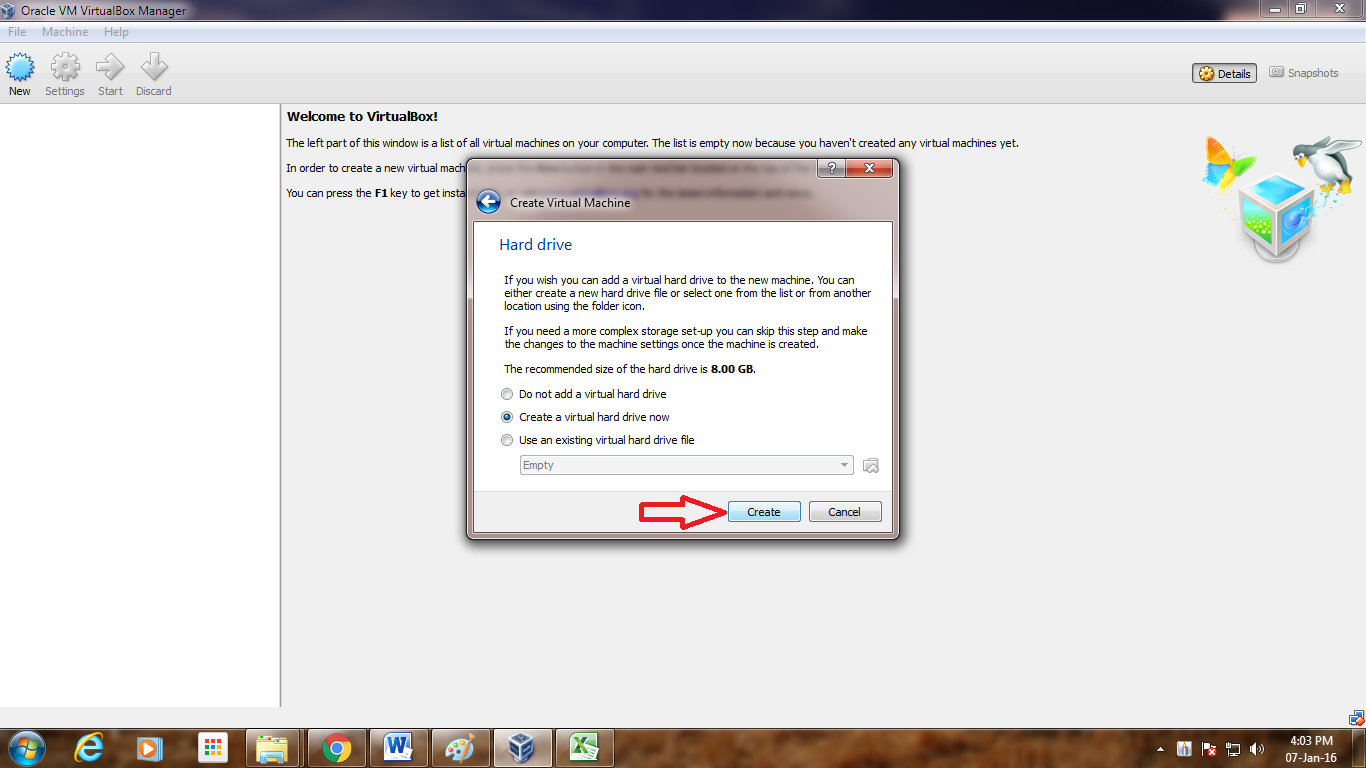
Step.7 To Install Ubuntu on VirtualBox – Create Virtual Machine
2.8. Click “Next”
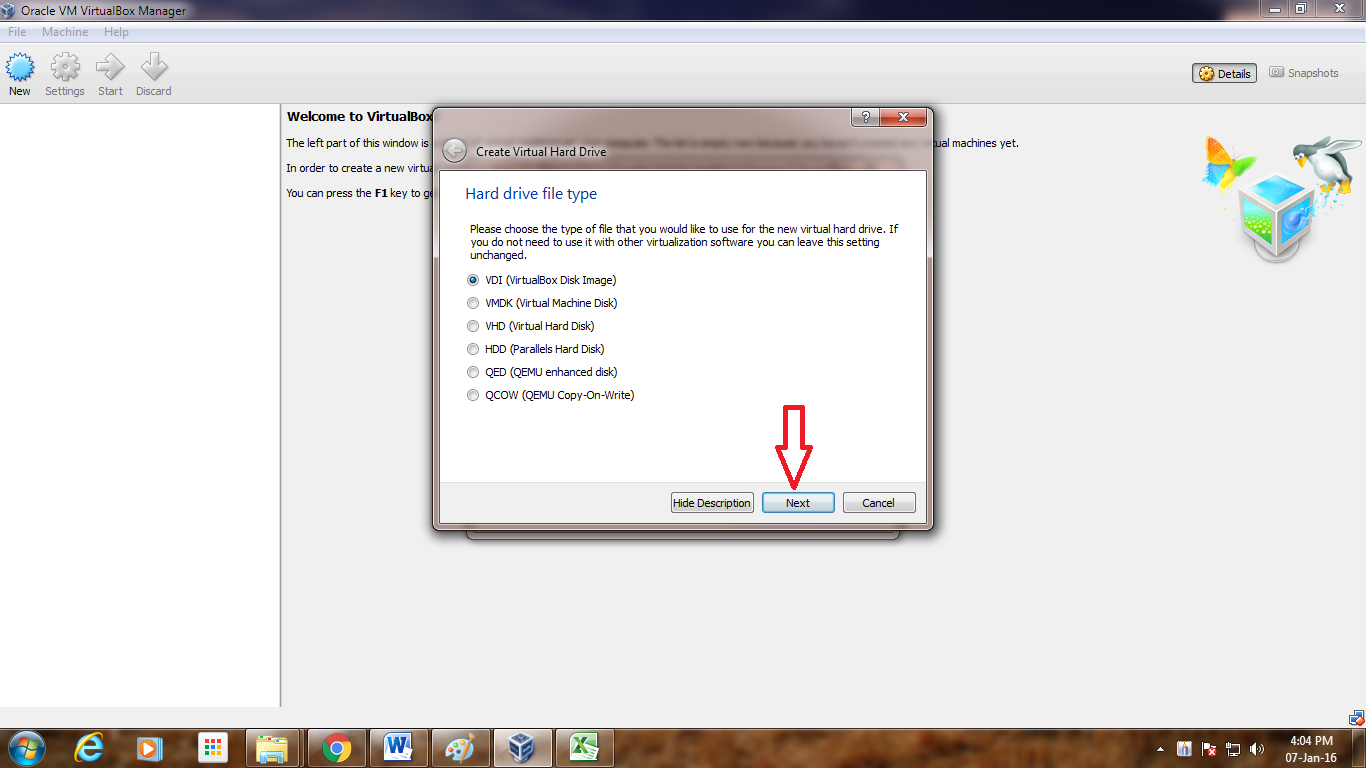
Step.8 To Install Ubuntu on VirtualBox – Create Virtual Hard Drive
let the options be default ie hard drive file type VDI (virtual disk image)
2.9. Click “Next”
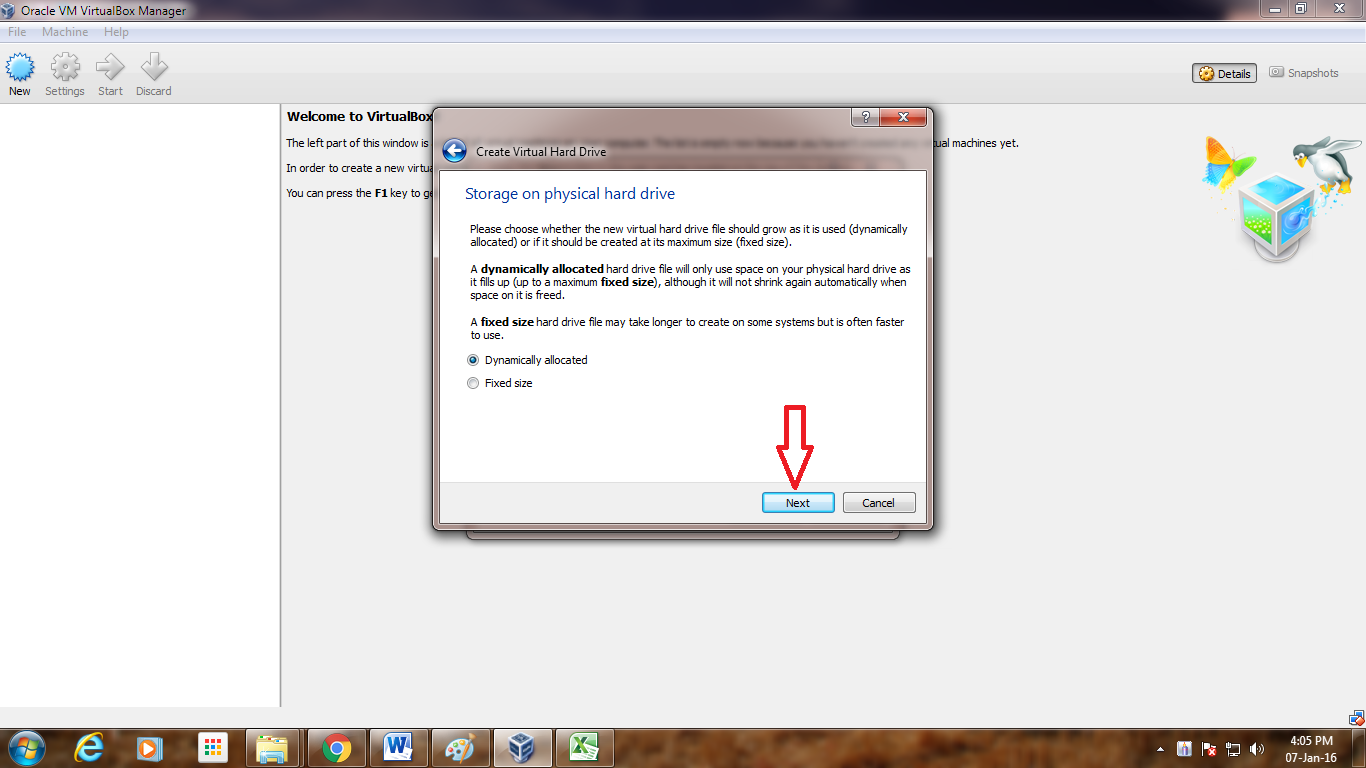
Step.9 To Install Ubuntu on VirtualBox -Storage on Physical Hard Drive
let the options be the default (Dynamically allocated)
2.10. Enter Size of Virtual Hard Drive= 20 GB and Click “Create”
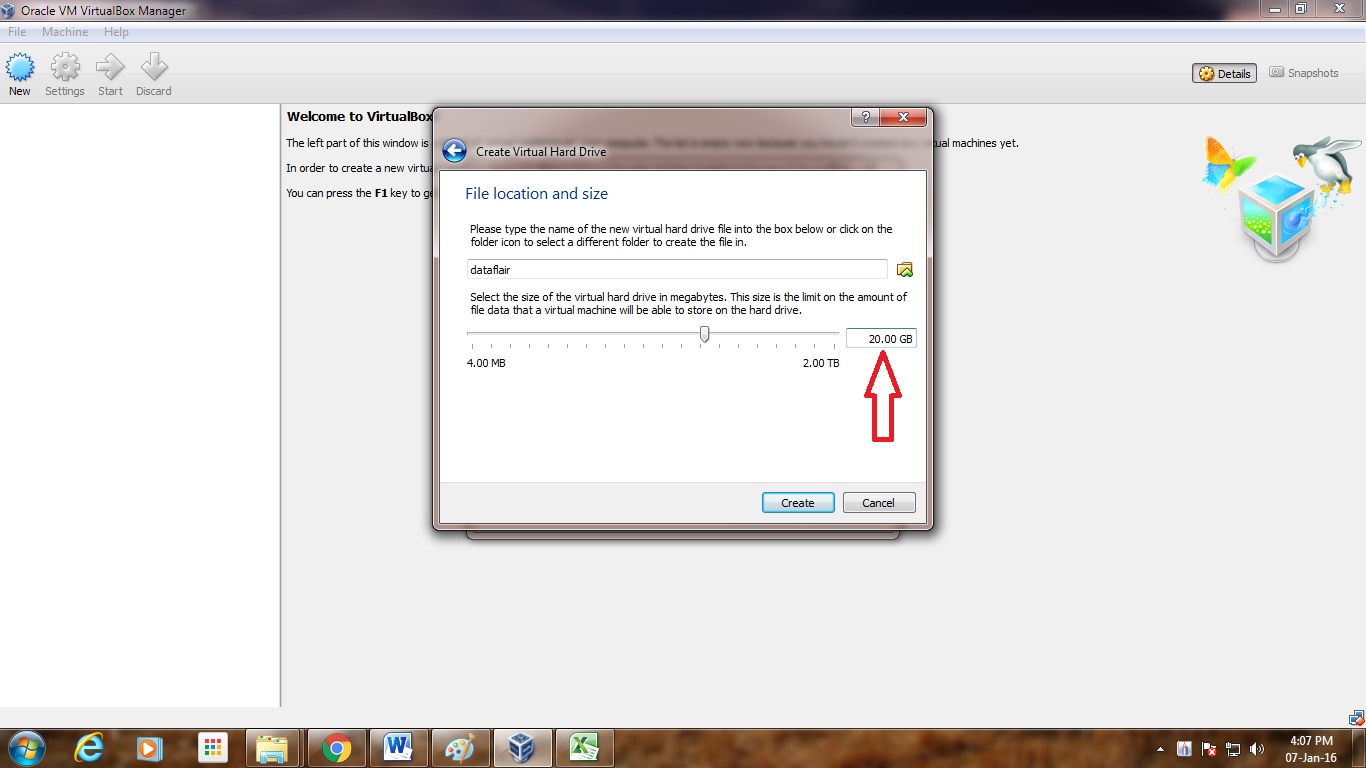
Step.10 To Install Ubuntu on VirtualBox – File Location and Size
2.11. Select Virtual Machine
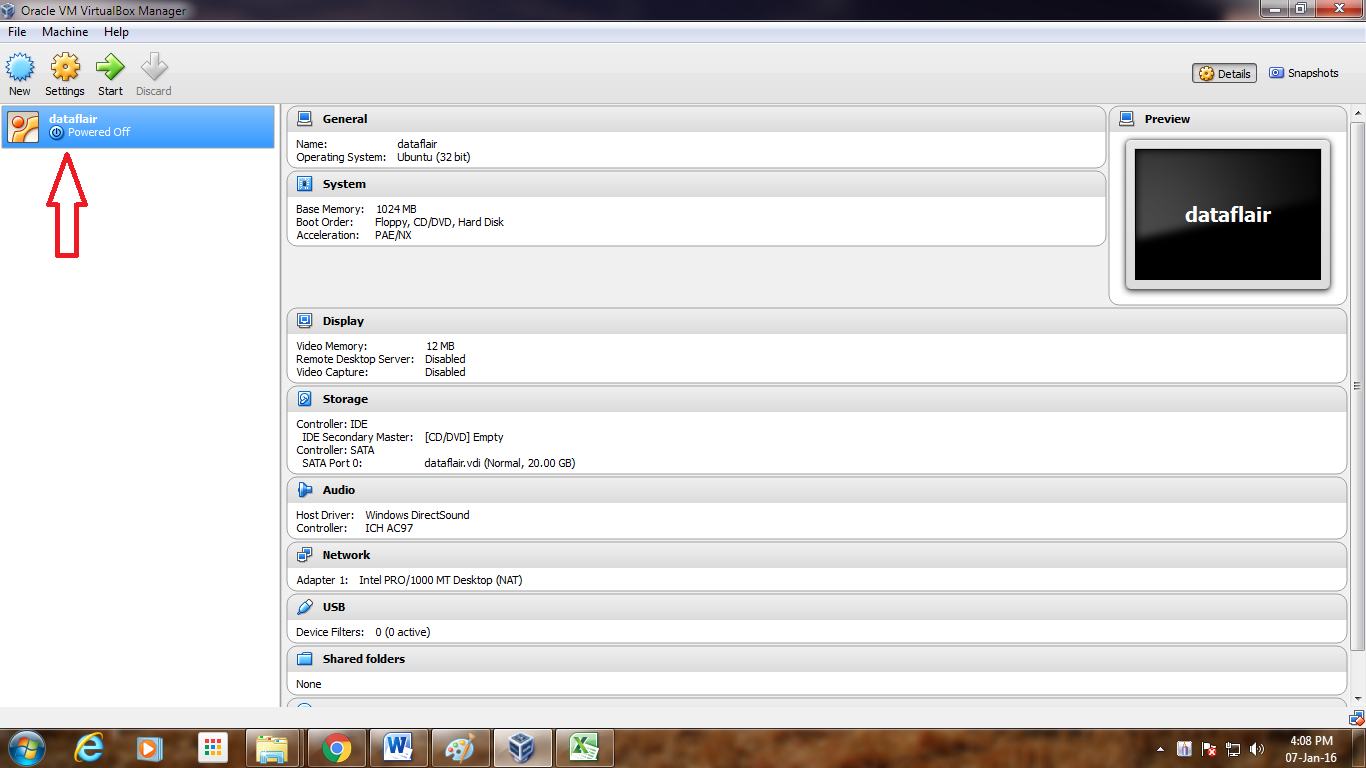
Step.11 To Install Ubuntu on VirtualBox – Select Machine Created by You
Now on the left-hand side Select Virtual Machine (Ex: dataflair)
2.12. Click on “Start” to start the virtual machine

Step.12 To Install Ubuntu on VirtualBox – Start Using New Machine
2.13. Select disk file source
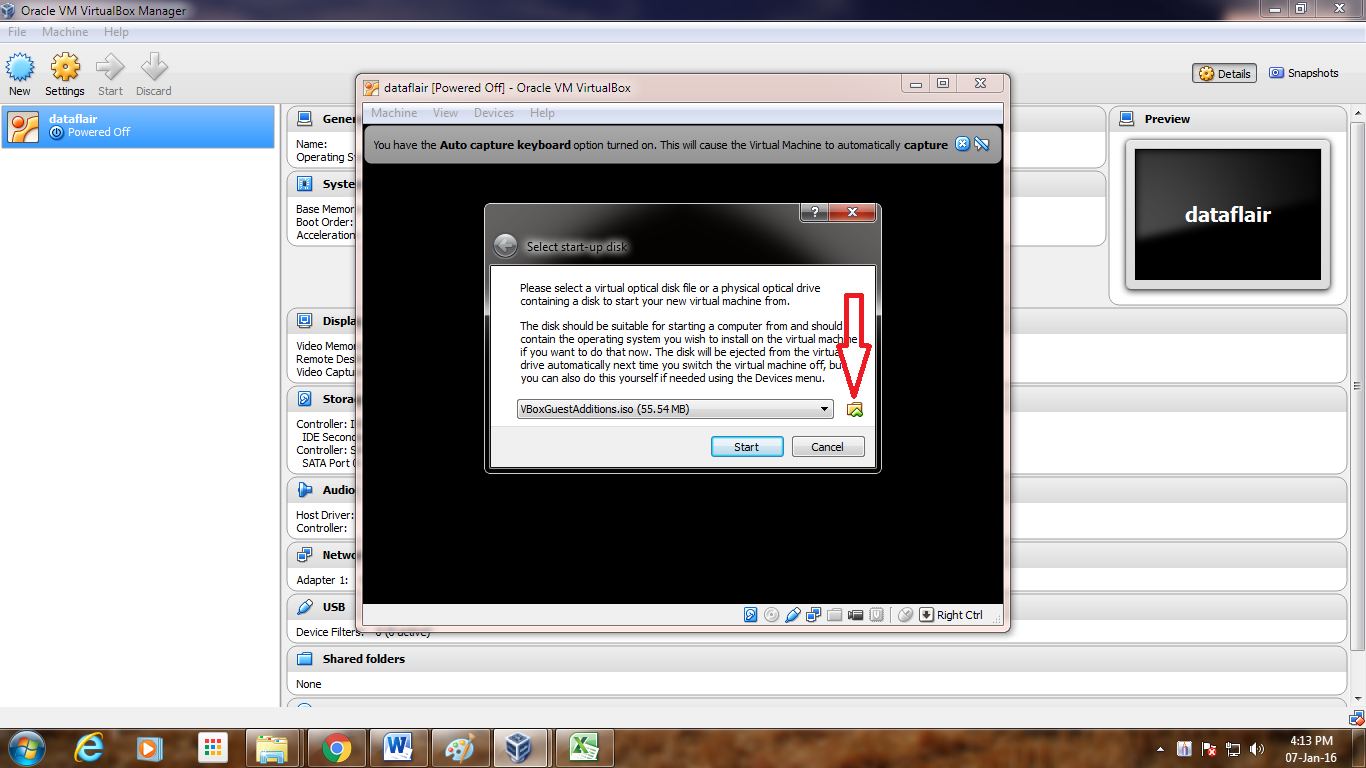
Step.13 To Install Ubuntu on VirtualBox – Select Start up Disk
Please Select disk file source by clicking on the folder icon to start an installation of OS.
2.14. After selecting the OS file to be installed click “Open”
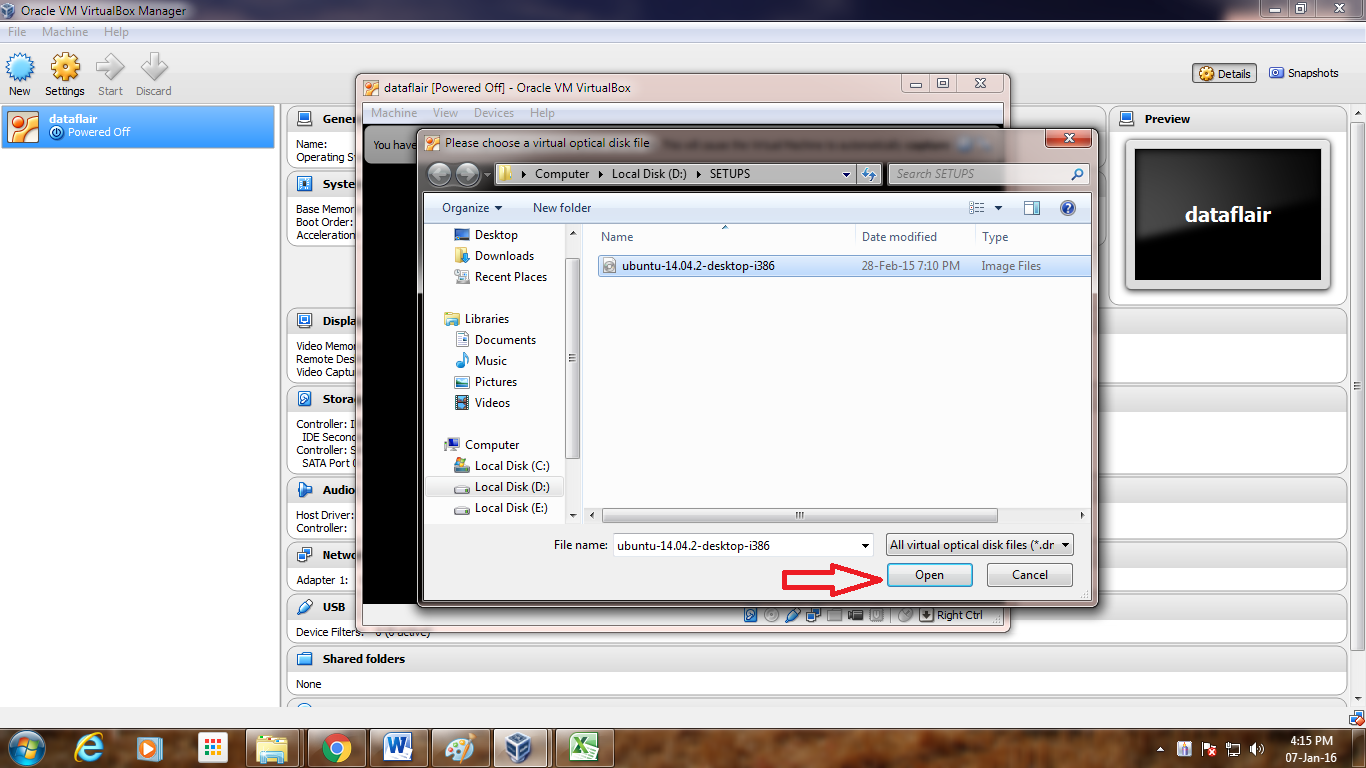
Step.14 To Install Ubuntu on VirtualBox – Operating System
2.15. Click “Start”
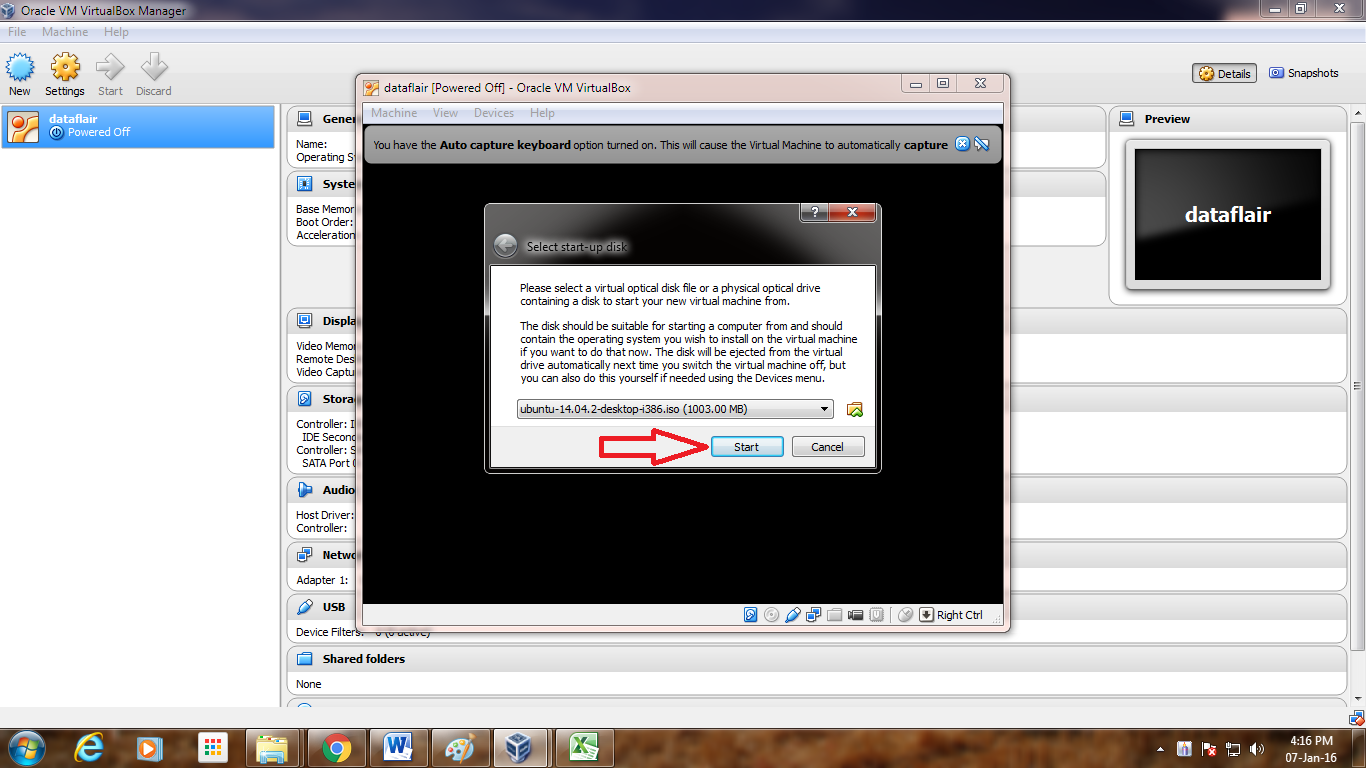
Step.15 To Install Ubuntu on VirtualBox – Start Disk
2.16. Click “Ok”
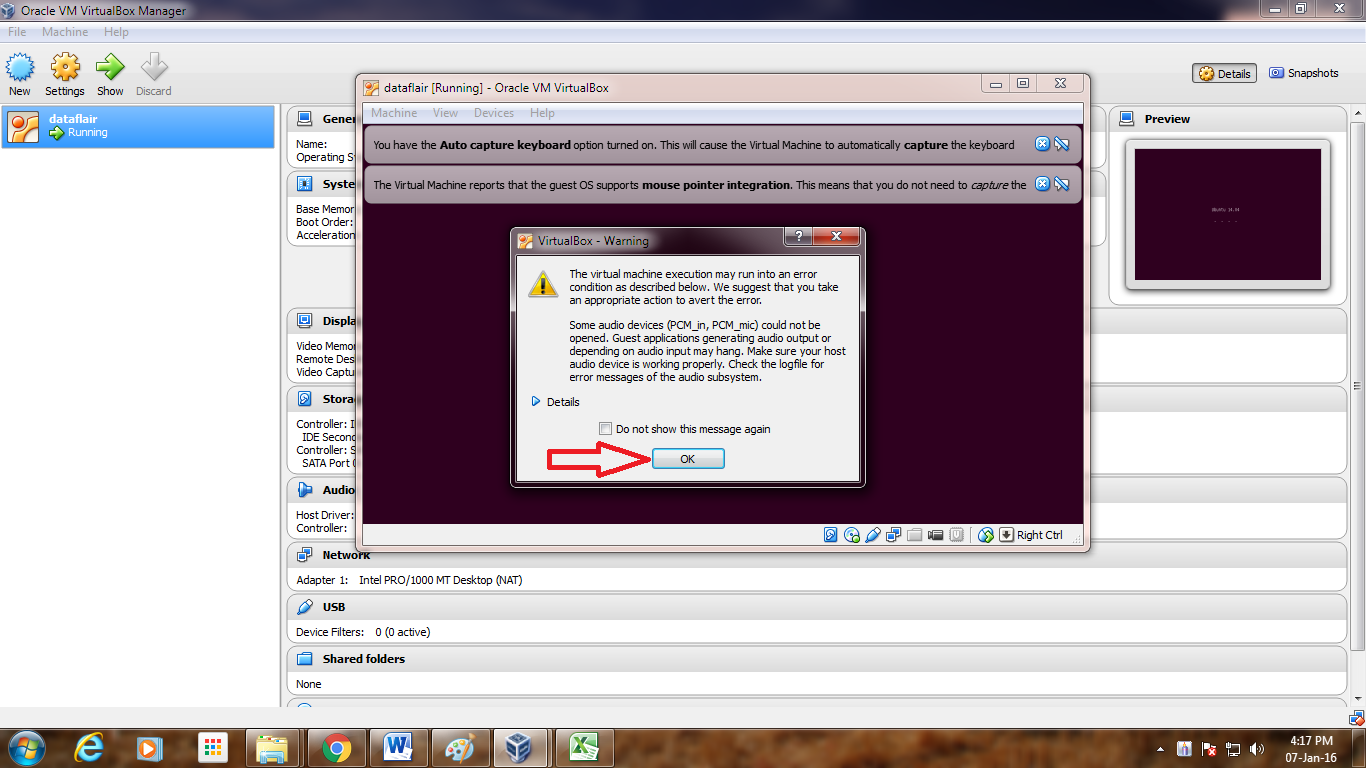
Step.16 Installation of Ubuntu on VirtualBox – VirtualBox Warning
2.17. Click “Install Ubuntu”
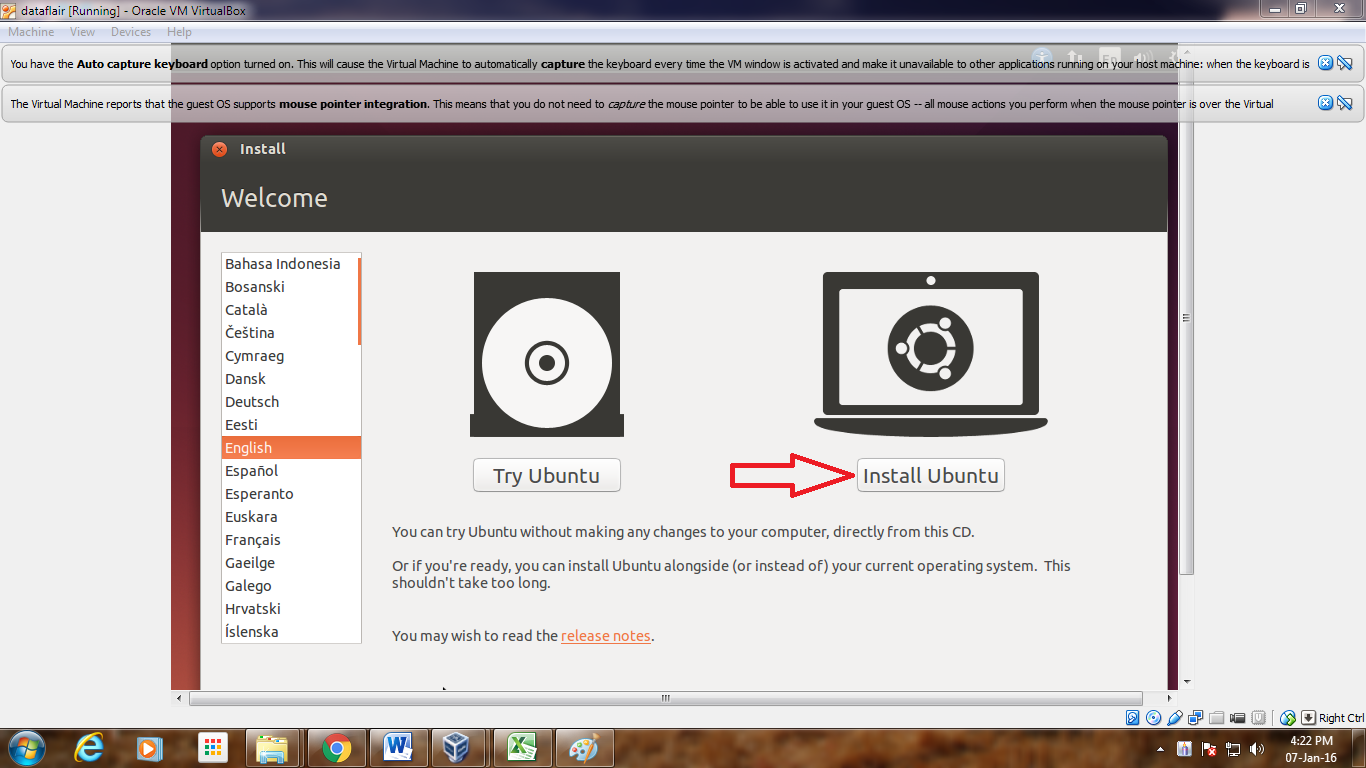
Start Installation
2.18. Click “Continue”
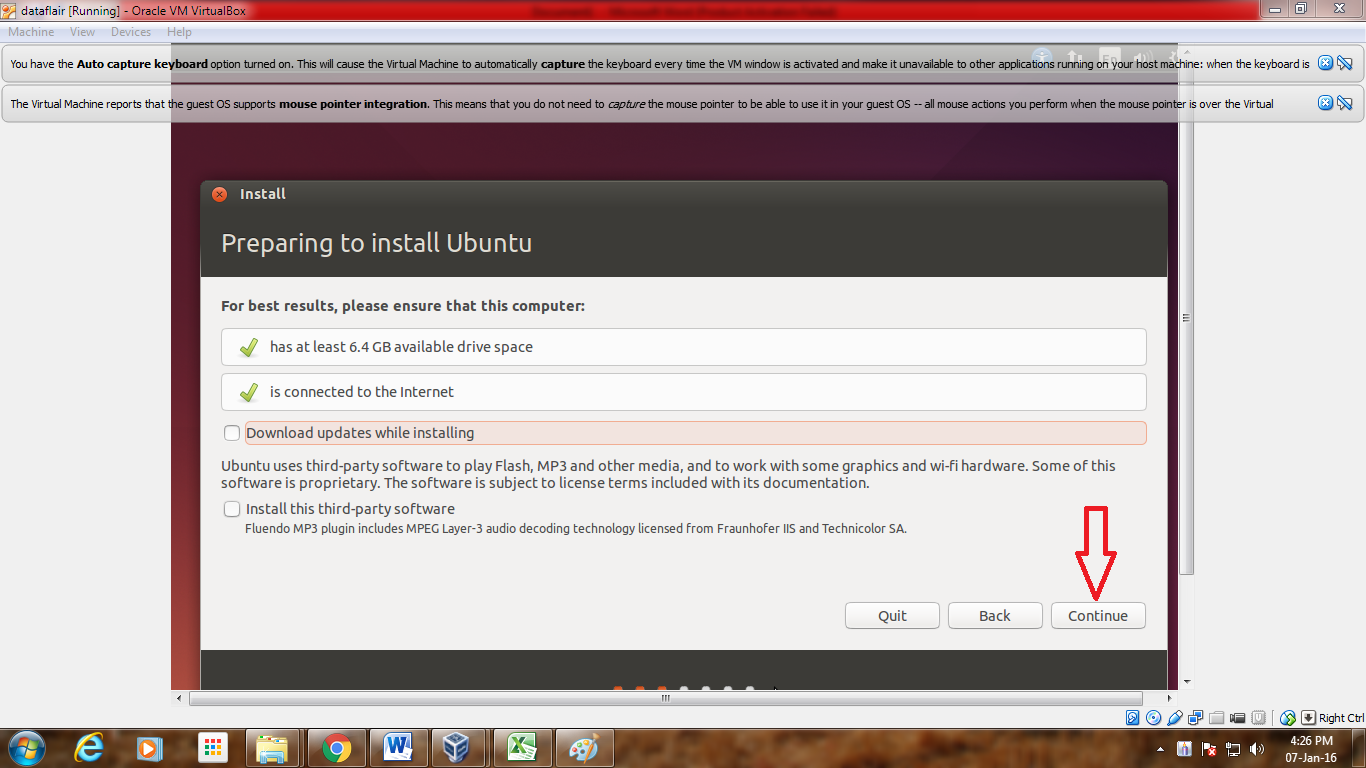
Preparing to Install Hadoop
2.19. Click “Install Now”
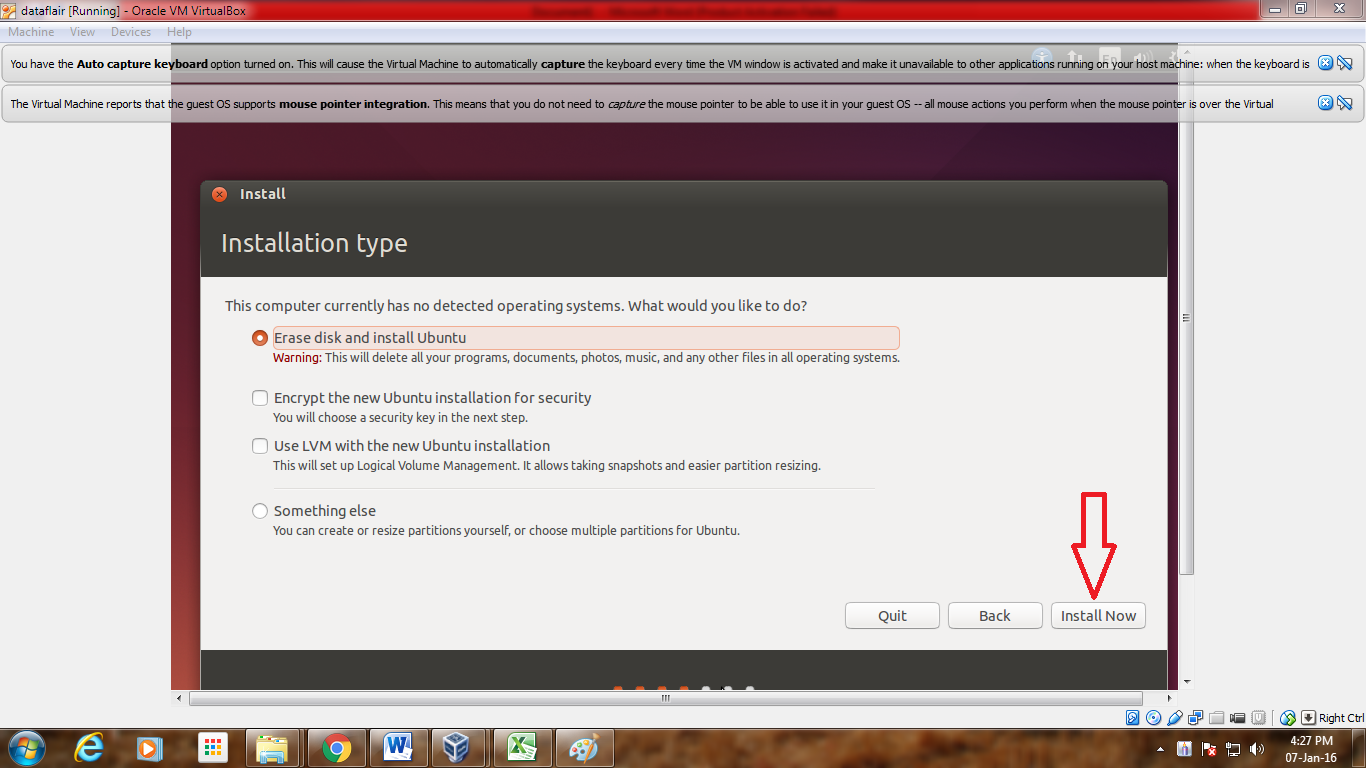
Installation Type
2.20. Click “Continue”
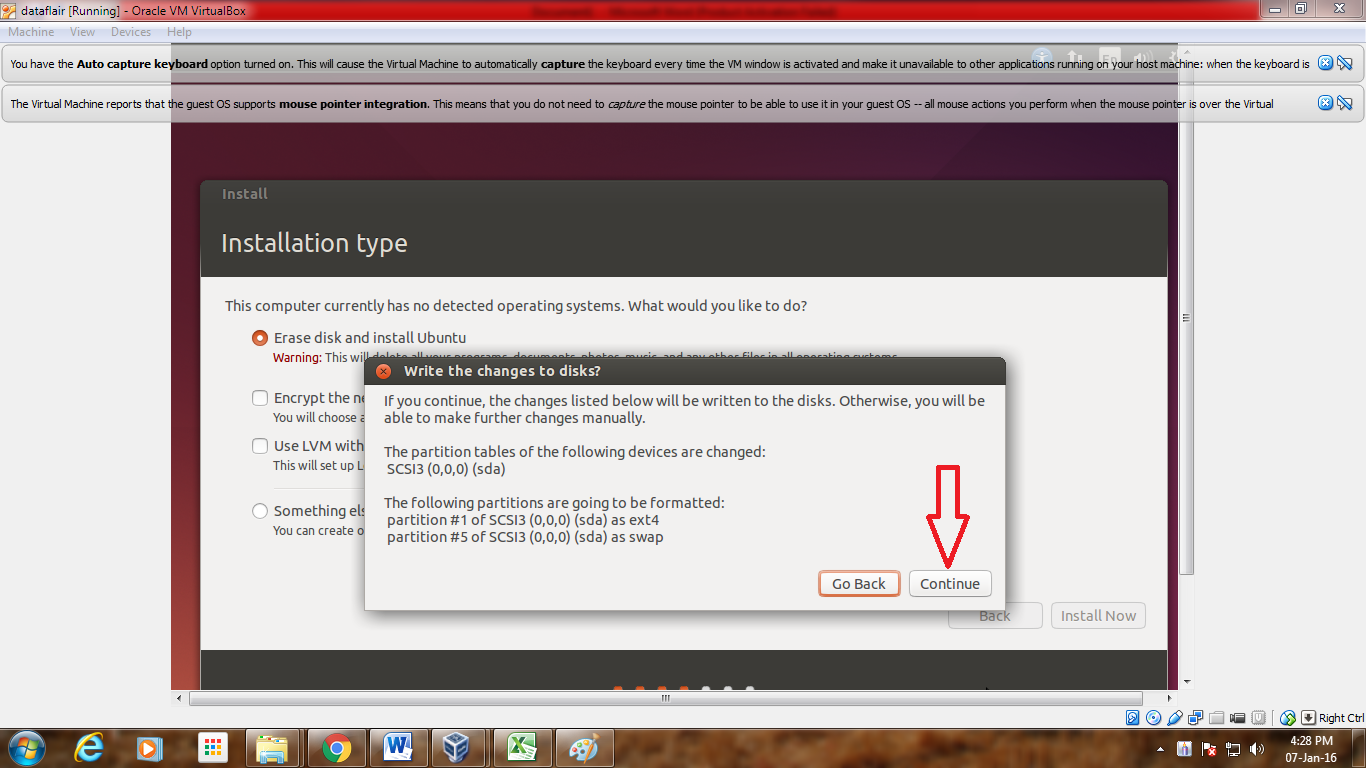
Changing Disk Rights
2.21. Select location and click “Continue”
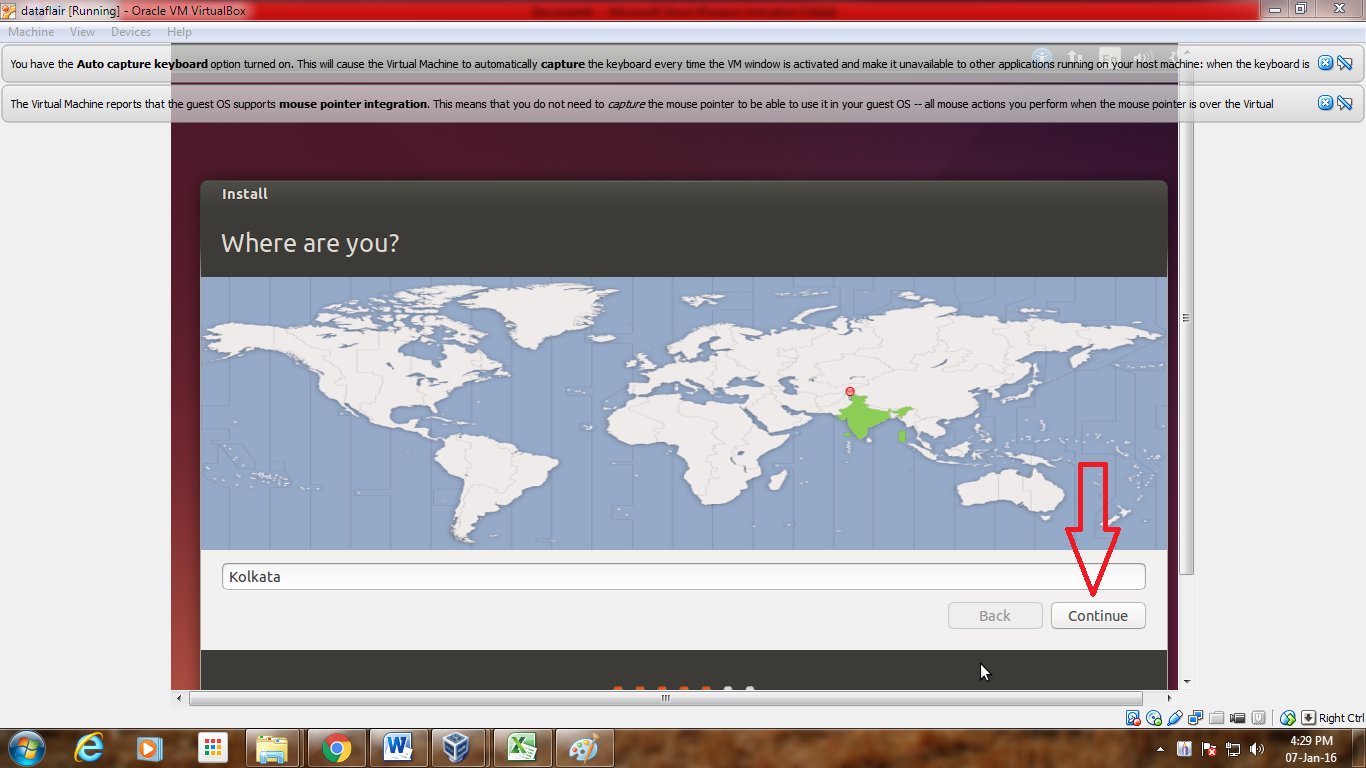
Changing Disk Rights
2.22. Select keyboard layout & click “Continue”
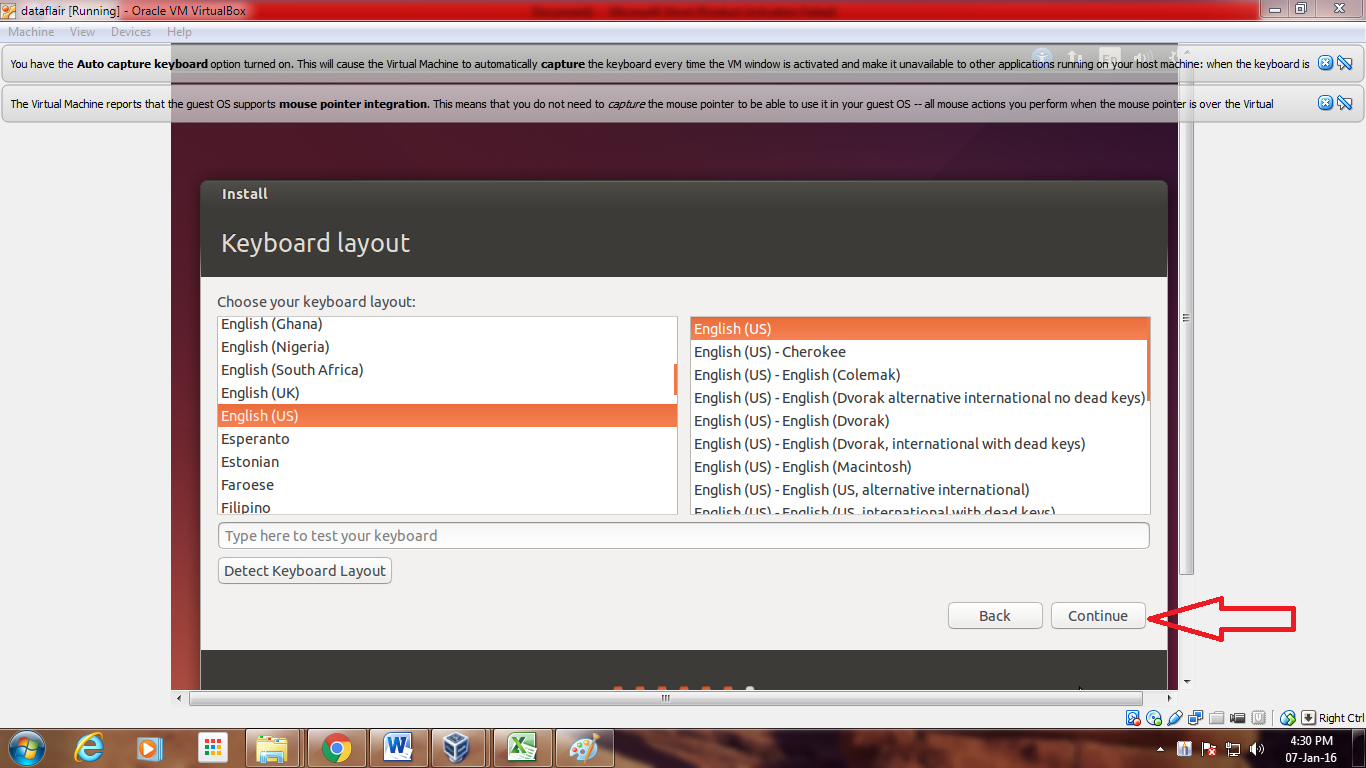
Keyboard Layout
2.23. Fill all the details and Click “Continue”
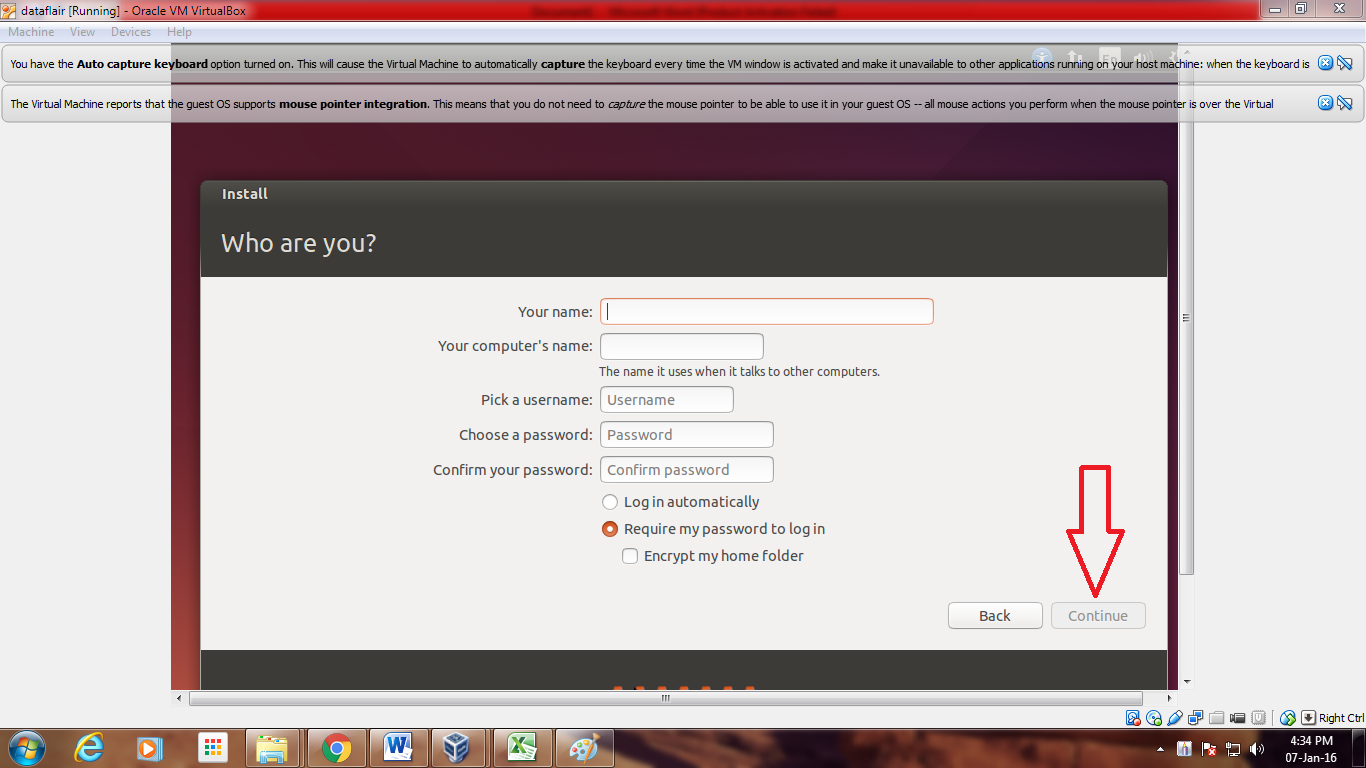
Who are you
2.24. Now the installation process will start and installation window will appear
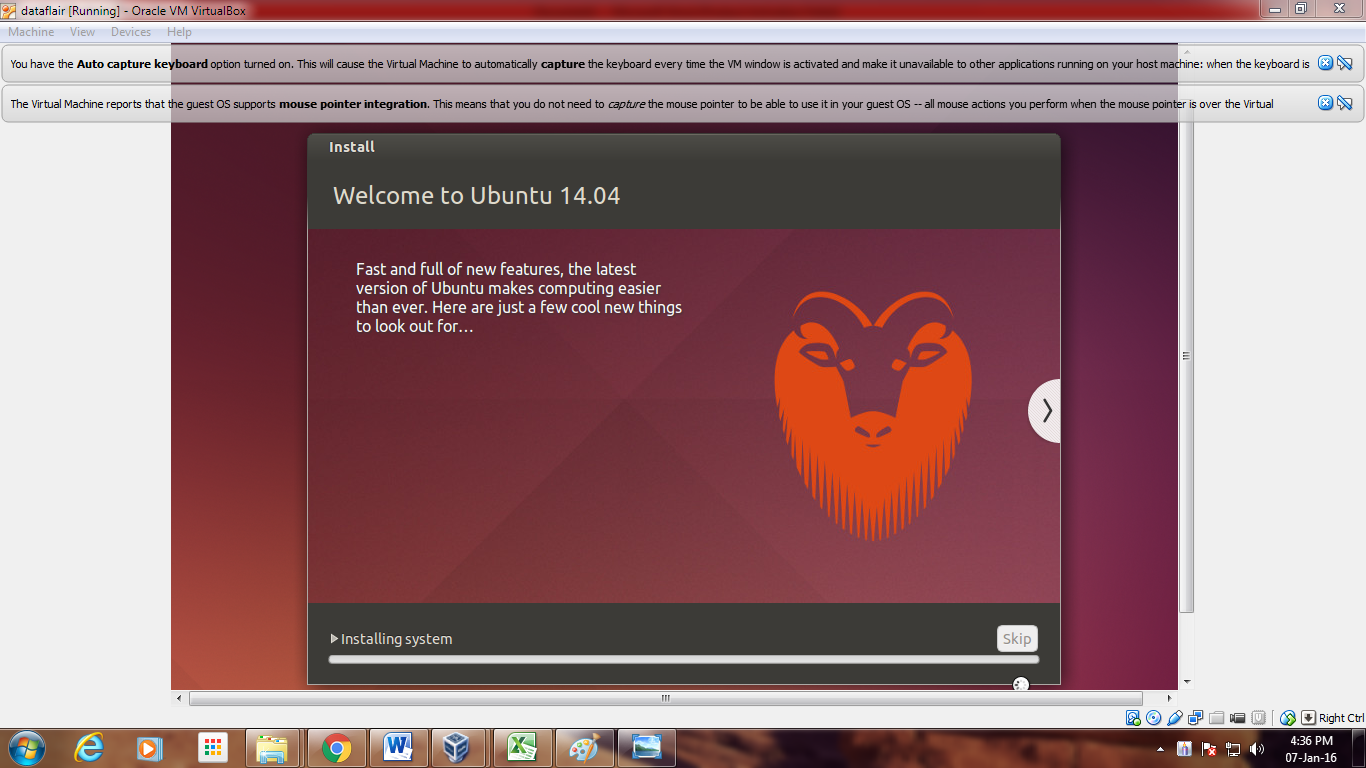
Installing Ubuntu
2.25. Click “Restart Now”
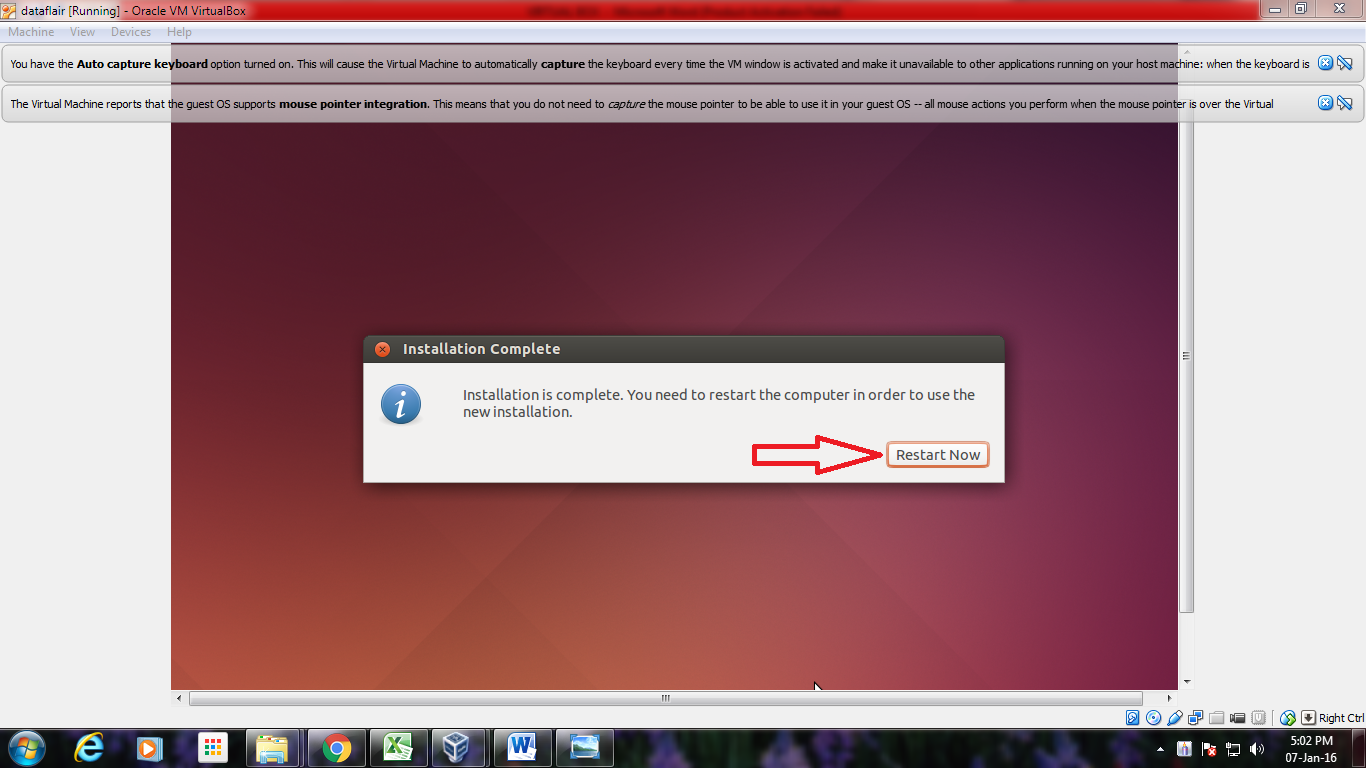
Restart Machine
After the completion of the installation process, a message will appear to restart the system, click Restart Now.
2.26. When the system will get restarted the following message will appear. Press “Enter”
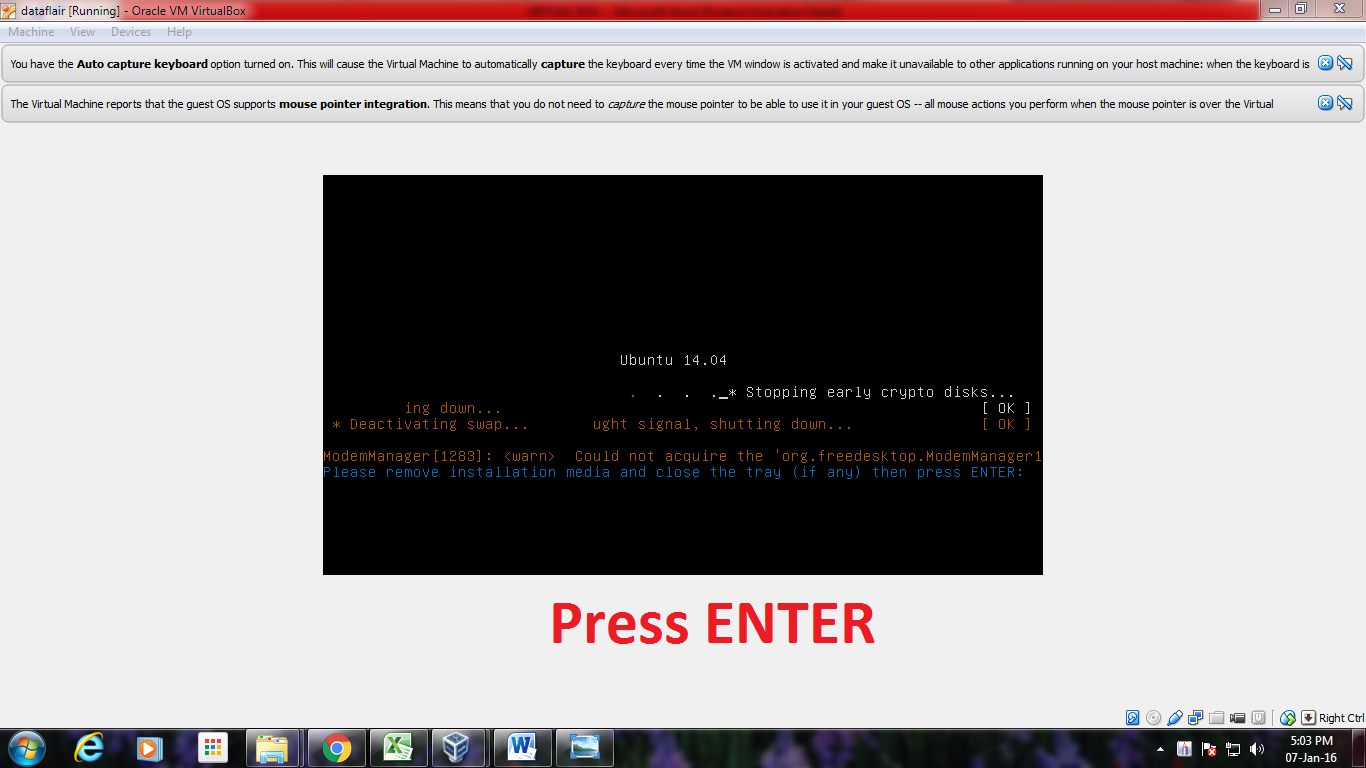
Message Window
2.27. Close the pop-up messages by clicking on the Close (×) button
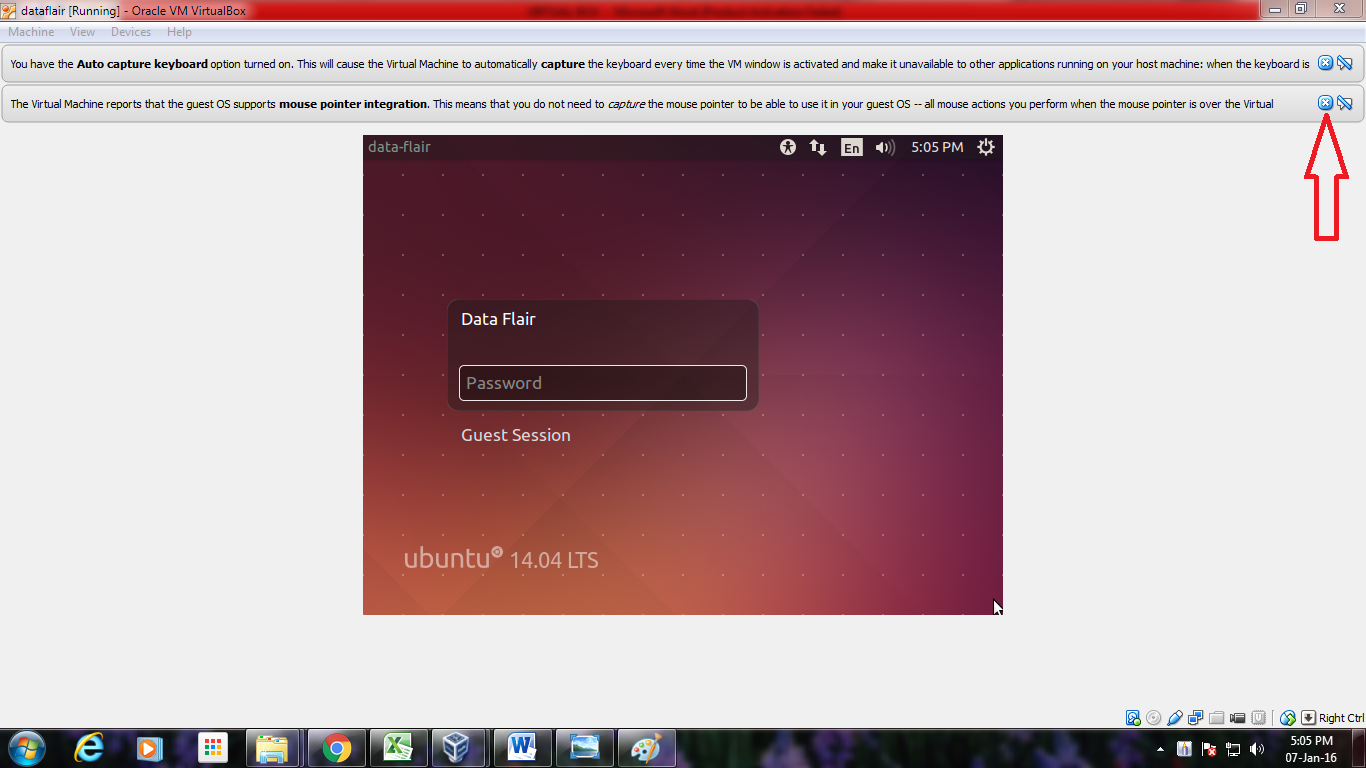
Welcome to Ubuntu
3. Steps To Maximize The Size Of Ubuntu Desktop
3.1. Go to “Devices”
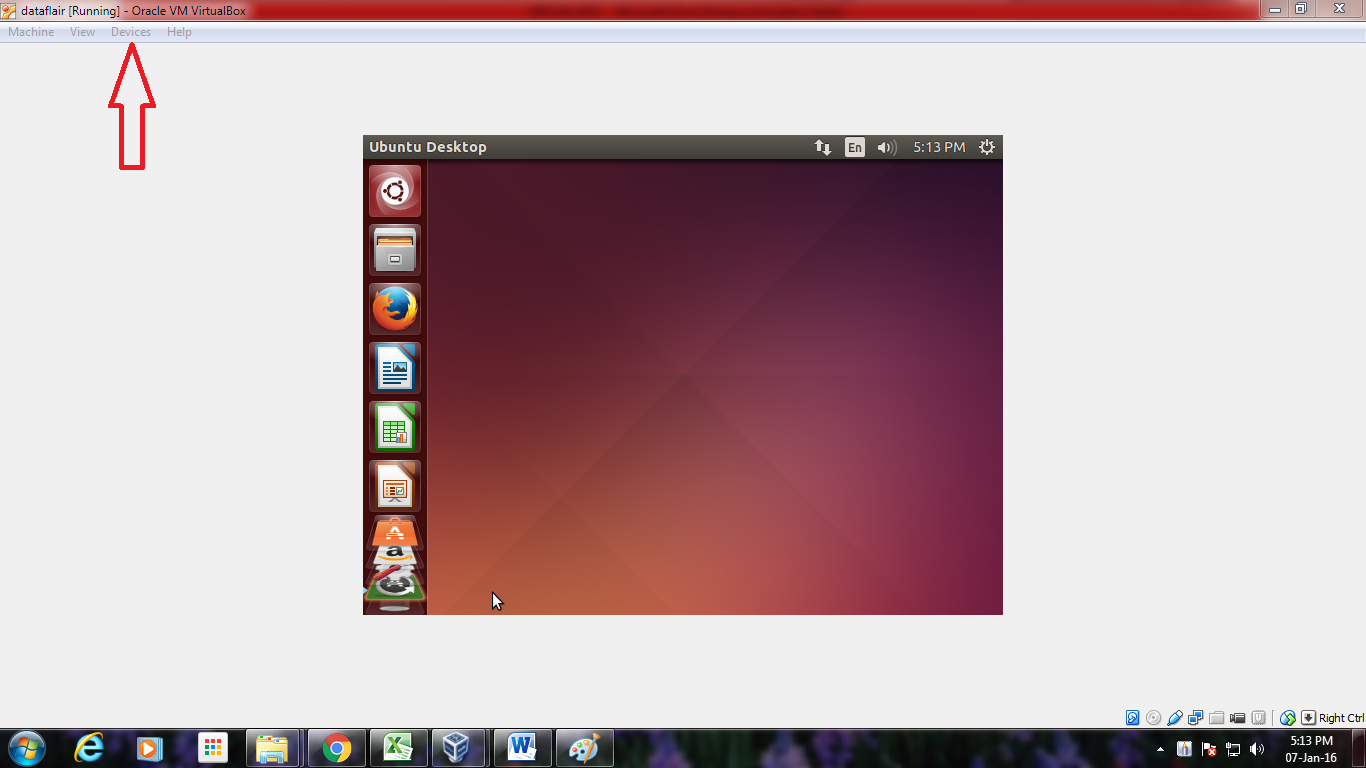
Step.1 To Maximize The Size Of Ubuntu Desktop – Open Devices on VirtualBox
3.2. Click “Insert Guest Additions CD Image…”
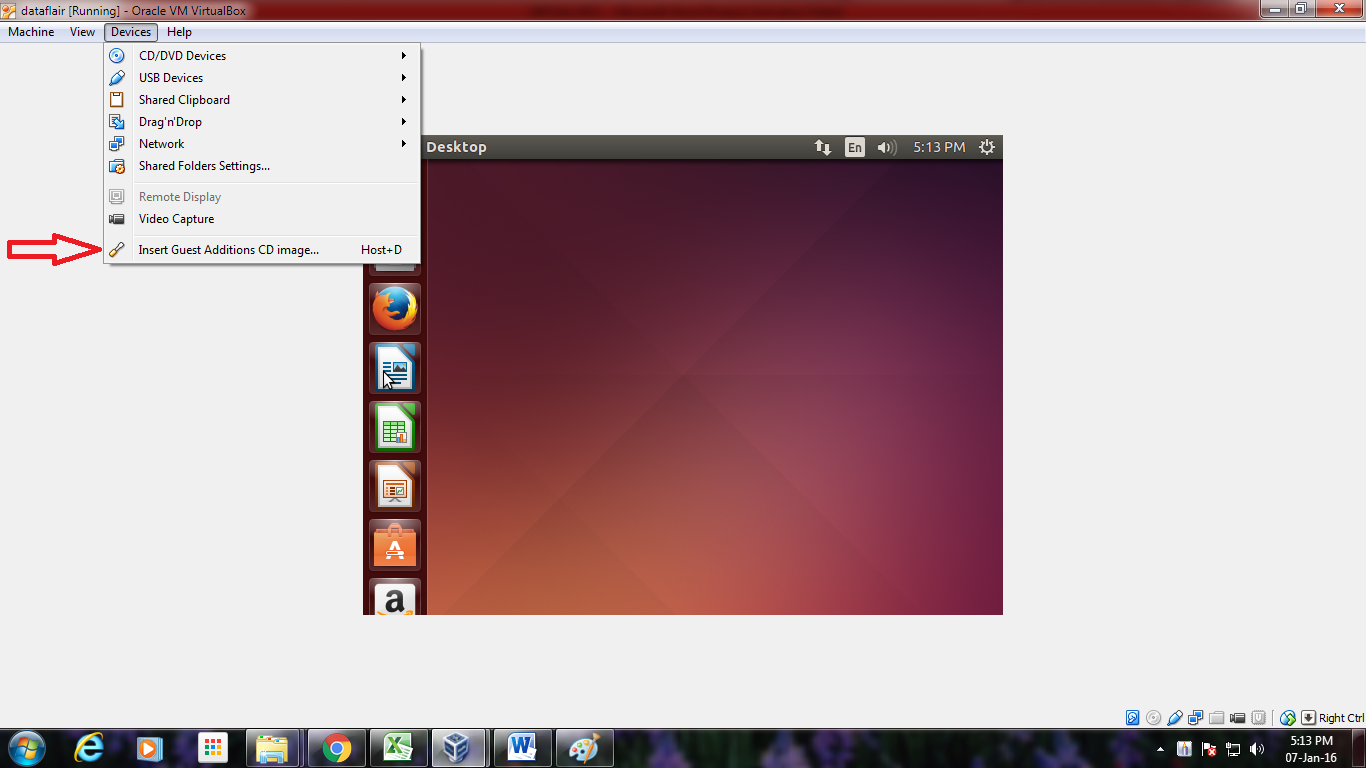
Step.2 To Maximize The Size Of Ubuntu Desktop – Insert Guest Additions CD Image
3.3. Click “Run”
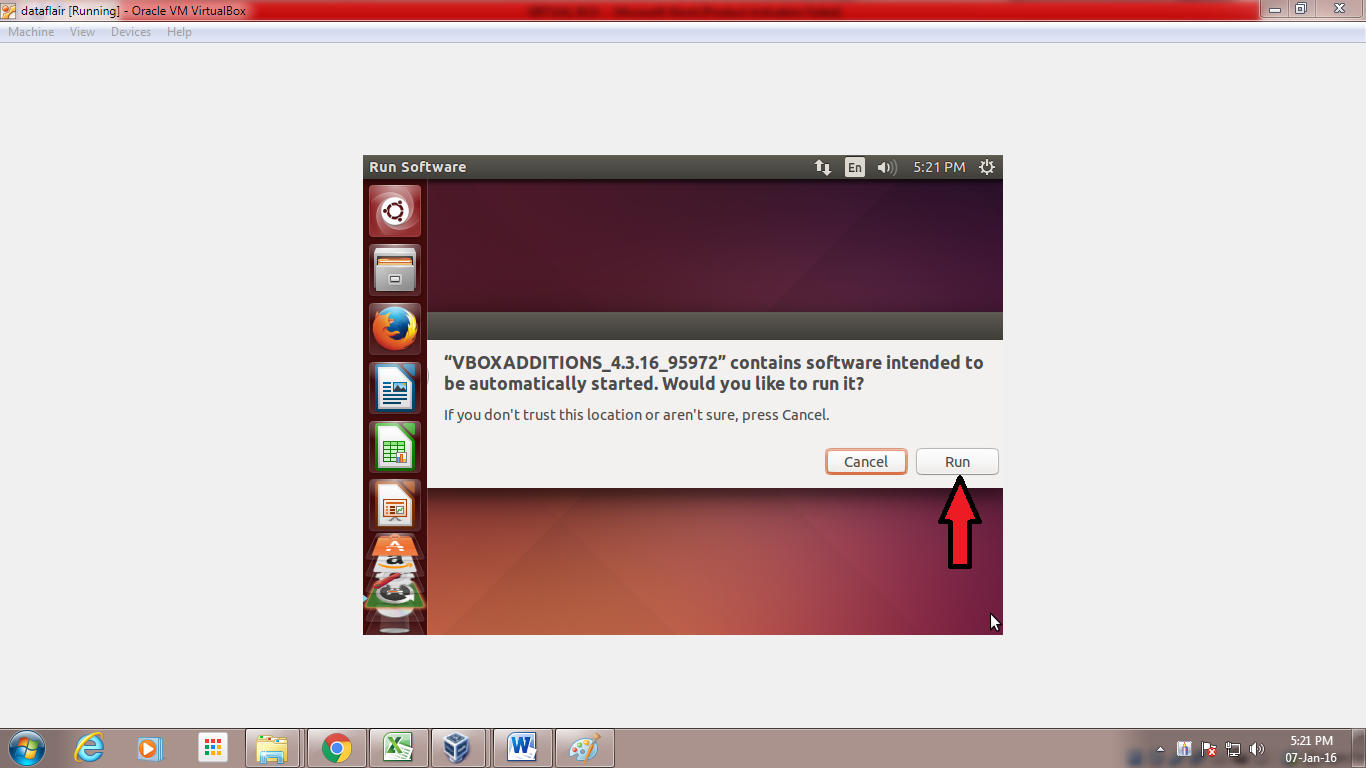
Step.3 To Maximize The Size Of Ubuntu Desktop – Run Software
3.4. Click “Authenticate”
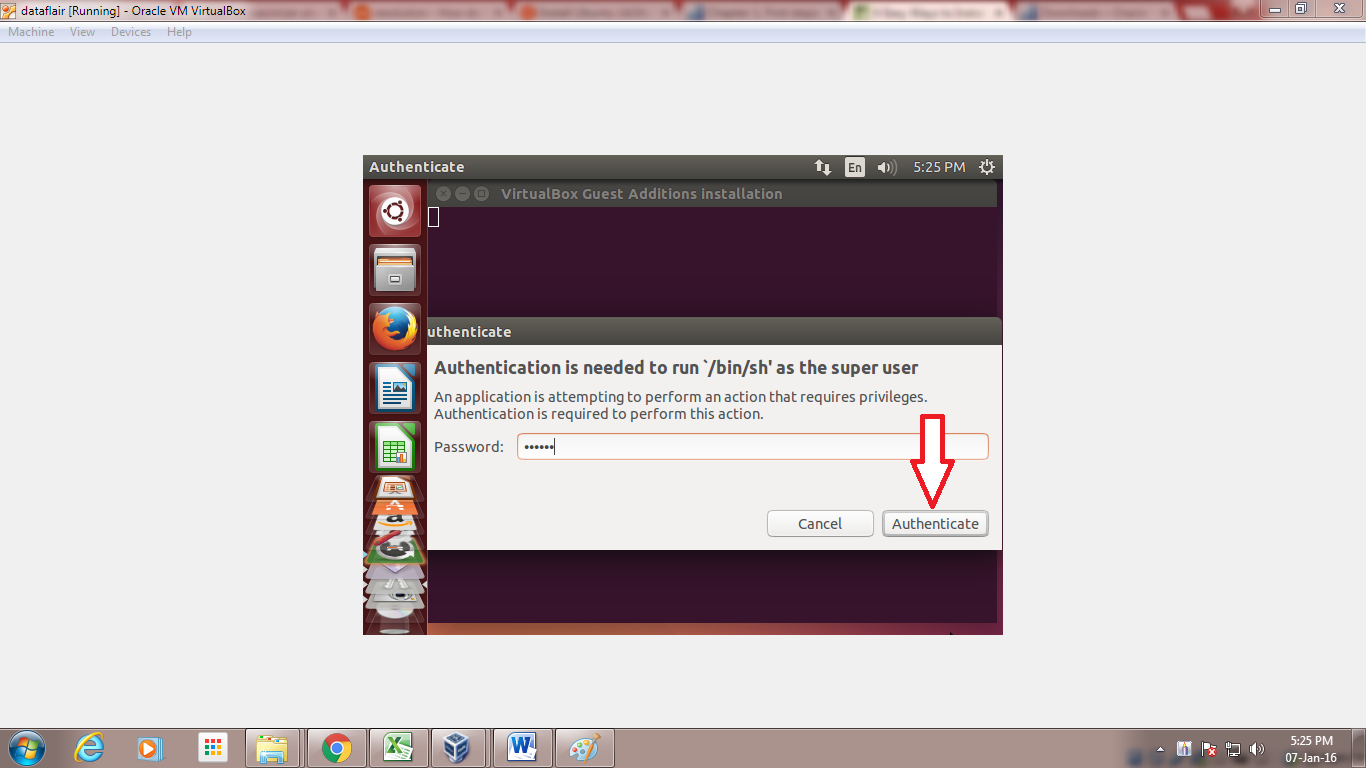
Step.4 To Maximize The Size Of Ubuntu Desktop – Authenticate
3.5. Press “Enter”
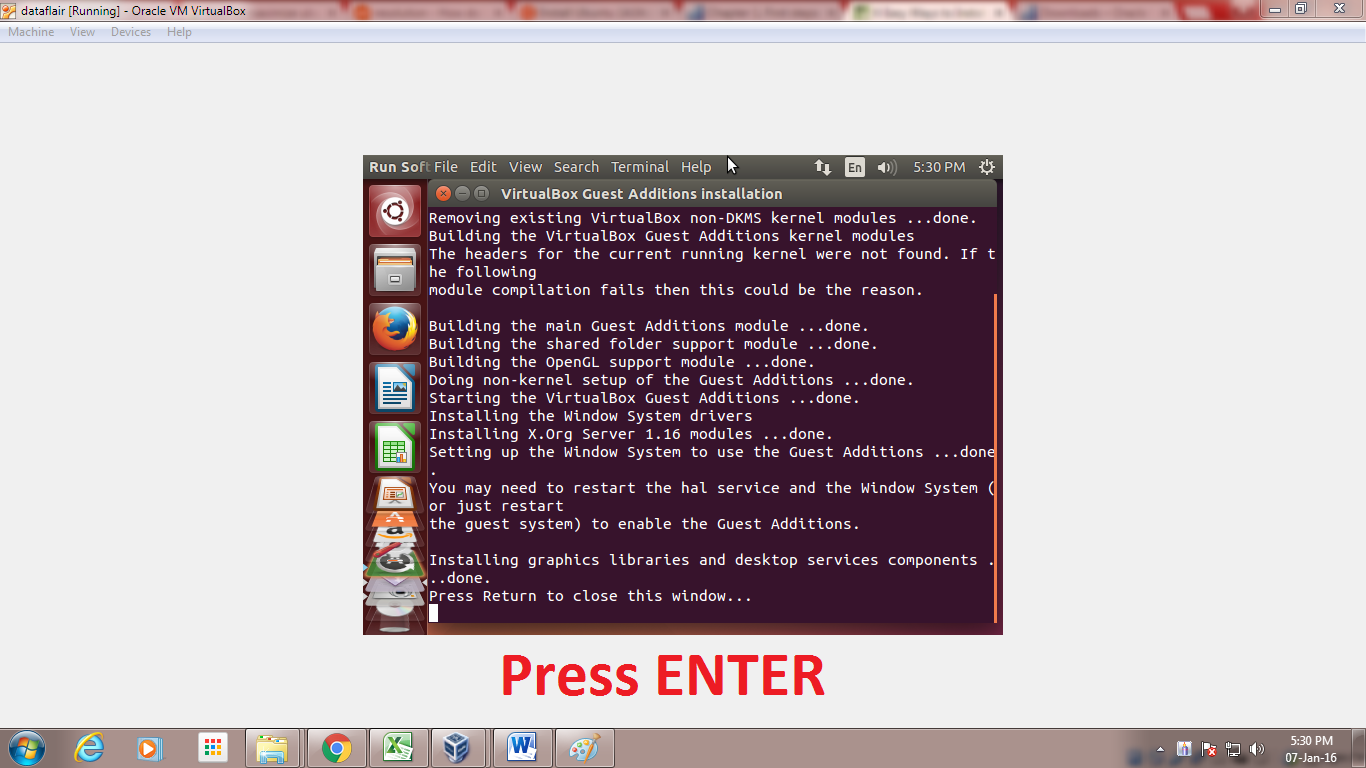
Step.5 To Maximize The Size Of Ubuntu Desktop – press enter
“VirtualBox Guest Additions installation” process will start and after the completion of the installation process you will get a message “Press Return to close this window”. Press “Enter” after reading this message.
3.6. Now “Restart” your system for the changes to be applied.
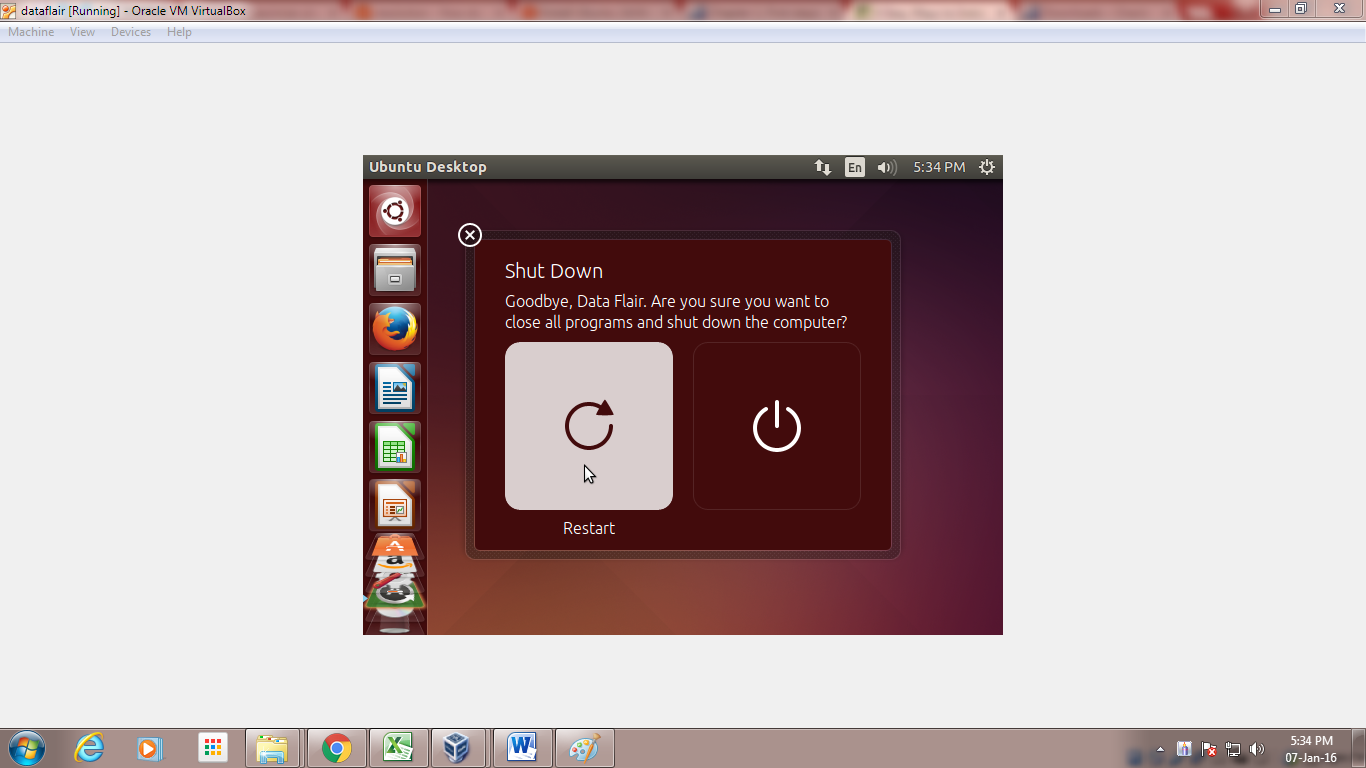
Step.6 To Maximize The Size Of Ubuntu Desktop – Restart
3.7. After the system gets restarted. Go to “View”
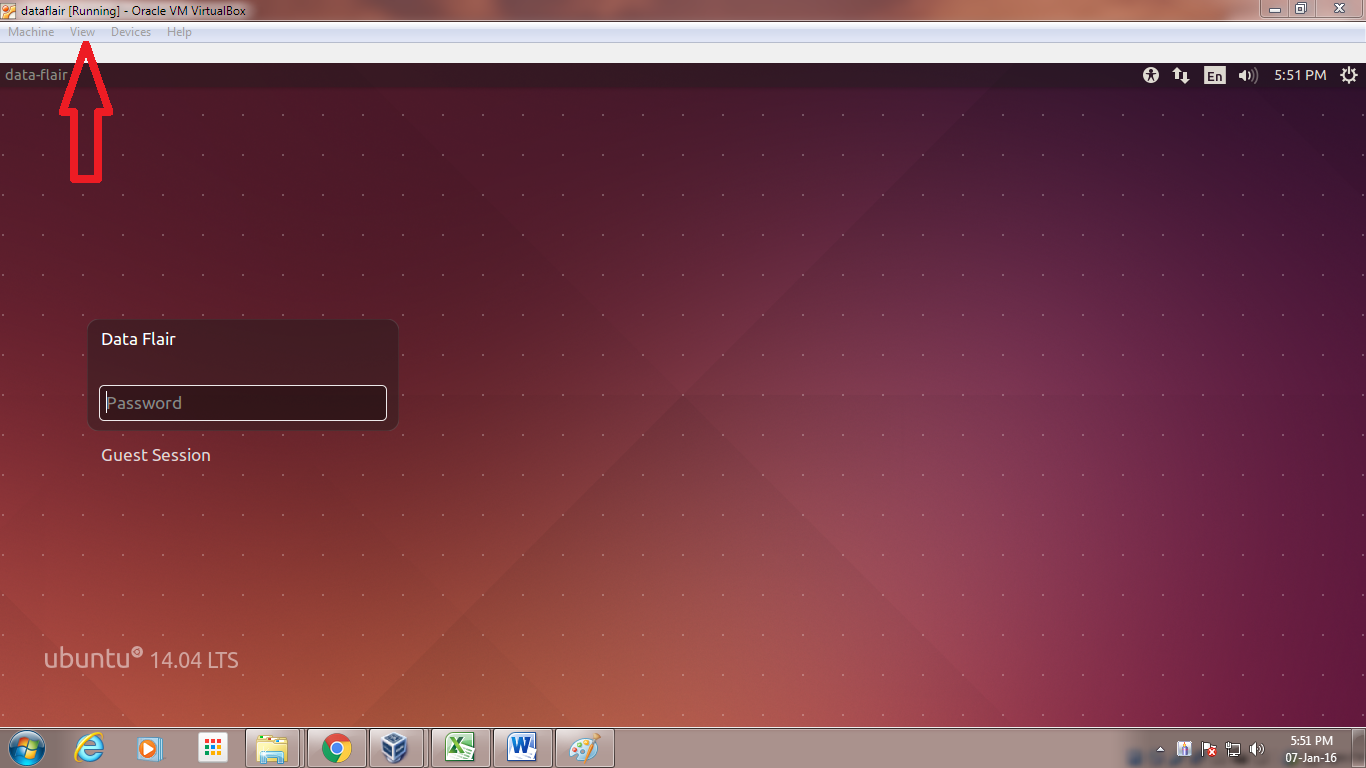
Step.7 To Maximize The Size Of Ubuntu Desktop – Full screen option
3.8. Click “Switch to Fullscreen”
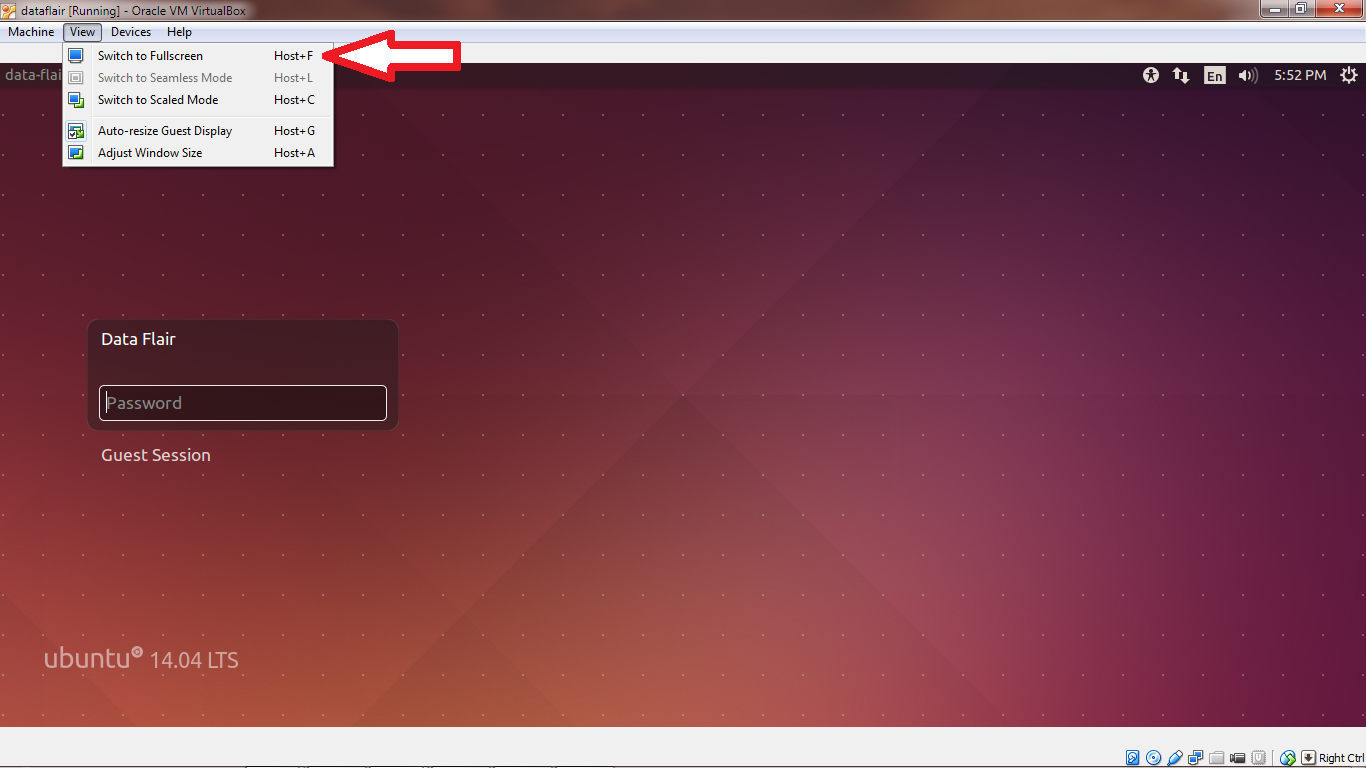
Step.8 To Maximize The Size Of Ubuntu Desktop – Switch to Fullscreen
3.9. Click “Switch”
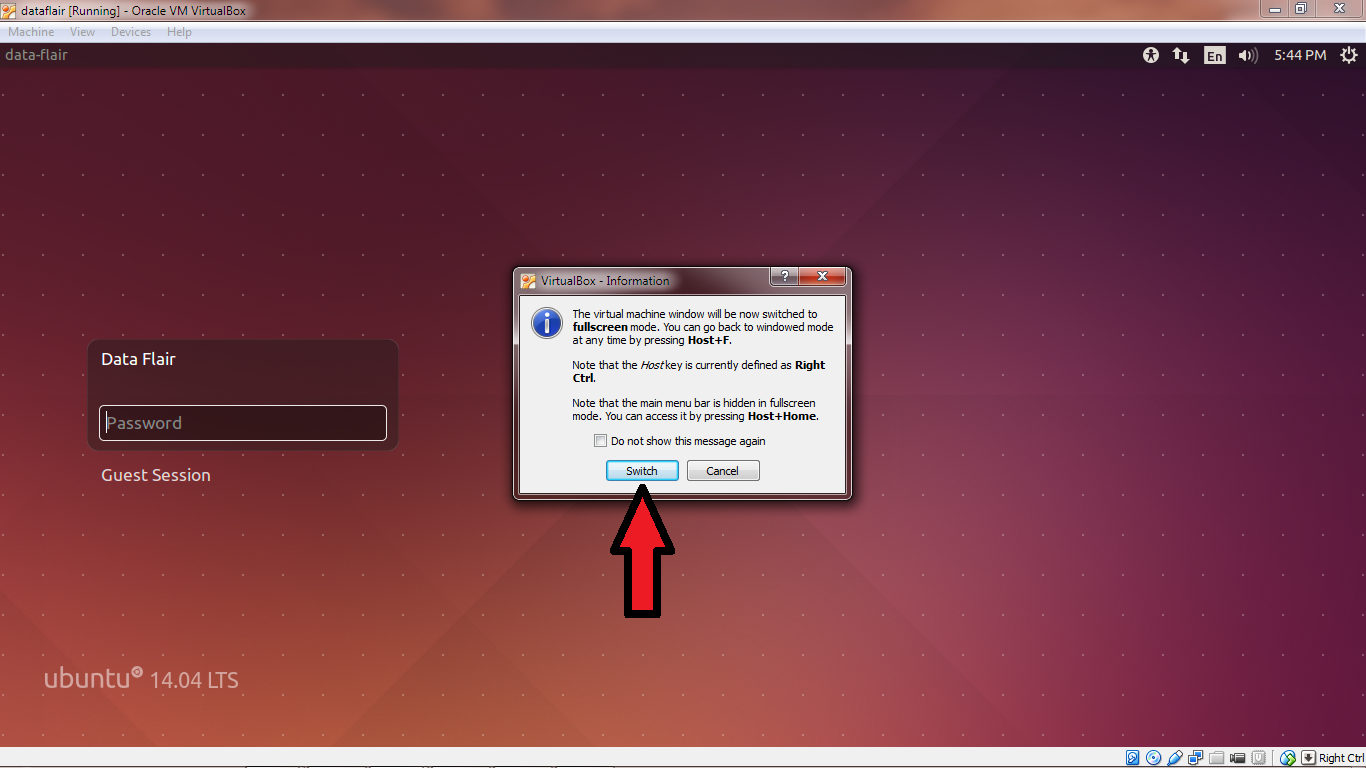
Step.9 To Maximize The Size Of Ubuntu Desktop – Full Screen Mode
Congratulations You have successfully created Virtual machine and installed Ubuntu OS Oracle VirtualBox.
So, this was all about how to Install Ubuntu on VirtualBox. Hope you like our explanation. Furthermore, if you have any query, feel free to ask in the comment box.