


This DataFlair article provides a complete package to Install Hive on Ubuntu along with the screenshots.
Hive is a data warehousing infrastructure tool built on the top of Hadoop. This article helps you to start quickly with the Hive by providing guidance about downloading Hive, setting and configuring Hive and launching HiveServer2, and the Beeline Command shell to interact with Hive.
This article enlists the steps to be followed for Hive 3.1.2 installation on Hadoop 3.1.2 on Ubuntu.
What is Apache Hive?
Apache Hive is a warehouse infrastructure designed on top of Hadoop for providing information summarization, query, and ad-hoc analysis. Hence, in order to get your Hive running successfully, Java and Hadoop ought to be pre-installed and should be functioning well on your Linux OS.
Before installing the Hive, we require dedicated Hadoop installation, up and running with all the Hadoop daemons.
So, let’s start the Apache Hive Installation Tutorial.
Apache Hive Installation on Ubuntu
Now in order to get Apache Hive installation successfully on your Ubuntu system, please follow the below steps and execute them on your Linux OS.
Here are the steps to be followed for installing Hive 3.1.2 on Ubuntu.
1. Download Hive
Step 1: First, download the Hive 3.1.2 from this link.
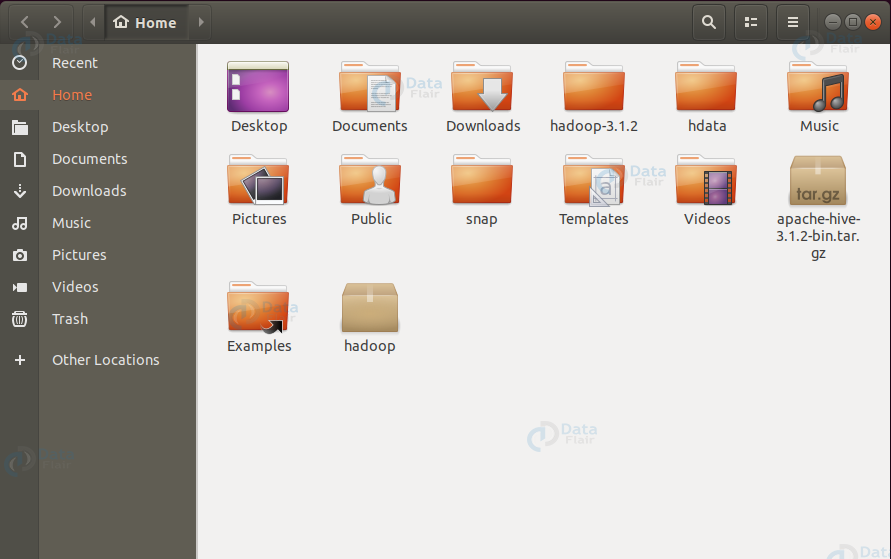
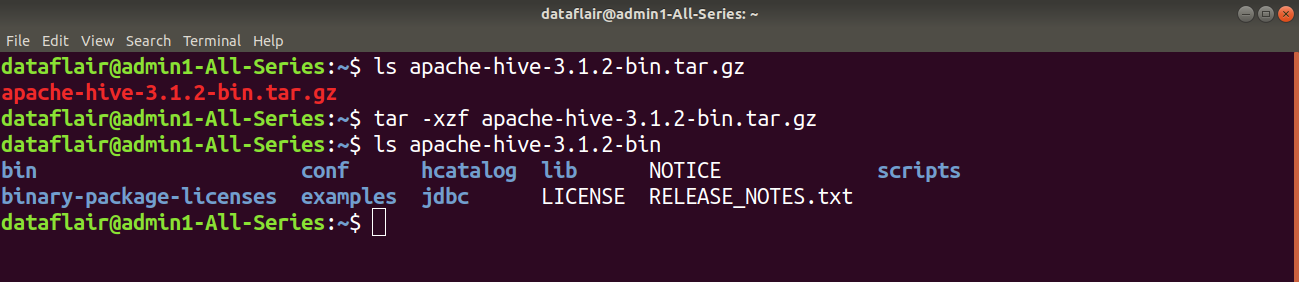
Step 2: Locate the apache-hive-3.1.2-bin.tar.gz file in your system.
Step 3: Extract this tar file using the below command:
tar -xzf apache-hive-3.1.2-bin.tar.gz

2. Configuring Hive files
Step 4: Now, we have to place the Hive PATH in .bashrc file. For this, open .bashrc file in the nano editor and add the following in the .bashrc file.
export HIVE_HOME= “home/dataflair/apache-hive-3.1.2-bin”
export PATH=$PATH:$HIVE_HOME/bin

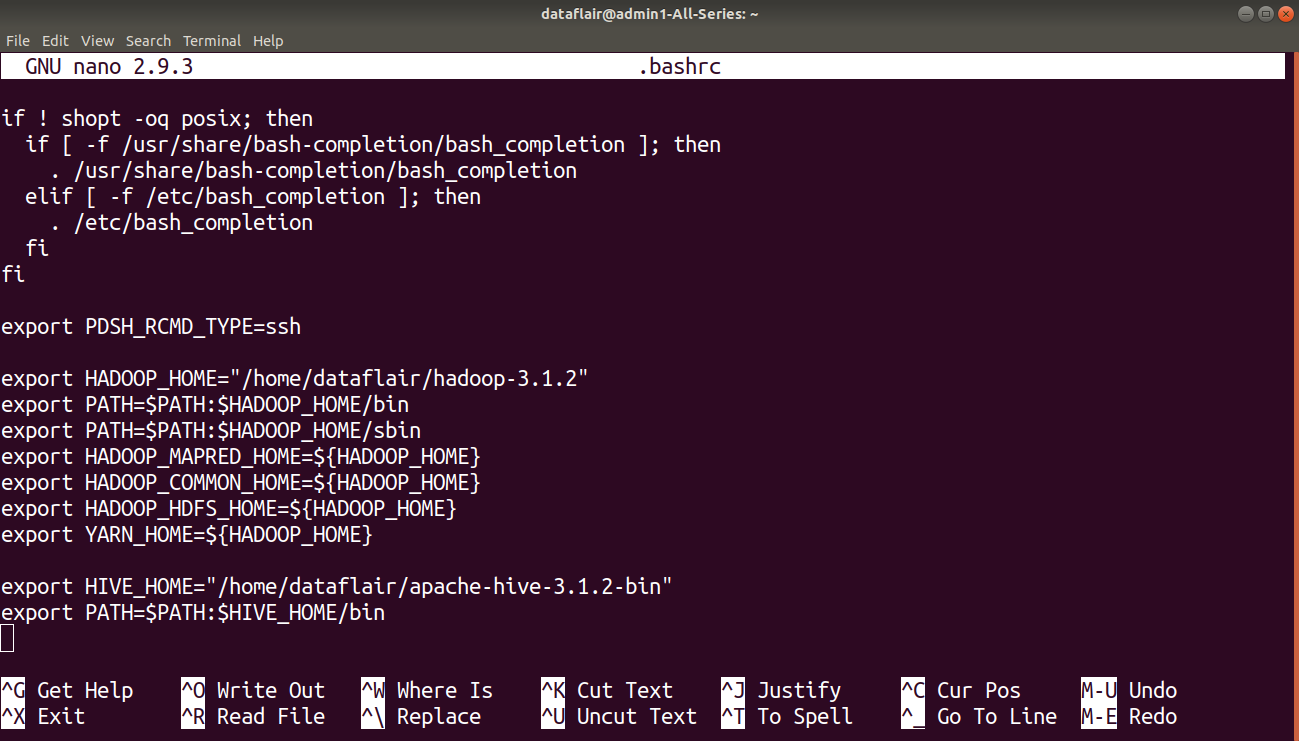
Note: Here enter the correct name & version of your hive and correct path of your Hive File “home/dataflair/apache-hive-3.1.2-bin” this is the path of my Hive File and “apache-hive-3.1.2-bin” is the name of my hive file.
So please enter the correct path and name of your Hive file. After adding save this file.
Press CTRL+O and enter to save changes. Then press CTRL+D to exit the editor.
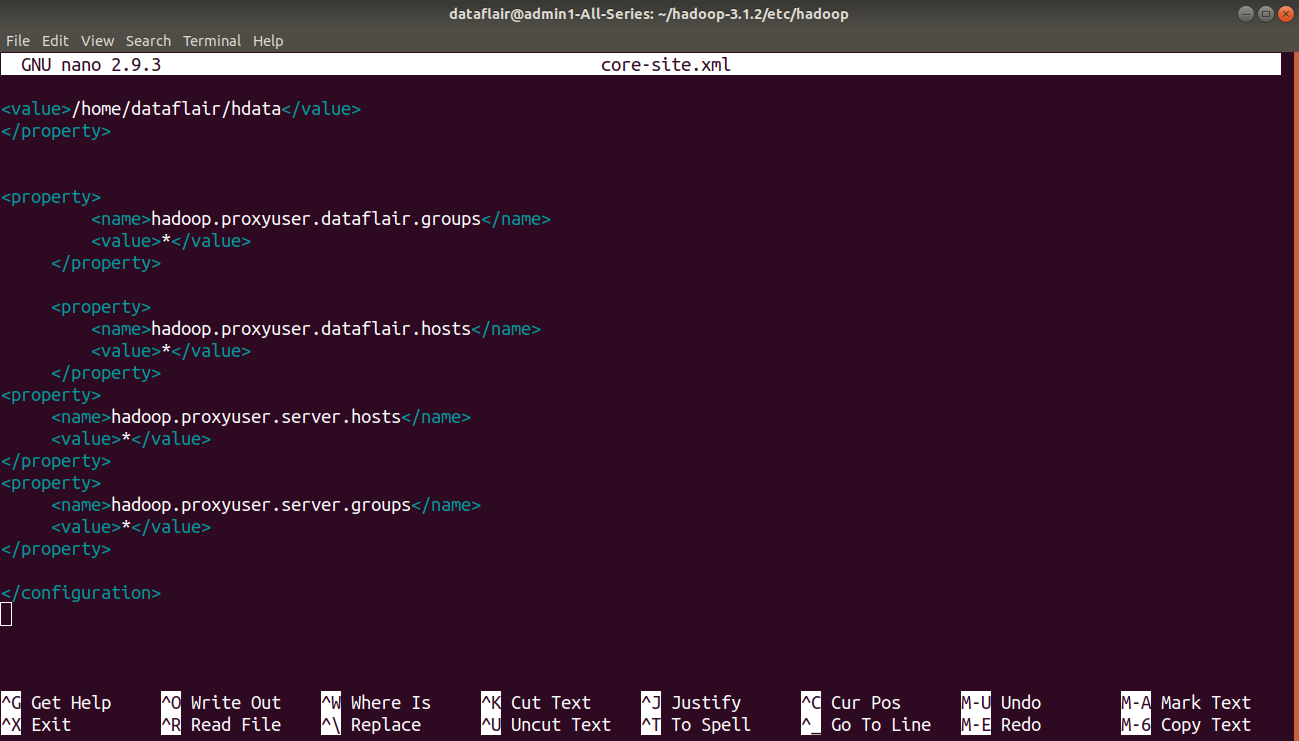
Step 5: Open the core-site.xml file in the nano editor. The file is located in home/hadoop-3.1.2/etc/hadoop/ (Hadoop Configuration Directory).
Add the following configuration property in the core-site.xml file.
<configuration>
<property>
<name>hadoop.proxyuser.dataflair.groups</name>
<value>*</value>
</property>
<property>
<name>hadoop.proxyuser.dataflair.hosts</name>
<value>*</value>
</property>
<property>
<name>hadoop.proxyuser.server.hosts</name>
<value>*</value>
</property>
<property>
<name>hadoop.proxyuser.server.groups</name>
<value>*</value>
</property>
</configuration>

Press CTRL+O and enter to save changes. Then press CTRL+D to exit the editor.
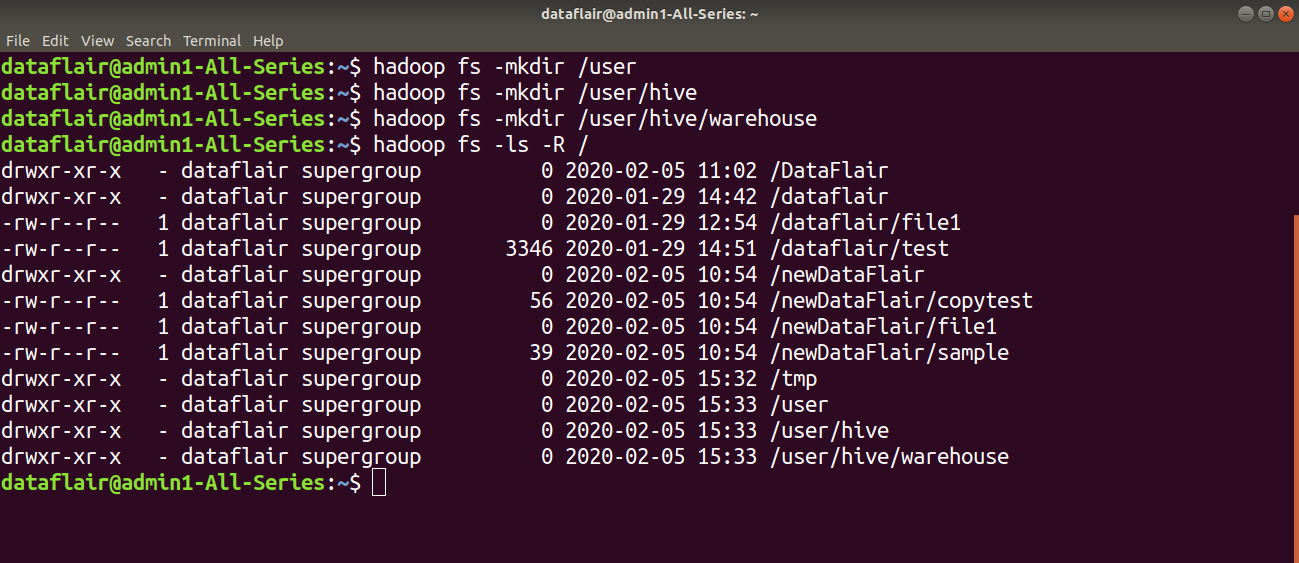
Step 6: Make a directory ‘tmp’ in HDFS using the below command:
hadoop fs -mkdir /tmp

Step 6: Use the below commands to create a directory ‘warehouse’ inside ‘hive’ directory, which resides in ‘user’ directory. The warehouse is the location to store data or tables related to Hive.
hadoop fs -mkdir /user
hadoop fs -mkdir /user/hive
hadoop fs -mkdir /user/hive/warehouse

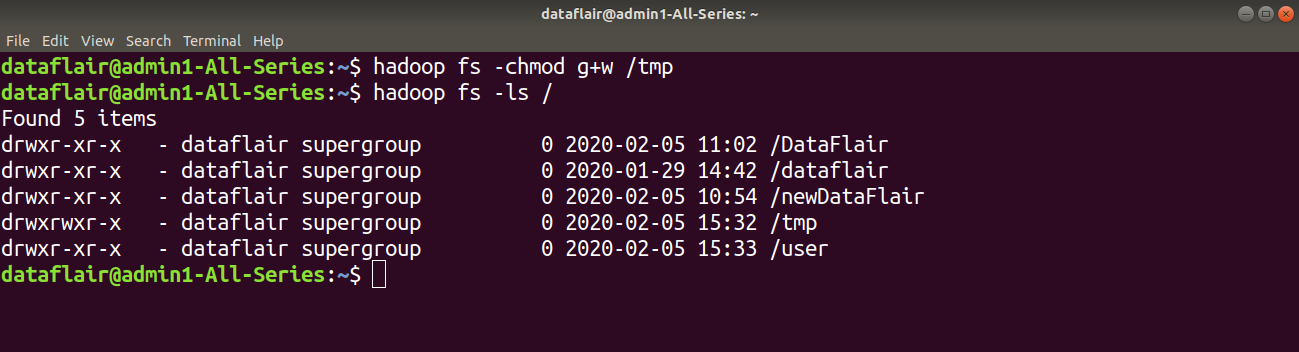
Step 7: Give the write permission to the members of the ‘tmp’ file group using command:
hadoop fs -chmod g+w /tmp

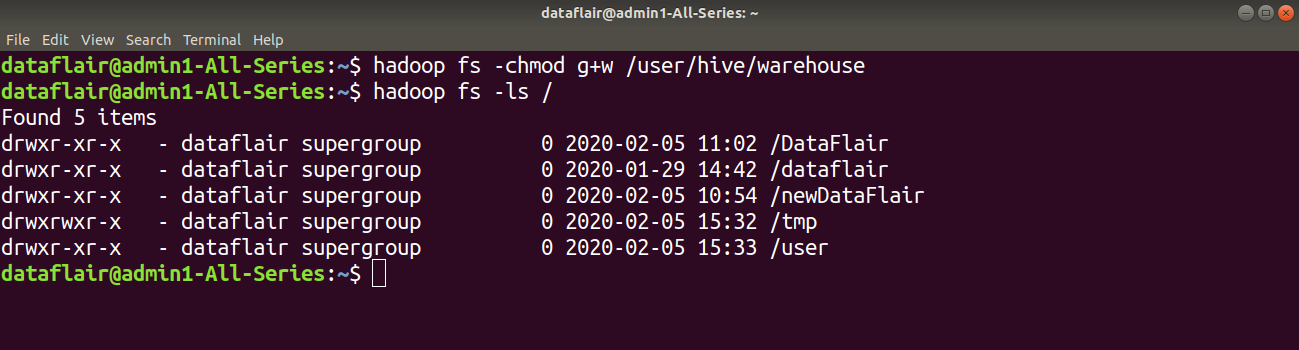
Step 8: Now give write permission to the warehouse directory using the command:
hadoop fs -chmod g+w /user/hive/warehouse

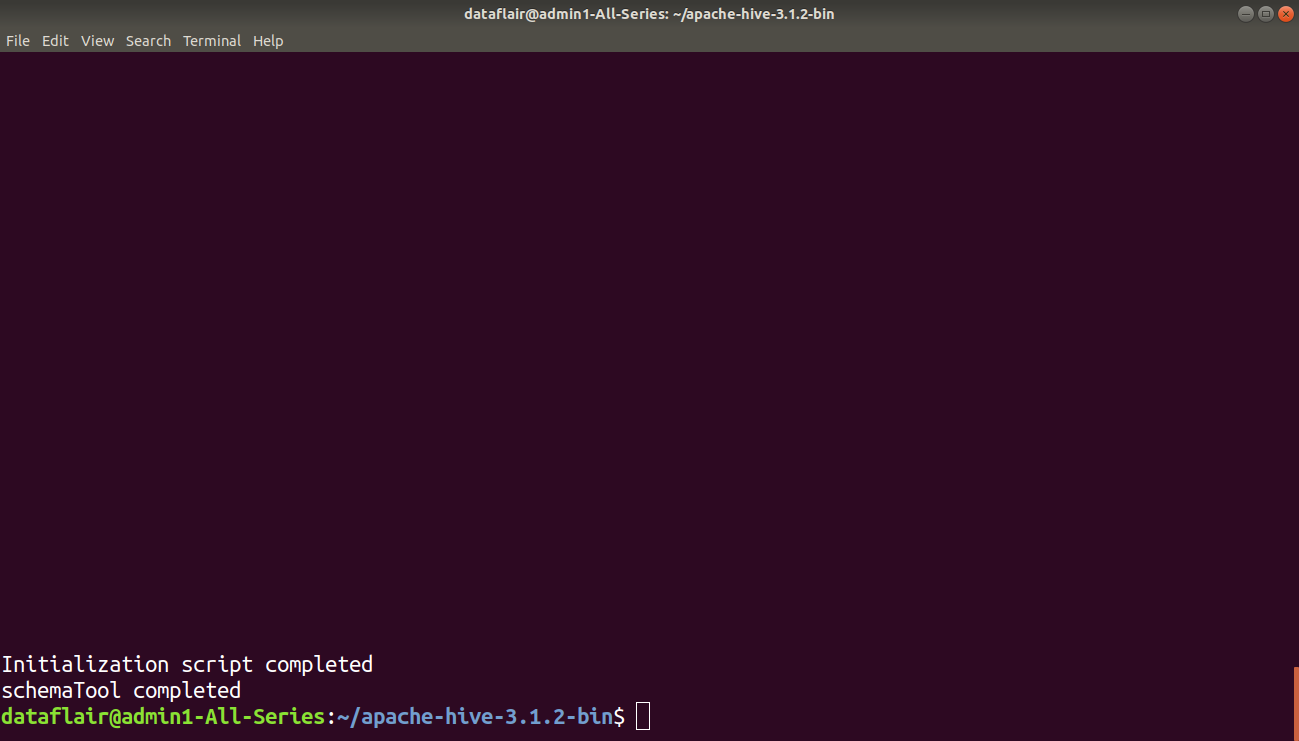
3. Initialize Derby database
Step 9: Hive by default uses Derby database. Use the below command to initialize the Derby database.
bin/schematool -dbType derby -initSchema

4. Launching Hive
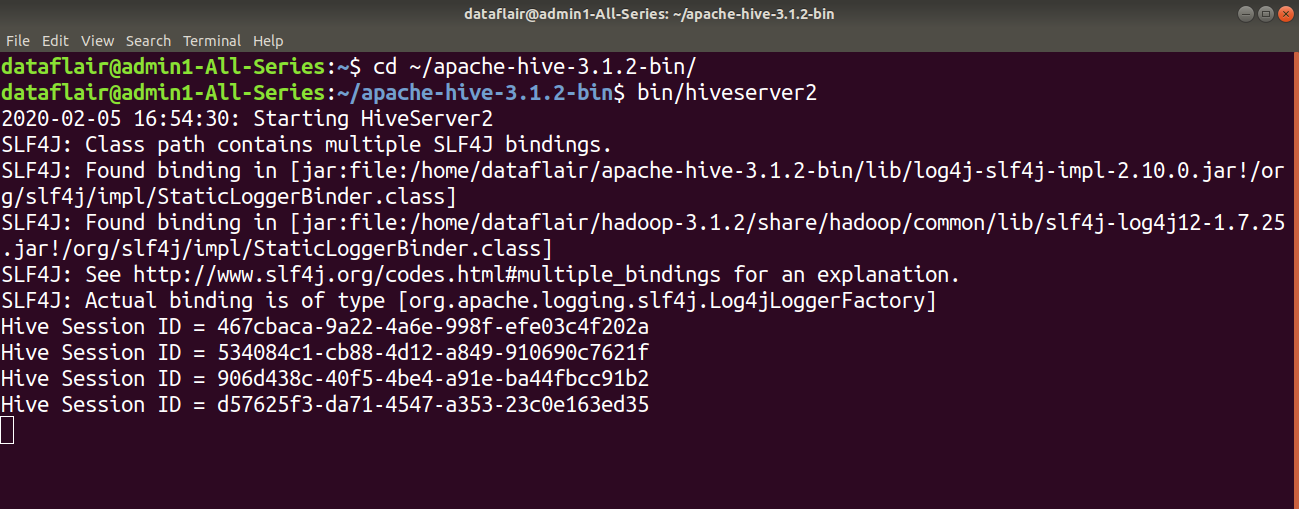
Step 10: Now start the HiveServer2 using the below command:
bin/hiveserver2
[For this first move to the ~/apache-hive-3.1.2-bin/]

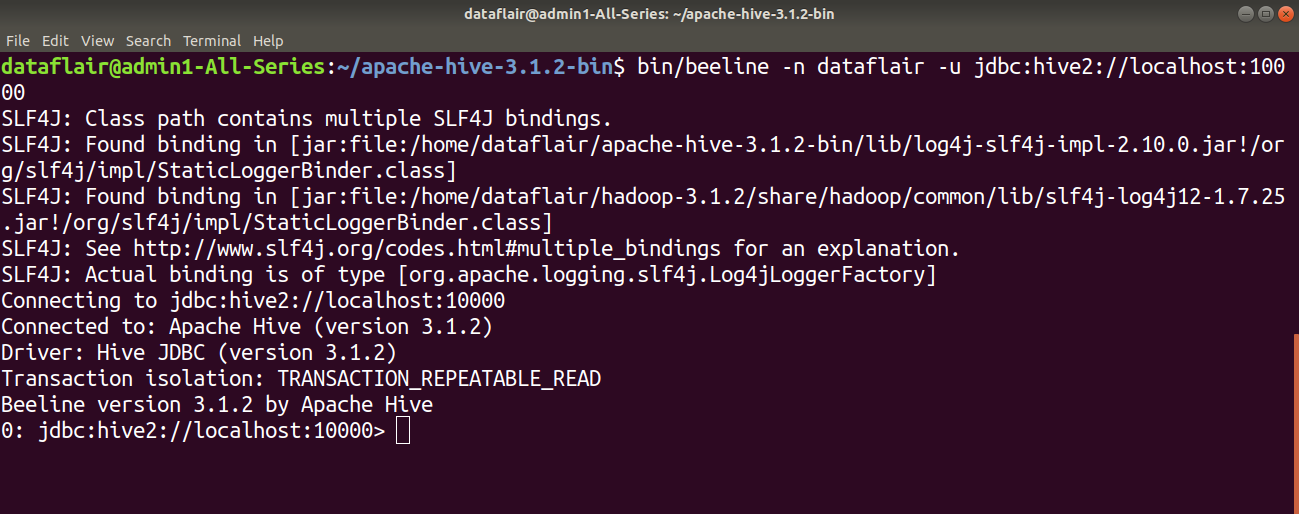
Step 11: On the different tab, type the below command to launch the beeline command shell.
bin/beeline -n dataflair -u jdbc:hive2://localhost:10000

Congratulations!! We have successfully installed Hive 3.1.2 on Ubuntu.
Now, you can type SQL queries in the Beeline command shell to interact with the Hive system.
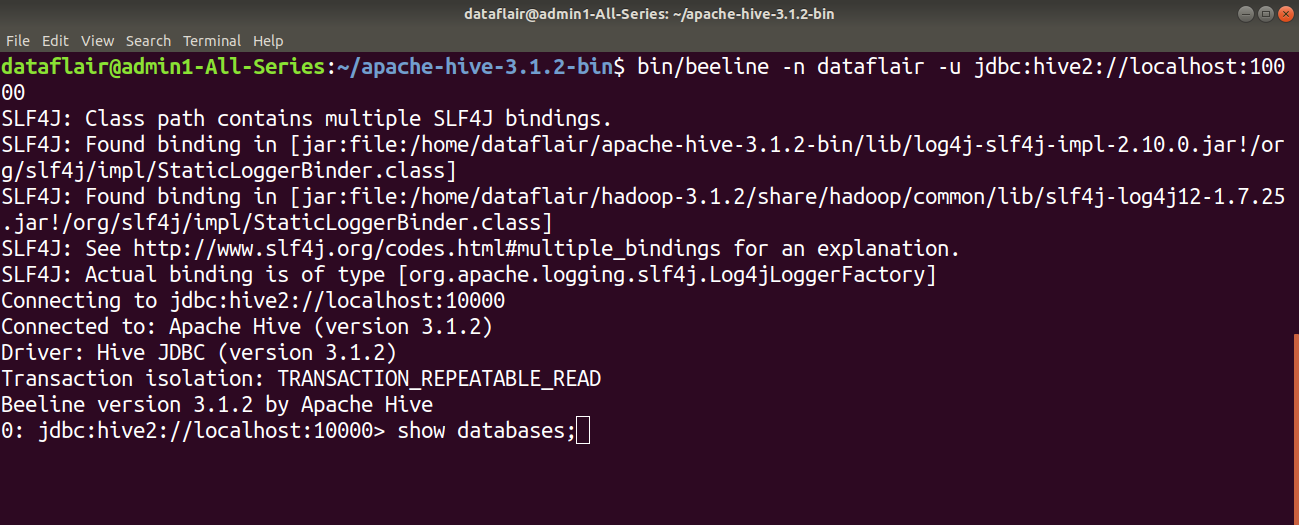
5. Verifying Hive Installation
For example, in the below image, I am using show databases query to list out the database in the Hive warehouse.
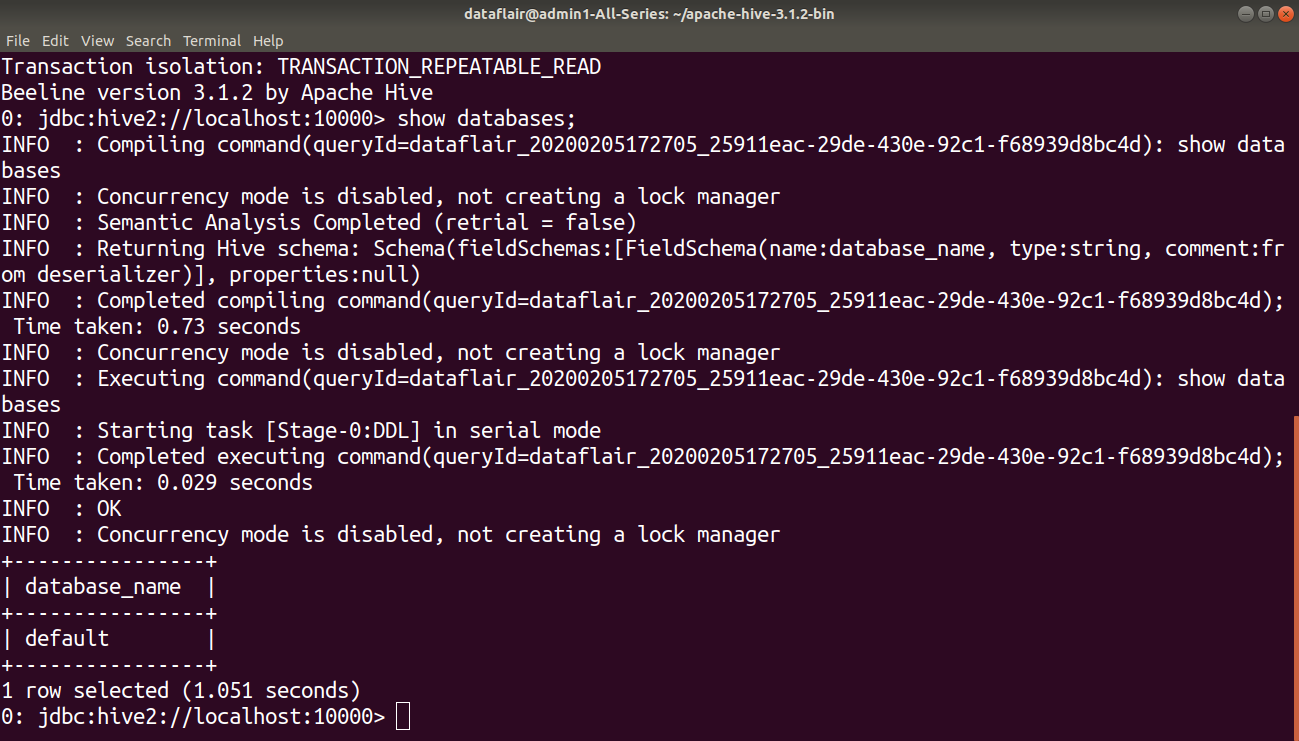
We have successfully installed Apache Hive 3.1.2 on Hadoop 3.1.2 on Ubuntu.
Conclusion
Hence, in this Hive installation tutorial, we discussed the process to install Hive on Ubuntu.
Hive installation Done? Now, master Hive from our article in the left sidebar.
Still, if you have any confusion related to Hive Installation, ask in the comment tab.
Keep Learning!!