

Job-ready Online Courses: Dive into Knowledge. Learn More!
Welcome back to DataFlair Android Tutorial series. In this article, you’re going to see “How to start android application development” using Android Studio. Before you get started with Android Studio for application development, you must be clear about a few things that are mentioned below.

The following things are important as having knowledge about them will help to work in Android Studio.
1. Firstly, you must and should have a very clear idea about “Object-Oriented Programming”.
2. Secondly is “Java” and its important concepts like Multi-threading, Exception Handling and some other concepts.
3. The next requirement of Android Studio is basic knowledge about “XML.”
4. This one is totally optional and this is “Kotlin”. You need to know either Java or Kotlin.
Now, let us get started with our application development.
Android Application Development
1. To get started with Android Studio, you must first have it on your computer.
- If you do not have it, Download and Install Android Studio.
- Once you are ready with Android Studio on your computer, you can proceed with the development using the following steps.
2. Now, the next step would be to start creating our first android application. You’ll begin as follows:
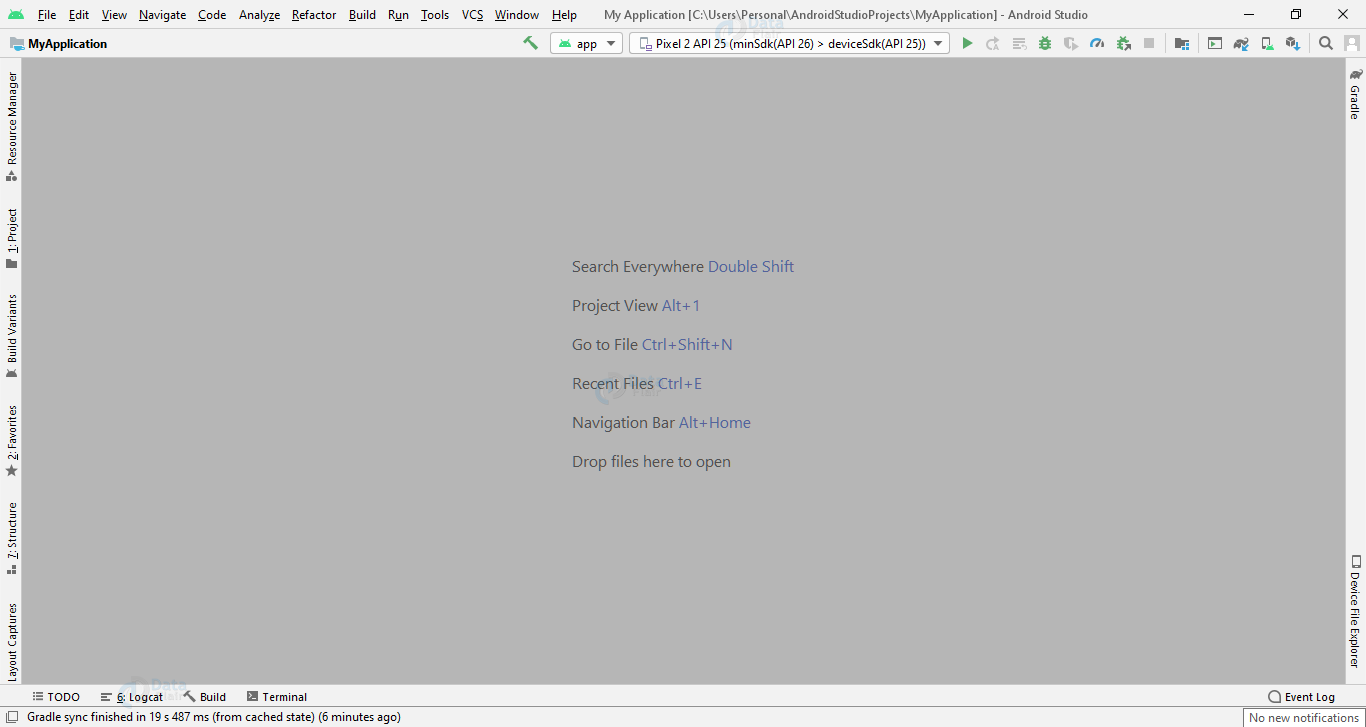
a. First open Android Studio, the following would be opened in front of you.
b. Then, you need to click on the File on the left top of your screen.
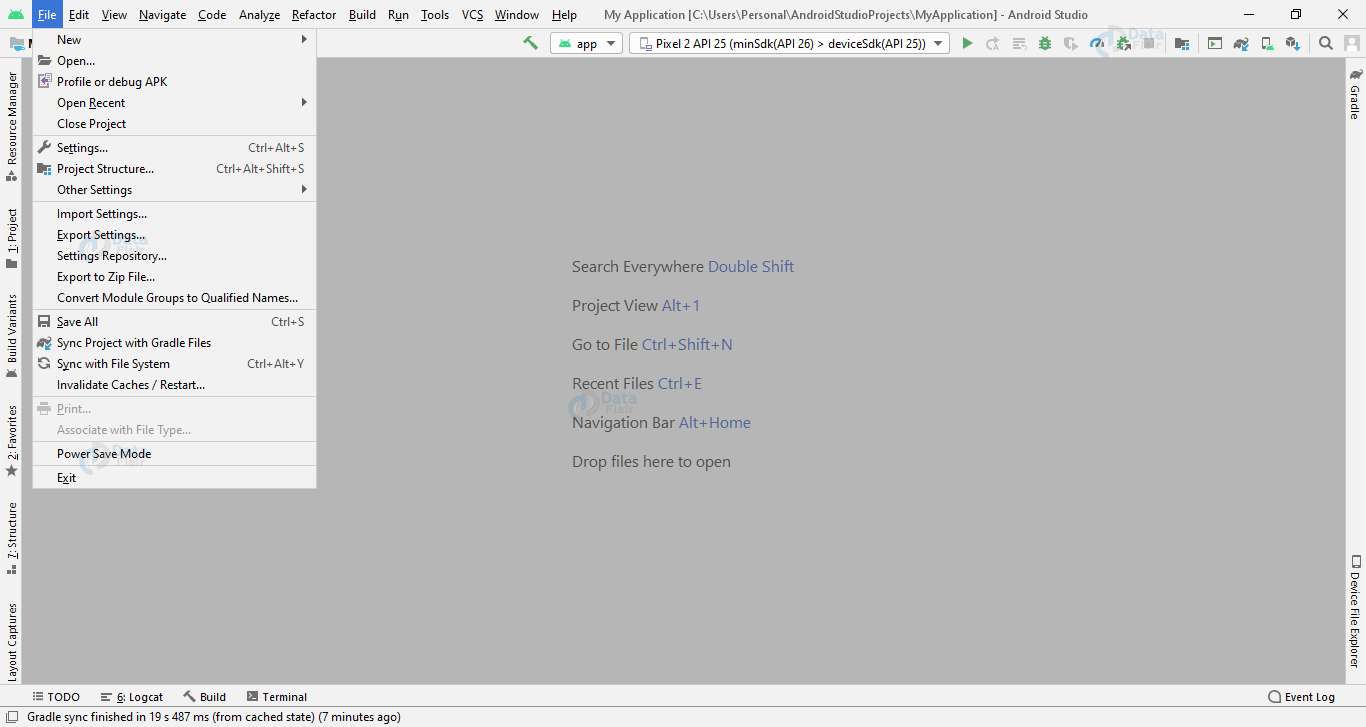
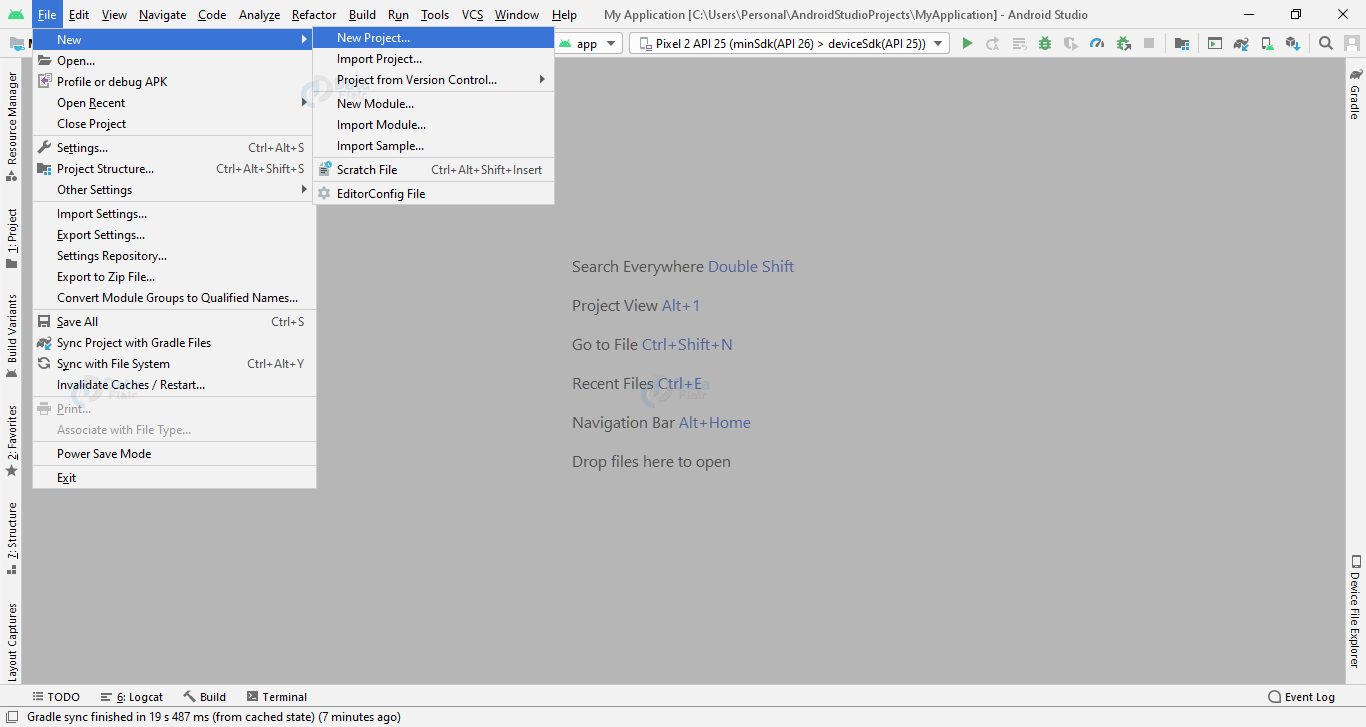
c. From there, click on the first option that is “New”

d. Now choose the new project:
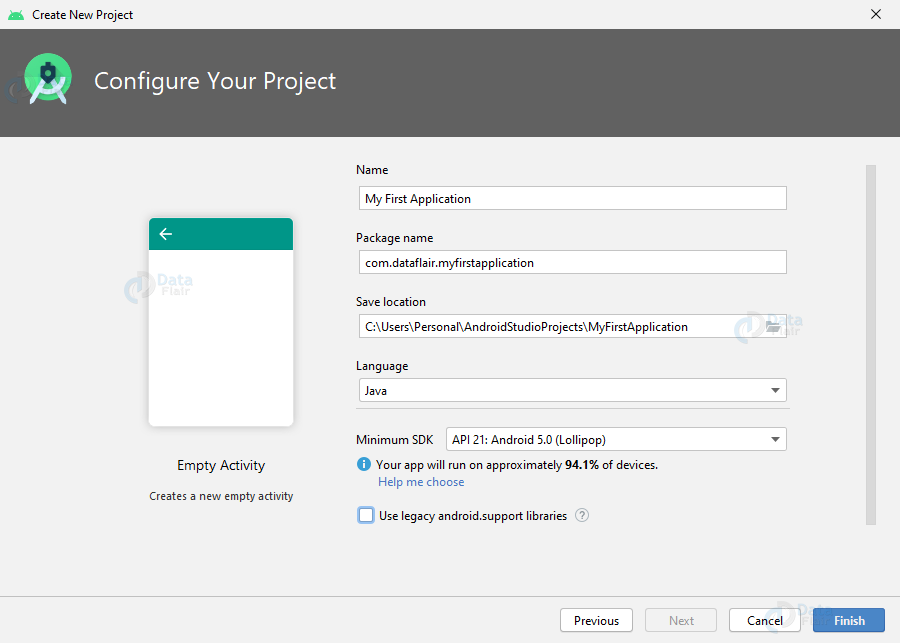
e. Then you’ll find the following on the screen. This is to choose your project. It decides the basic layout of the application.

Here, select Empty Activity and proceed further, for that click on Next.
f) Now change the Application name to whichever name you like and select the language.
3. After the above steps, you’ll finally be ready to design the layout and then to write the code.
Now, this screen has two areas where we’re going to write the code for our android application:
The first section is activity_main.xml and the other one is MainActivity.java. Both these files together make our application work. The activity_main.xml is responsible for the layout of the application. And the file MainActivity is responsible for the actions and the performance of the application.
a. Now write the following code in the acitvity_main.xml, though it’ll be present there already you can make changes to it:
<?xml version="1.0" encoding="utf-8"?>
<androidx.constraintlayout.widget.ConstraintLayout xmlns:android="http://schemas.android.com/apk/res/android"
   xmlns:app="http://schemas.android.com/apk/res-auto"
   xmlns:tools="http://schemas.android.com/tools"
   android:layout_width="match_parent"
   android:layout_height="match_parent"
   tools:context=".MainActivity">

   <TextView
       android:layout_width="wrap_content"
       android:layout_height="wrap_content"
       android:text="Hello World From DataFlair!" // This Message can be changed
       app:layout_constraintBottom_toBottomOf="parent"
       app:layout_constraintLeft_toLeftOf="parent"
       app:layout_constraintRight_toRightOf="parent"
       app:layout_constraintTop_toTopOf="parent" />

</androidx.constraintlayout.widget.ConstraintLayout>
b. And, the following code in the MainActivity.java
package com.dataflair.myfirstapplication;

import androidx.appcompat.app.AppCompatActivity;

import android.os.Bundle;

public class MainActivity extends AppCompatActivity {

   @Override
   protected void onCreate(Bundle savedInstanceState) {
       super.onCreate(savedInstanceState);
       setContentView(R.layout.activity_main);
   }
}
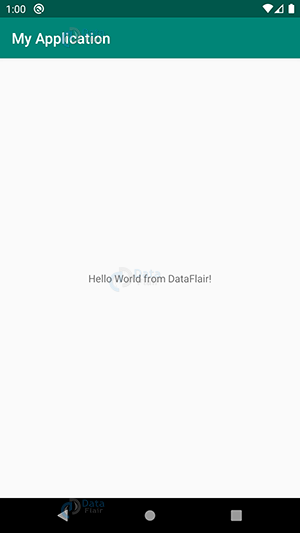
4. Now, we’ll run the application, and the result would be as follows. Learn why learning to create Android application is important.
Summary
In conclusion, did you find making an application in Android Studio is this easy! All you need to have is Android Studio on your computer. And then you can begin to create a new project and name it. Once that is done, you’re ready to design the layout and write the methods for functioning. In this article, you saw how easy it was for Android application development. Though it was for beginners, you can begin your creativity by starting and making changes from the layout itself.