


Master Python with 70+ Hands-on Projects and Get Job-ready - Learn Python
Job-ready Online Courses: Dive into Knowledge. Learn More!
The Student Performance Tracking System is a web-based application developed using Django. This system is designed to track and manage student performance across various courses. It allows users to add students, courses, and record student performance, providing an efficient way to monitor academic progress.
About Django Student Performance Tracking System
The Student Performance Tracking System is designed to streamline the management of student data and performance. It includes user authentication, adding students and courses, and viewing student performance. The system is built with a focus on simplicity, usability, and data security.
Objectives of Django Student Performance Tracking System
- Develop a user-friendly interface for managing students’ performance.
- Implement functionality to add, view, and manage student performance.
- Provide a comprehensive view of student performance in various courses.
- Ensure data security and privacy.
Project Setup for Django Student Performance Tracking System
Required Libraries
The project requires the following Python libraries:
- Django: For a web framework and ORM.
- SQLite: For database management.
- Bootstrap: For responsive design and styling.
Technology Stack
- Python
- Django
- SQLite (default database)
- HTML/CSS
- JavaScript
- Bootstrap
Project Prerequisites
- Basic understanding of Python programming.
- Familiarity with Django framework.
- Knowledge of HTML/CSS for template design.
Download the Python Django Student Performance Tracking System Project
Please download the source code of the Django Student Performance Tracking System Project: Python Django Student Performance Tracking System Project Code.
Step-by-Step Code Implementation of Django Student Performance Tracking System
1. Project Initialization
- The first command initializes a new Django project named student_performance.
- The second command changes the directory to the project folder.
- The third command initializes a new Django app named tracker in the same directory. It sets up the basic structure for the project.
django-admin startproject student_performance
cd student_performance
python manage.py startapp tracker
2. Setting Up Models
- The Course model represents a course with name and code fields. The code field is unique for each course.
- Student model displays a student with a unique roll_number and name. It has a many-to-many relationship with Course, allowing students to enrol in multiple courses.
- Performance model tracks the performance of students in various courses. It links Students and Courses through foreign keys.
from django.db import models


class Course(models.Model):
   name = models.CharField(max_length=100)
   code = models.CharField(max_length=10, unique=True)


   def __str__(self):
       return self.name


class Student(models.Model):
   roll_number = models.CharField(max_length=10, unique=True)
   name = models.CharField(max_length=10)
   courses = models.ManyToManyField(Course, blank=True)

   def __str__(self):
       return self.name


class Performance(models.Model):
   student = models.ForeignKey(Student, on_delete=models.CASCADE)
   course = models.ForeignKey(Course, on_delete=models.CASCADE)
   marks = models.FloatField()


   def __str__(self):
       return f'{self.student.name} - {self.course.name} - {self.marks}'
3. Making Migrations
- makemigrations: Makes migrations based on the changes detected in the models. Migrations are how Django stores changes to the models.
- migrate: This command applies the migrations to the database, creating the tables and columns.
python3 manage.py makemigrations tracker
python3 manage.py migrate
4. Defining Views
- Index View: It retrieves performance records along with related Student and Course objects.
- Add Student View: It handles POST requests to create a new Student using a form, on successful form validation it redirects to the index view.
- Add Performance View: It manages POST requests to add new Performance records. If the form is valid, it saves the performance data and redirects to the index view.
- Add Course View: It takes requests to add new Course entries, with error handling for duplicate course codes using IntegrityError.
from django.shortcuts import render, redirect, get_object_or_404
from .models import Student, Performance
from .forms import PerformanceForm,StudentForm, CourseForm
from django.db import IntegrityError


def index(request):
   performances = Performance.objects.select_related('student', 'course').all()
   return render(request, 'tracker/index.html', {'performances': performances})


def student_detail(request, student_id):
   student = get_object_or_404(Student, pk=student_id)
   performances = Performance.objects.filter(student=student)
   return render(request, 'tracker/student_detail.html', {'student': student, 'performances': performances})


def add_student(request):
   if request.method == 'POST':
       form = StudentForm(request.POST)
       if form.is_valid():
           student = form.save()
           return redirect('index')
   else:
       form = StudentForm()
   return render(request, 'tracker/add_student.html', {'form': form})


def add_performance(request):
   if request.method == 'POST':
       form = PerformanceForm(request.POST)
       if form.is_valid():
           form.save()
           return redirect('index')
   else:
       form = PerformanceForm()
   return render(request, 'tracker/add_performance.html', {'form': form})


def add_course(request):
   if request.method == 'POST':
       form = CourseForm(request.POST)
       if form.is_valid():
           try:
               form.save()
               return redirect('index')
           except IntegrityError:
               form.add_error('code', 'Course with this code already exists.')
   else:
       form = CourseForm()
   return render(request, 'tracker/add_course.html', {'form': form})
5. Setting URLs
- The index path maps the root URL (”) to the index view.
- The add_performance maps to ‘add_performance/’ page. It handles form submissions to add new performance records.
- The add_student maps ‘add_student/’ page. It manages form submissions to create new student entries.
- The add_course maps ‘add_course/’ page. It creates new course records.
from django.urls import path
from . import views


urlpatterns = [
   path('', views.index, name='index'),
   path('student/<int:student_id>/', views.student_detail, name='student_detail'),
   path('add_performance/', views.add_performance, name='add_performance'),
   path('add_student/', views.add_student, name='add_student'),
   path('add_course/', views.add_course, name='add_course'),
]
6. Creating Templates
base.html:
- HTML Structure: The template begins with a standard HTML structure, including <! DOCTYPE html> and < html> tags.DOCTYPE html>. Then sets up meta tags for character encoding.
- Navigation Bar: It features a responsive Bootstrap navbar with links to the index page and the “Add Courses and Students” page.
- Content Block: This defines a <main> section where page-specific content will be inserted. The {% block content %} tag allows child templates.
- Footer and Scripts: This includes a footer with a copyright notice and imports JavaScript libraries for Bootstrap functionality.
<!DOCTYPE html>
<html lang="en">
<head>
<meta charset="UTF-8">
<meta name="viewport" content="width=device-width, initial-scale=1.0">
<title>{% block title %}Student Performance Tracking System{% endblock %}</title>
<link rel="stylesheet" href="https://stackpath.bootstrapcdn.com/bootstrap/4.5.2/css/bootstrap.min.css">
{% block extra_head %}{% endblock %}
</head>
<body>
<nav class="navbar navbar-expand-lg navbar-dark bg-dark">
<a class="navbar-brand" href="{% url 'index' %}">DataFlair@Student Performance Tracker</a>
<button class="navbar-toggler" type="button" data-toggle="collapse" data-target="#navbarNav" aria-controls="navbarNav" aria-expanded="false" aria-label="Toggle navigation">
<span class="navbar-toggler-icon"></span>
</button>
<div class="collapse navbar-collapse" id="navbarNav">
<ul class="navbar-nav mr-auto">
<li class="nav-item">
<a class="nav-link" href="{% url 'add_course' %}">Add Course</a>
</li>
<li class="nav-item">
<a class="nav-link" href="{% url 'add_student' %}">Add Student</a>
</li>
</ul>
</div>
</nav>
<main>
{% block content %}
{% endblock %}
</main>
<footer class="text-center mt-5">
<p>© 2024@DataFlair Student Tracker. All rights reserved.</p>
</footer>
<script src="https://code.jquery.com/jquery-3.5.1.slim.min.js"></script>
<script src="https://cdn.jsdelivr.net/npm/@popperjs/core@2.5.3/dist/umd/popper.min.js"></script>
<script src="https://stackpath.bootstrapcdn.com/bootstrap/4.5.2/js/bootstrap.min.js"></script>
</body>
</html>
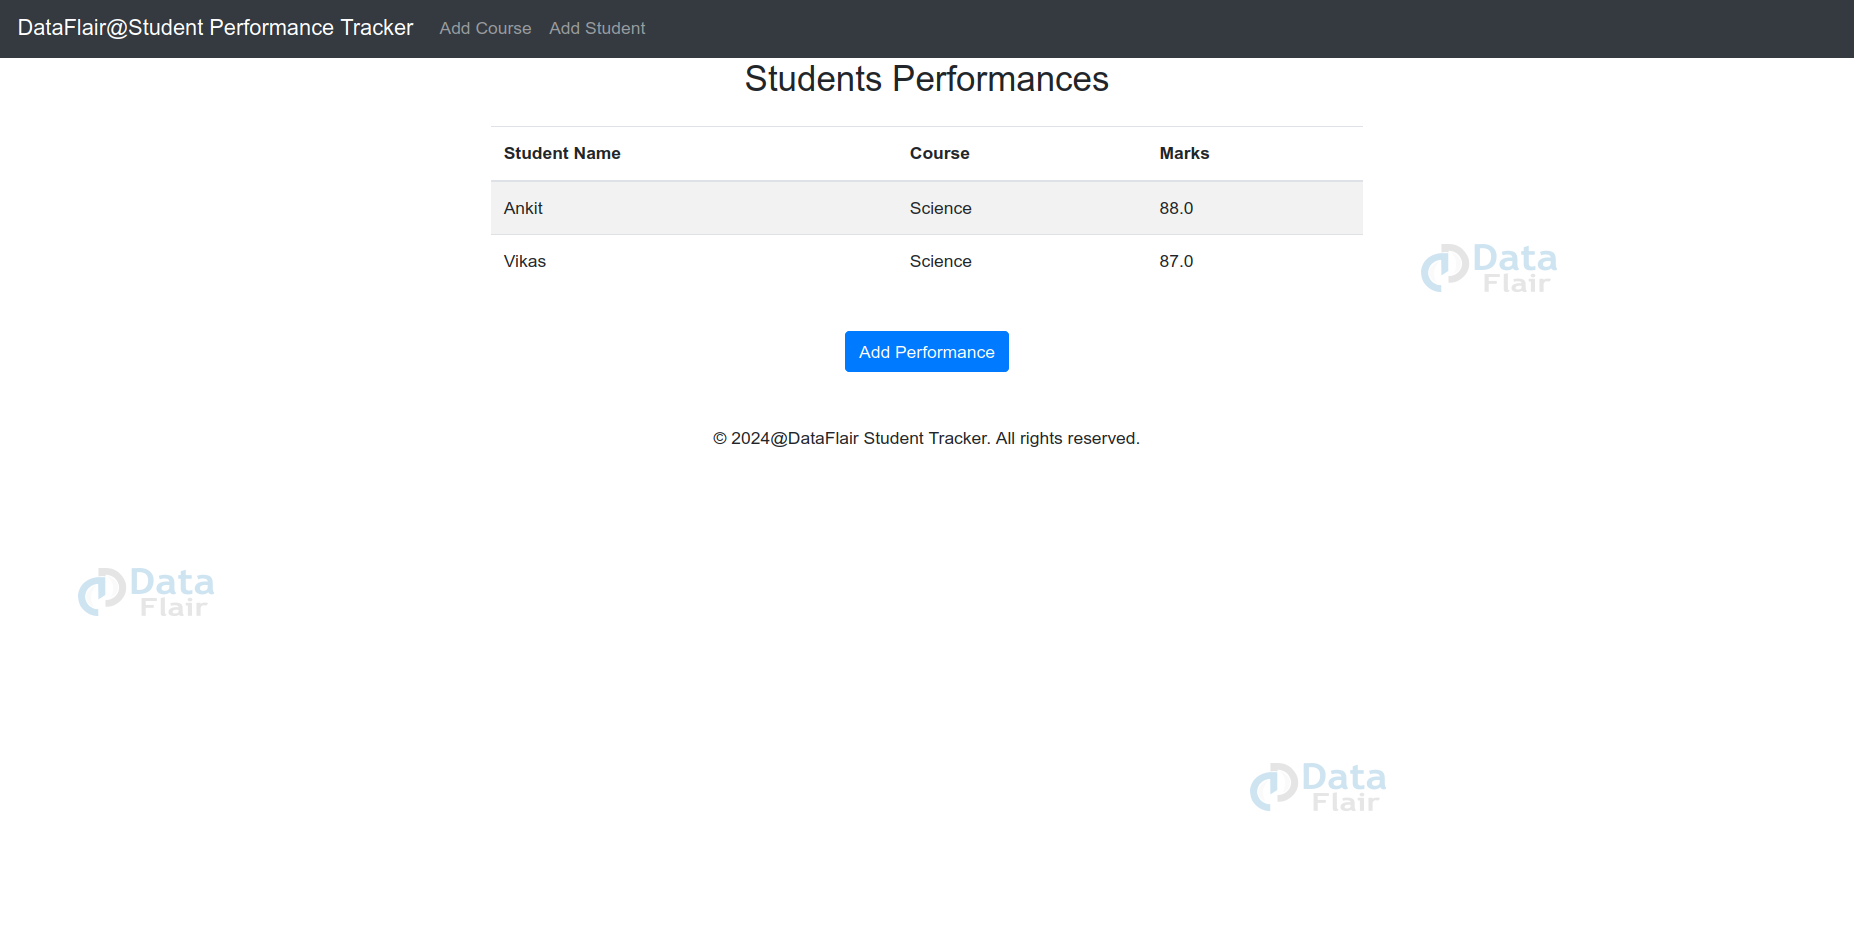
index.html:
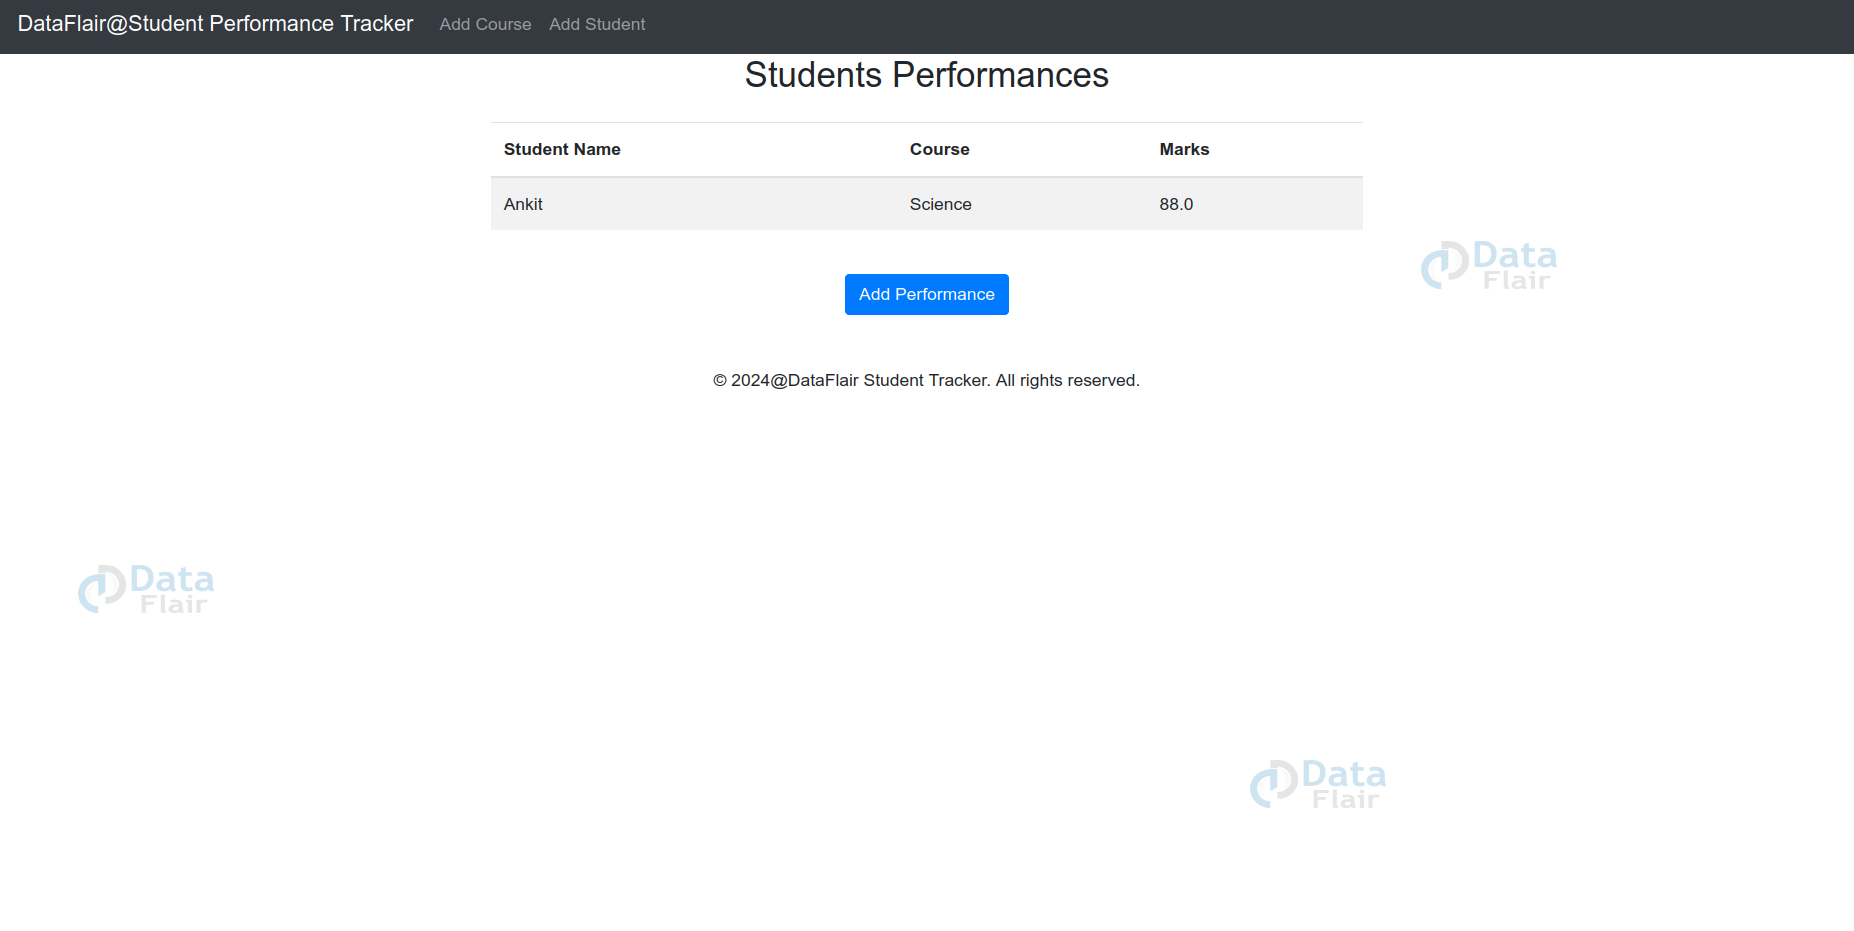
- The content block extends the base template and defines the content block to include the specific page content.
- The Table structure utilises Bootstrap classes to style a table, displaying student names, course names, and marks in a responsive table layout.
- The data is dynamically iterated over the performance queryset to populate table rows.
{% extends 'tracker/base.html' %}
{% block content %}
<h2 class="mb-4 text-center">Students Performances</h2>
<div class="table-responsive" style="width: 80%; max-width: 800px; margin: auto;">
   <table class="table table-striped">
       <thead>
           <tr>
               <th>Student Name</th>
               <th>Course</th>
               <th>Marks</th>
           </tr>
       </thead>
       <tbody>
           {% for performance in performances %}
           <tr>
               <td>{{ performance.student.name }}</td>
               <td>{{ performance.course.name }}</td>
               <td>{{ performance.marks }}</td>
           </tr>
           {% endfor %}
       </tbody>
   </table>
</div>
<div class="d-flex justify-content-center mt-4">
   <a href="{% url 'add_performance' %}" class="btn btn-primary mx-2">Add Performance</a>
</div>
{% endblock %}
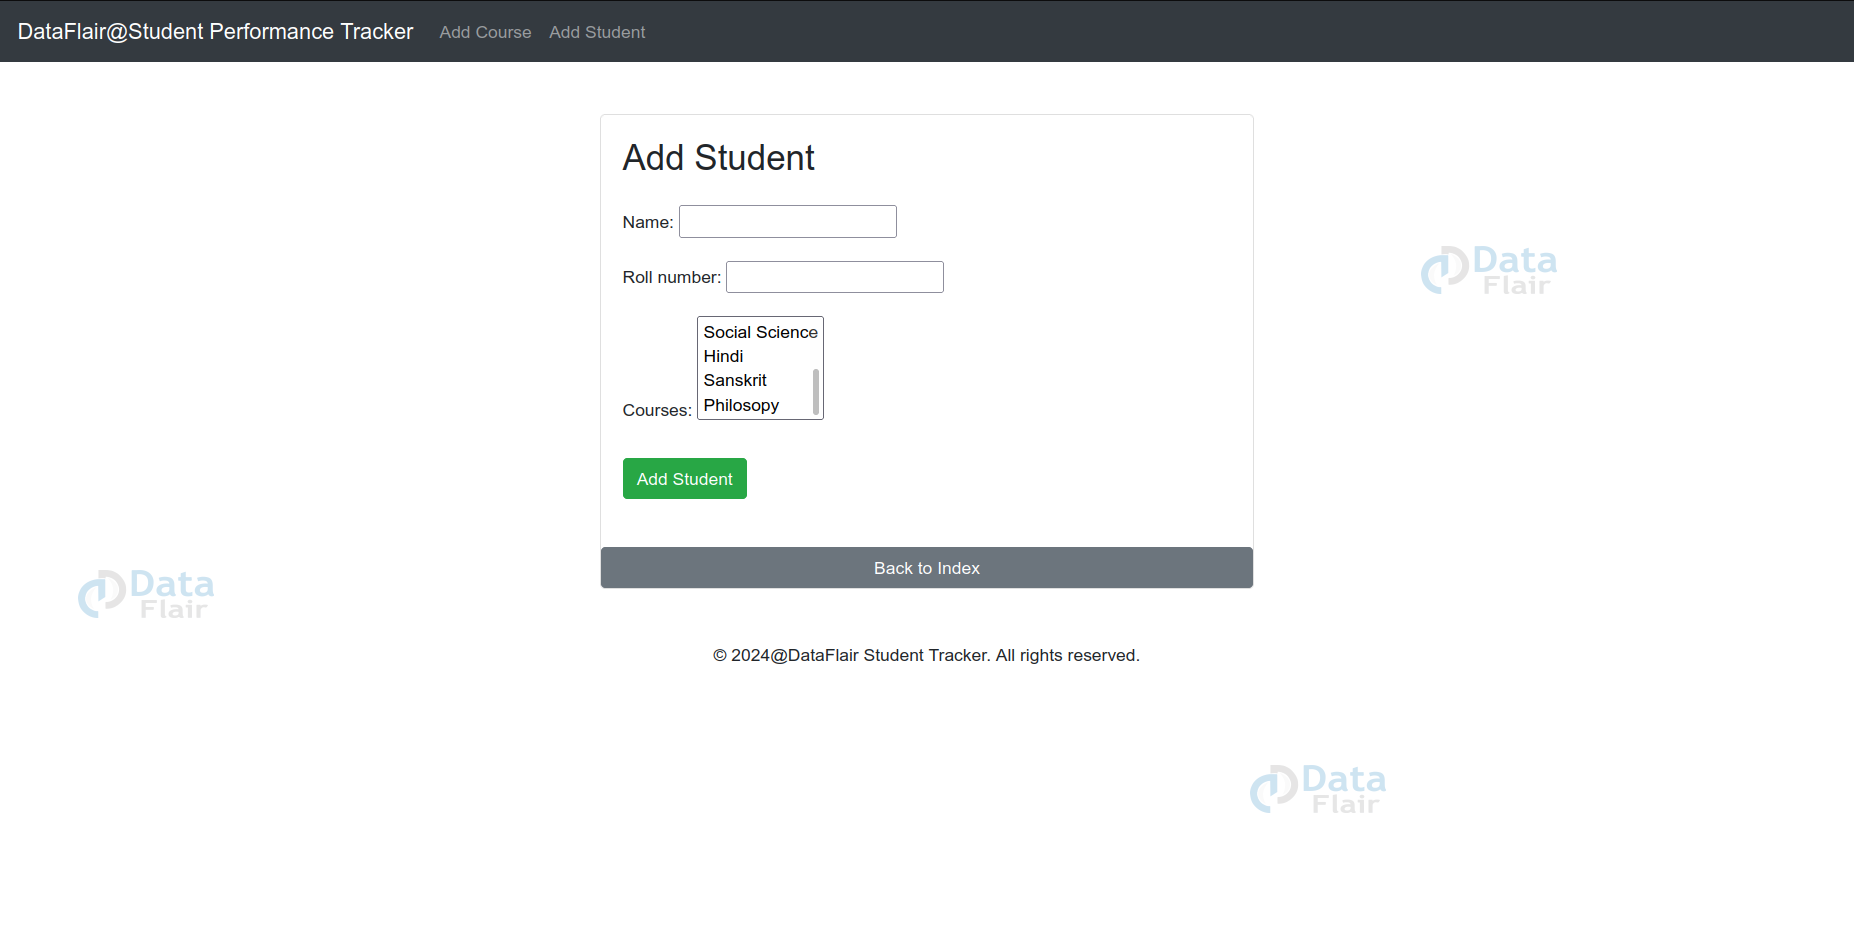
add_student.html:
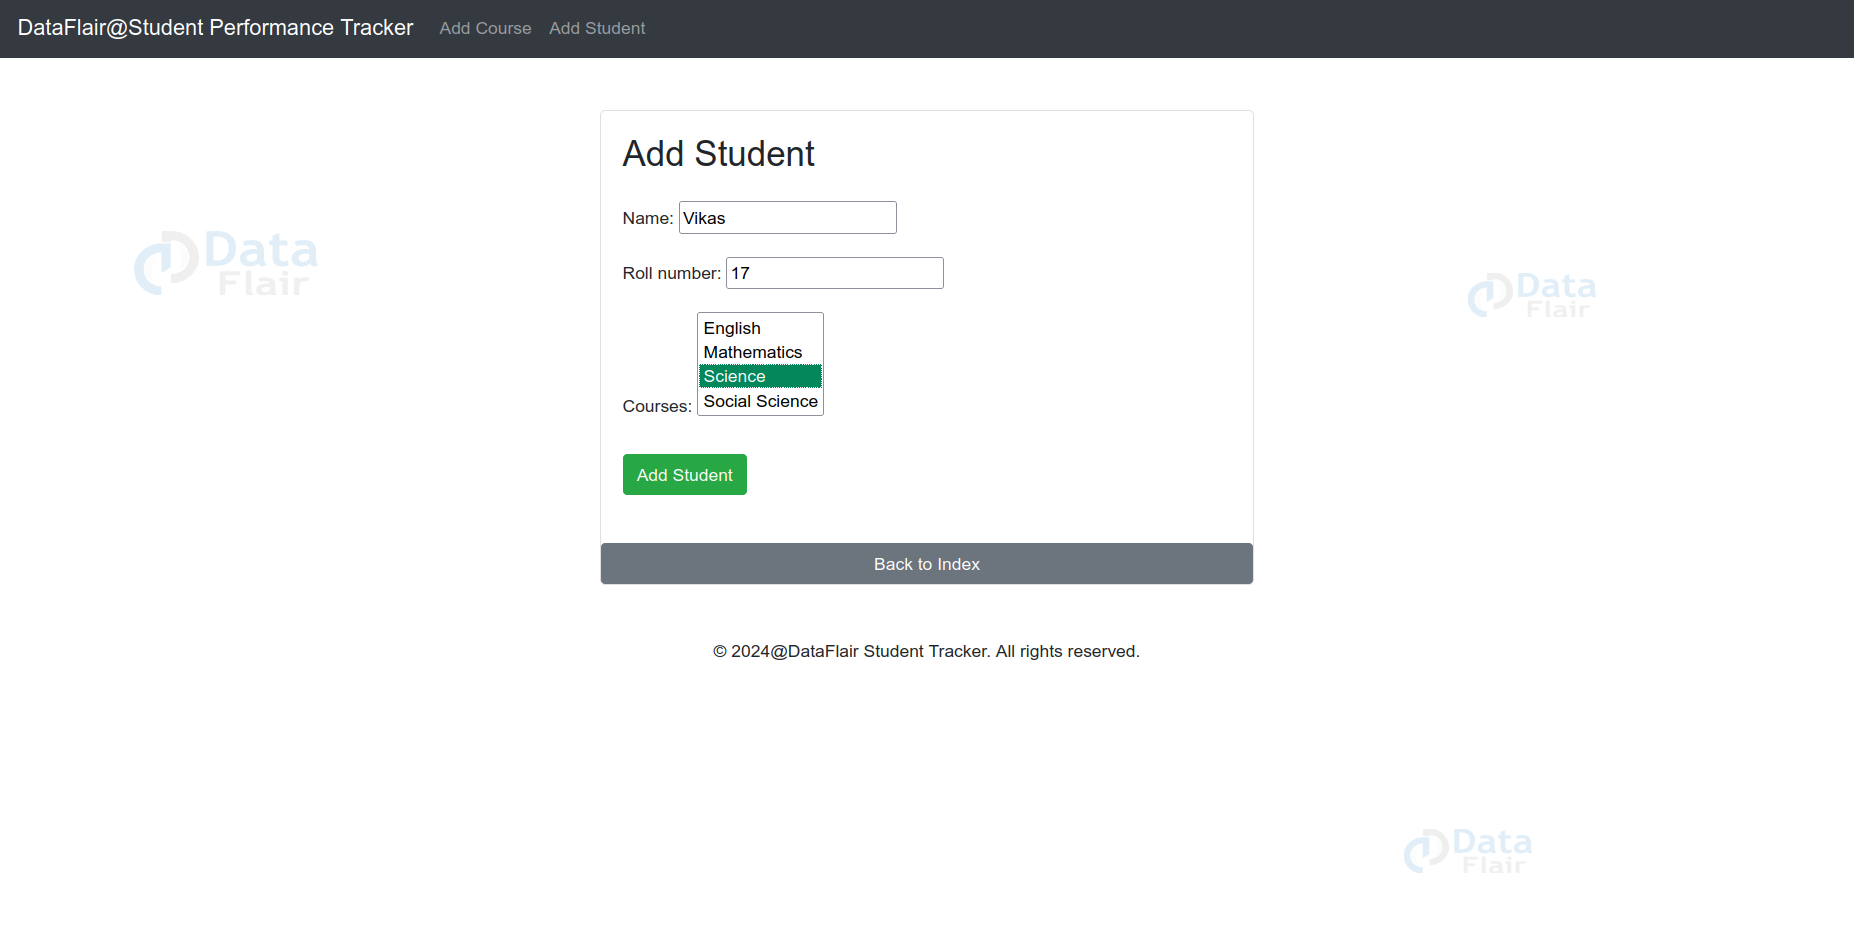
- The content block extends the base template and defines the content block to include the specific page content.
- Using Card layout a Bootstrap card of responsive width is created for form, providing a clean and centered presentation.
- Form Handling is performed using CSRF token protection and renders the form fields using {{ form. }}as_p }}, ensuring proper form submission handling.
{% extends 'tracker/base.html' %}
{% block content %}


<div class="d-flex justify-content-center mt-5">
   <div class="card" style="width: 50%; max-width: 600px;">
       <div class="card-body">
           <h2 class="card-title mb-4">Add Student</h2>
           <form method="post">
               {% csrf_token %}
               {{ form.as_p }}
               <button type="submit" class="btn btn-success mt-2">Add Student</button>
           </form>
       </div>
       <a href="{% url 'index' %}" class="btn btn-secondary mt-4">Back to Index</a>
   </div>
</div>
{% endblock %}
add_course.html:
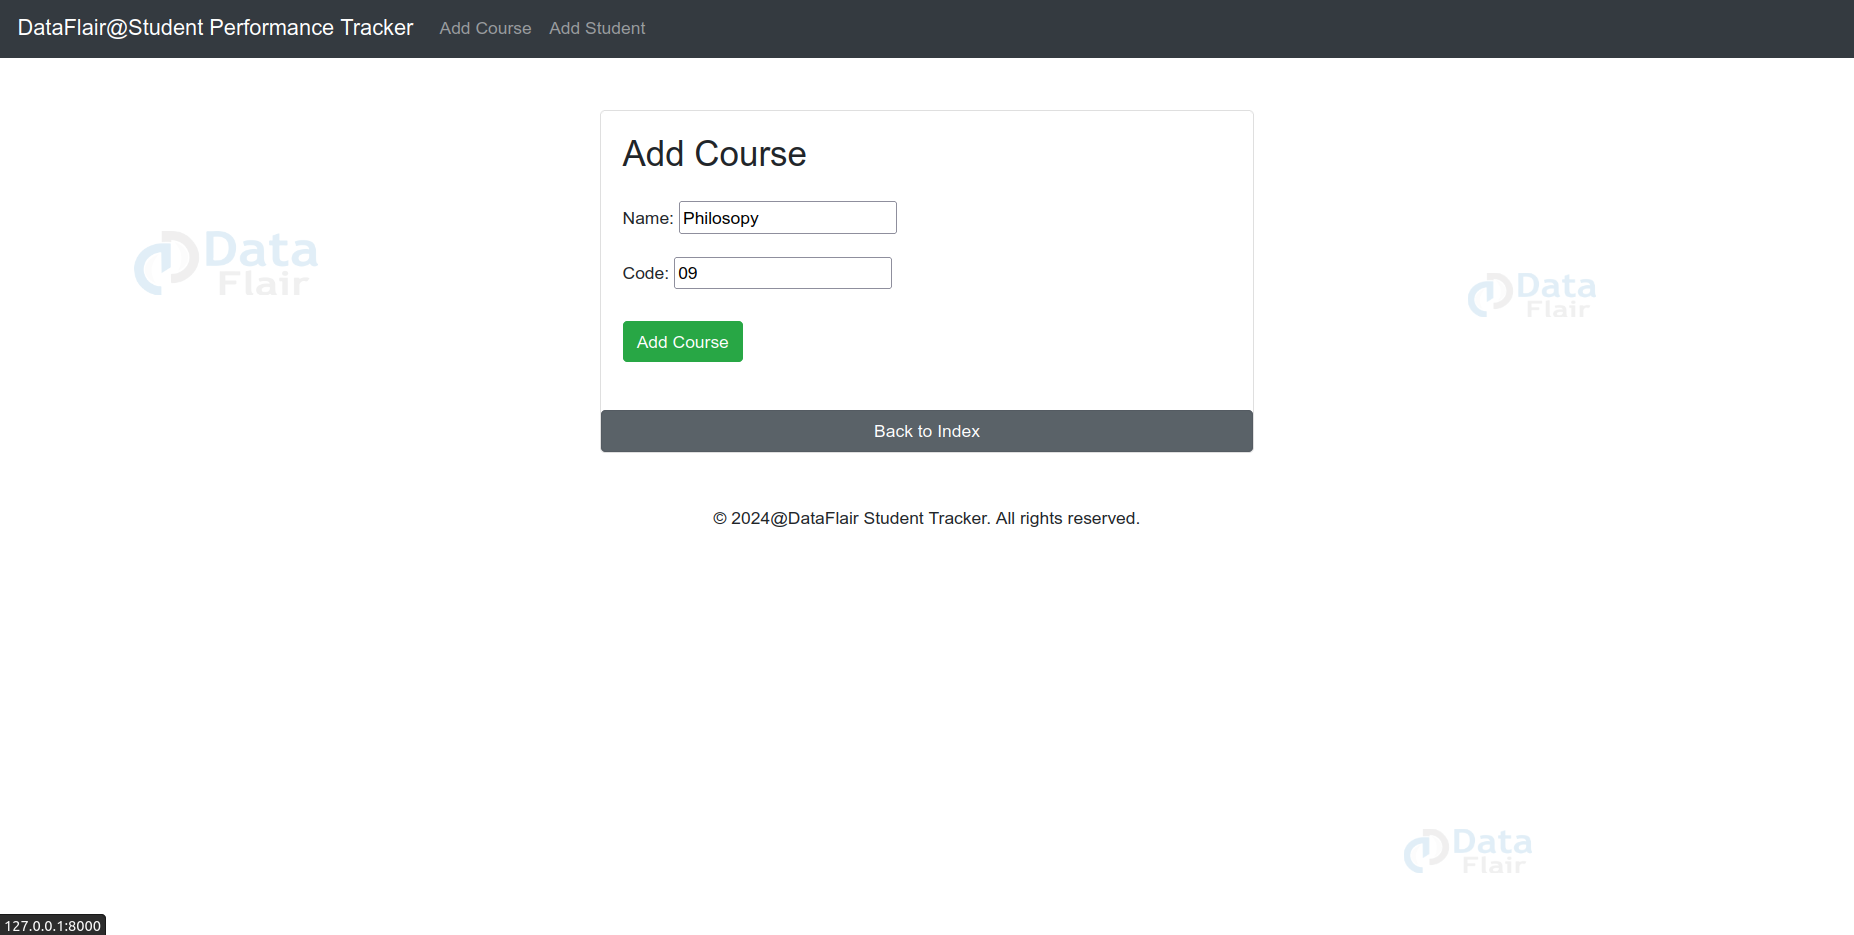
- The content block extends the base template and defines the content block to include the specific page content.
- Using Card layout a Bootstrap card of responsive width is created for form, providing a clean and centered presentation. Here width: 50%; max-width: 600px;
- It adds courses by loading the add_course model and its view.
- Also, a Back to Index button is provided with Bootstrap classes, linking to the index page.
{% extends 'tracker/base.html' %}


{% block content %}
<div class="d-flex justify-content-center mt-5">
   <div class="card" style="width: 50%; max-width: 600px;">
       <div class="card-body">
           <h2 class="card-title mb-4">Add Course</h2>
           <form method="post">
               {% csrf_token %}
               {{ form.as_p }}
               <button type="submit" class="btn btn-success mt-2">Add Course</button>
           </form>
       </div>
       <a href="{% url 'index' %}" class="btn btn-secondary mt-4">Back to Index</a>
   </div>
</div>
{% endblock %}
add_performance.html:
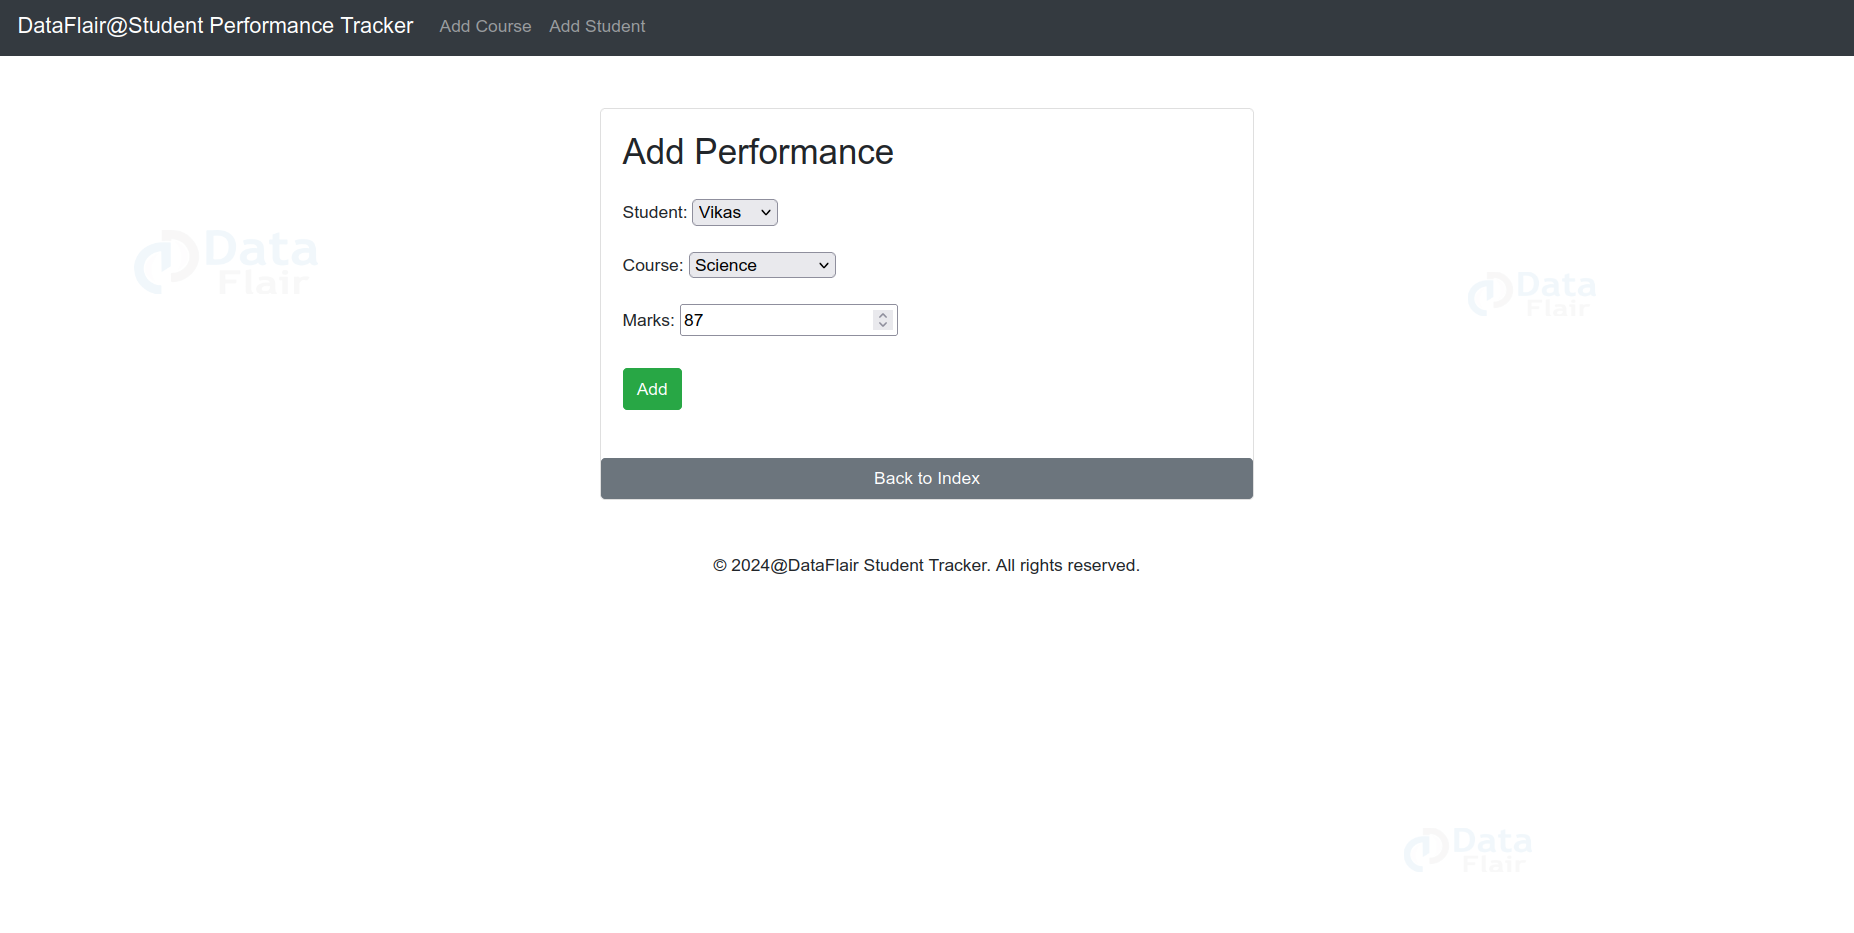
- The content block extends the base template and defines the content block to include the specific page content.
- Using Card layout a Bootstrap card of responsive width is created for form, providing a clean and centered presentation. Here width: 50%; max-width: 600px;
- It adds performance by loading the add_performance model and its view.
- Additionally, a “Back to Index” button is provided, utilising Bootstrap classes, which links to the index page.
{% extends 'tracker/base.html' %}


{% block content %}
<div class="d-flex justify-content-center mt-5">
   <div class="card" style="width: 50%; max-width: 600px;">
       <div class="card-body">
           <h2 class="card-title mb-4">Add Performance</h2>
           <form method="post">
               {% csrf_token %}
               {{ form.as_p }}
               <button type="submit" class="btn btn-success mt-2">Add</button>
           </form>
       </div>
       <a href="{% url 'index' %}" class="btn btn-secondary mt-4">Back to Index</a>
   </div>
</div>
{% endblock %}
Django Student Performance Tracking System Output
1. Application Interface
2. Add Course Form
3. Add Student Page
4. Add Performance Page
5. Course Added
6. Performance Added
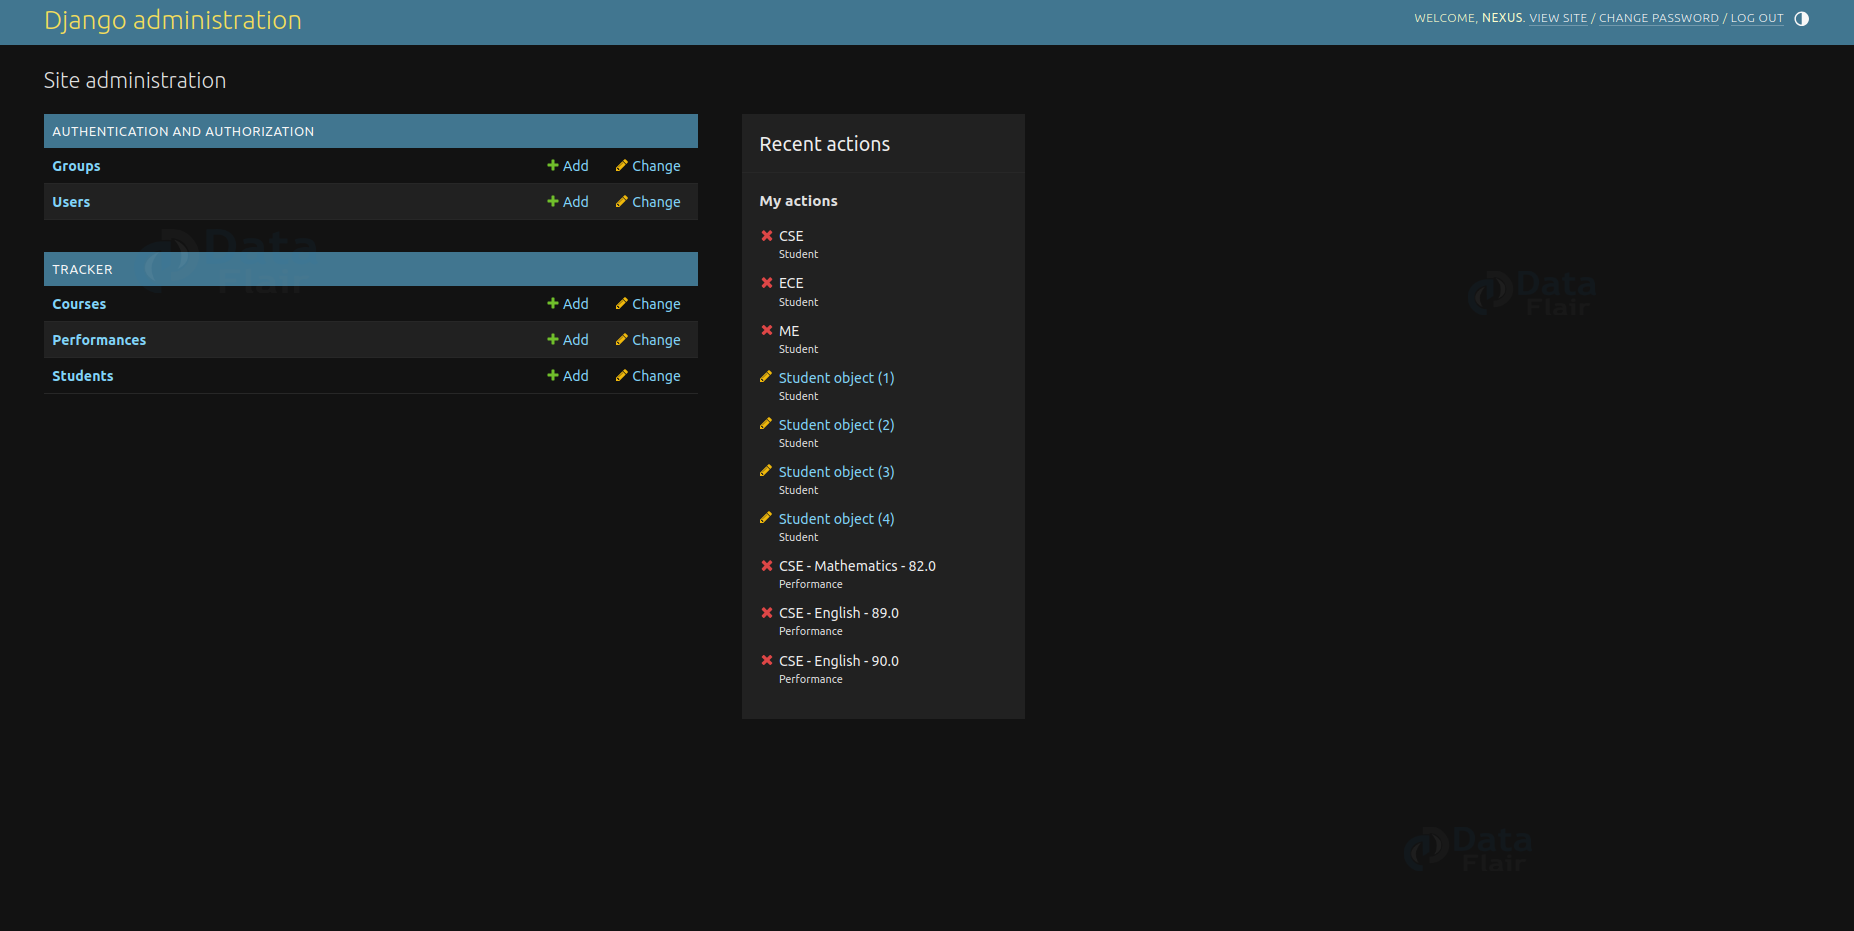
7. Administrative Page
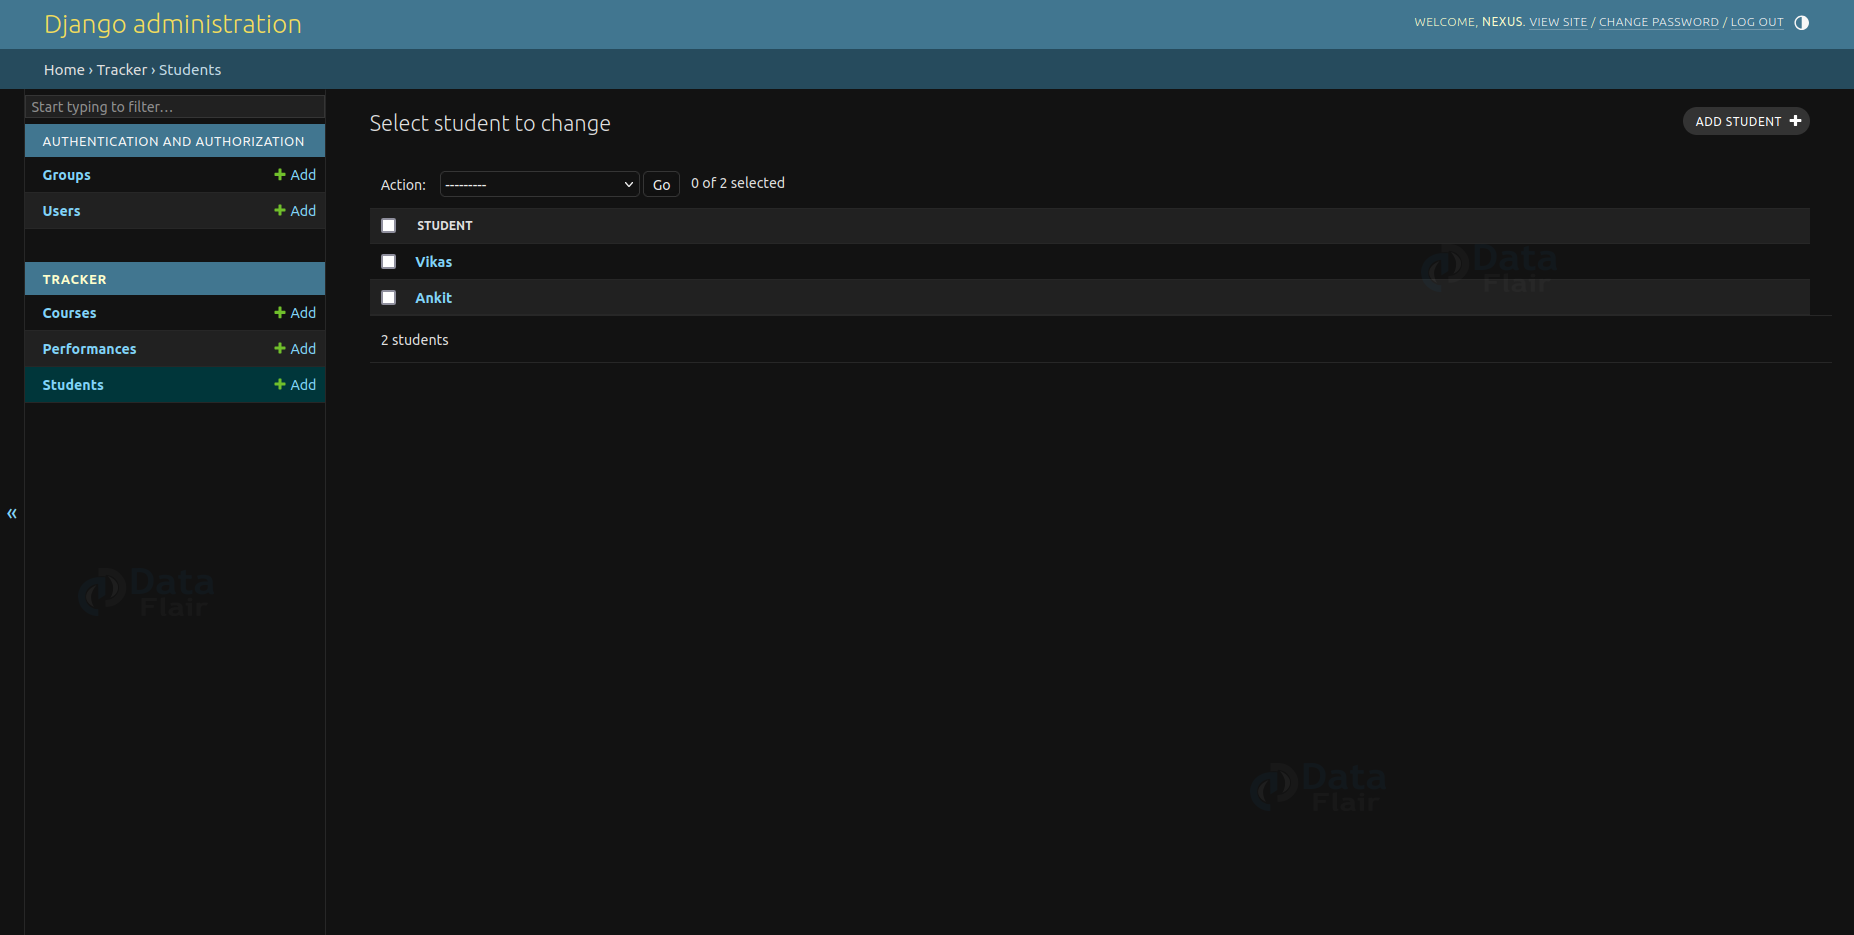
8. Student Management Page
9. Performance Management Page

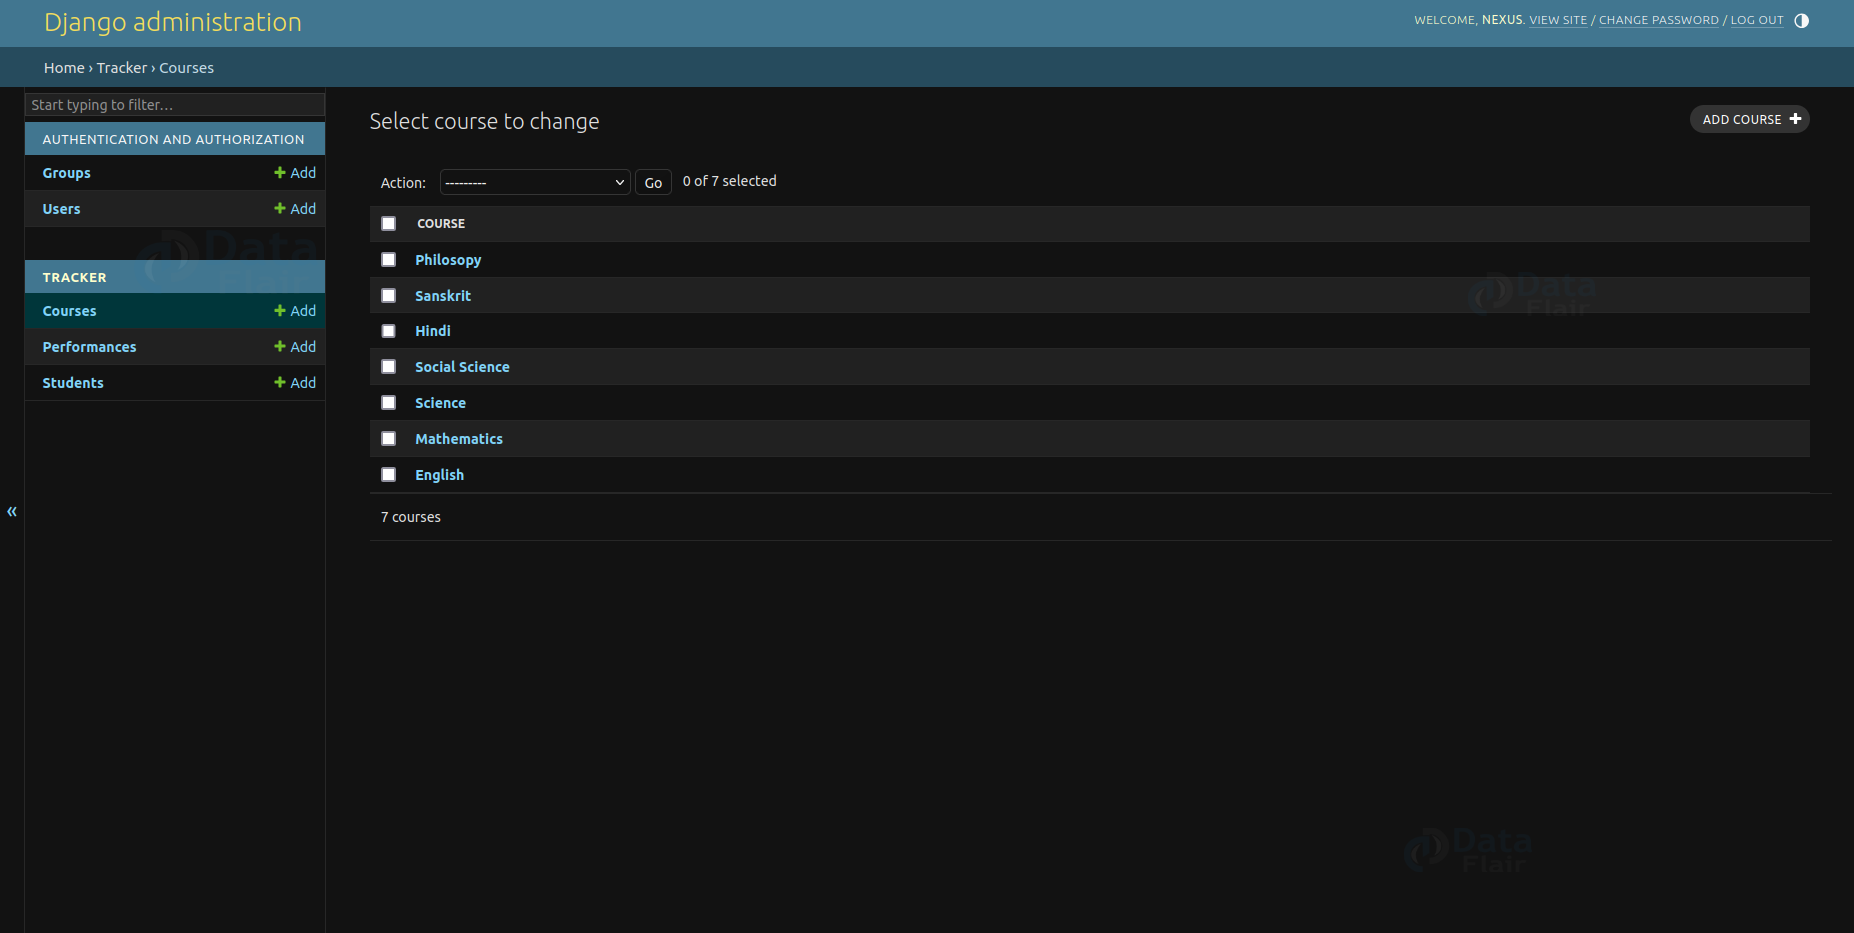
10. Course Management Page
Conclusion
The Student Performance Tracking System shows Django’s capability to build web applications for managing academic data. It provides features for tracking student performance and can be extended with additional functionalities such as user roles, advanced analytics, and report generation.