


Expert-led Courses: Transform Your Career – Enroll Now
Lets now move on to practically learning QlikView. Today, we will start our journey with QlikView Installation of software and proceed to learn how to navigate within the tool. Here, we will learn a step by step procedure from download QlikView to Install QlikView.
The version of QlikView we will be using is QlikView 12 on a windows platform. You can perform the same procedure on a Mac PC. Make sure you follow along with the steps explained in this QlikView Installation Tutorial.
QlikView Installation
Follow this steps to install QlikView In your Windows & Mac.
a. Download QlikView
You can download QlikView (free personal edition), by clicking on the link given below.
QlikView Personal Edition
Once the link opens, you will see a form, fill that form. In a few minutes, you will get an e-mail containing the download link.
After this, you need to make a QlikView account with a unique ID, password and login using them. A webpage will show up having the download option. As soon as you click on that the exe download will start.
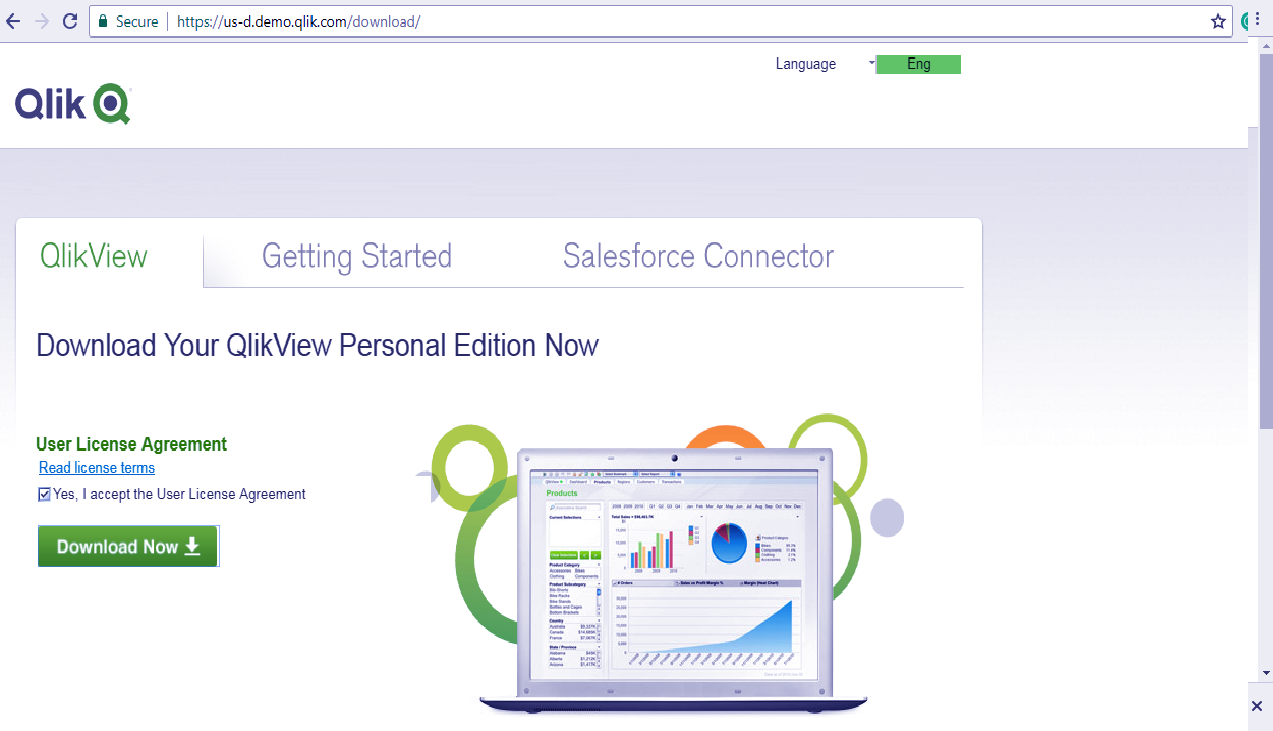
Step.1 Download QlikView
b. Start the Installation Wizard
Once the setup is completed, run the exe file. Select the language of choice.
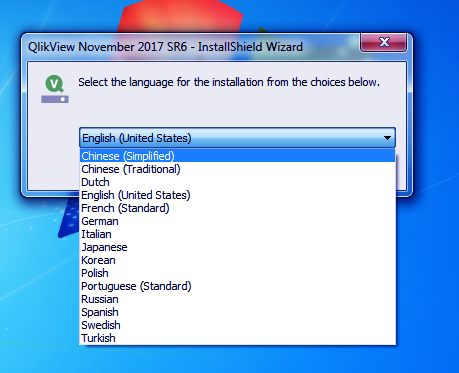
Step.2 Start the Installation Wizard
The Installation wizard will appear next.
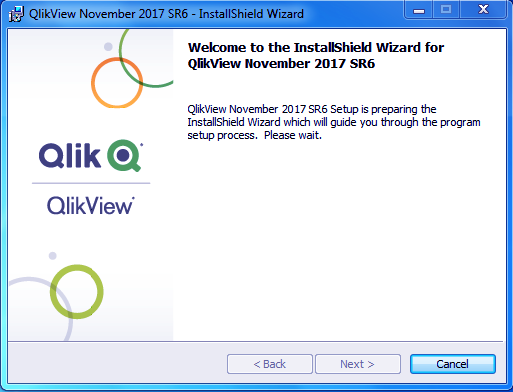
QlikView Installation – Start the Installation Wizard
Click on NEXT to continue.
c. License Agreement
Next will appear a window for the License Agreement. Select the “I accept the terms in the license agreement” and then click NEXT to continue the installation.
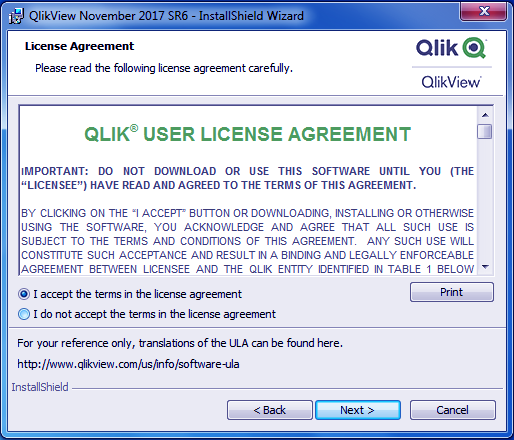
Step.3 License Agreement
d. Customer Information
The next pop-up window appearing will ask for the customer information. Fill in your details and click on NEXT.
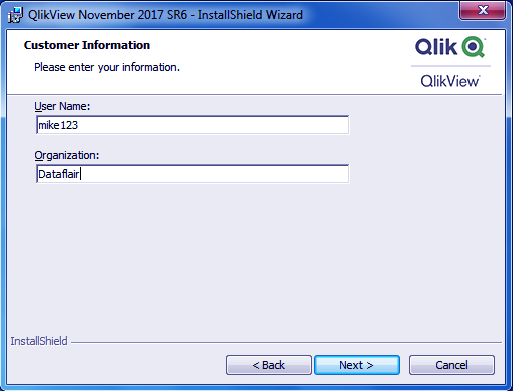
Step.4 Customer Information
e. Select Destination Folder
Next step is a selection of the destination folder. Which is selecting where in your computer would you want the entire software setup to be? The C disk is ideally the location for all the program files.
Again click on NEXT once you are done with selecting the folder.
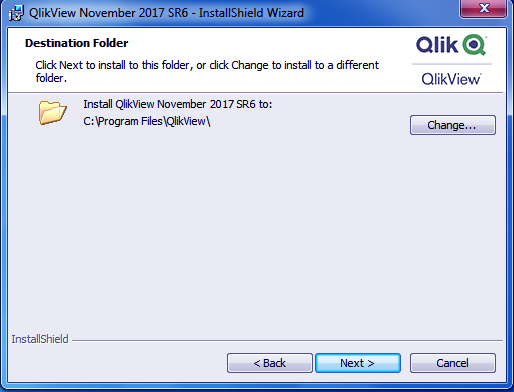
Step.5 Select Destination Folder
f. Choosing the Setup Type
Select the Setup Type as “Complete” and click on NEXT to continue.
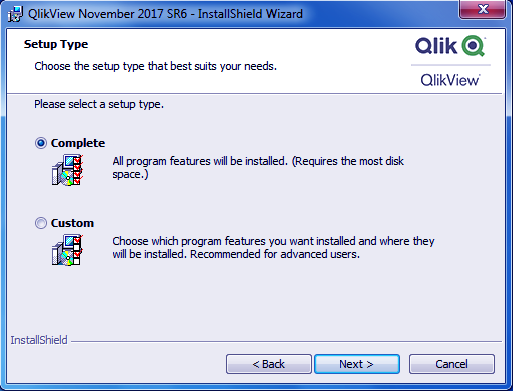
Step.6 Choosing the Setup Type
g. Begin QlikView Install
Click on “INSTALL” to proceed with the QlikView installation.
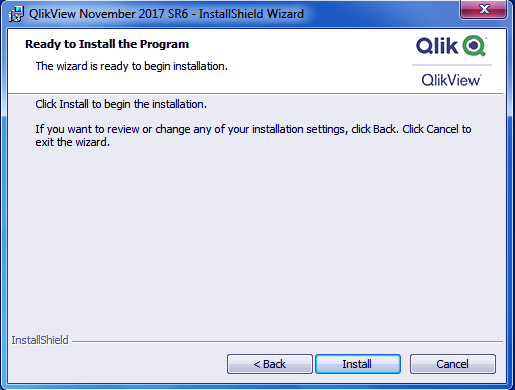
Setp.7 Begin QlikView Install
The status of QlikView installation will be indicated by a green bar. Wait till it completes. Then click NEXT.

QlikView Installation – Begin QlikView Install
h. QlikView Installation Complete
Click on FINISH to complete QlikView installation and start it.
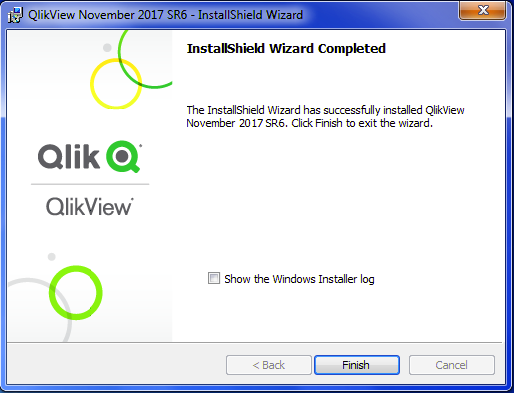
QlikView Installation Complete
How to Start QlikView?
Now that we are through with the QlikView installation process, we will quickly get started with QlikView.
- Create a new document.
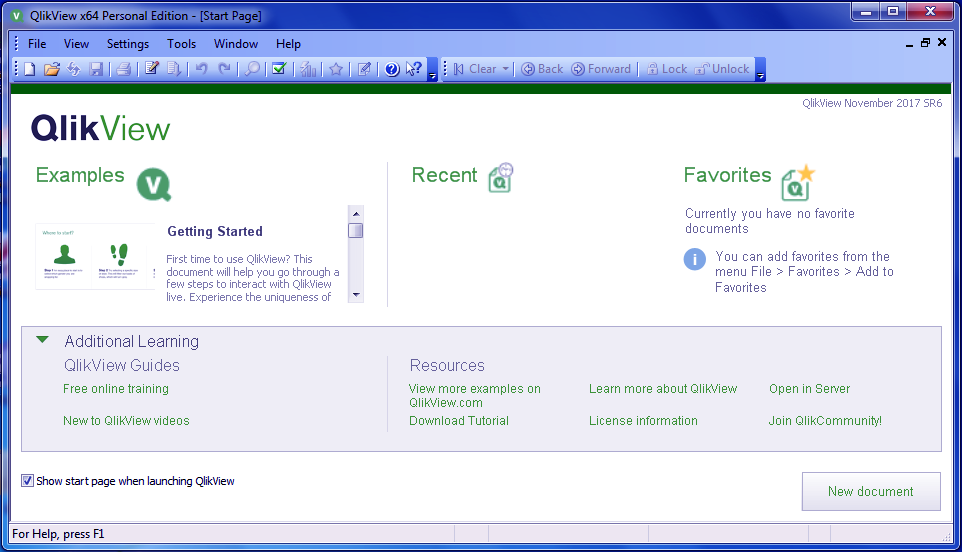
Step.1 To Start QlikView
- Select a data source. You can browse files from your system.
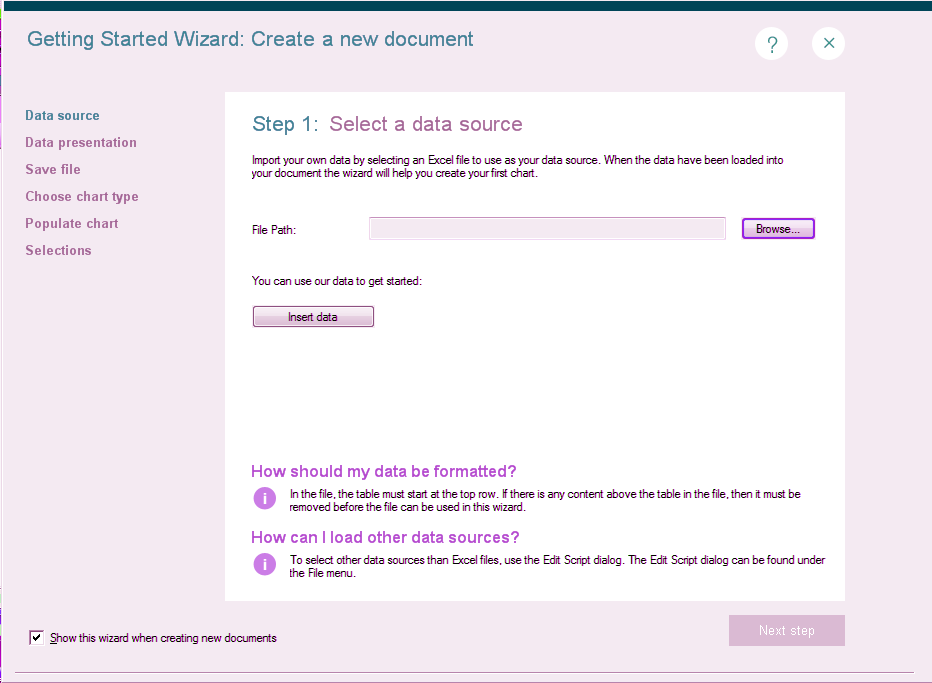
Step.2 To Start QlikView
- You can confirm the data presentation style of the data file you selected. Here, you are given two options. Either you can use column headers from the data file or can choose as you like.
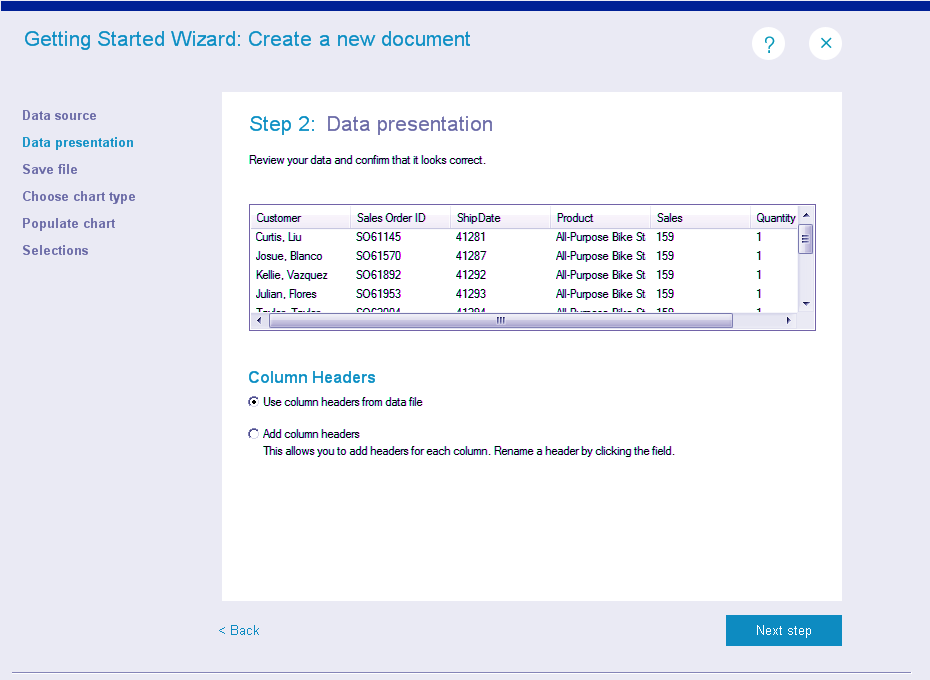
Step.3 To Start QlikView
- Next step is saving the document you created by a name.
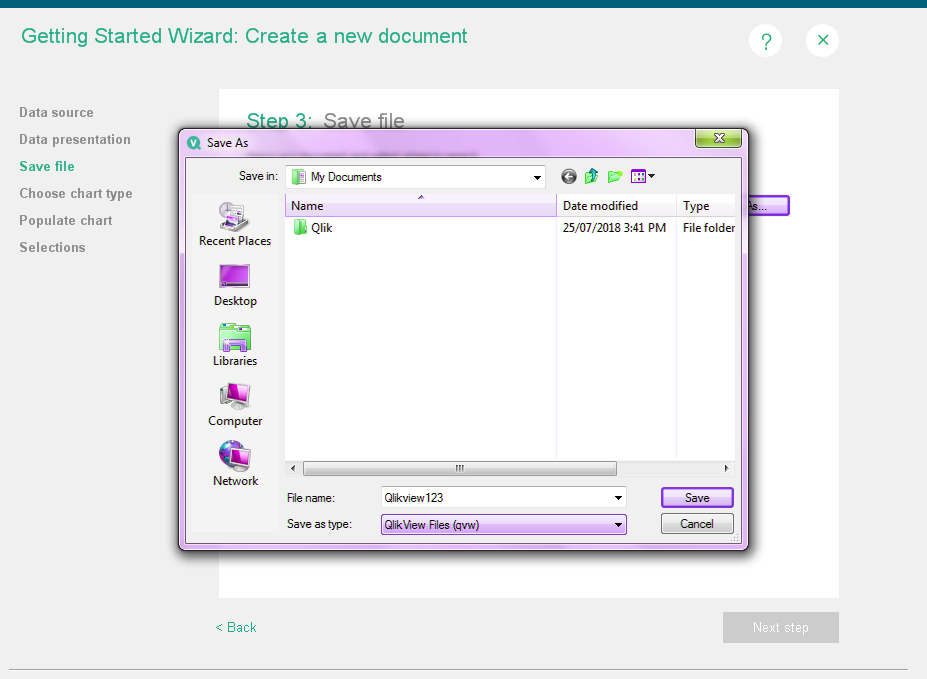
Step.4 To Start QlikView
- The fourth step allows you to choose the chart type you want your data to be shown in.
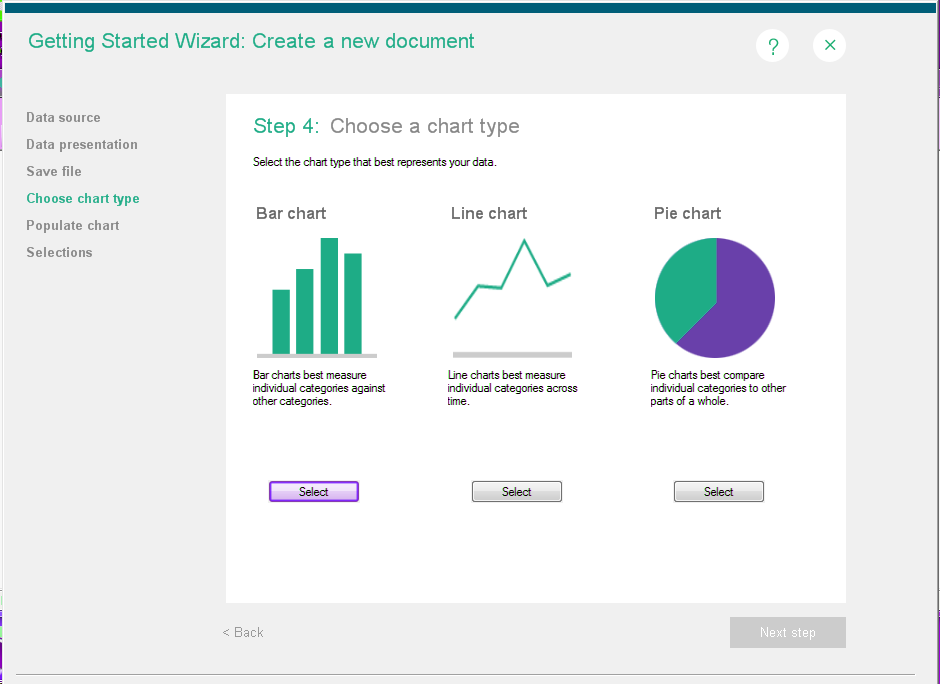
Step.5 To Start QlikView
- Next step allows you to populate the chart. You can select dimensions and expressions for your data to be displayed.
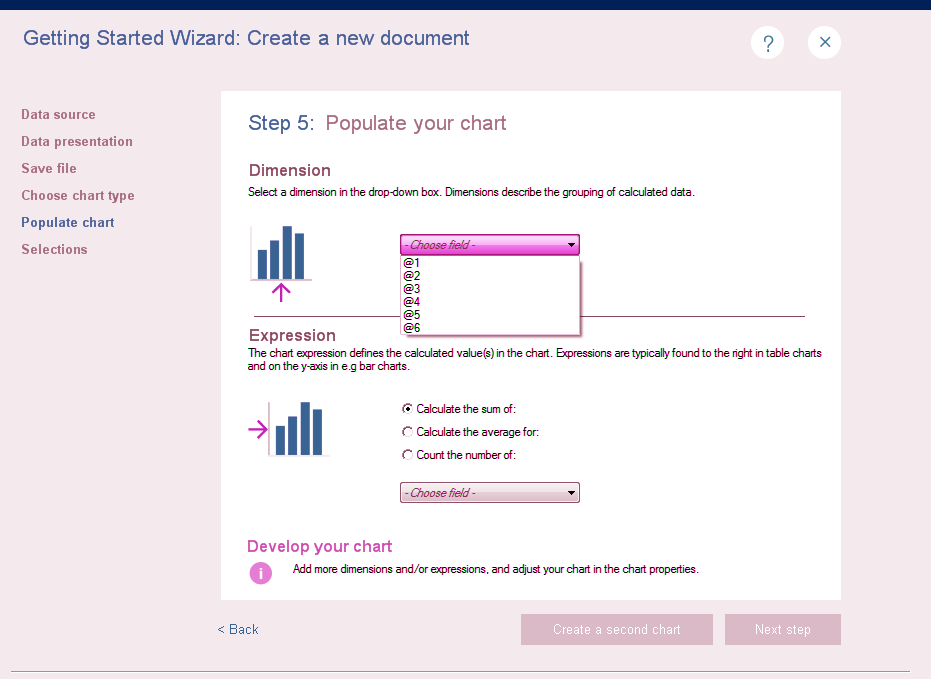
Step.6 To Start QlikView
- The final step is the selection, where you get to see the selected data in the chart type you chose.
So, this was all about QlikView Installation Tutorial. Hope you like our explanation.
Conclusion
Hence, we studied the complete process of installing QlikView software. In addition, we discussed how to download QlikView and how to start QlikView.