


Top AWS Course for AWS Certified Cloud Practitioner (CLF-C01) Start Now!!
Expert-led Online Courses: Elevate Your Skills, Get ready for Future - Enroll Now!
In Azure users have the ability to edit and enjoy Azure Portal according to their wishlist. So, in today’s article, we will teach you how to personalize your access in Azure. Let us begin.
How to Personalize Azure Theme
Follow the below steps to personalize the azure theme:
1: Navigate to the Azure Portal.
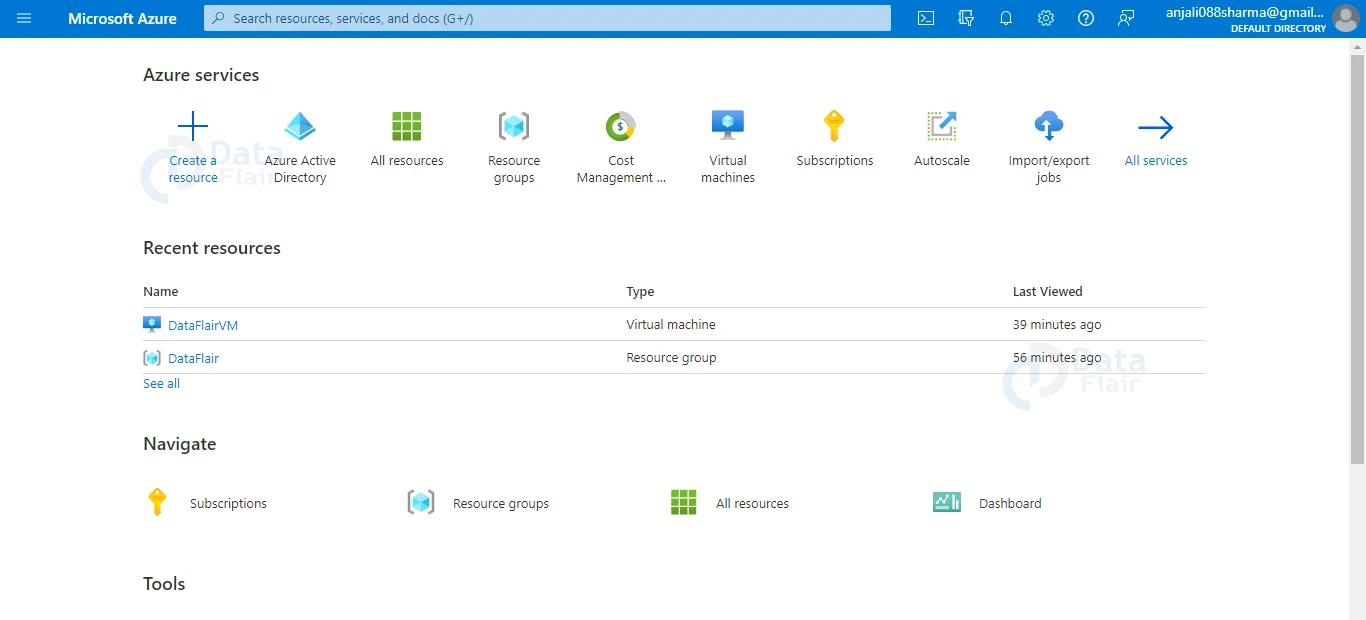
2: Click Portal Settings in the upper right corner.

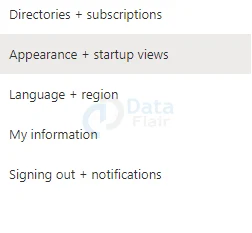
3: In the Portal Settings blade, click on the Appearance + Start-up Views. You’ll be able to see a preview of your chosen theme as soon as you alter it.
4: Choose the appropriate theme as per your liking.
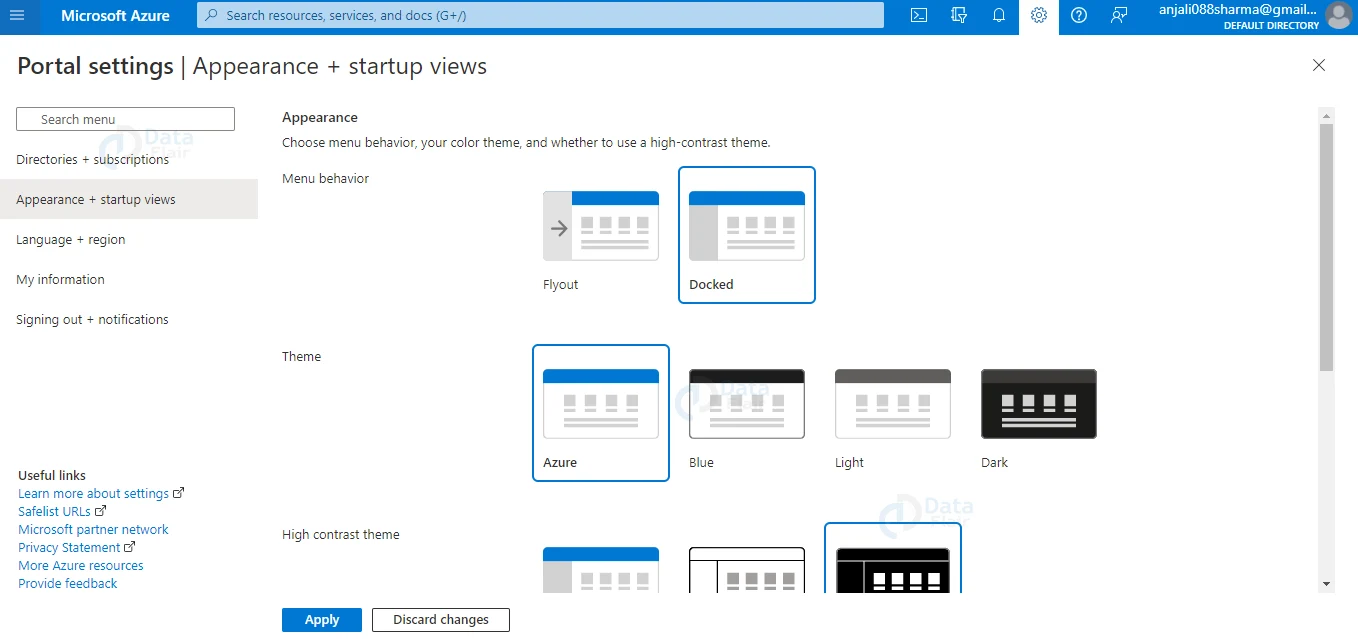
5: Finally, click the Apply button to make your selection permanent.
6: If you want to revert back the changes click on the “Discard” button.
How to Personalize Language and Region in Azure?
Follow the below steps to personalize language and region in azure:
1: Navigate to the Azure Portal.

2: Click Portal Settings in the upper right corner.

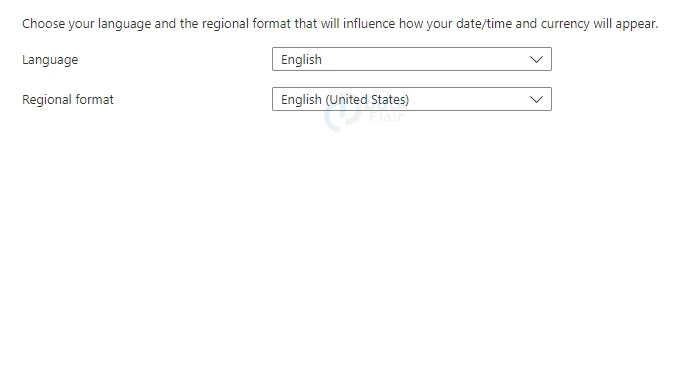
3: In the Portal Settings blade click on the Language + Regions. You’ll be able to see a preview of your chosen theme as soon as you alter it.

4: Choose your language and regional format, which will affect the appearance of your date/time and currency.
5: Finally, click the Apply button to make your selection permanent.
6: If you want to revert back the changes click on the “Discard” button.

How to Personalize My Information in Azure?
Below are the steps to personalize signing out and notifications in Azure:
1: Navigate to the Azure Portal.
2: Click Portal Settings in the upper right corner.
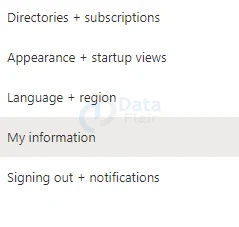
3: In the Portal Settings blade click on the My Information. You’ll be able to see a preview of your chosen theme as soon as you alter it.
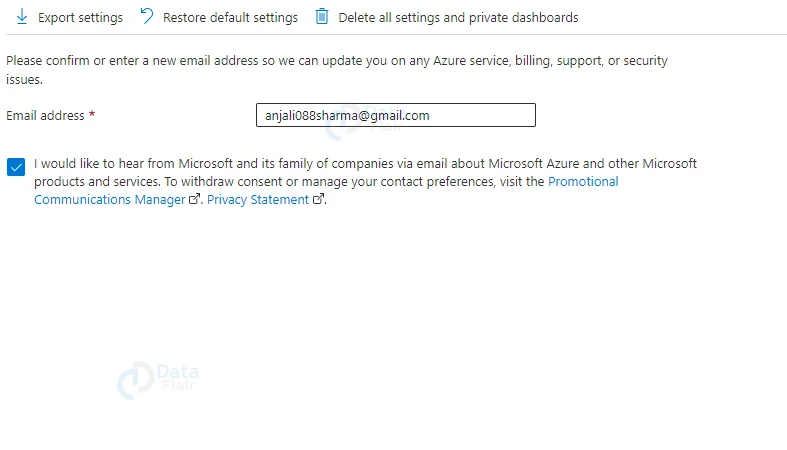
4: One can now confirm or enter a new email address so that Azure can keep them up to date on any Azure service, billing, support, or security issues.
5: Finally, click the Apply button to make your selection permanent.
6: If you want to revert back the changes click on the “Discard” button.
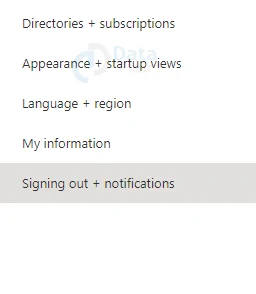
How to Personalize Sign Out + Notifications in Azure
Follow the below steps to personalize sign out and notifications in Azure:
1: Navigate to the Azure Portal.
2: Click Portal Settings in the upper right corner.
3: In the Portal Settings blade click on the Sign out + Notifications. You’ll be able to see a preview of your chosen theme as soon as you alter it.
4: Here, one can edit their signing notification and enable pop-up notifications as per their requirements.
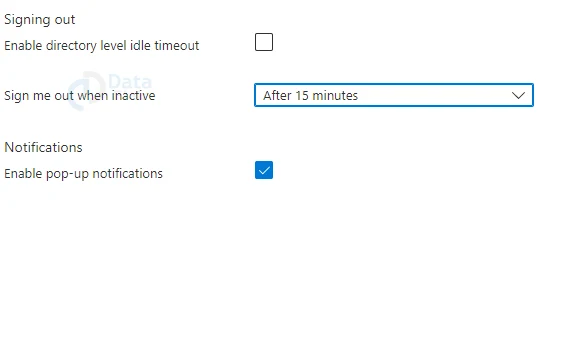
5: Finally, click the Apply button to make your selection permanent.
6: If you want to revert back the changes click on the “Discard” button.
How to Personalize Account Picture or Logo in Azure
Follow below steps to personalize account picture or logo in azure:
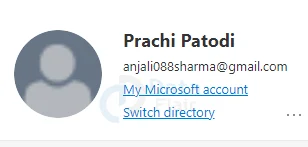
1: Click on the logo on the top right corner of the Azure Portal.
![]()
2: Click on the logo where it will ask you to add or change the picture.
3: Now, you will be redirected towards the new page where you can click on the Add a Photo button and upload a picture.
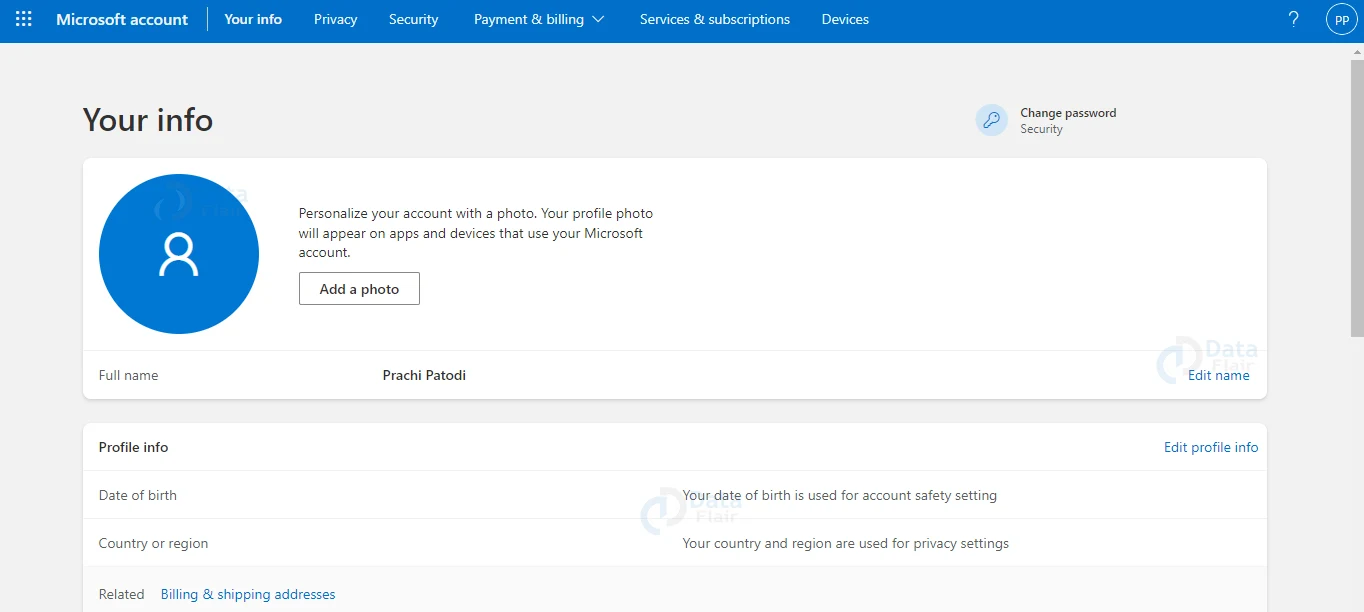
Also, you can scroll down below and edit your personal information.
Conclusion
Thus, we are at the last phase of the article on how to personalize access in azure. And, in today’s article, we learn practically about how one can customize or personalize their Azure portal. We hope you like this short article and will look forward to further series.