


Machine Learning courses with 110+ Real-time projects Start Now!!
An image reverse search engine is a plagiarism detection tool that enables searching the internet using an image instead of text. By uploading or providing an image’s URL, you can find similar images, discover the original source, and gather more information.
These engines use advanced algorithms to analyze visual features and compare the uploaded image with a vast database of indexed images. They are useful for identifying landmarks, verifying image authenticity, finding design inspiration, and combating misinformation. Image reverse search engines help us explore, discover, and make sense of the visual world online.
Dataset
The animal face dataset is a curated collection of images specifically focused on the faces of cats, dogs, and various wild animals. It serves as a valuable resource for training and developing computer vision algorithms that can recognize and classify animal faces accurately. The dataset includes a diverse range of images capturing different breeds and species, showcasing the distinct facial features, expressions, and characteristics of each animal.
Techniques
Image reverse search engines use advanced techniques, such as computer vision algorithms and deep learning, to efficiently find similar images. They analyze visual features, compare them to a database, and employ efficient indexing for faster searches. Meta-data analysis adds contextual information. These engines assist in tasks like source verification and content discovery.
What is NearestNeighbors?
NearestNeighbors is an algorithm that helps find the closest neighbors to a given data point. It is used in various applications like recommendation systems, image processing, and anomaly detection. It efficiently calculates distances and retrieves the nearest neighbors based on a chosen metric. NearestNeighbors is a versatile and powerful tool for finding similar or relevant items in a dataset.
Ball Tree Algorithm
The ball tree algorithm used in the NearestNeighbors class is an efficient way to find nearest neighbors. It organizes data into nested hyperspheres (balls) in a tree structure. This allows for quick searches by recursively traversing the tree. The algorithm is particularly good at handling high-dimensional data and is robust to noise. It is widely used in applications like image recognition and recommendation systems.
Prerequisites for Image Reverse Search Engine using OpenCV
A strong grasp of both the Python programming language and the OpenCV library is essential. Apart from this, you should have the following system requirements.
1. Python 3.7 and above
2. Google Colab
Download OpenCV Image Reverse Search Engine Project
Please download the source code of OpenCV Image Reverse Search Engine Project: OpenCV Image Reverse Search Engine Project Code.
Why Google Colab?
Google Colab is a user-friendly online Python coding platform. It provides access to high-performance cloud-based computers equipped with ample memory and fast processors. This enables seamless handling of large datasets and efficient training of machine learning models. With no need for local installations, Colab simplifies collaboration by allowing easy sharing of work. It comes pre-loaded with popular libraries used in machine learning, enabling users to get started quickly. For optimal performance, it is advisable to use Google Colab if your computer has a dedicated graphics card with 4-8 GB memory.
Let’s Implement It
First of all, change the Google colab runtime to GPU from the Runtime option available in the menu section.
1. These lines of code set the environment variables ‘KAGGLE_USERNAME’ and ‘KAGGLE_KEY’ to your Kaggle account’s username and API key, respectively.
import os
os.environ['KAGGLE_USERNAME'] = "yogeshkhandare56"
os.environ['KAGGLE_KEY'] = "7788f9b761a1a8f81219c7927e26a42c"
2. This is the API command of the dataset required to download the dataset. It is in zip format.
!kaggle datasets download -d andrewmvd/animal-faces
3. This line of code unzips the data.
!unzip animal-faces.zip
4. Importing all the necessary libraries that are required during implementation.
from numpy.linalg import norm
from tqdm import tqdm
from sklearn.neighbors import NearestNeighbors
import matplotlib.pyplot as plt
import matplotlib.image as mpimg
from sklearn.decomposition import PCA
import os
import PIL
import os
import numpy as np
import time
import tensorflow as tf
from tensorflow.keras.preprocessing import image
from tensorflow.keras.preprocessing.image import ImageDataGenerator
from tensorflow.keras.applications.resnet50 import ResNet50, preprocess_input
import math
5. It sets the image size variable to 440 pixels. It then creates a ResNet50 model using pre-trained weights from the ImageNet dataset. The model is configured to exclude the final classification layer. It expects input images of size 440×440 pixels with 3 color channels. The model uses maximum pooling for feature extraction.
img_size =440

model = ResNet50(weights='imagenet', include_top=False,input_shape=(img_size, img_size, 3),pooling='max')
6. It sets the batch size variable to 64.
batch_size = 64
7. It specifies the dataset path variable as ‘/content/afhq/train’.
DataSet = '/content/afhq/train'
8. The code sets up an image data generator and a data generator for a dataset. The generators preprocess the images and provide them in batches without class labels and without shuffling.
Image_gen = ImageDataGenerator(preprocessing_function=preprocess_input)

Datagen = Image_gen.flow_from_directory(DataSet,
                                        target_size=(img_size, img_size),
                                        batch_size=batch_size,
                                        class_mode=None,
                                        shuffle=False)
9. The code determines the total number of images in the dataset and stores it in ‘total_img’. It then calculates the number of epochs needed to train on the dataset and saves it in ‘total_epochs’.
total_img = len(Datagen.filenames)
total_epochs = int(math.ceil(total_img / batch_size))
10. The code generates predictions using the trained model on the dataset and stores them in feature_list.
feature_list = model.predict_generator(Datagen, total_epochs,verbose = 1)
Output of this step

11. The code prints the total number of images in the dataset and the shape of the feature list.
print("Total Images is ", len(Datagen.classes))
print("Shape of feature_list is ", feature_list.shape)
Output of this step

12. The code creates a list of file paths by combining the dataset directory and each filename in the dataset.
filenames = [DataSet + '/' + s for s in Datagen.filenames]
13. This code finds the closest neighbors based on features in a given list. It uses the “ball tree” algorithm for efficiency.
neighbors = NearestNeighbors(n_neighbors=5,
                             algorithm='ball_tree',
                             metric='euclidean')
neighbors.fit(feature_list)
Output of this step

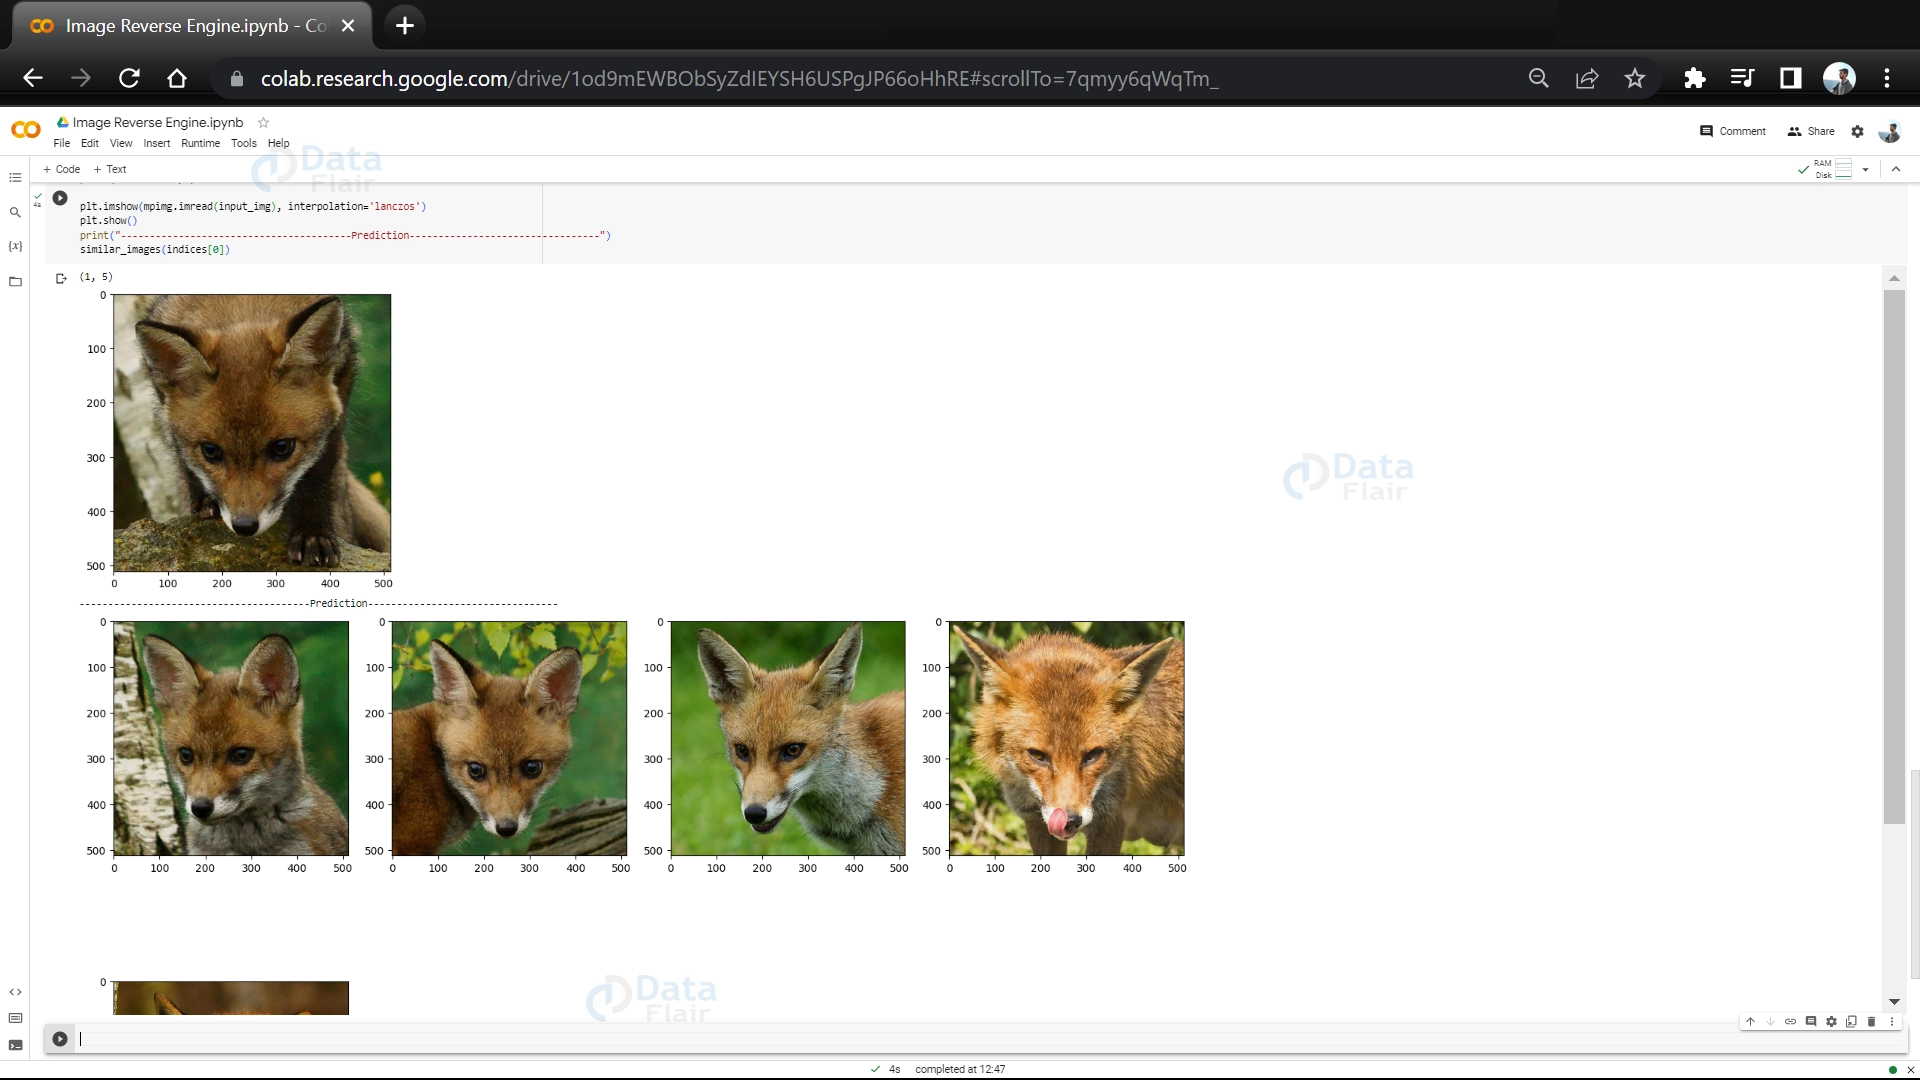
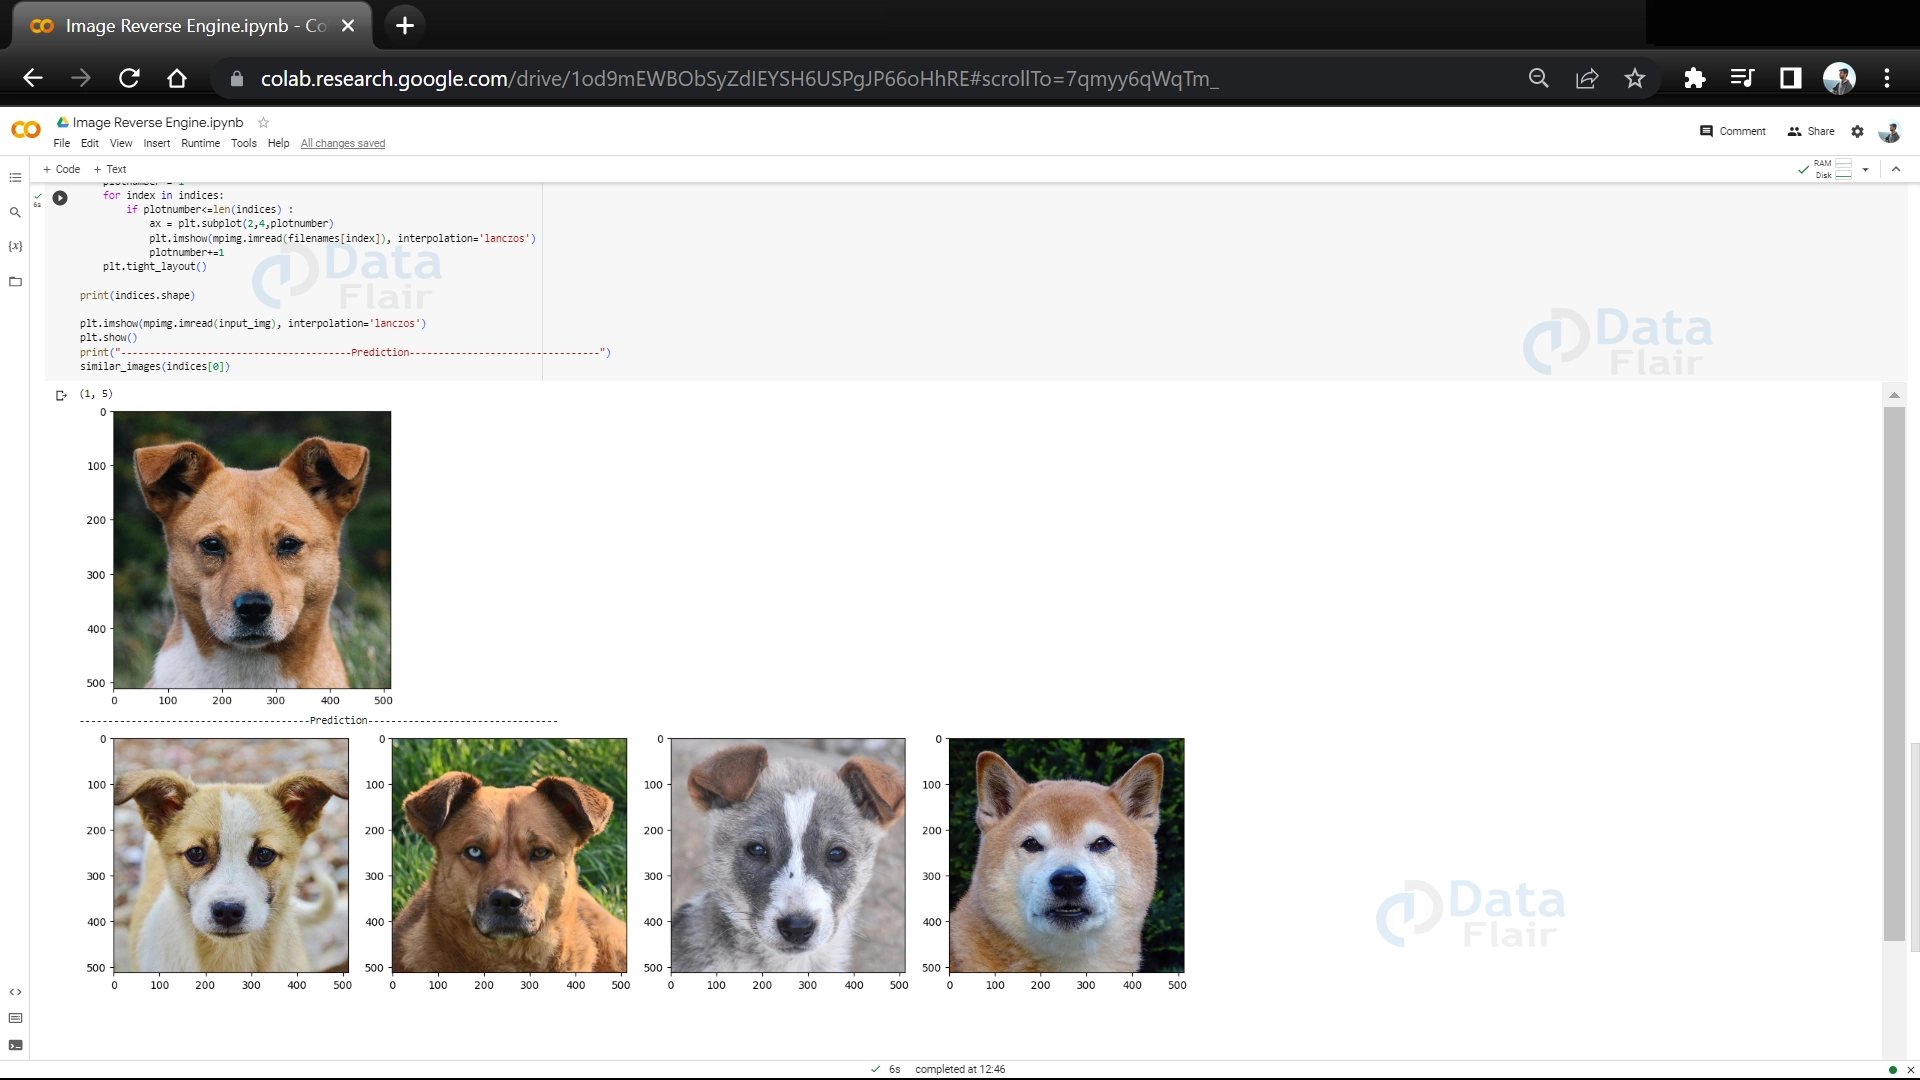
14. It defines a function called similar_images that takes in a variable called indices. It then proceeds to plot a grid of images based on the values in the indices variable. The images are loaded from specific filenames using mpimg.imread(), and the plot is organized in a 2×4 grid using subplots. Finally, the shape of the indices variable is printed.
def similar_images(indices):
    plt.figure(figsize=(15,10), facecolor='white')
    plotnumber = 1
    for index in indices:
        if plotnumber<=len(indices) :
            ax = plt.subplot(2,4,plotnumber)
            plt.imshow(mpimg.imread(filenames[index]), interpolation='lanczos')
            plotnumber+=1
    plt.tight_layout()

print(indices.shape)
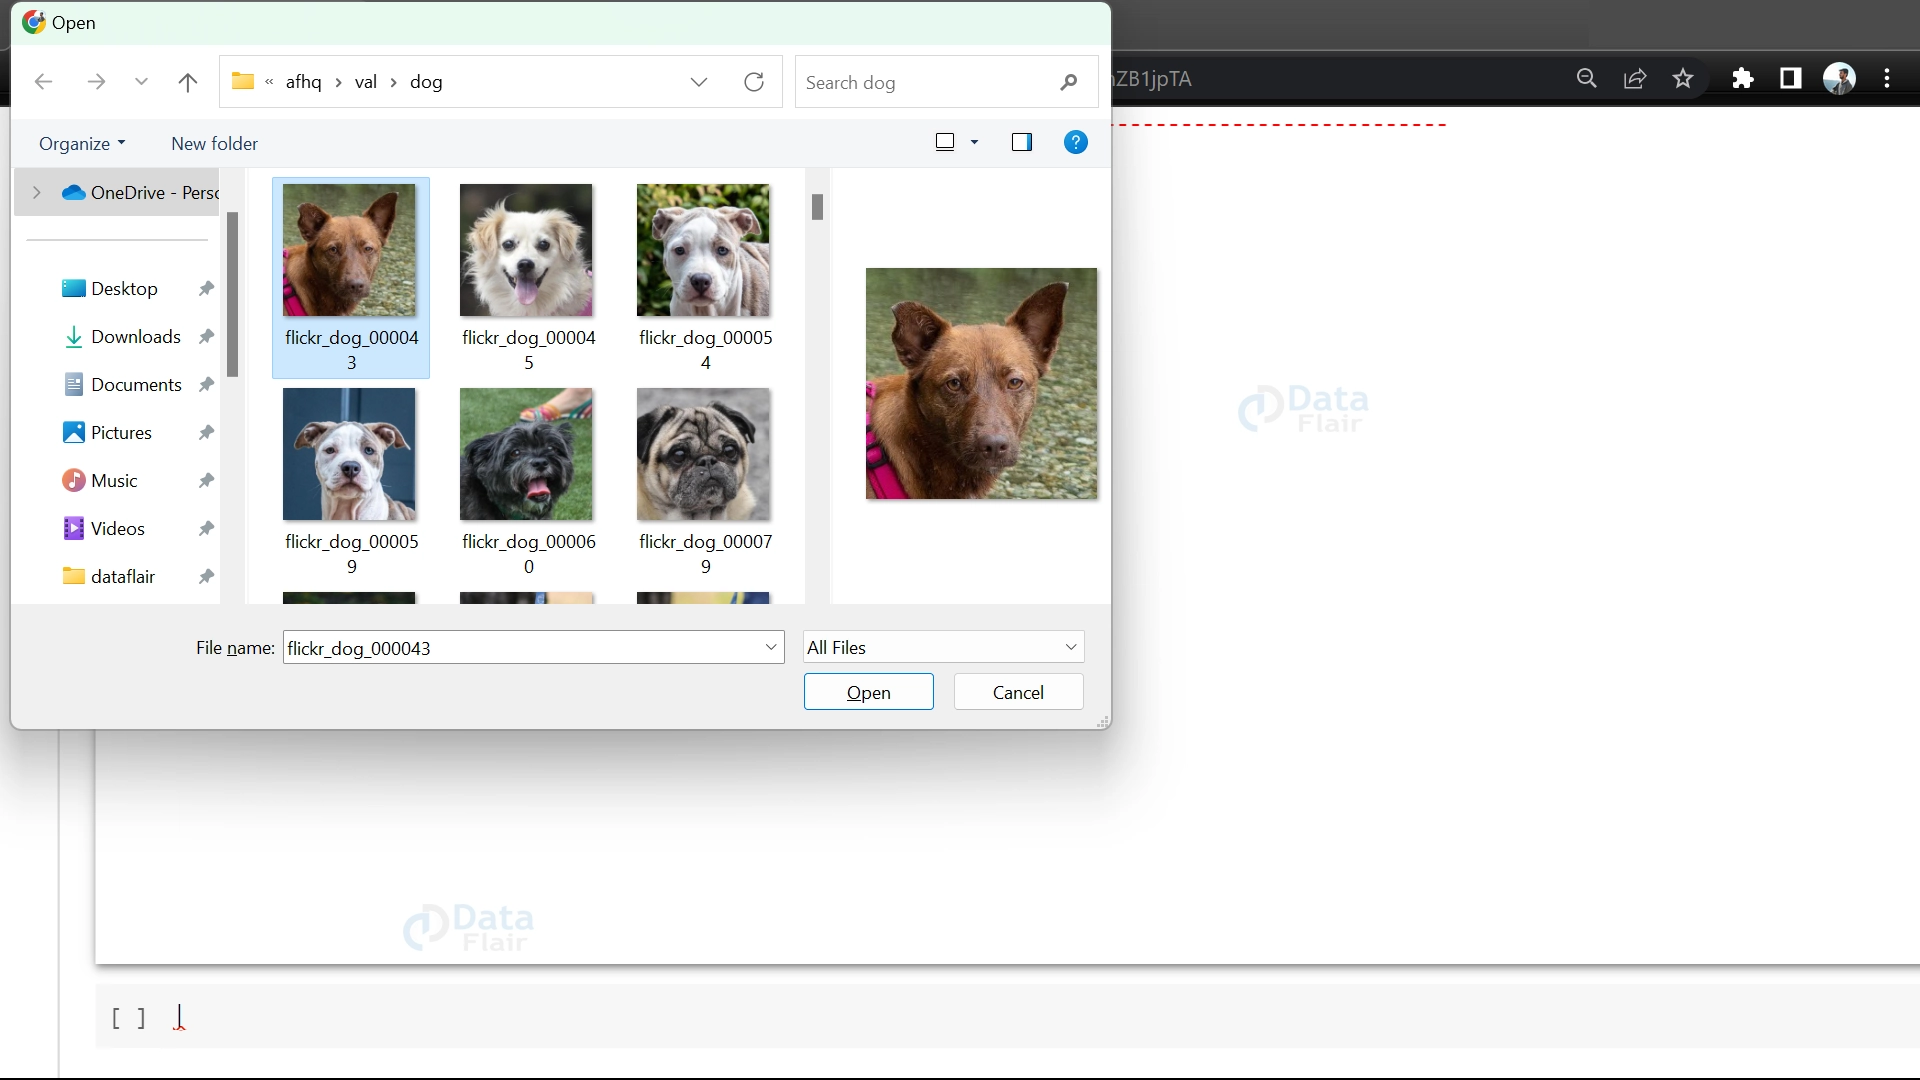
15. First it gives the title “Image Reverse Search Engine” to the window. It gives the option to upload an image from the system, resize it, convert it to a numerical array, expand its dimensions, and apply preprocessing steps for further processing.
print("\033[1m\033[91m----------------------------------------Image Reverse Search Engine---------------------------------\033[0m")
uploaded_files = files.upload()
uploaded_image = uploaded_files[next(iter(uploaded_files))]
img = Image.open(io.BytesIO(uploaded_image))
input_shape = (img_size, img_size, 3)
img = img.resize((input_shape[0], input_shape[1]))
img_array = np.array(img)
expanded_img_array = np.expand_dims(img_array, axis=0)
preprocessed_img = preprocess_input(expanded_img_array)
16. The code predicts features for a test image using a machine learning model and then finds the nearest neighbors based on those features using a NearestNeighbors object.
test_img_features = model.predict(preprocessed_img, batch_size=1)

_, indices = neighbors.kneighbors(test_img_features)
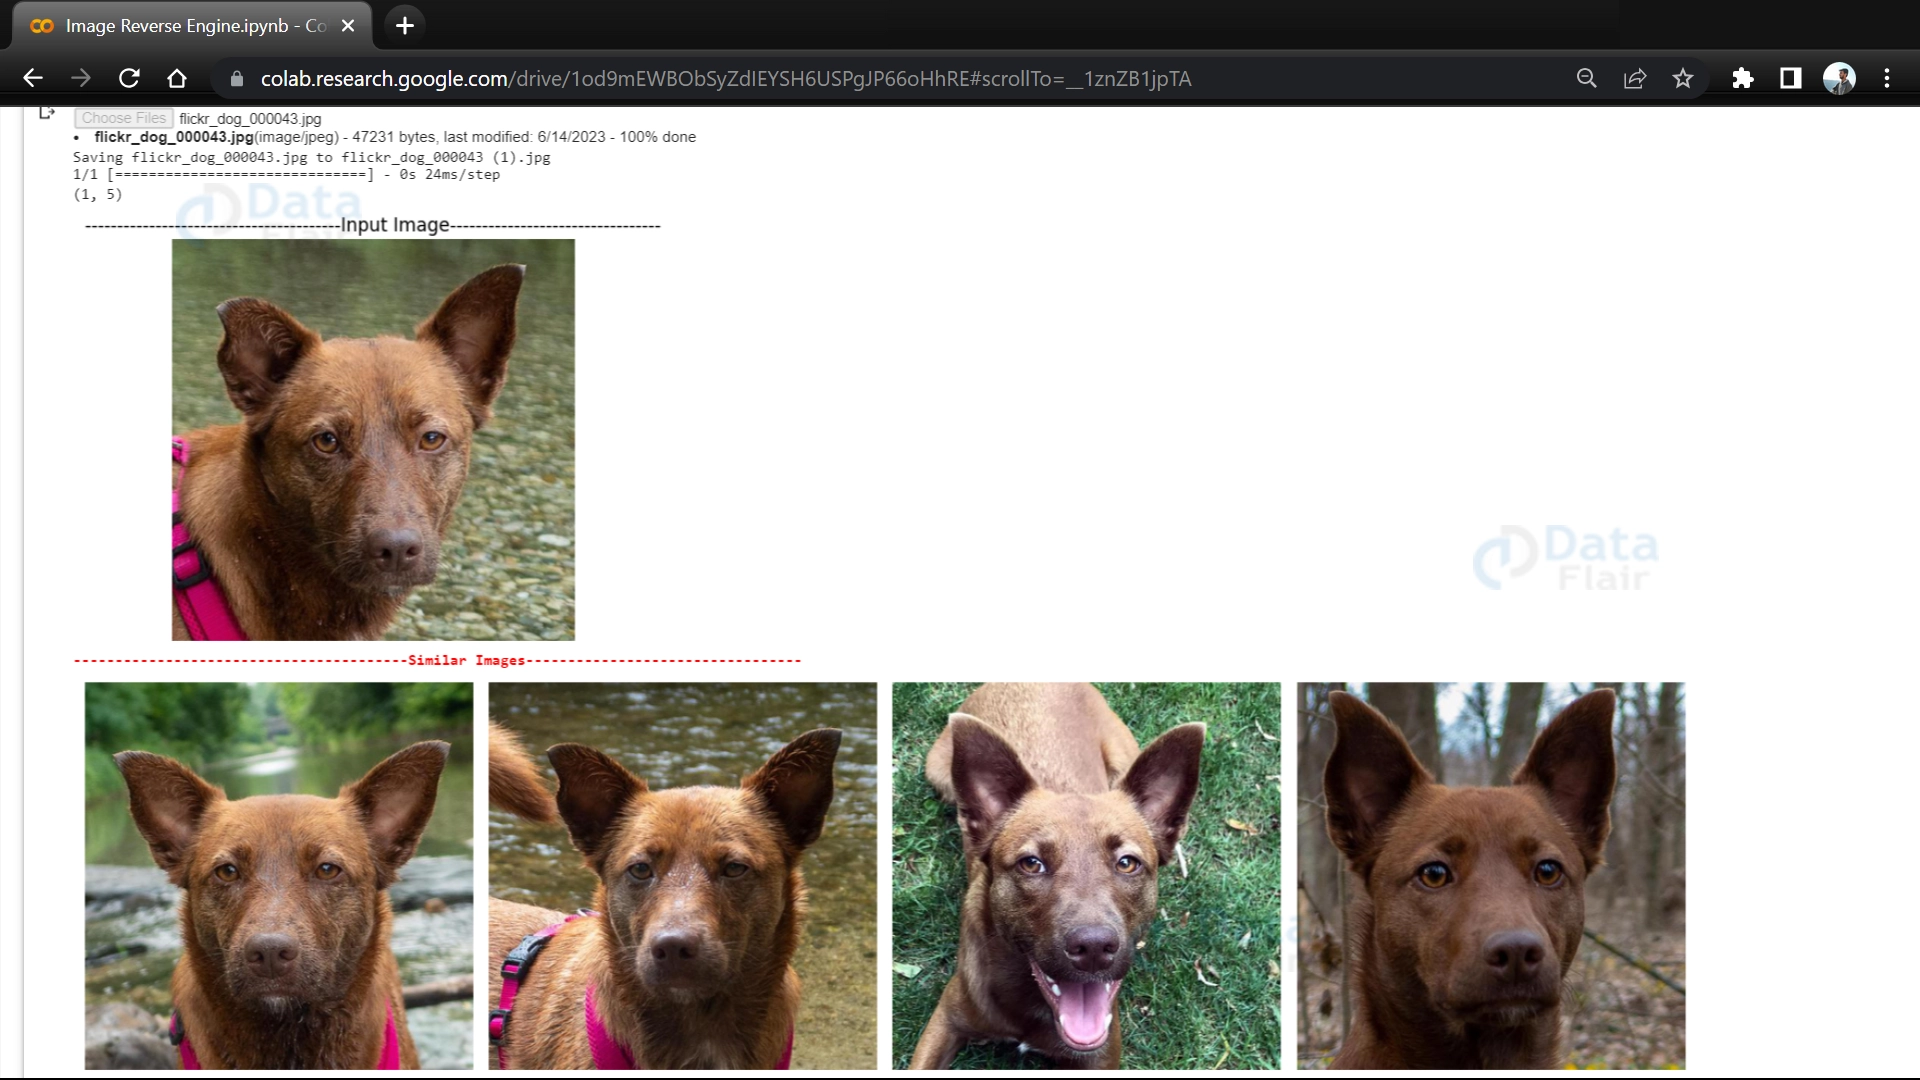
17. It prints the shape of the indices variable, which indicates the number of nearest neighbors found. It then displays the input image using a specific interpolation method. After that, it prints a section divider and a header indicating “Similar Images.” Finally, it shows a set of similar images based on the indices obtained from the nearest neighbors.
plt.imshow(img, interpolation='lanczos')
plt.title('----------------------------------------Input Image---------------------------------')
plt.axis('off')
plt.show()
print("\033[1m\033[91m----------------------------------------Similar Images---------------------------------\033[0m")
similar_images(indices[0])
OpenCV Image Reverse Search Engine Output


Full Code
import os
os.environ['KAGGLE_USERNAME'] = "yogeshkhandare56"
os.environ['KAGGLE_KEY'] = "7788f9b761a1a8f81219c7927e26a42c"
!kaggle datasets download -d andrewmvd/animal-faces

!unzip animal-faces.zip

from numpy.linalg import norm
from tqdm import tqdm
from sklearn.neighbors import NearestNeighbors
import matplotlib.pyplot as plt
import matplotlib.image as mpimg
from sklearn.decomposition import PCA
import os
import PIL
import os
import numpy as np
import time
import tensorflow as tf
from tensorflow.keras.preprocessing import image
from tensorflow.keras.preprocessing.image import ImageDataGenerator
from tensorflow.keras.applications.resnet50 import ResNet50, preprocess_input

import math

img_size =440

model = ResNet50(weights='imagenet', include_top=False,input_shape=(img_size, img_size, 3),pooling='max')

batch_size = 64
DataSet = '/content/afhq/train'

Image_gen = ImageDataGenerator(preprocessing_function=preprocess_input)

Datagen = Image_gen.flow_from_directory(DataSet,
                                        target_size=(img_size, img_size),
                                        batch_size=batch_size,
                                        class_mode=None,
                                        shuffle=False)

total_img = len(Datagen.filenames)
total_epochs = int(math.ceil(total_img / batch_size))

feature_list = model.predict_generator(Datagen, total_epochs,verbose = 1)

feature_list

print("Total Images is ", len(Datagen.classes))
print("Shape of feature_list is ", feature_list.shape)

filenames = [DataSet + '/' + s for s in Datagen.filenames]

neighbors = NearestNeighbors(n_neighbors=5,
                             algorithm='ball_tree',
                             metric='euclidean')
neighbors.fit(feature_list)

from google.colab import files
import numpy as np
from PIL import Image
import io
import matplotlib.pyplot as plt
import matplotlib.image as mpimg

print("\033[1m\033[91m----------------------------------------Image Reverse Search Engine---------------------------------\033[0m")
print("\n")
print("\n")

uploaded_files = files.upload()

uploaded_image = uploaded_files[next(iter(uploaded_files))]

img = Image.open(io.BytesIO(uploaded_image))

input_shape = (img_size, img_size, 3)
img = img.resize((input_shape[0], input_shape[1]))
img_array = np.array(img)
expanded_img_array = np.expand_dims(img_array, axis=0)
preprocessed_img = preprocess_input(expanded_img_array)

test_img_features = model.predict(preprocessed_img, batch_size=1)

_, indices = neighbors.kneighbors(test_img_features)

def similar_images(indices):
    num_images = len(indices)
    num_columns = 4
    num_rows = (num_images - 1) // num_columns + 1
    plt.figure(figsize=(15, num_rows*5), facecolor='white')

    for i, index in enumerate(indices):
        ax = plt.subplot(num_rows, num_columns, i+1)
        ax.axis('off')
        plt.imshow(mpimg.imread(filenames[index]), interpolation='lanczos')

    plt.tight_layout()

print(indices.shape)

plt.imshow(img, interpolation='lanczos')
plt.title('----------------------------------------Input Image---------------------------------')
plt.axis('off')
plt.show()

print("\033[1m\033[91m----------------------------------------Similar Images---------------------------------\033[0m")
similar_images(indices[0])
Conclusion
An image reverse search engine using the nearest neighbor and ball tree algorithm is a powerful tool for finding similar images. It works by organizing image features in a way that allows for quick and accurate searches.
This technology has many practical applications, including helping users find visually similar images, recommending related content, and analyzing visual similarities. By using this image reverse search engine, users can enjoy improved search experiences and easily explore diverse image collections.