


Expert-led Online Courses: Elevate Your Skills, Get ready for Future - Enroll Now!
The Spell Check feature of Word allows you to check for spelling errors in addition to correcting minor grammatical errors in the document. Word uses a red wavy underline to show spelling errors. Grammatical errors, on the other hand, are shown with a green wavy underline in Word. Word also offers a Consistency checker feature that identifies misuse of words and marks it with a blue wavy underline.
This feature may be disabled on Word for your computer. Let us see how to enable the spell check feature in Word.
1. Click on the File tab located at the top left corner of the window.
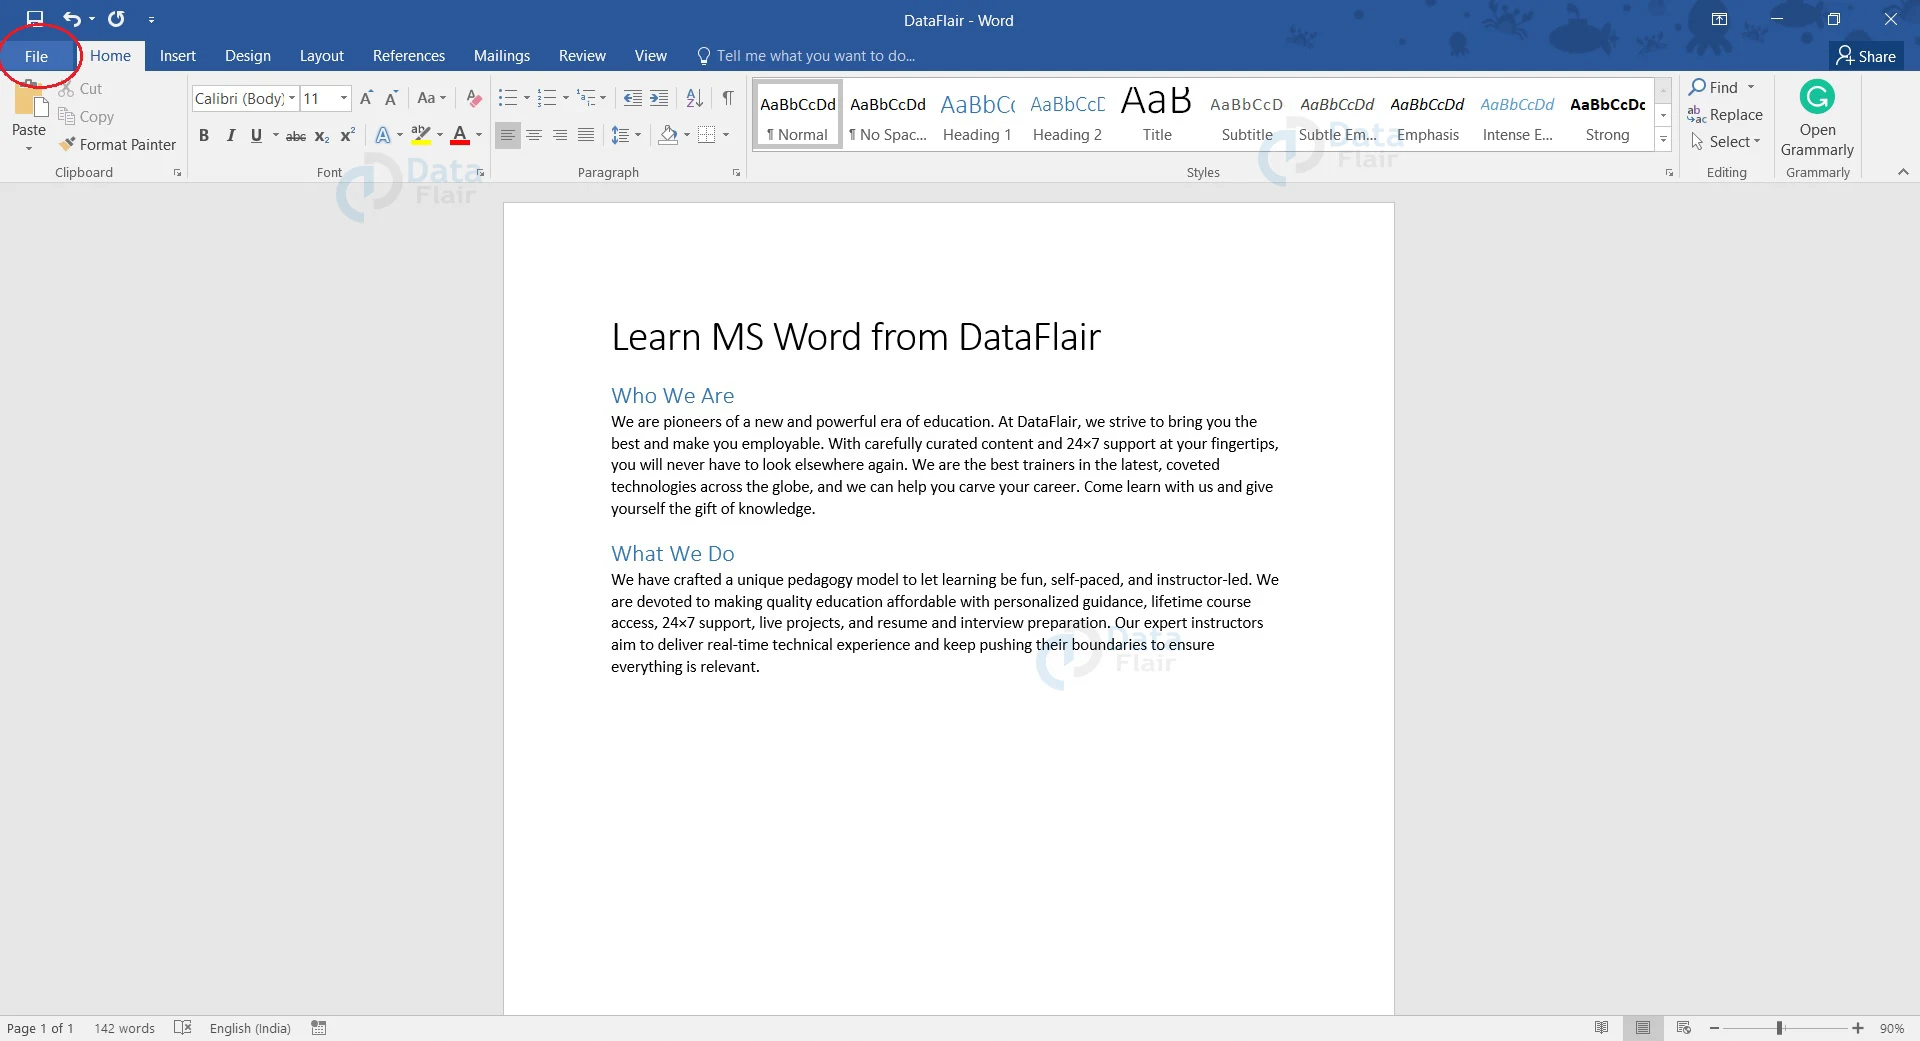
2. Among the list that appears, select Options. The Word Options dialog box appears.
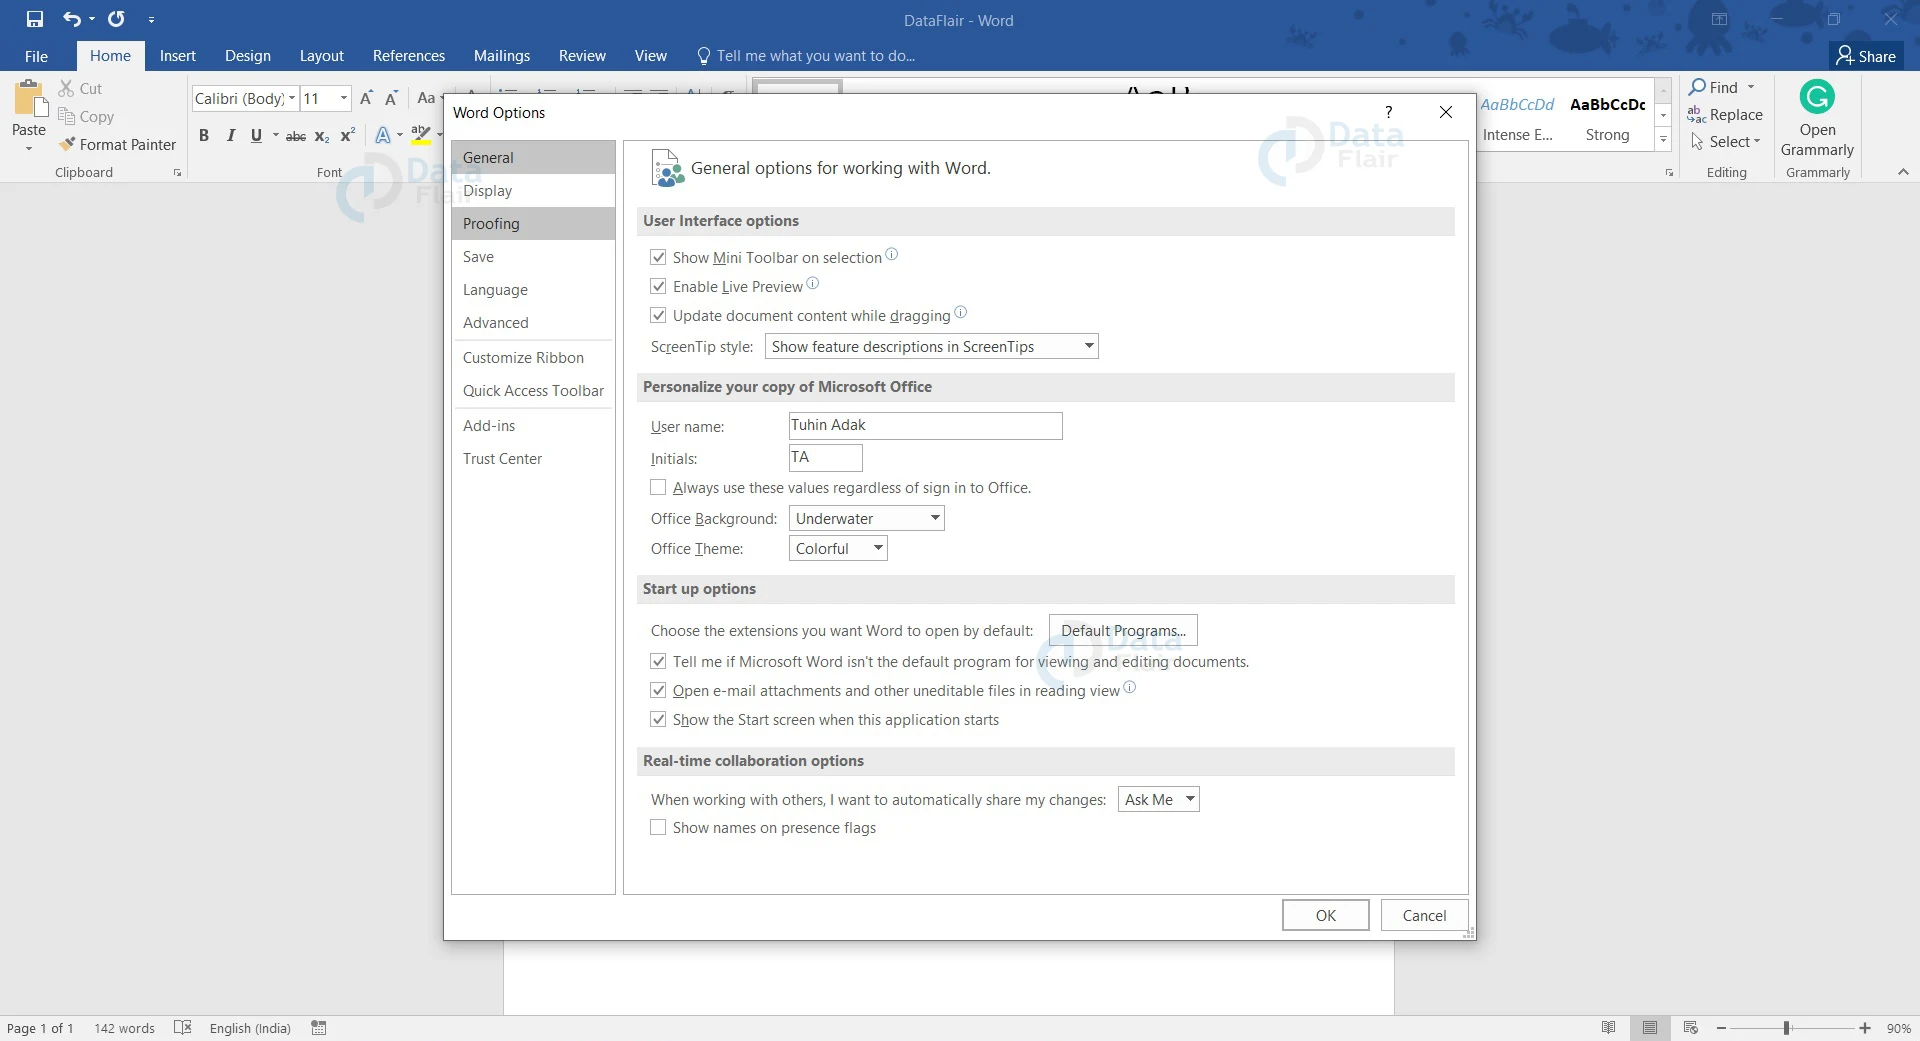
3. Click the Proofing tab located on the left side of the dialog box.
4. Under the When correcting spelling and grammar in Word list, select the checkbox for Check spelling as you type. Select the Check grammar errors as you type checkbox if you wish to mark grammatical errors automatically while typing.
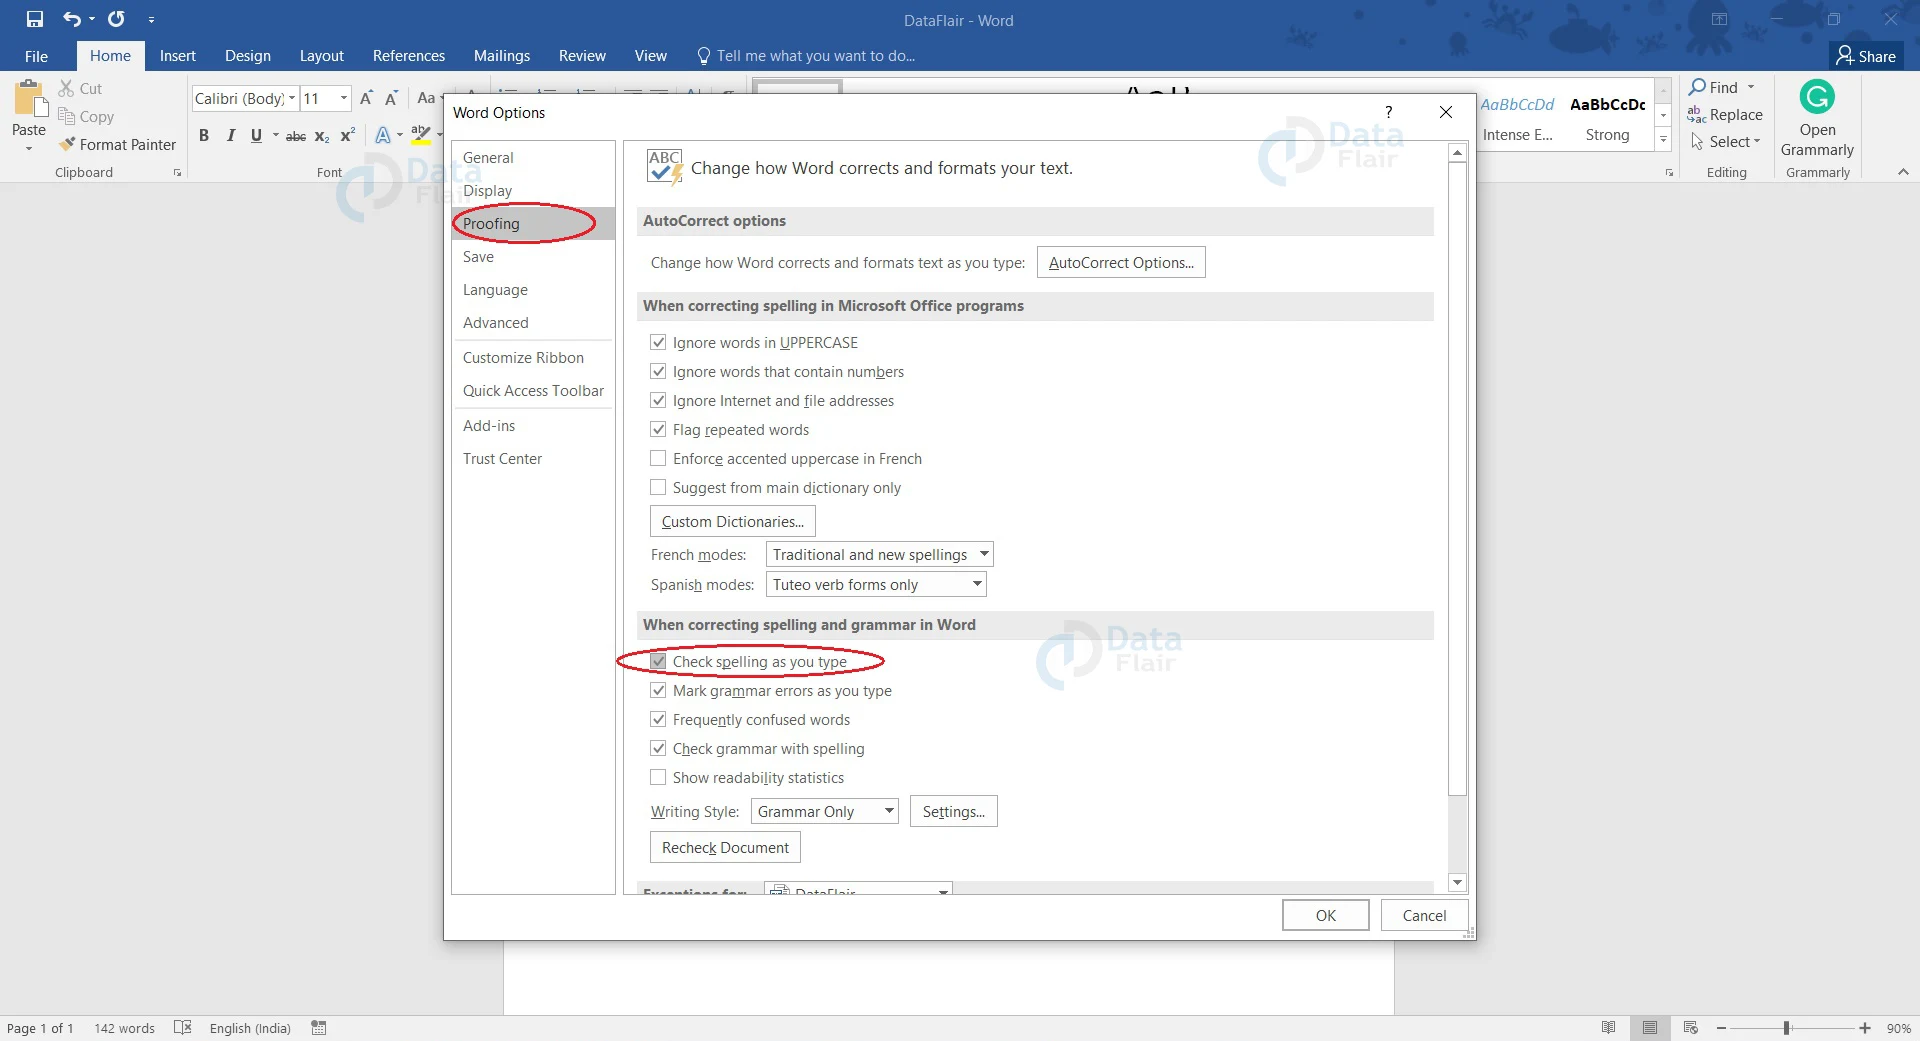
5. Click OK.
Now, if you type, you will notice that all spelling errors are indicated by a red wavy line.
To correct these spellings, follow these steps:
1. Select the wrong spelling.
2. Right-click the mouse button. A list of suggestions appears.
3. Choose the correct spelling to correct the error.
Checking Spellings Manually in MS Word
Word also offers the choice to check your spellings manually. To perform spell check manually, follow the steps given below.
1. Visit the Review tab on the ribbon.
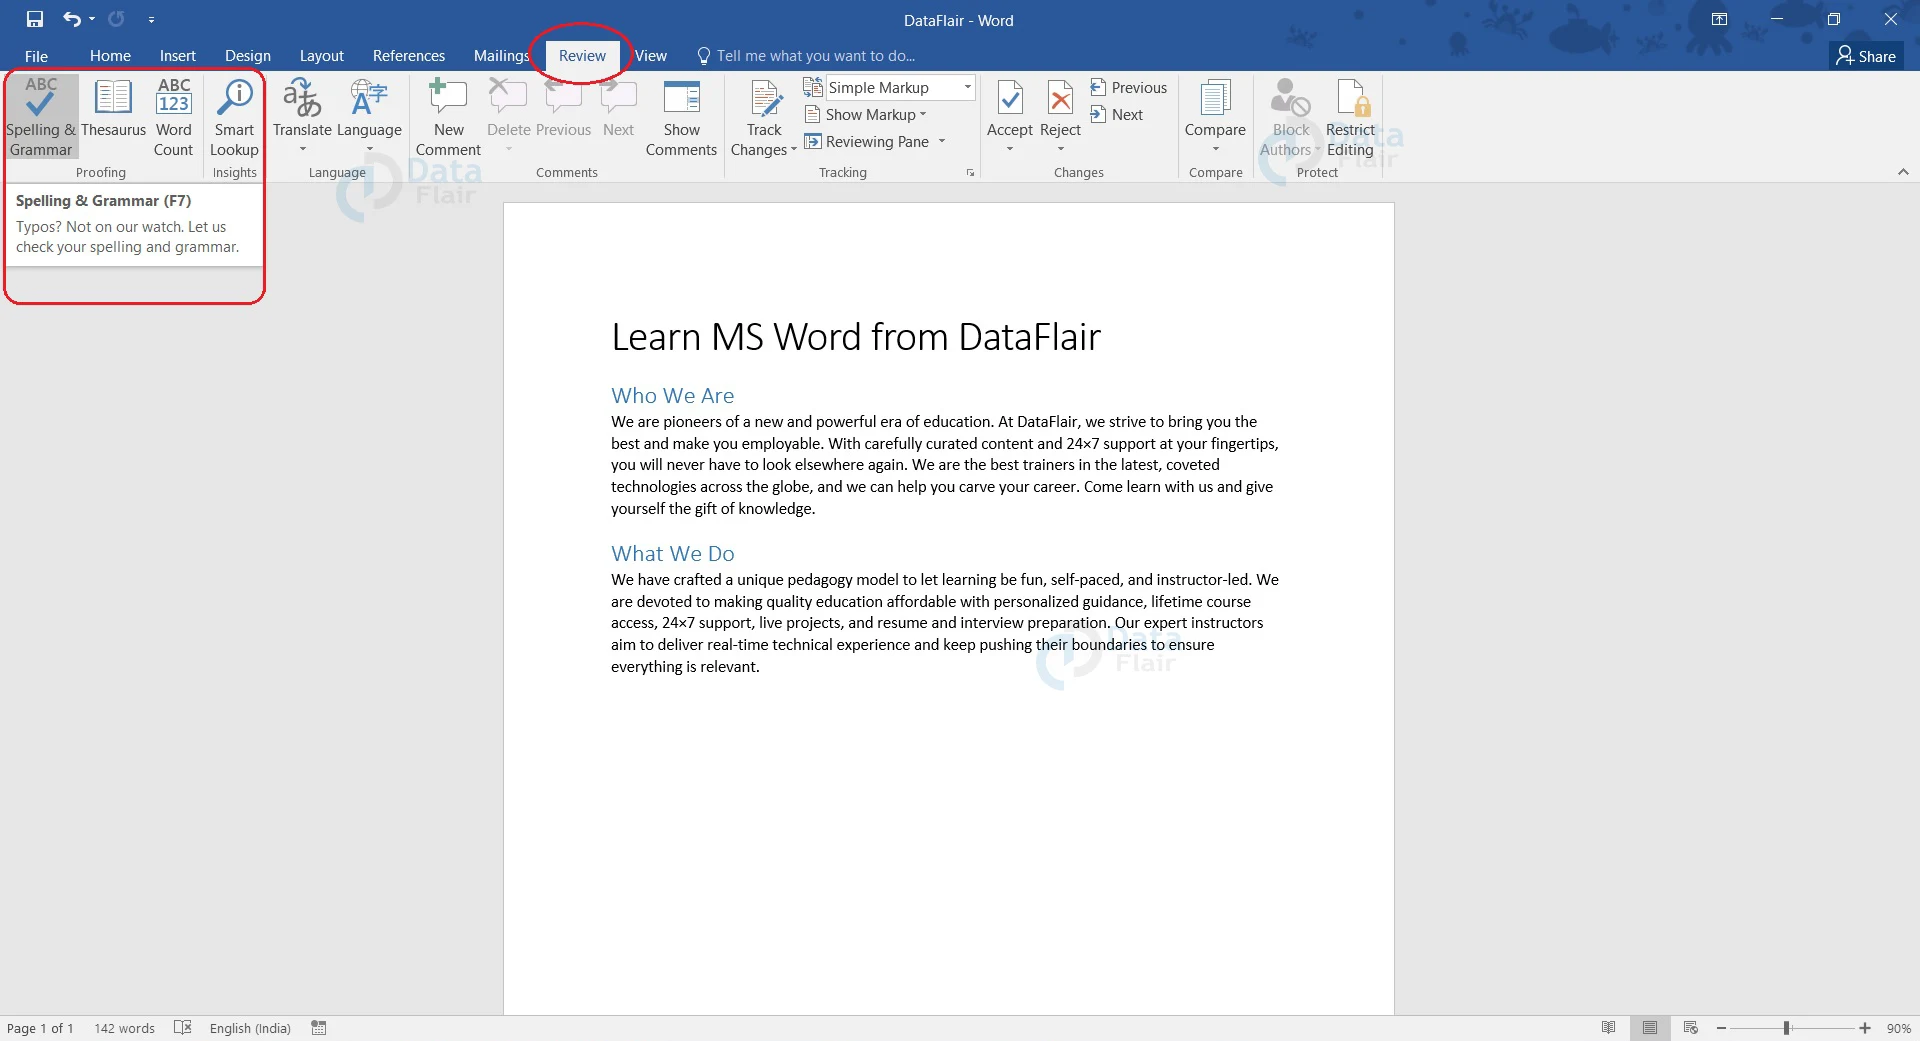
2. Click the Spelling & Grammar option in the Proofing group.
After you select the Spelling & Grammar option, Word takes action depending on the errors in your document.
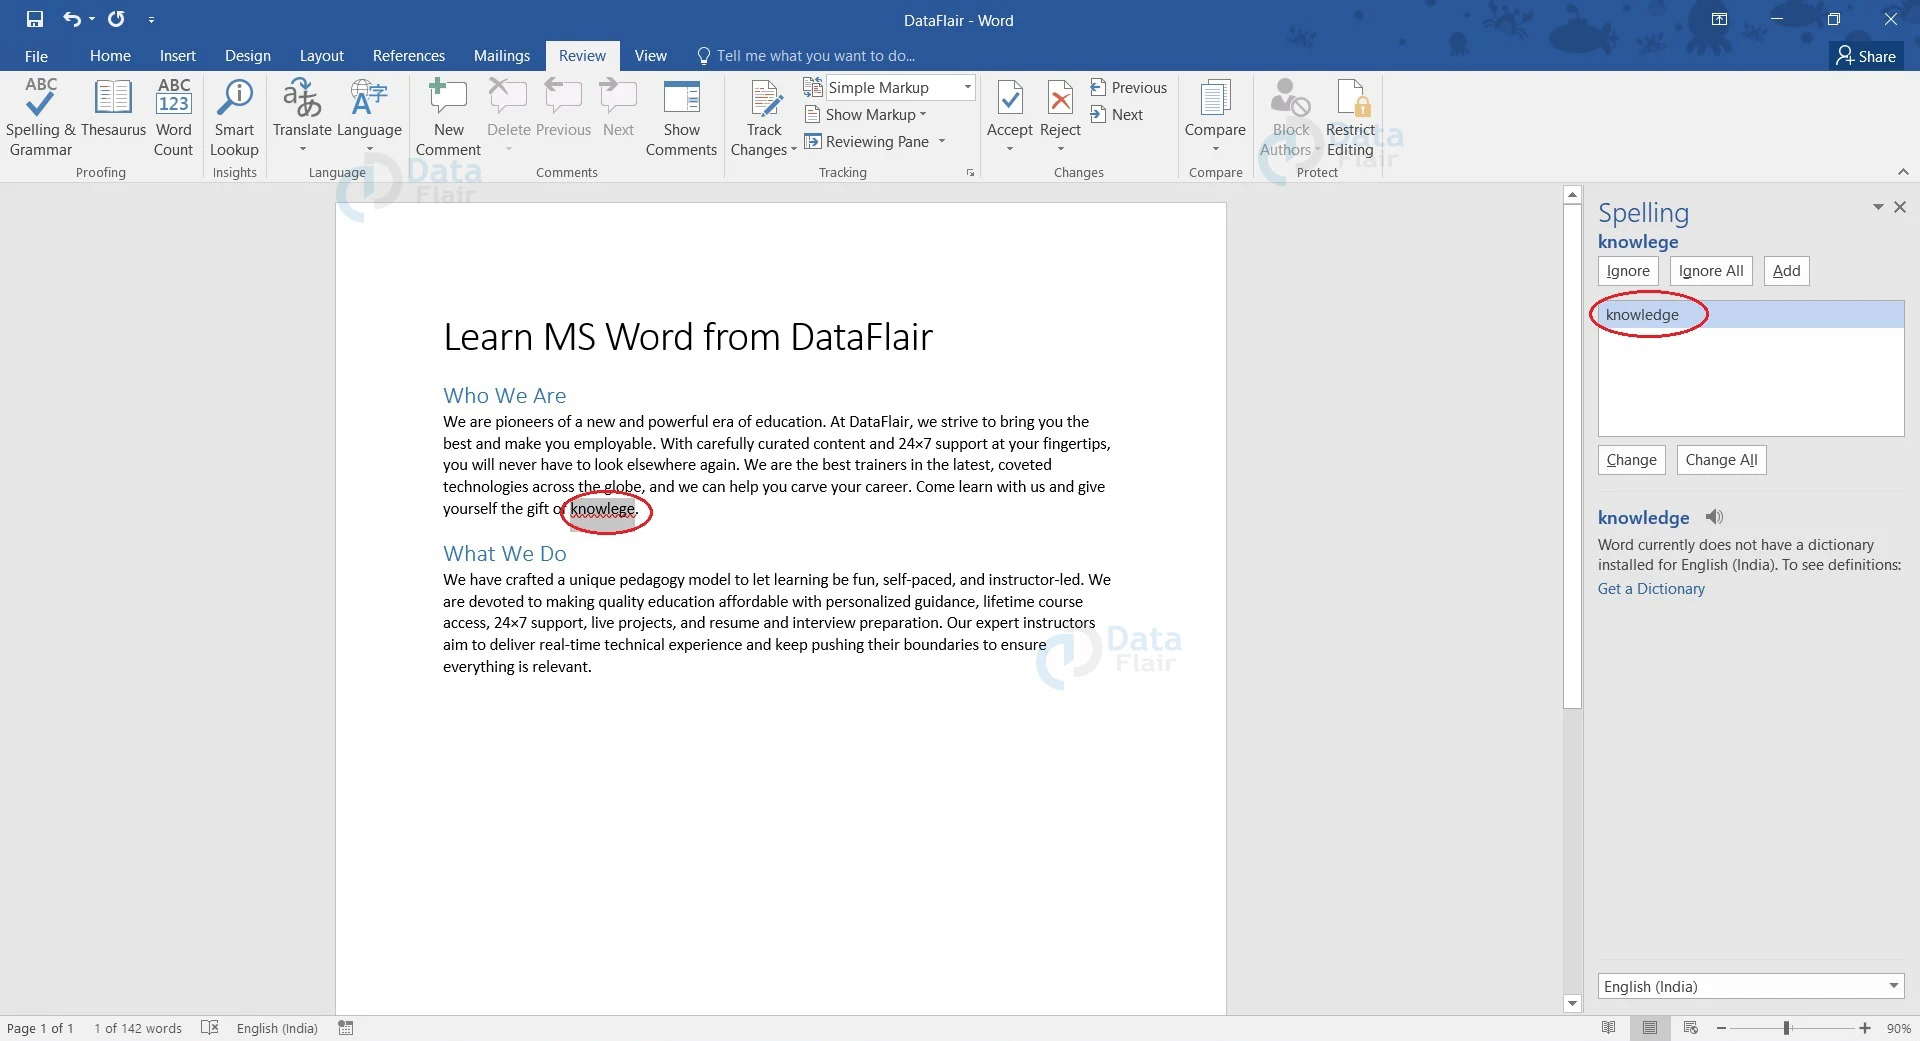
If there are spelling errors, then the Spelling and Grammar dialog box appears. It shows all the spelling and grammatical errors in your document. Choose one among the list of suggestions for correcting the spelling. Click the Change button to make the corrections.
You can also use the Change All button to make all corrections throughout the document at once.
If it is an intended spelling error or a regional word perceived as an error, you can ignore it once by using the Ignore Once option, or add it to your dictionary using the Add to Dictionary or Add option. While older versions of Word had the Add to Dictionary option, newer versions have the Add option. Use the Ignore All option to ignore all spelling errors.
After correcting all spelling errors, use the Close button (appears as a cross) at the top right corner of the dialog box, or the Cancel button to close the window.
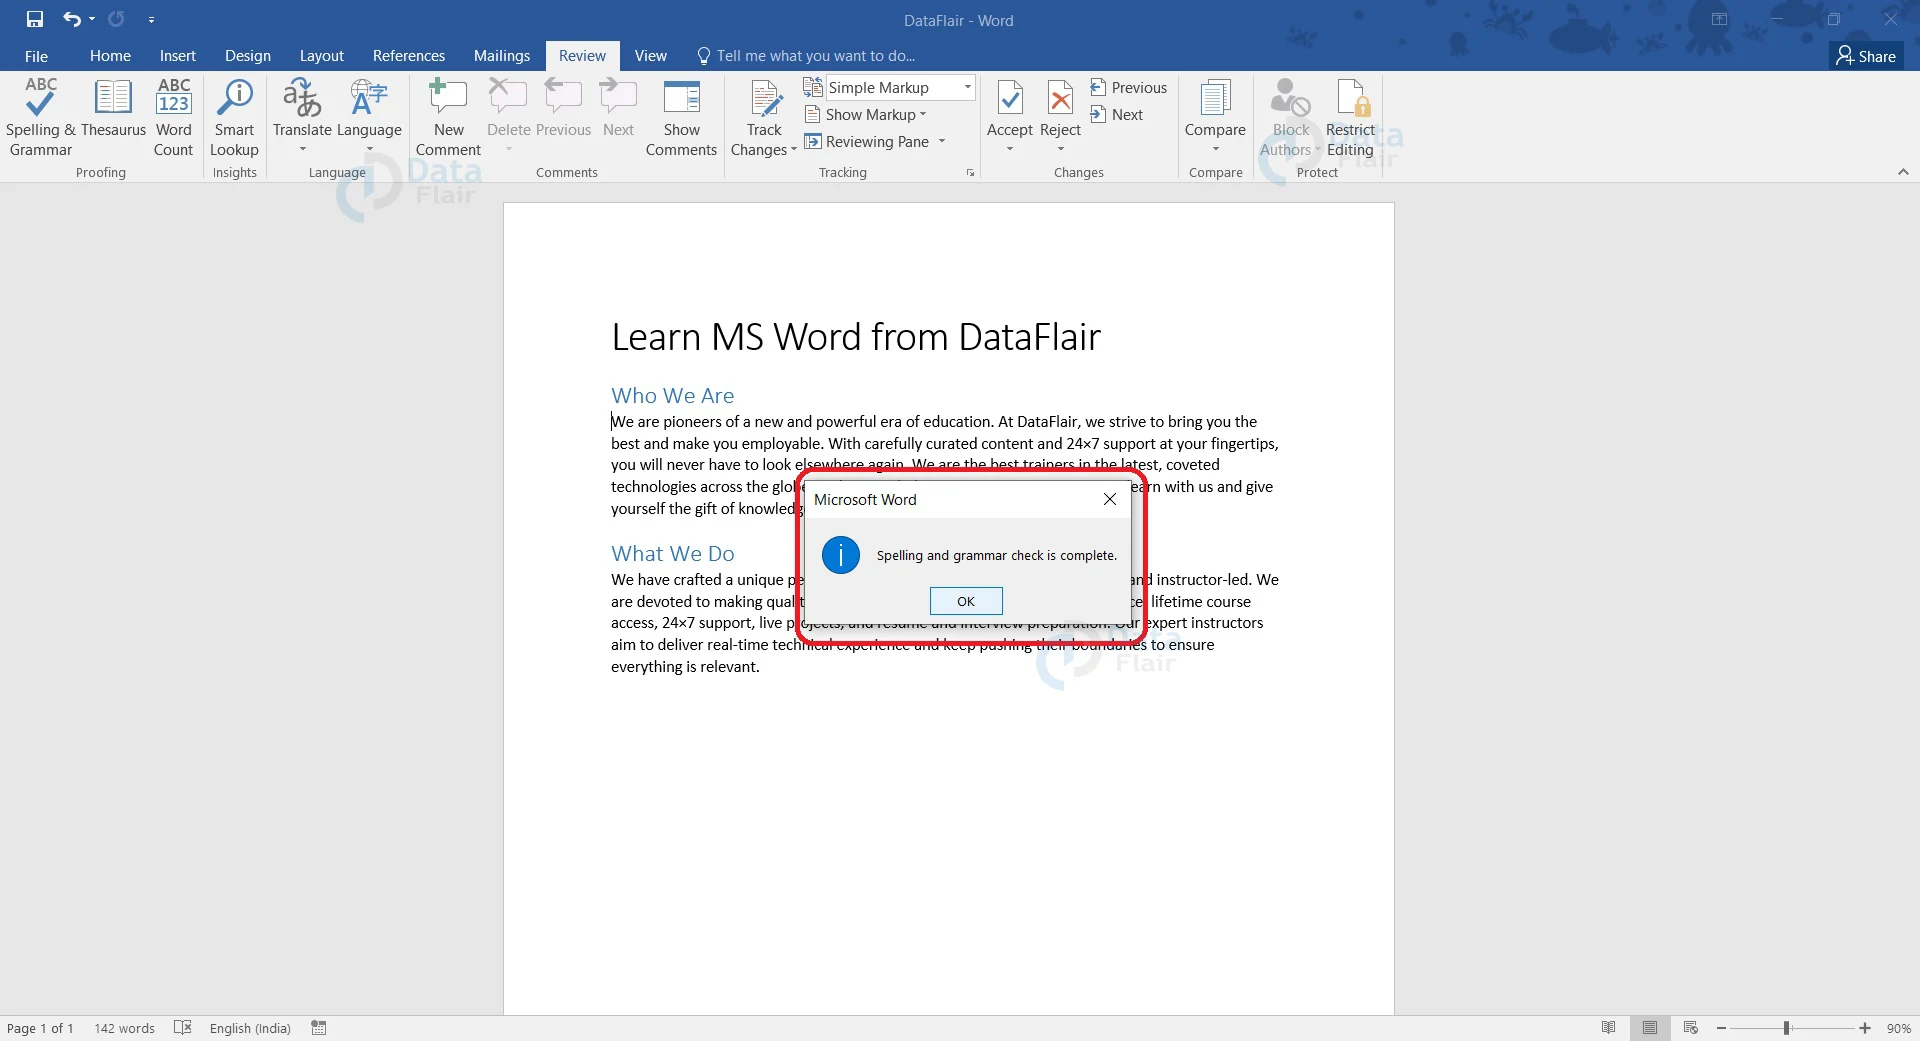
If there are no spelling errors, Word gives a notification – ‘Spelling and grammar check is complete.’
Spelling and Grammar Check using Right Click
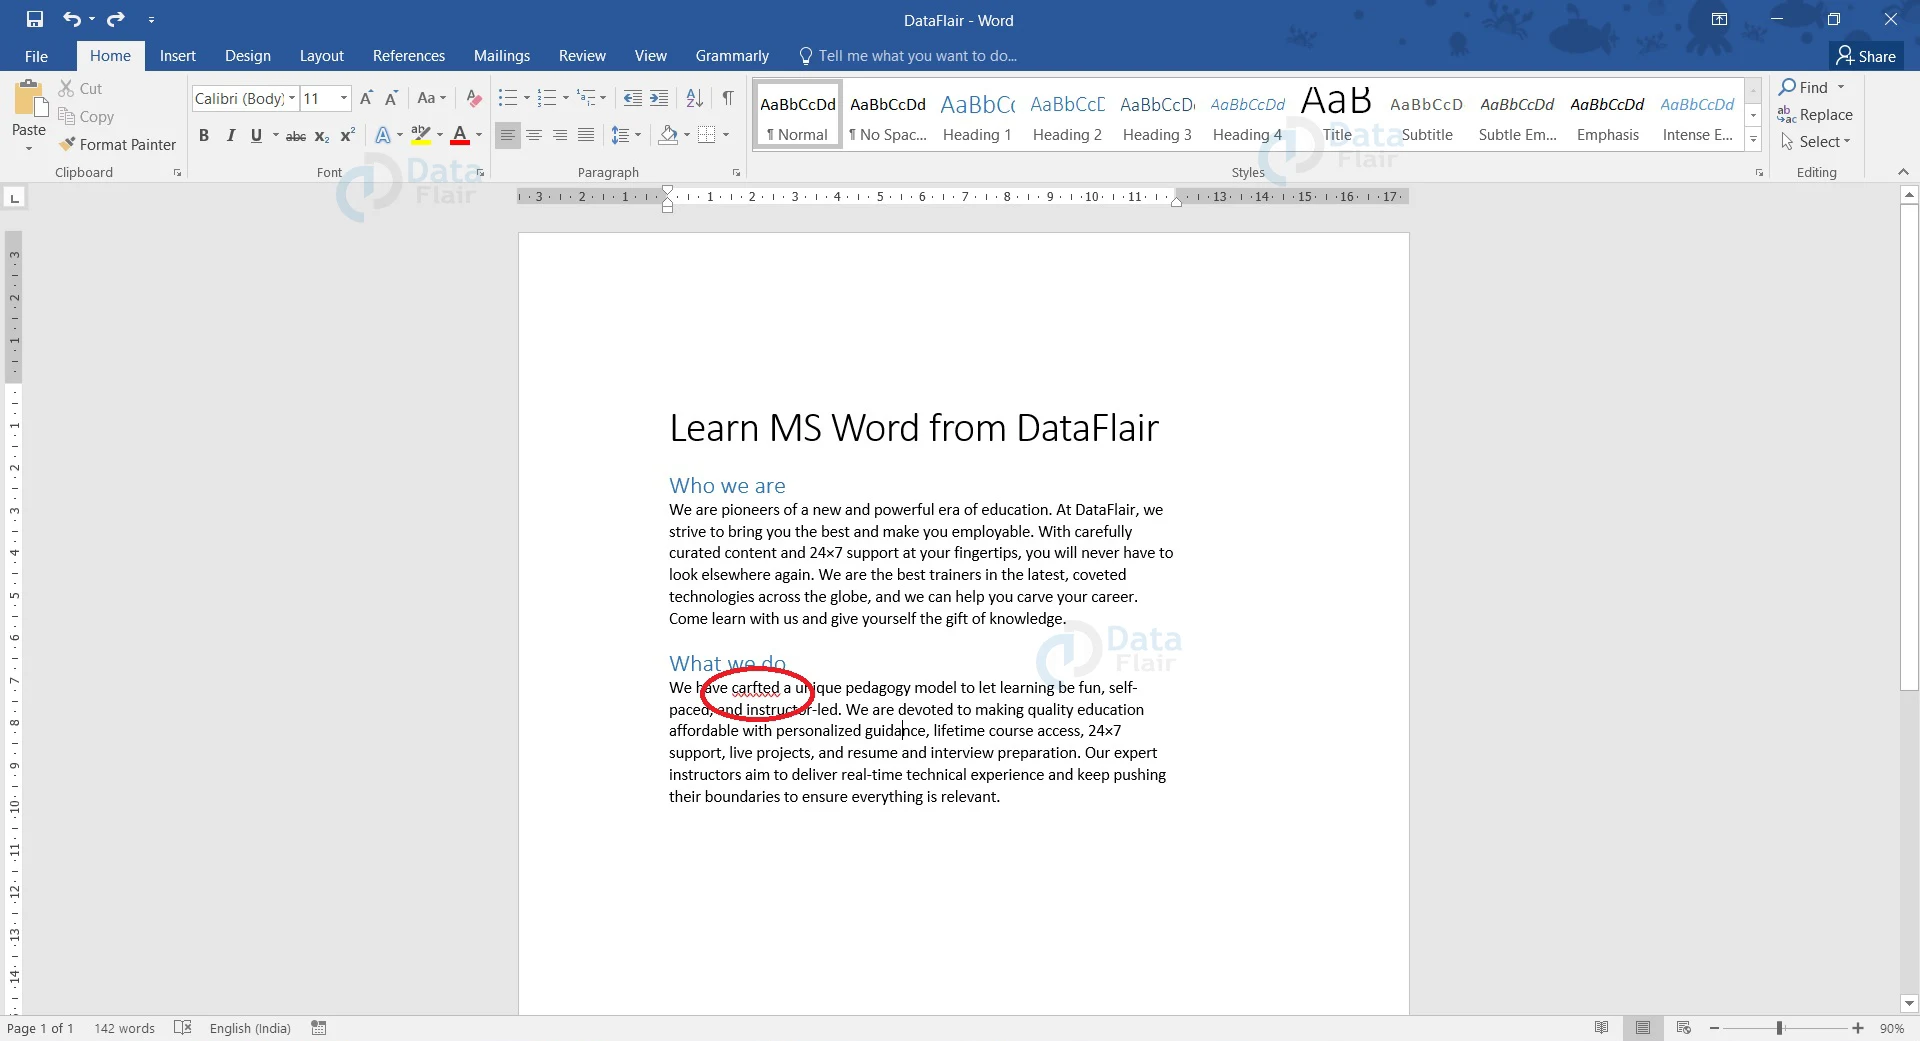
Word lets you know about a spelling mistake in your document using a red wavy line under the misspelled word. Similarly, grammatical errors and misuse of words are usually shown with a green and blue wavy underline respectively.
You can correct these errors by clicking on the right mouse button. Here are the steps you have to follow for the same.
1. Select the misspelled word, the inconsistent phrase, or the phrase with grammatical errors.
2. Use the right mouse button to open the menu.
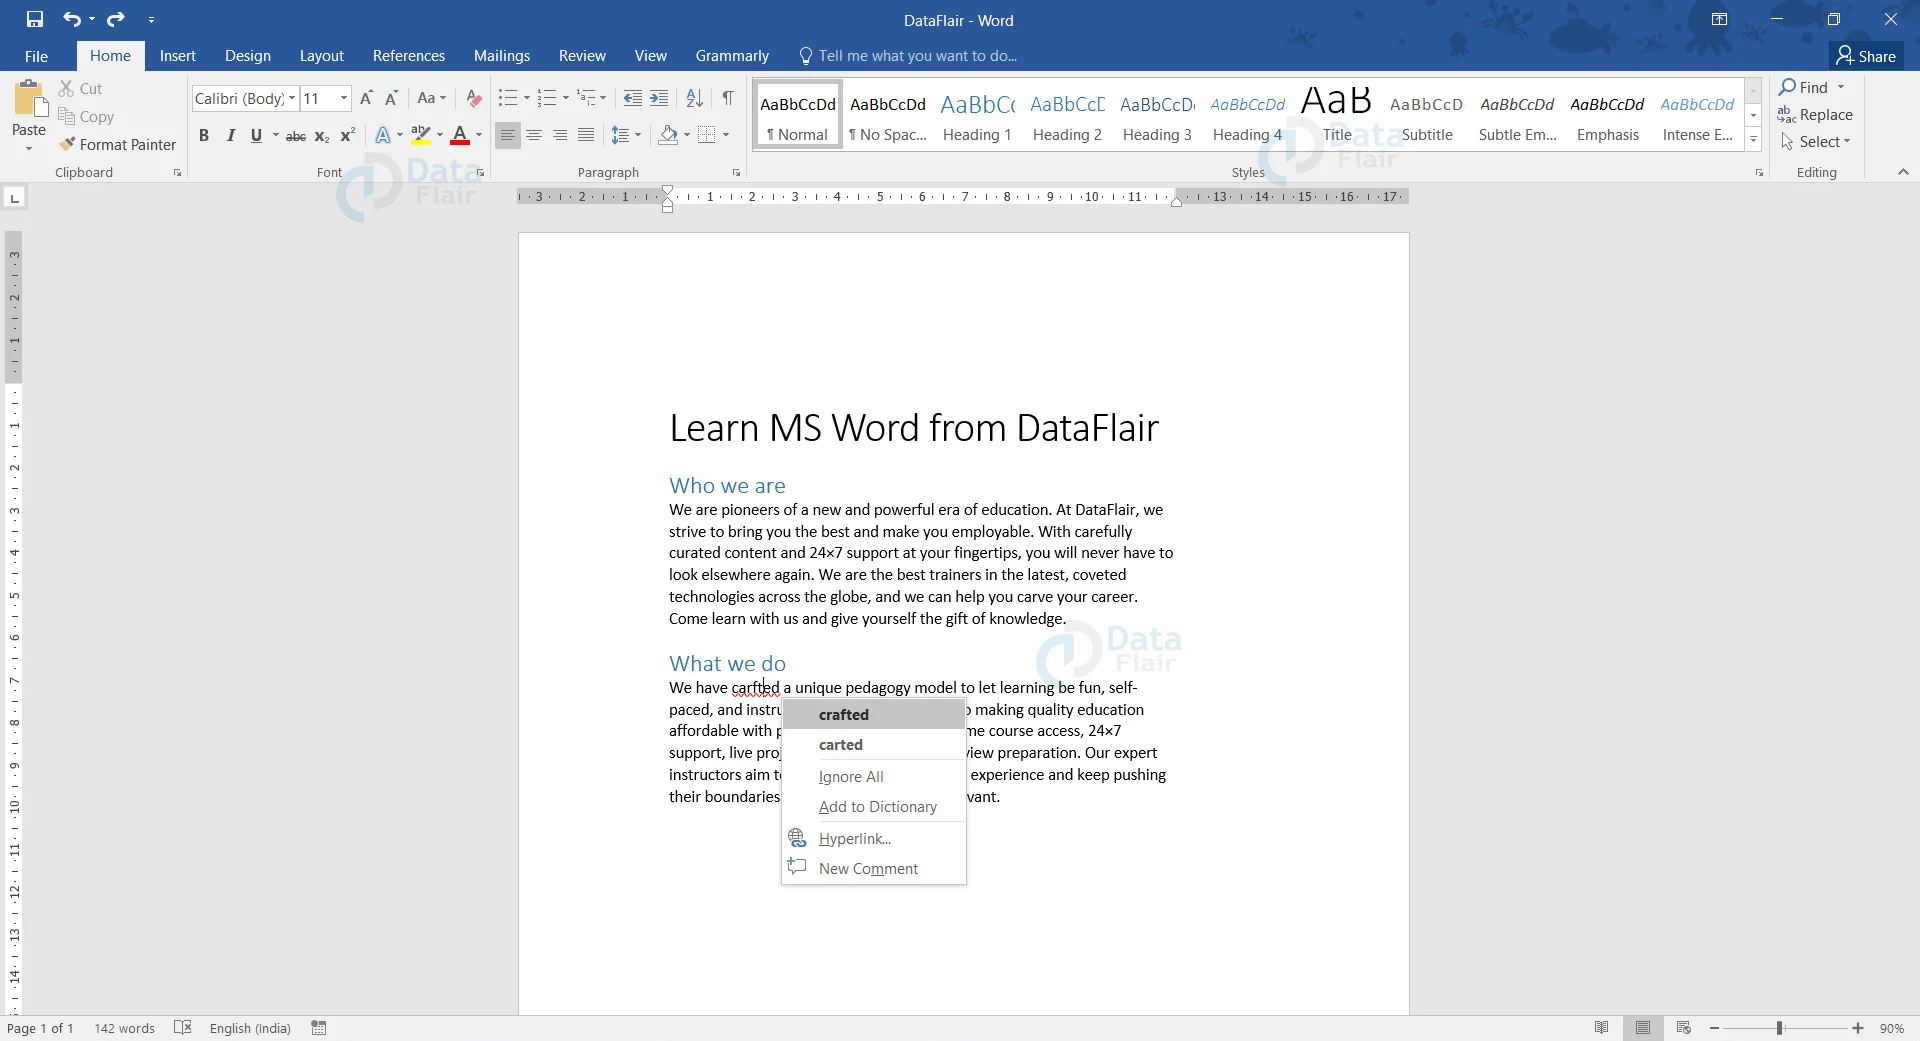
3. A list of suggestions for the correct spelling and proper grammar use is given. Choose the appropriate option.

You will see that the error has been corrected, and the phrase or word is no longer marked with a red, blue, or green wavy underline.
Summary
The Spell check feature in Word is very helpful for getting rid of common typing errors and correcting wrong spellings that you may be unsure of. Make sure to use this very feature well to make your documents error-free and perfect for your presentations.