


Job-ready Online Courses: Click, Learn, Succeed, Start Now!
While working with tables in Word, you might feel the need to add an extra row or column or delete them according to your work requirements. Word allows this, and we will show you how you can insert or delete such columns or rows. The table tools in Word are easy to use, but before adding or deleting table components, you would have to insert a table in your Word document. Let us see how to add a table in Word where you can add extra rows and columns or delete them.
Steps to Insert a Table in Word
To insert a table in Word, follow the steps given below.
1. Place your cursor where you wish to insert the table.
2. Go to the Insert tab and click on the Table option under the Tables group.
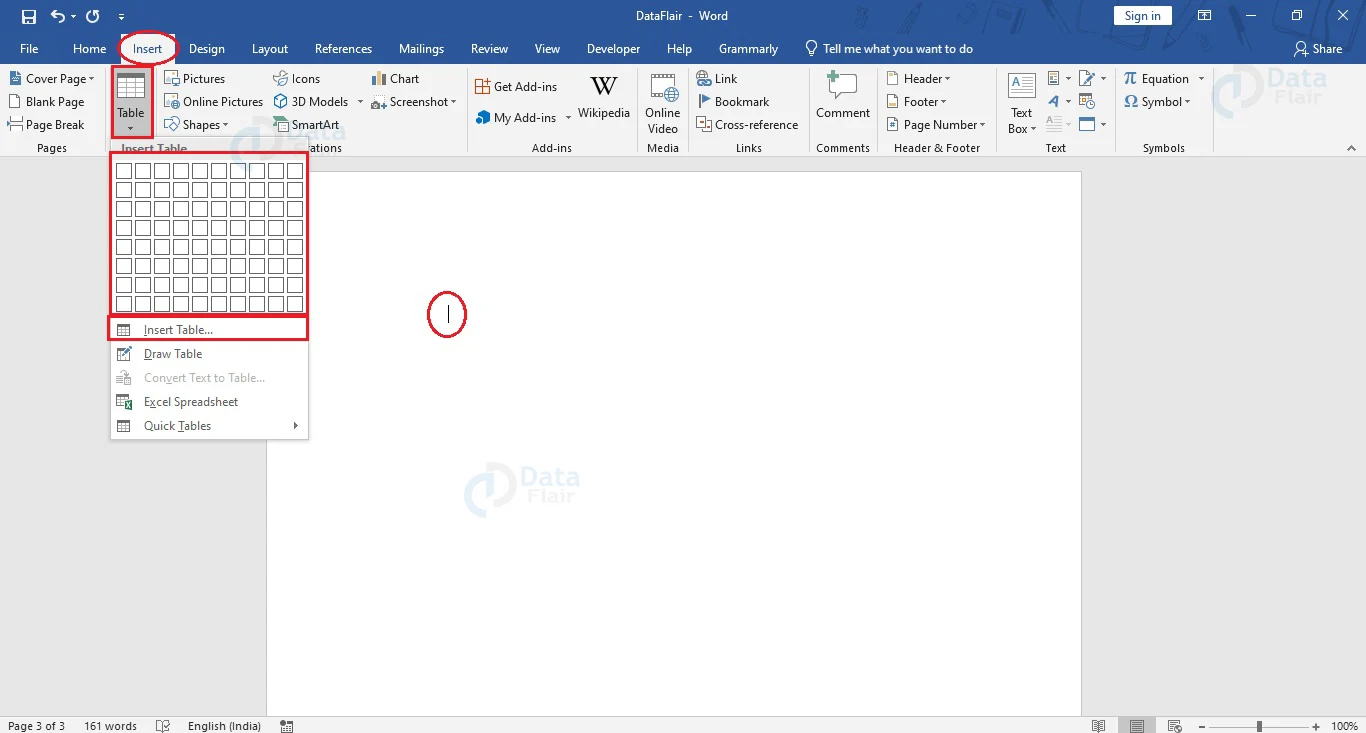
3. A dropdown appears, where you can insert a table with up to 8 rows and 10 columns. Select the appropriate number of rows and columns and click the left mouse button to insert the required table.
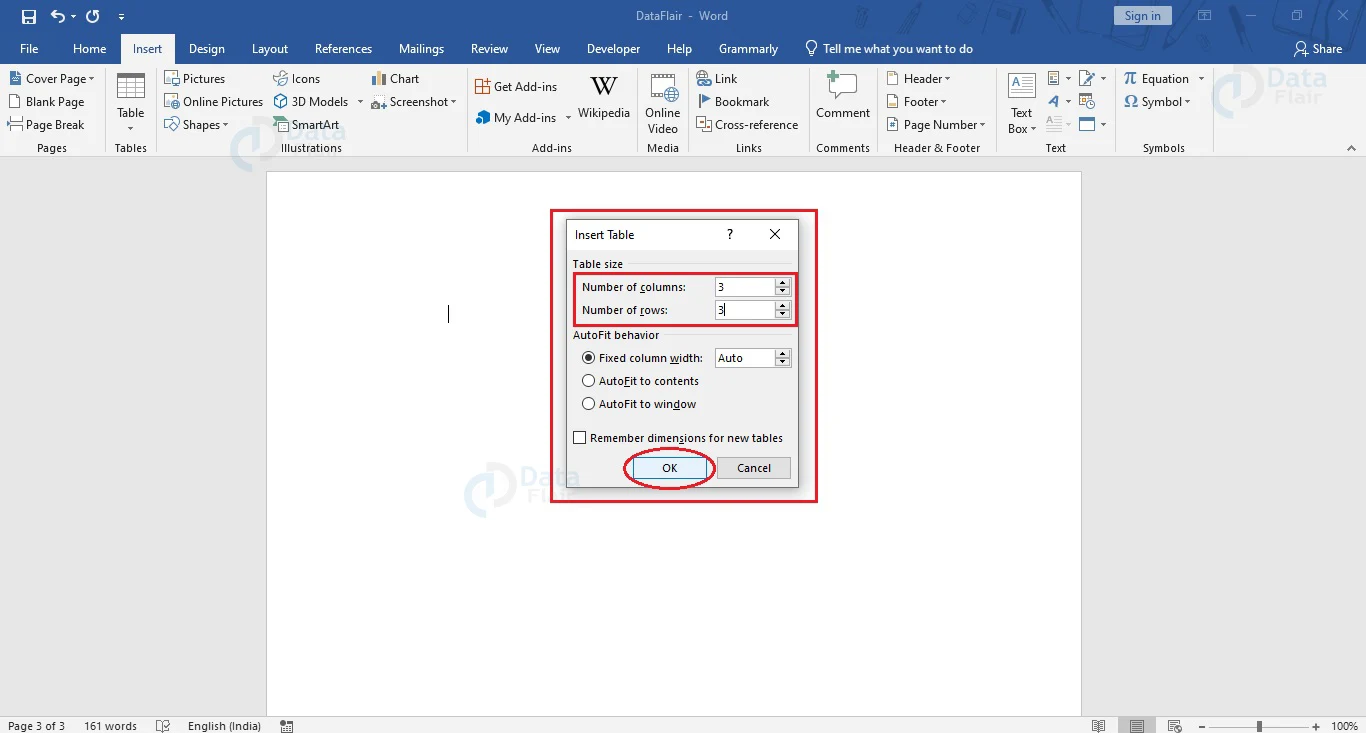
If you wish to insert a table with different dimensions, choose the Insert Table… option. The Insert Table dialog box appears, where you can insert the required number of rows and columns. Click the OK button or simply use the Enter key.
As you will now see, a table has been inserted into the document at the cursor position.
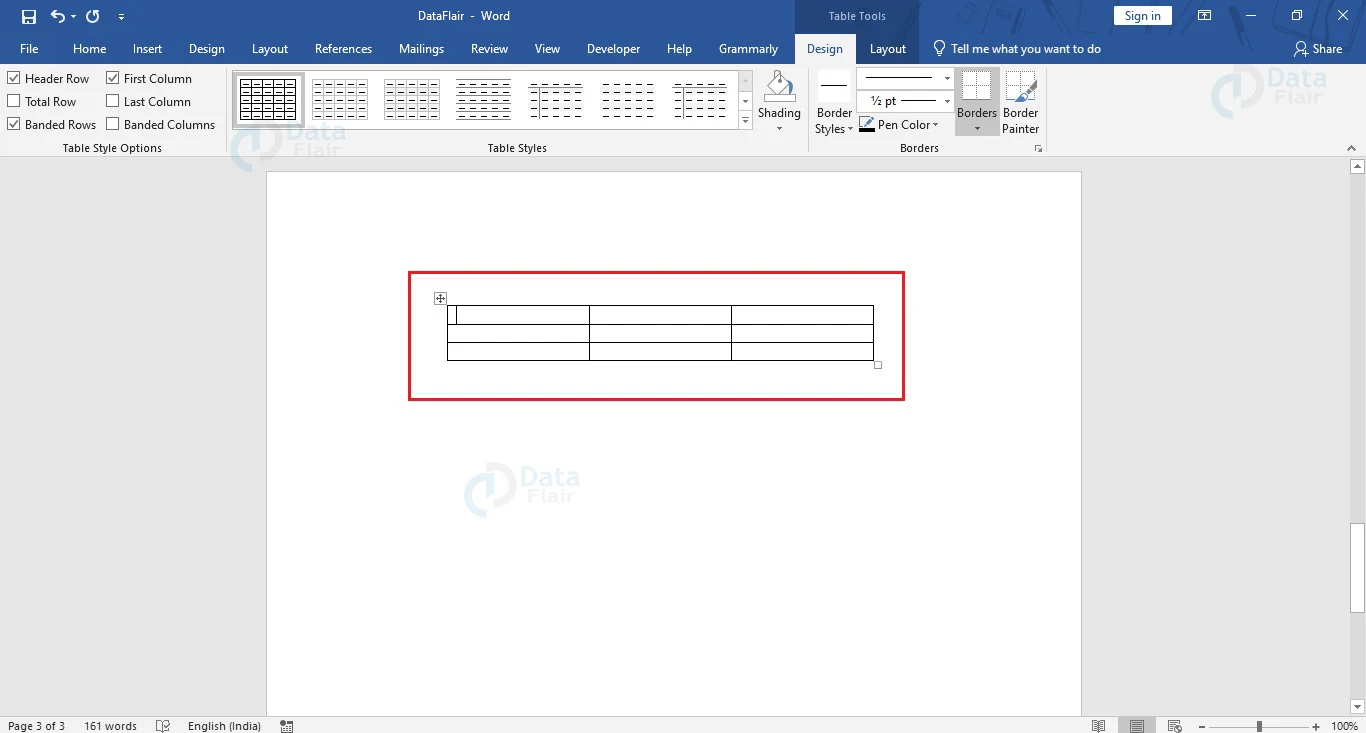
Depending on your requirements, you may need to add more rows or columns to your table or delete them. Now that a table is present in your Word document, let us see how to add or delete rows and columns to it.
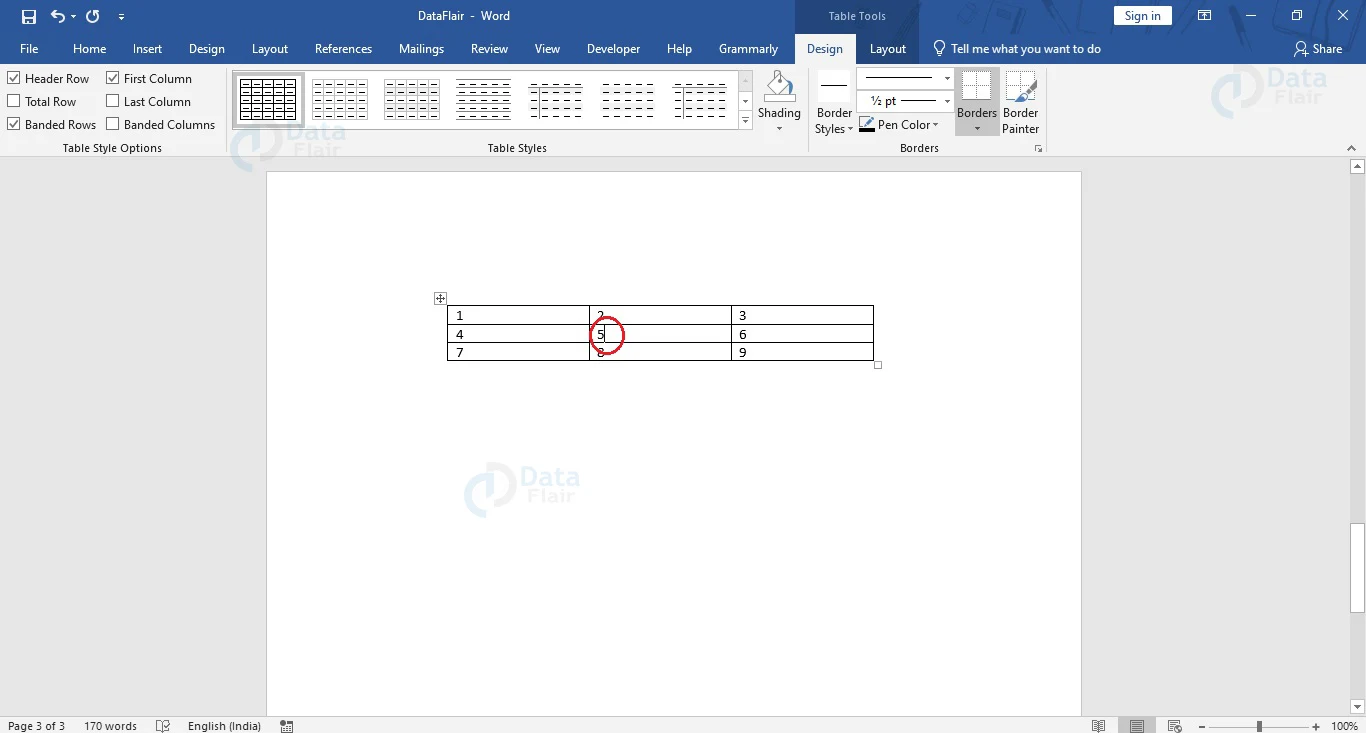
We will insert sample data into the table to make it easier to understand the addition and deletion of rows and columns.

How to add Rows to a Table in Word?
The following steps show you can add a single row above or below a particular cell in a table in Word. To add more than a single row, you would have to repeat the steps depending on your requirement of additional rows.
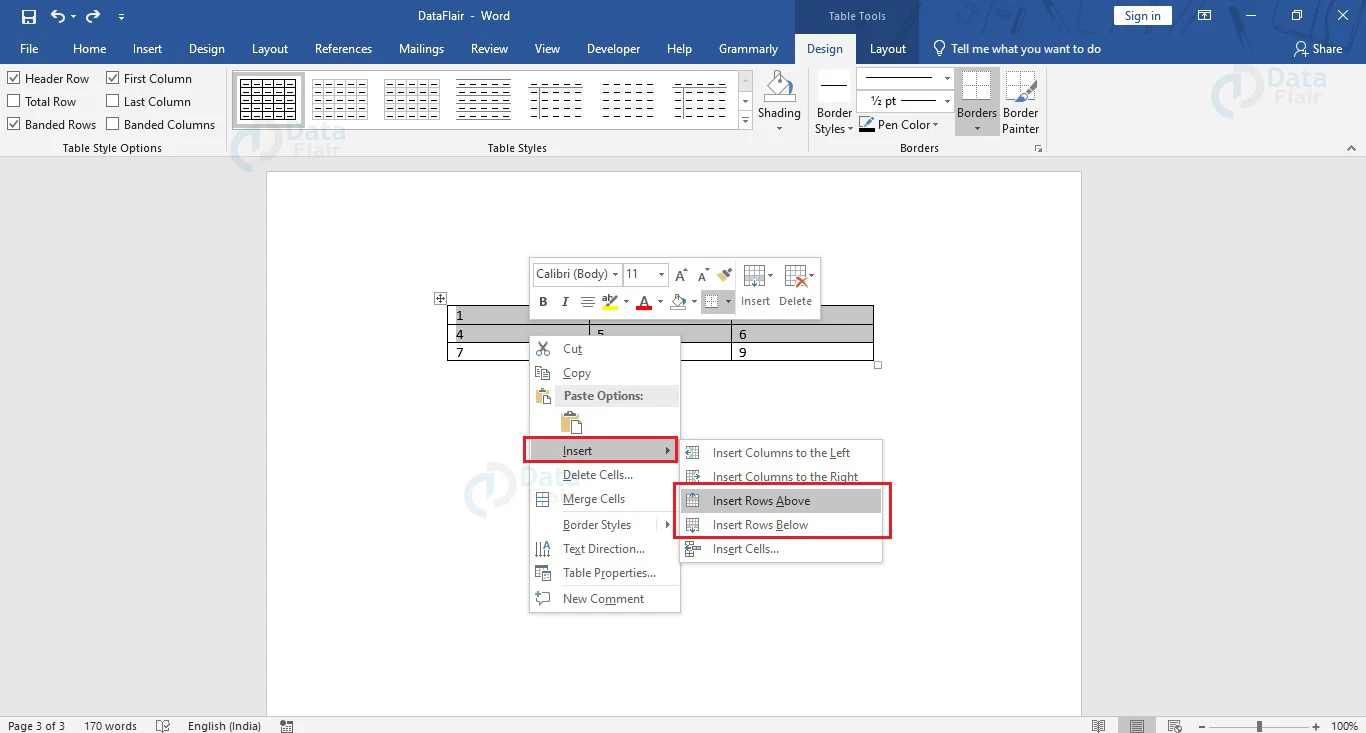
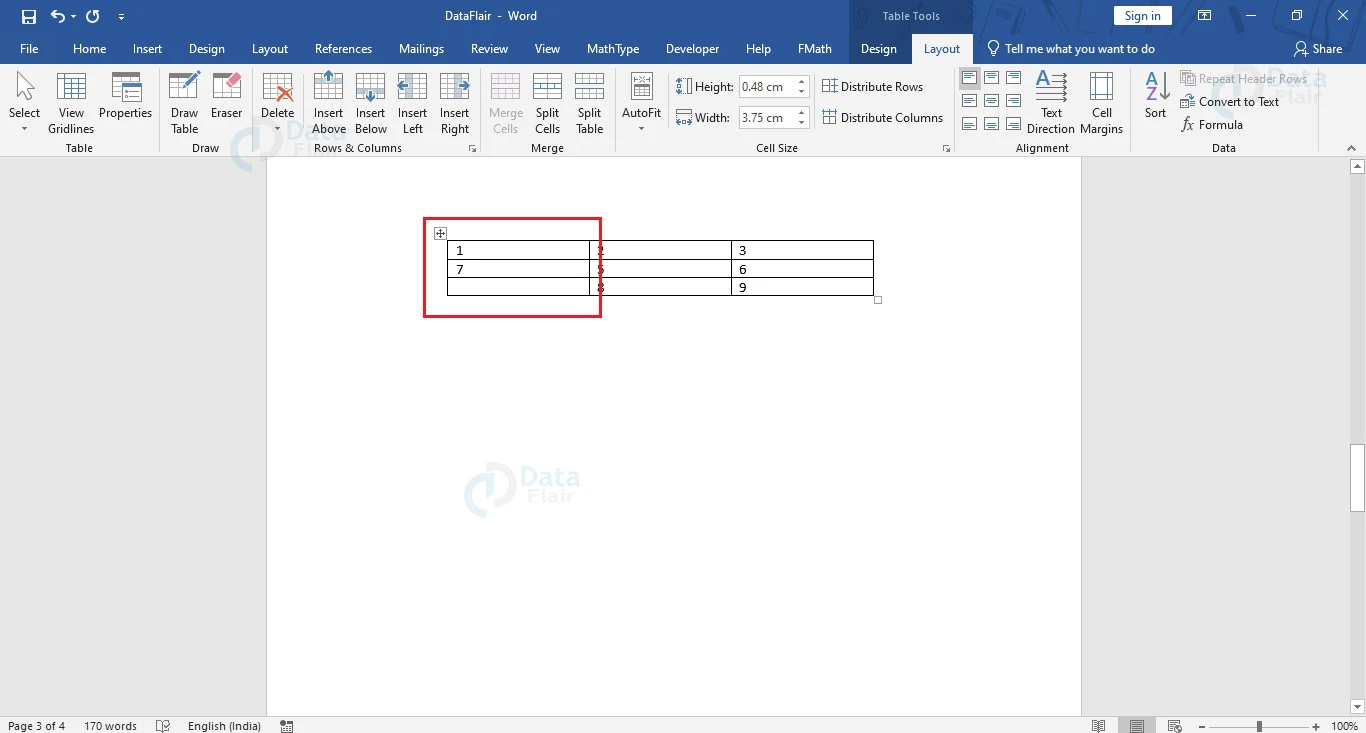
1. Place your cursor in a cell of the table where you wish to insert a new column. You can only insert a new column to the left or right of the cell where your cursor is.
2. Click on the right mouse button to open the related menu and go to the Insert option. On hovering over it, a secondary menu pops out, from where you can choose either Insert Rows Above or Insert Rows Below, depending on your requirements.
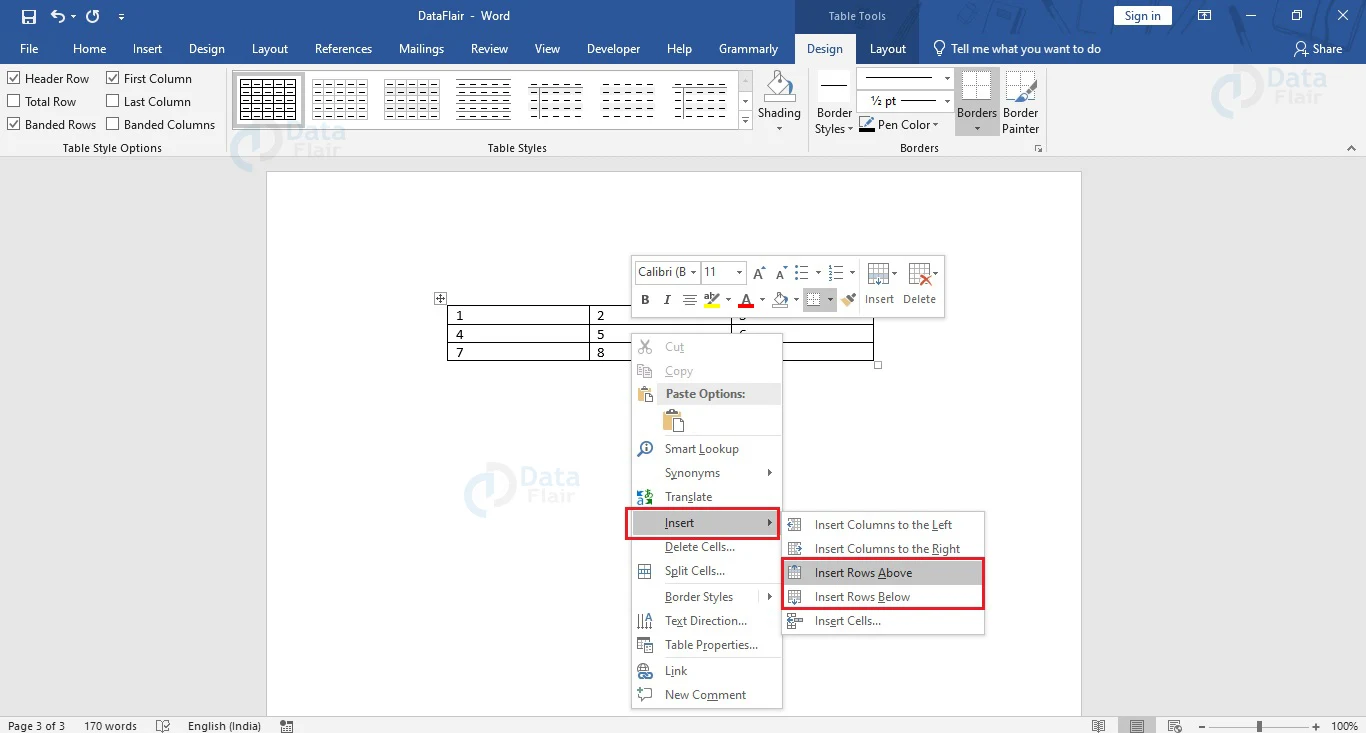
You will notice that a single row has been added above or below the current cell as per your choice.
If you wish to add multiple rows to your table at once, follow the steps below.
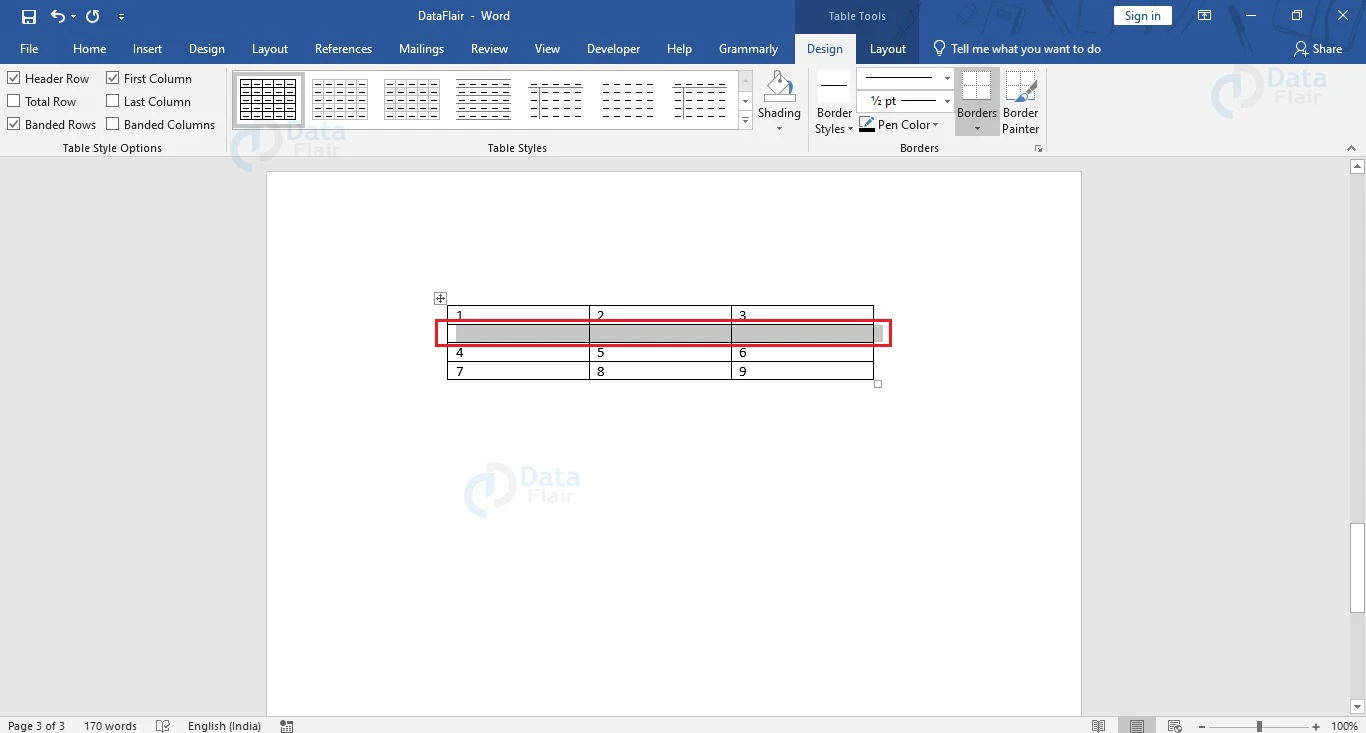
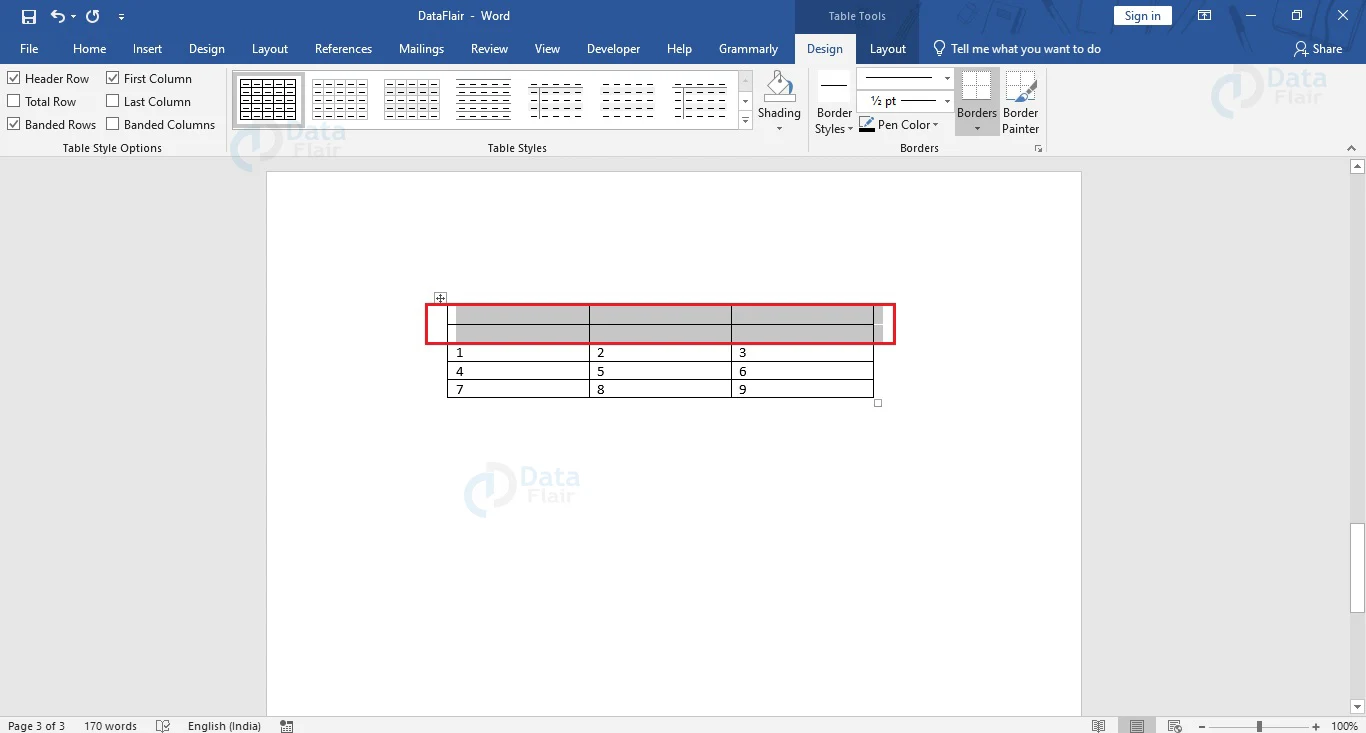
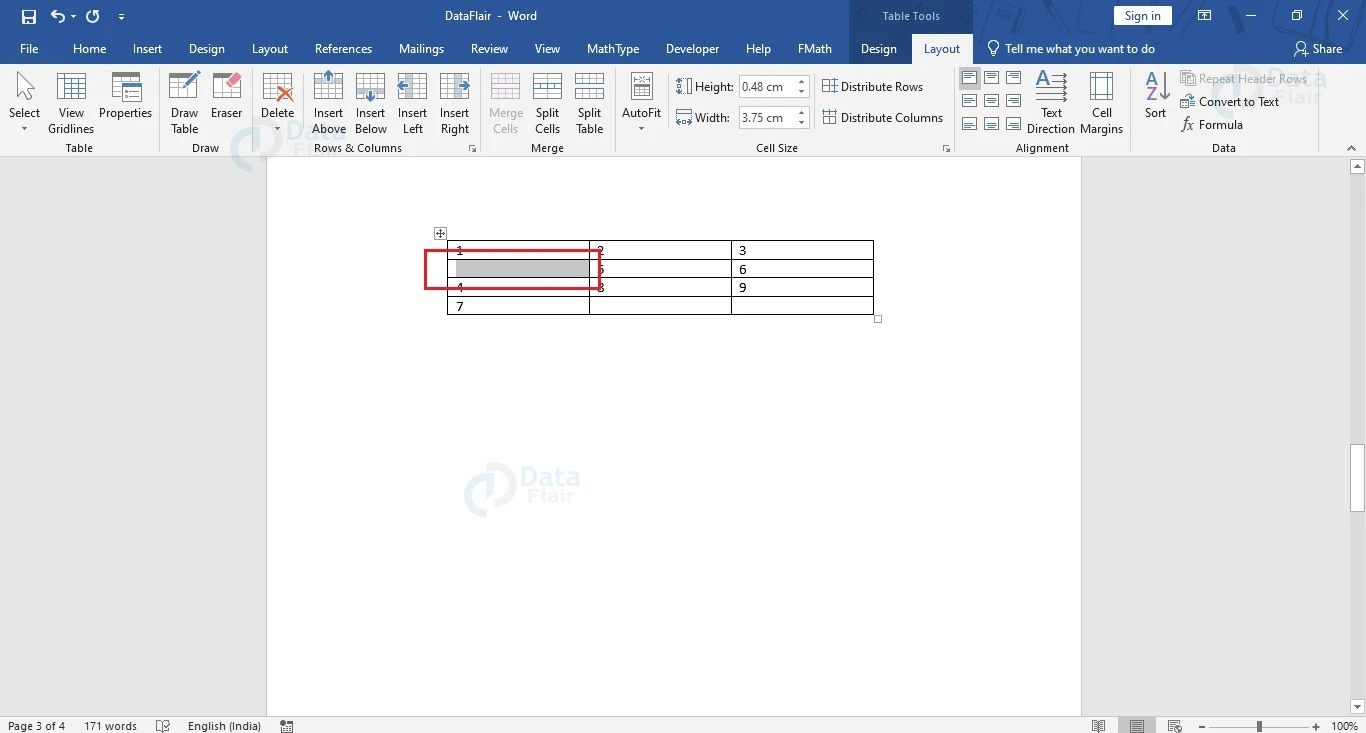
1. Decide on the number of rows you wish to insert into your existing table and select the same number of rows in it.
Make sure to end your selection where you wish to insert the new rows.
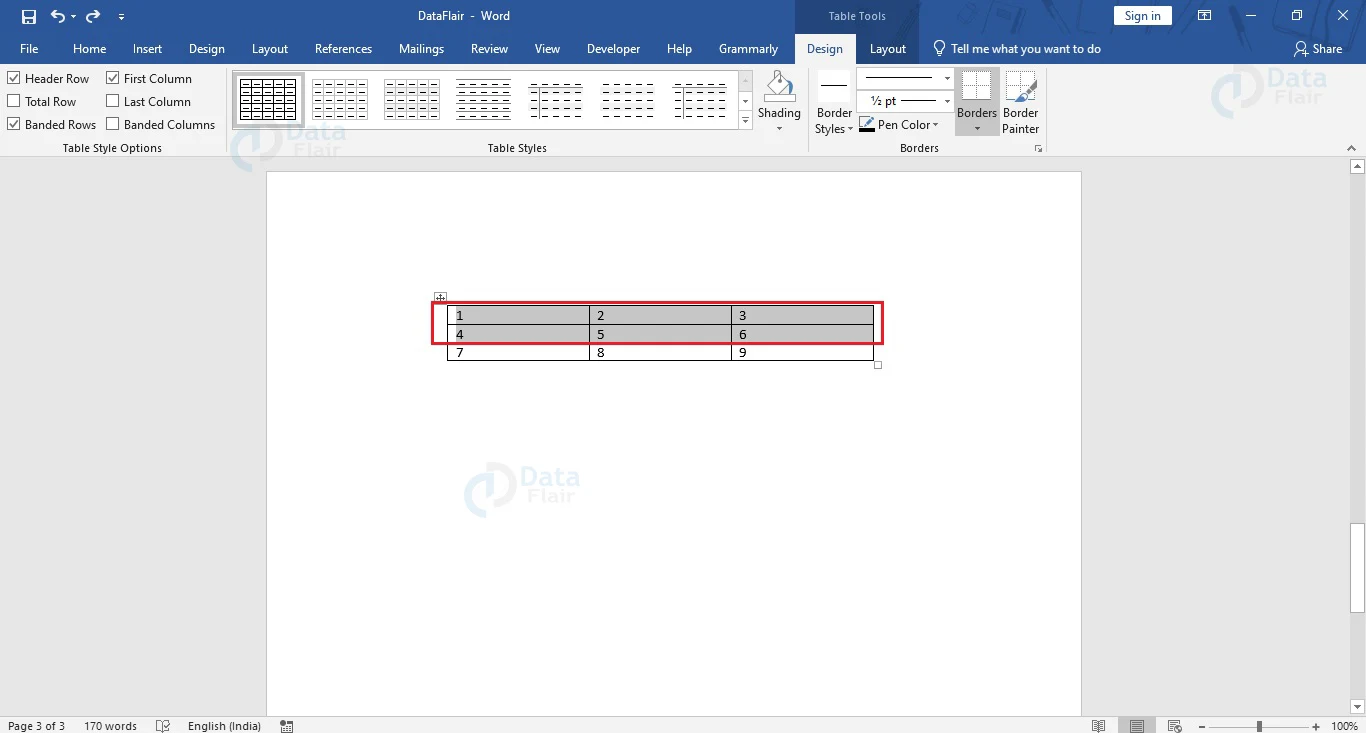
2. Click on the right mouse button to open the related menu and go to the Insert option. On hovering over it, a secondary menu pops out, from where you can choose either Insert Rows Above or Insert Rows Below, depending on your requirements.
You will notice that the same number of rows as you selected has been added. This only works if the number of rows you wish to insert is less than the total number of rows in the table.
Using the Tab key to Add Rows
In Word, you can use the Tab key to insert new rows to your table. However, the addition can only be done after the last row. Follow the steps below to see how you can add a new row to your table using the Tab key in Word.
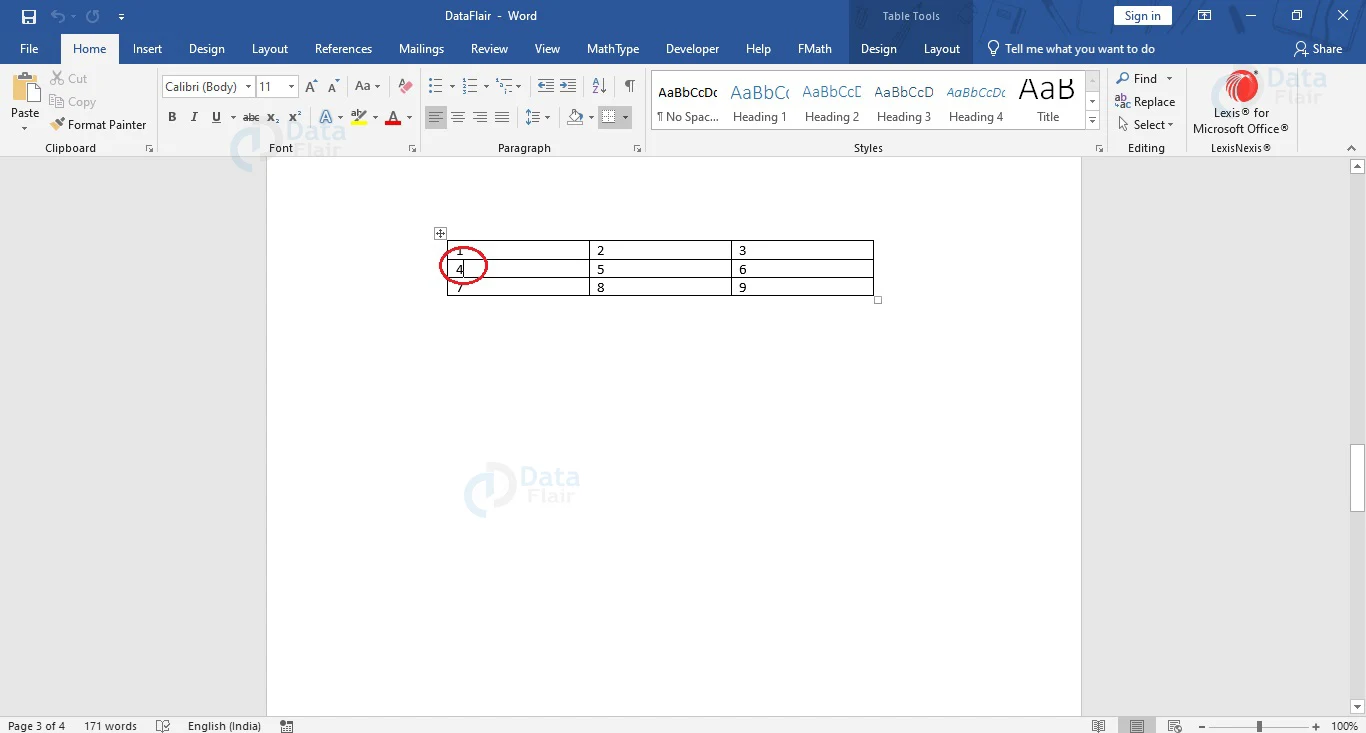
1. Place your cursor at the right-most cell of the bottom row of your table.
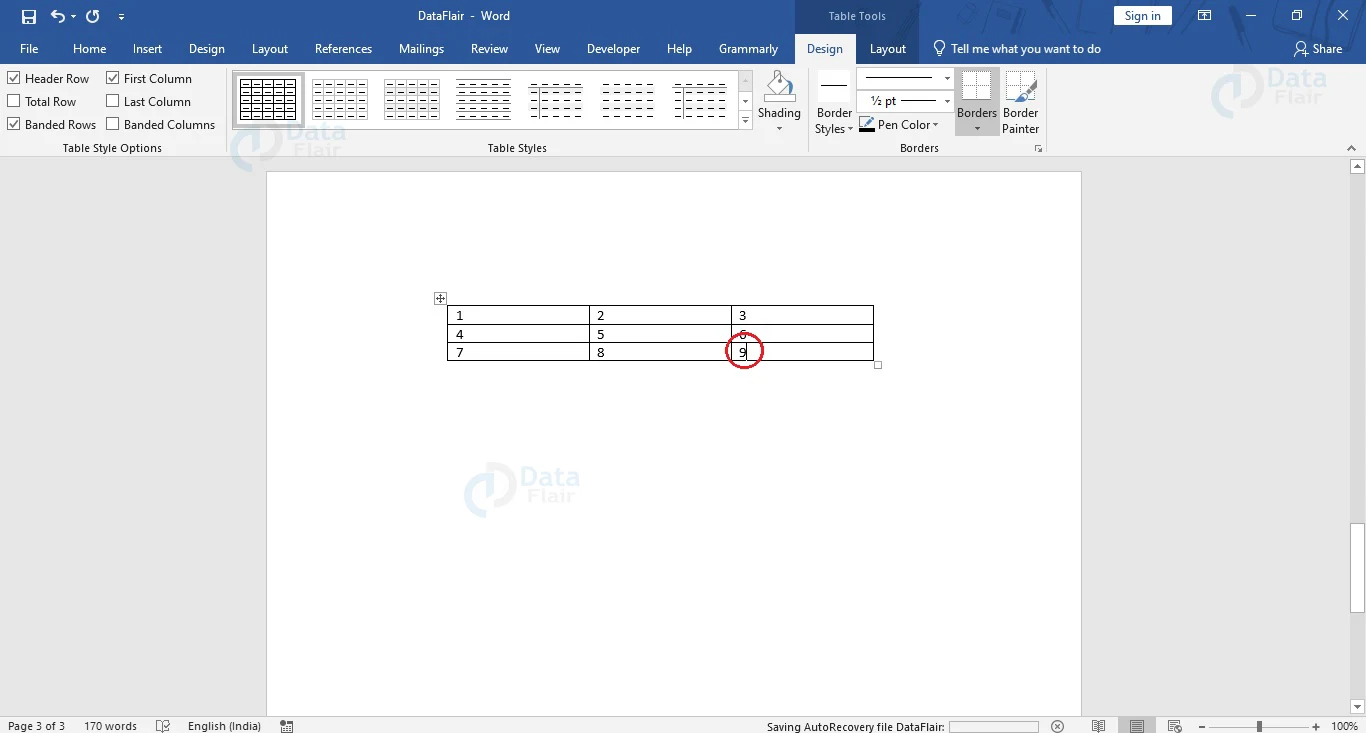
2. Press the Tab key on your keyboard to insert a new row. You will notice that a new row has been added below the last row of your table.

In case you are not at the right-most cell of your last row, pressing the Tab key will only bring you to the next cell. You can repeat the steps to add as many rows as you need.
How to add Columns to a Table in Word?
The following steps show you can add a single column to the right or left of a particular cell in a table in Word. To add more columns, you would have to repeat the steps as per your requirements.
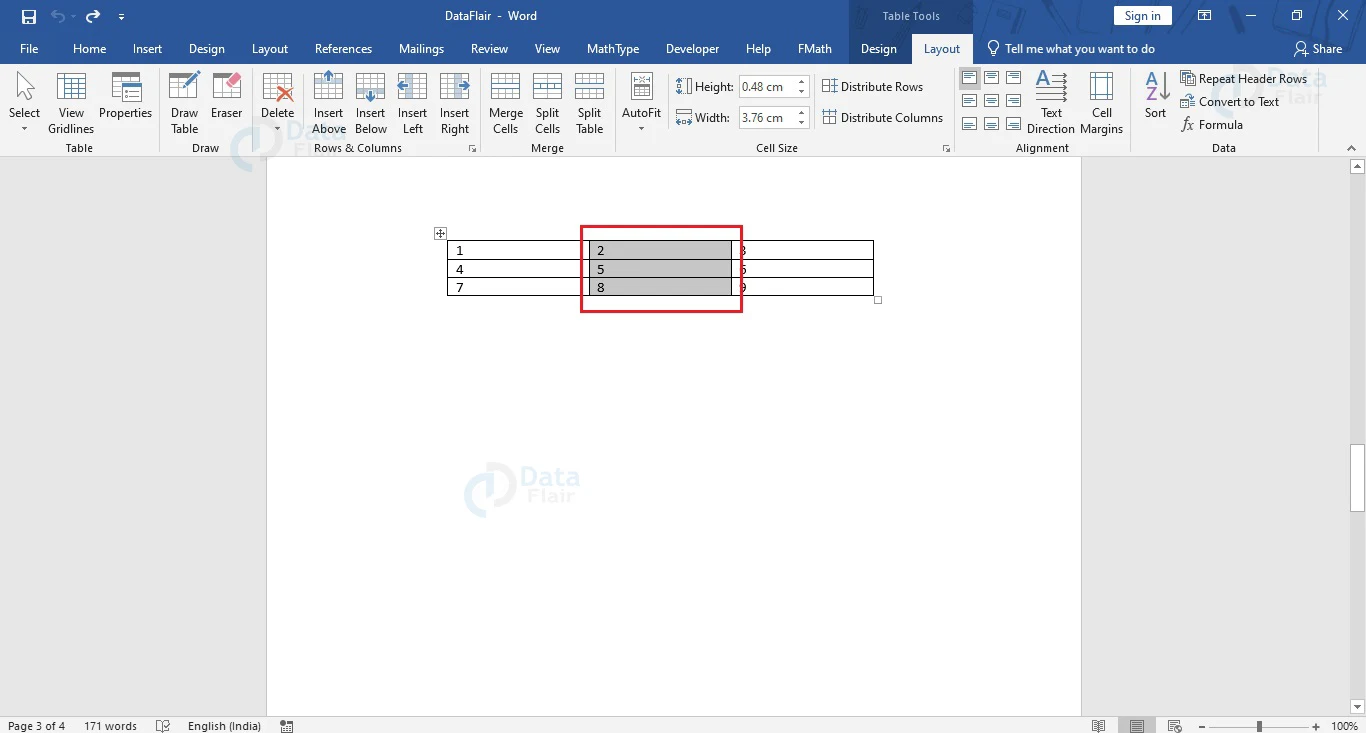
1. Place your cursor in a cell of the table where you wish to insert a row. You can only insert a new row above or below the row where your cursor is.

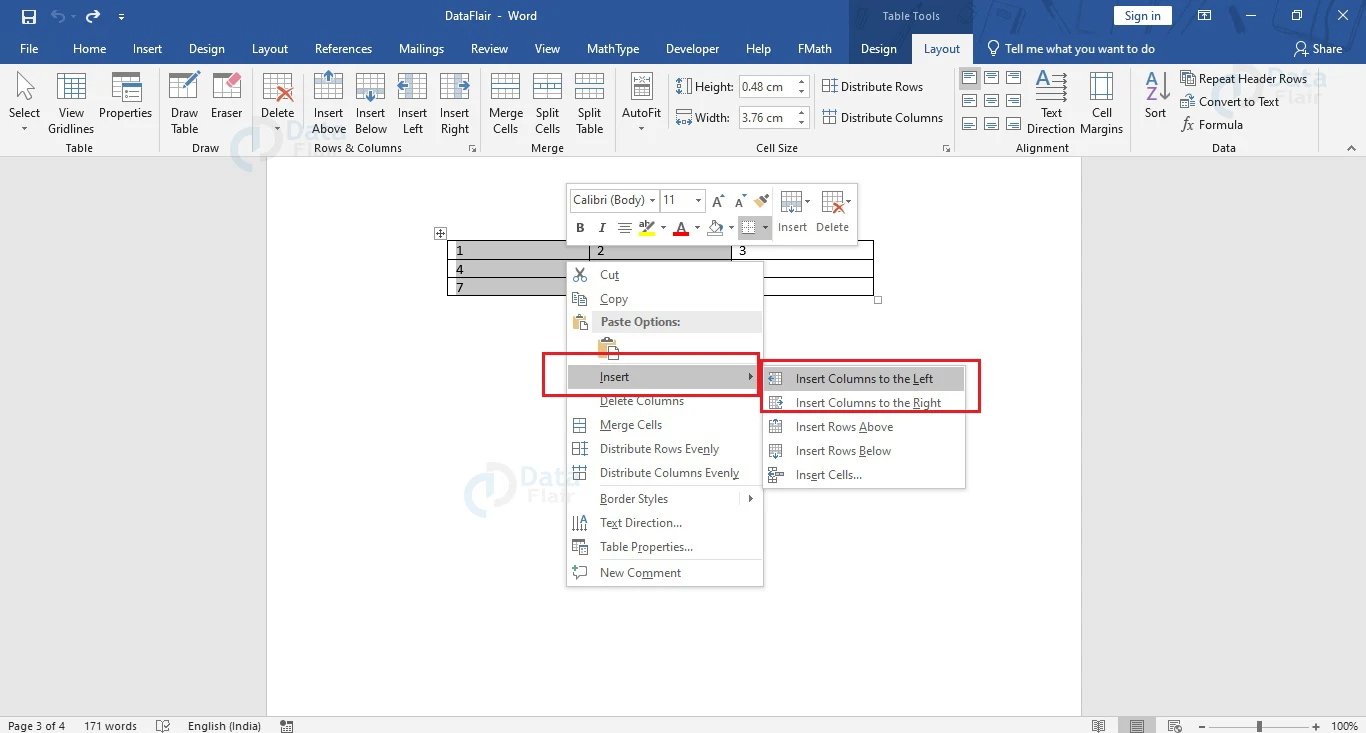
2. Click on the right mouse button to open the related menu and go to the Insert option. On hovering over it, a secondary menu pops out, from where you can choose either Insert Columns to the Left or Insert Columns to the Right depending on your requirements.
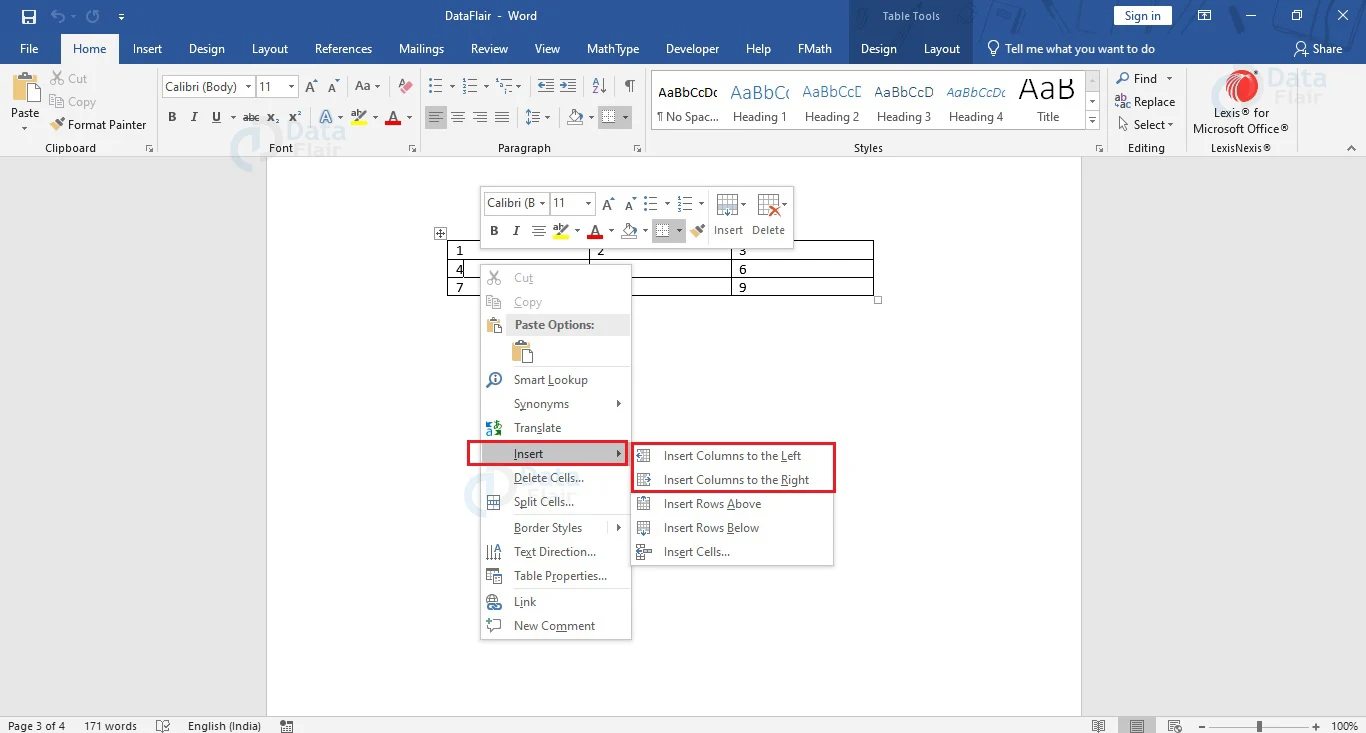
You will notice that a single column has been added to the left or right of the current cell. If you wish to add multiple columns to your table at once, follow the steps below.
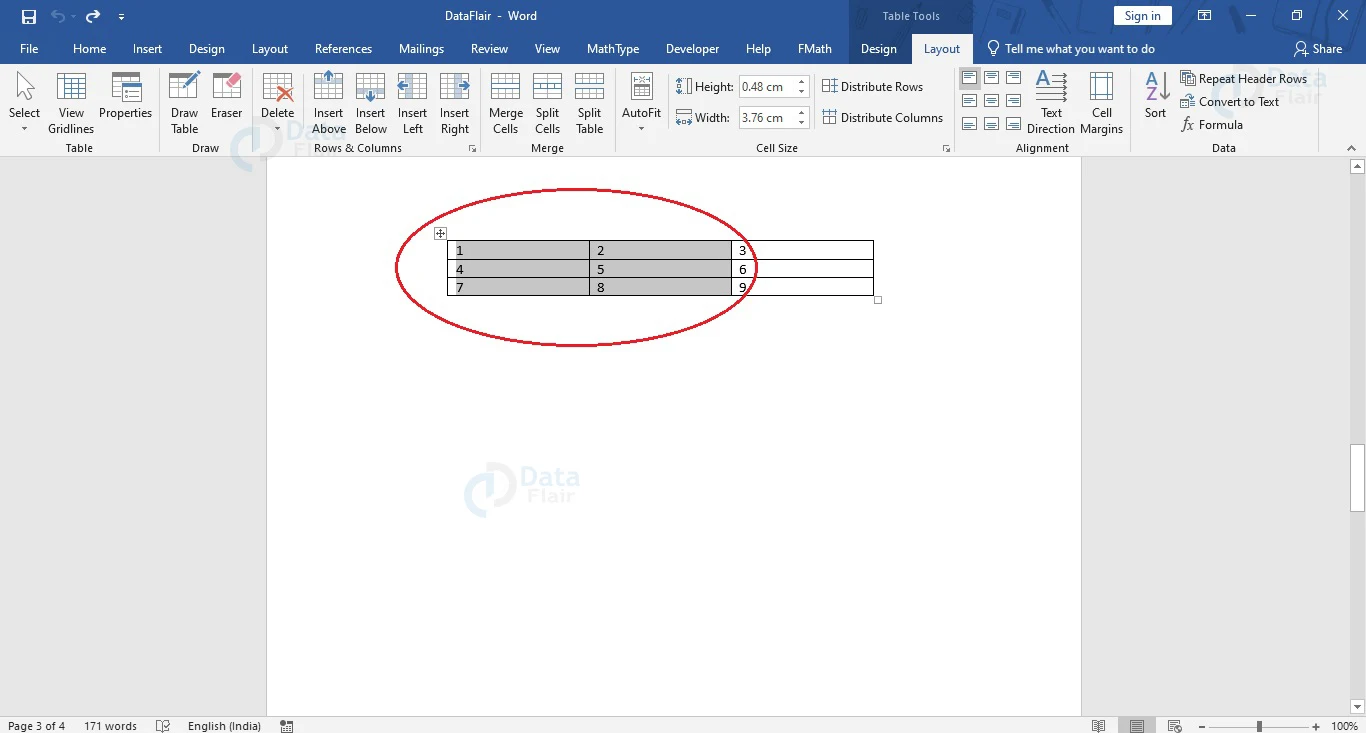
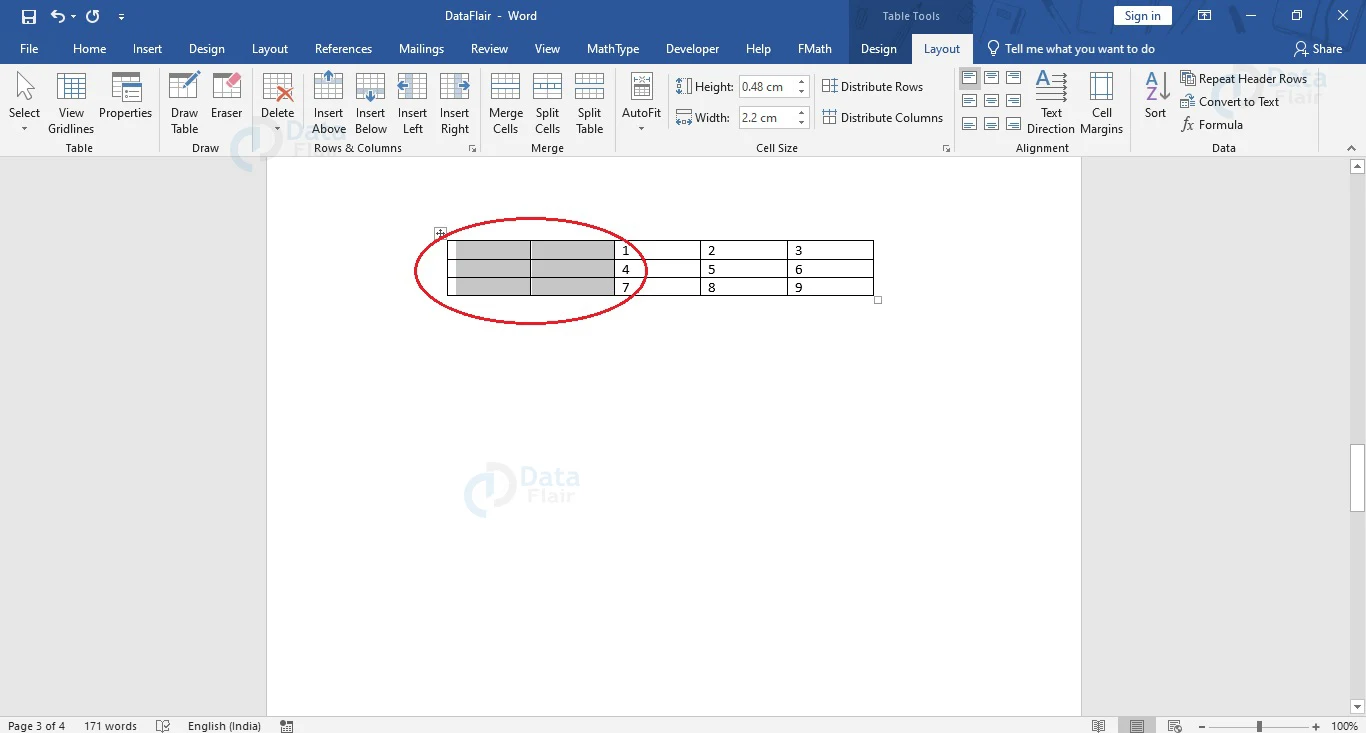
1. Decide on the number of columns you wish to insert into your existing table and select the same number of columns in it.
Make sure to end your selection where you wish to insert the new columns.
2. Click on the right mouse button to open the related menu and go to the Insert option. On hovering over it, a secondary menu pops out, from where you can choose either Insert Columns to the Left or Insert Columns to the Right depending on your requirements.
You will notice that the same number of columns as you selected has been added.
This only works if the number of columns you wish to insert is less than the total number of columns in the table.
How to add Cells in a Table?
A cell is formed by the intersection of rows and columns in a table in Word. To insert a cell in a table in Word, follow the steps given below.
1. Place your cursor inside the table where you wish to insert a cell.

2. Click on the right mouse button and go to the Insert option of the menu that opens.
3. When you hover over Insert, a sub-menu opens up. Choose the Insert Cells… option.

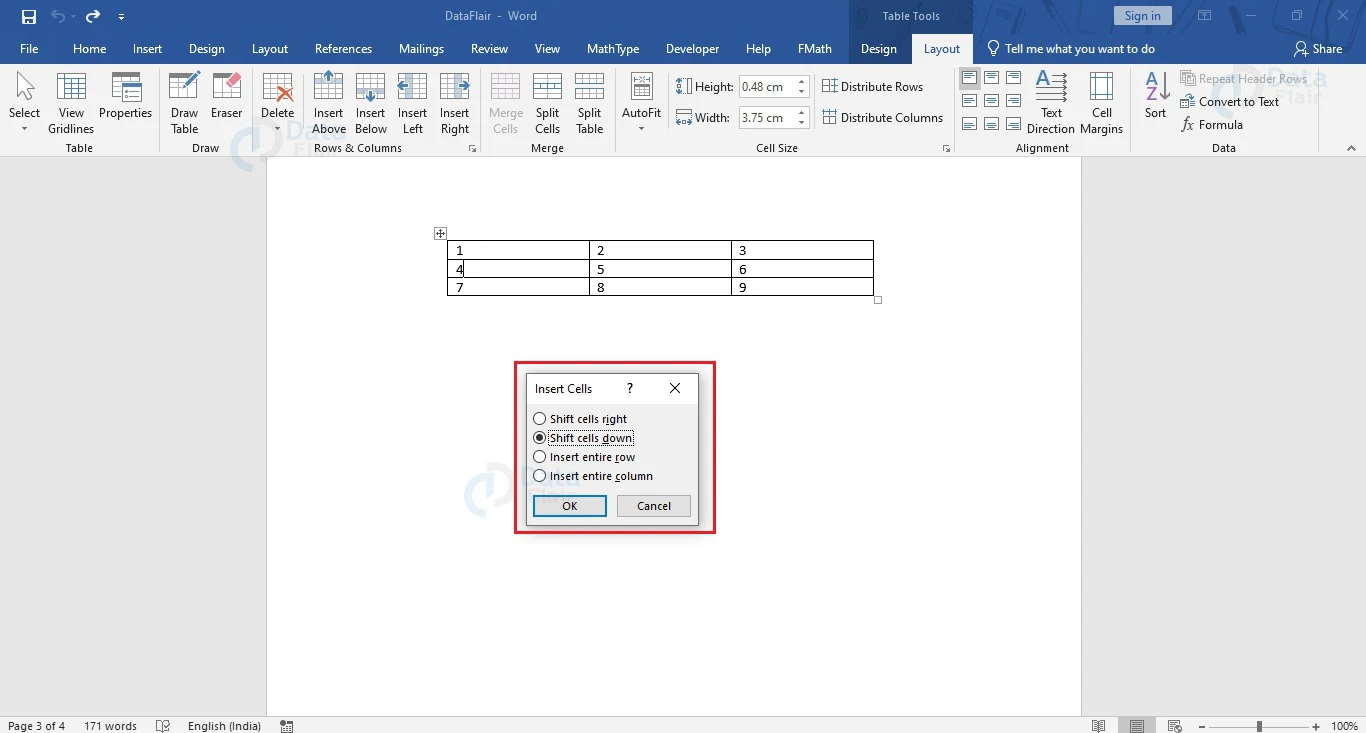
4. The Insert Cells dialog box appears, where you can select any one of the following options.

a. Shift cells right: Shifts succeeding cells to the right and inserts a new cell at the cursor position.
b. Shift cells down: Shifts cells down and inserts a new cell at the cursor position.
c. Insert entire row: Inserts a single row above the current cell.
d. Insert entire column: Inserts a single column to the left of the current cell.
Select the appropriate option and press the Enter key or click on the OK button to finalize your selection and insert cells accordingly.
How to Delete a Row from a Table in word?
In many cases, your table may have redundant or extra rows. Follow the steps given below to remove a row from your table.
1. Place the cursor in a cell of the row that you wish to delete.
2. Click on the right mouse button and choose Delete Cells… option from the menu that appears.
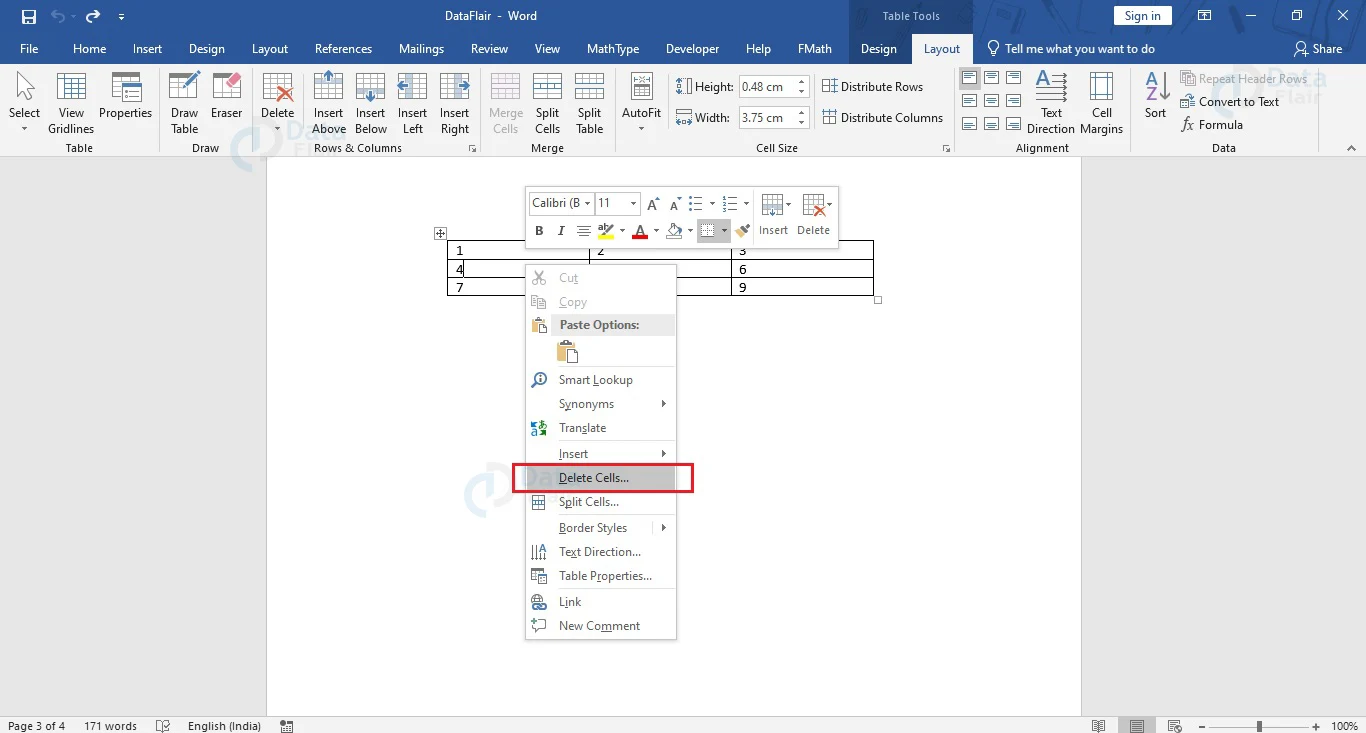
3. From the Delete cells dialog box that appears, choose the radio button corresponding to Delete entire row. Click on the OK button or use the Enter key to delete the row.
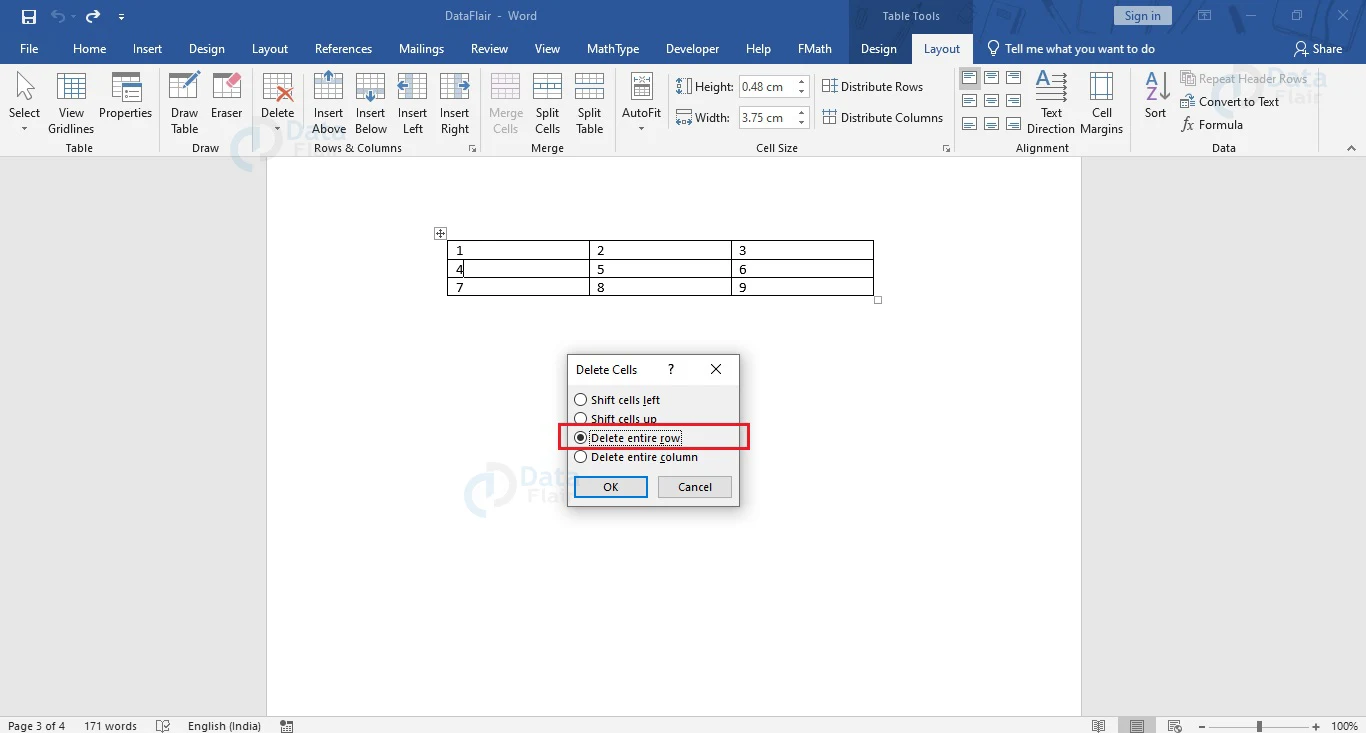
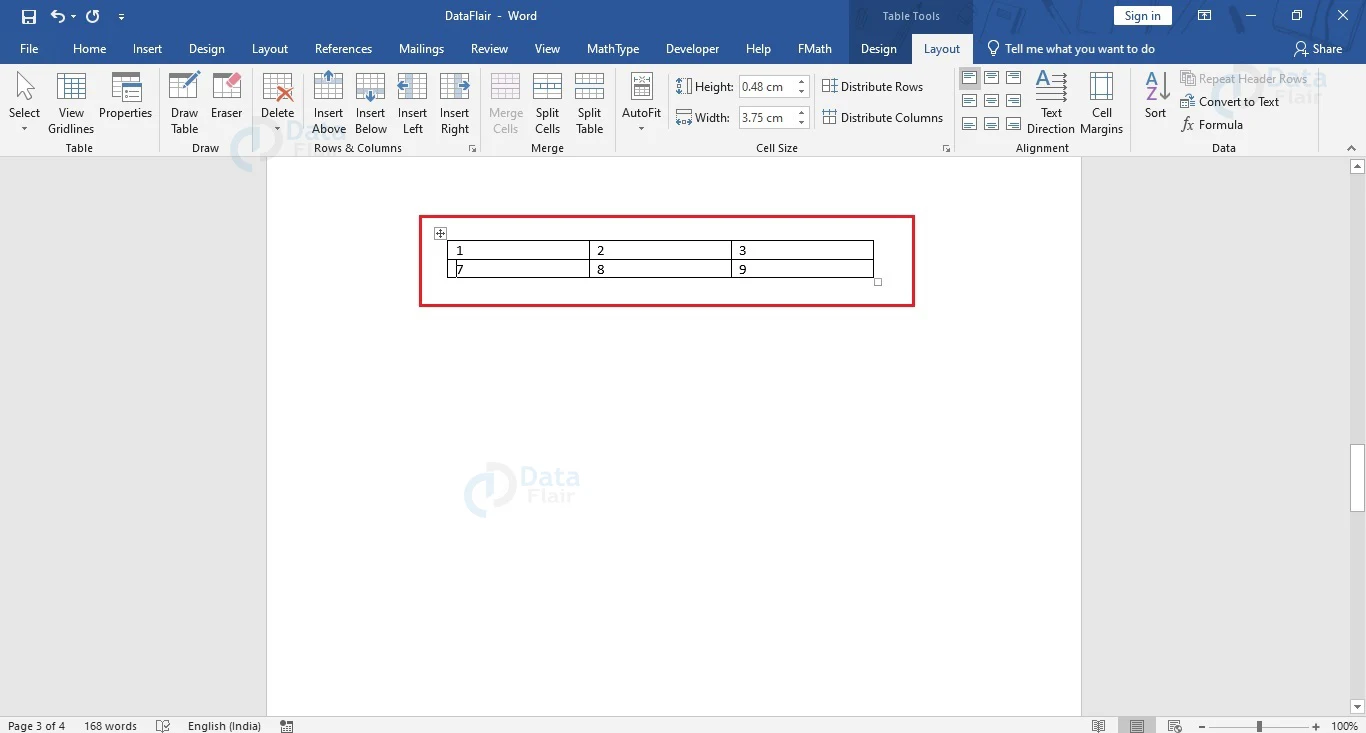
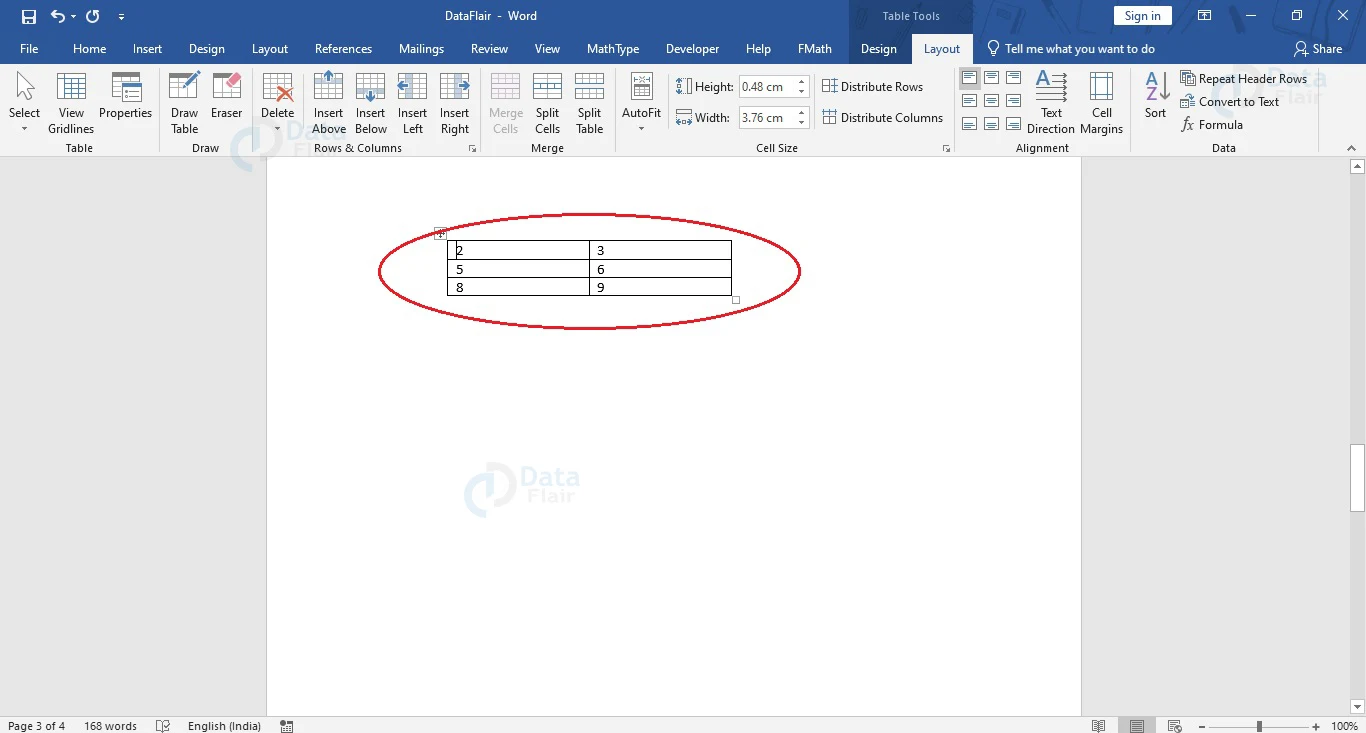
The selected row is deleted and the row below it will shift up..
How to Delete a Column from a Table in Word?
Follow the steps given below to remove a column from your table.
1. Place the cursor in a cell of the column that you wish to delete.

2. Click on the right mouse button and choose Delete Cells… option from the menu that appears.
3. From the Delete cells dialog box that appears, choose the radio button corresponding to Delete entire column.
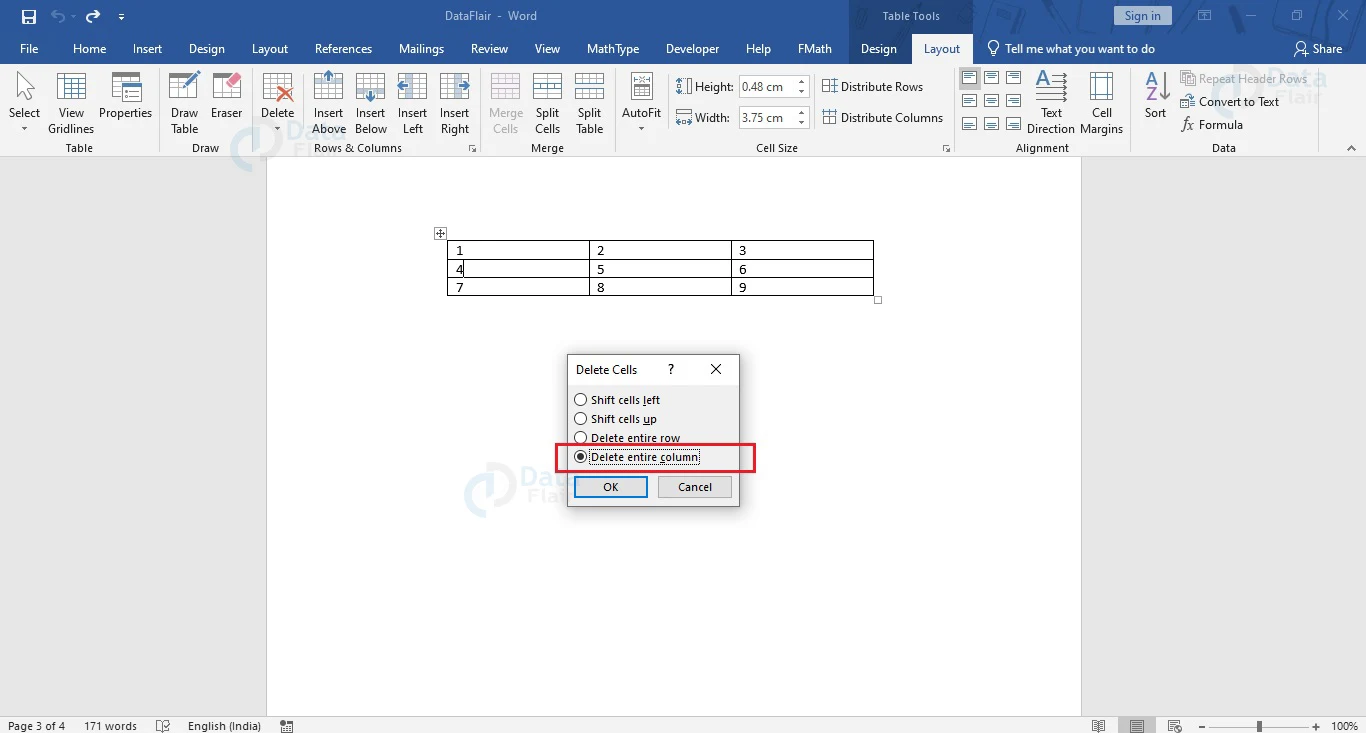
4. Click on the OK button or use the Enter key to delete the column.
How to Delete a Cell from Word Table?
To delete a cell from your table in Word, follow the steps given here.
1. Place your cursor in the cell that you wish to delete.
2. Click on the right mouse button and choose Delete Cells… option from the contextual menu that appears.
3. The Delete Cells dialog box appears. Choose the radiobox corresponding to either Shift cells left or Shift cells up.

4. Click on the OK button or use the Enter key of your keyboard to delete the cell.

Remove Rows and Columns with Keyboard Shortcuts
To use the Delete key to remove rows and columns in Word, follow the steps given below.
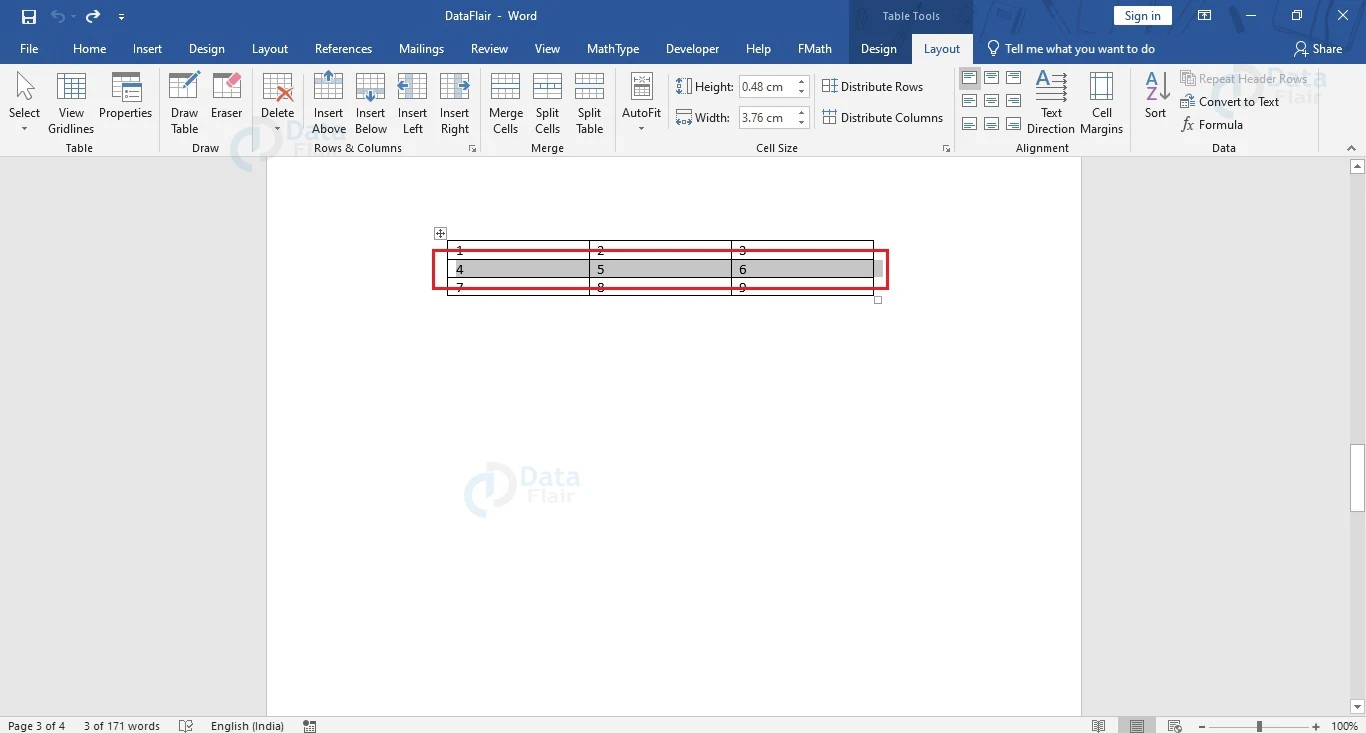
1. Place your mouse pointer just to the left of the row that you wish to delete. If you intend to delete a column, place it just above the top-most cell in the column.
2. Click on the left mouse button to select the corresponding row or column.
3. Use the Backspace key to delete the row or column.

If you use the Delete key, the contents of the row or column will be deleted but the row or column will remain.
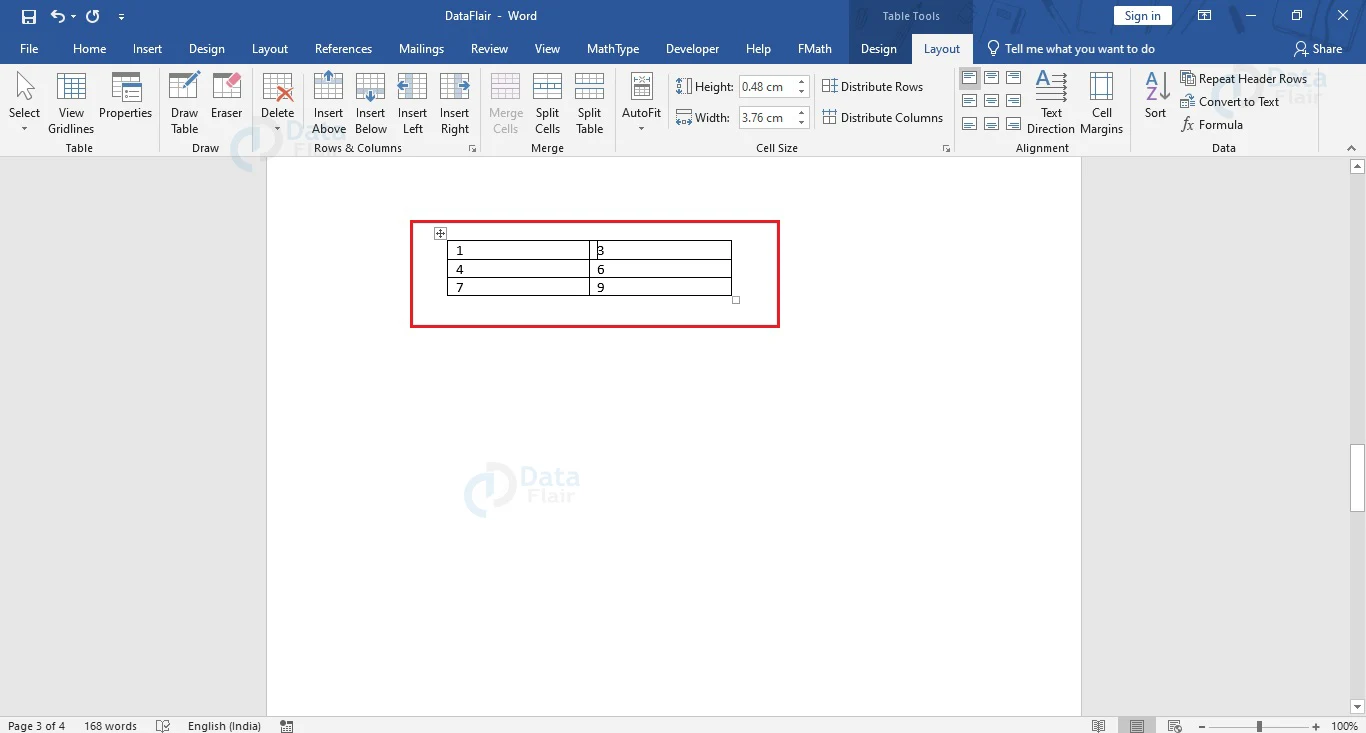
Using the Table Tools Contextual Tab
You can also add or delete rows or columns while working with tables in Word from the Layout tab of the Table Tools contextual tab. This appears whenever you are working on a table.
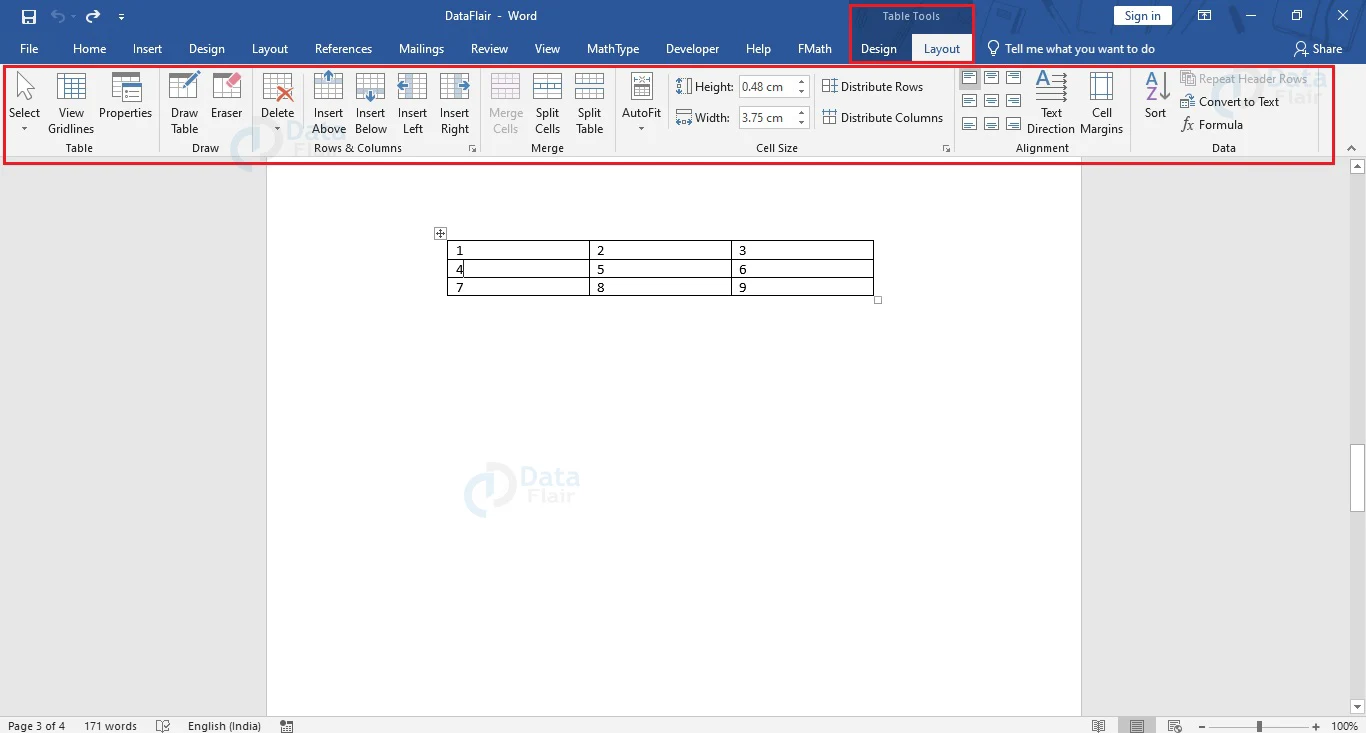
To add rows or columns from the Table Tools contextual tab, follow the steps mentioned below.
1. Place your cursor where you wish to insert a row or column.
2. Go to the Layout tab under Table Tools.
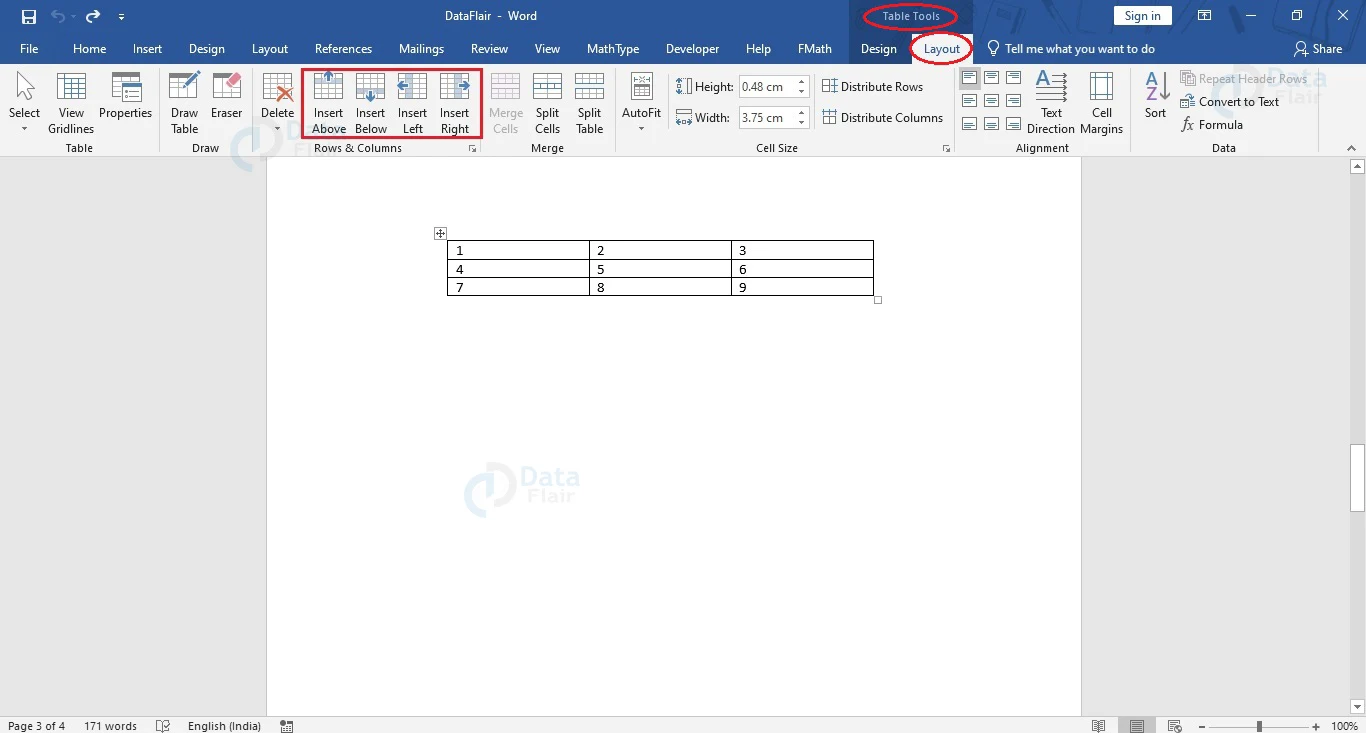
3. From the Rows & Columns group, choose the appropriate choice.
a. Insert Above: Adds a row above the current cursor position.
b. Insert Below: Adds a row below the current cursor position.
c. Insert Left: Adds a column to the left of the current cursor position.
d. Insert Right: Adds a column to the right of the current cursor position.
You will notice that a new row or a new column has been added to your table. Follow the steps given below to delete a row or column from the Table Tools contextual tab.
1. Place your cursor on the row or column that you wish to delete.
2. Go to the Layout tab of the Table Tools contextual tab and click on the Delete option under the Rows & Columns group.
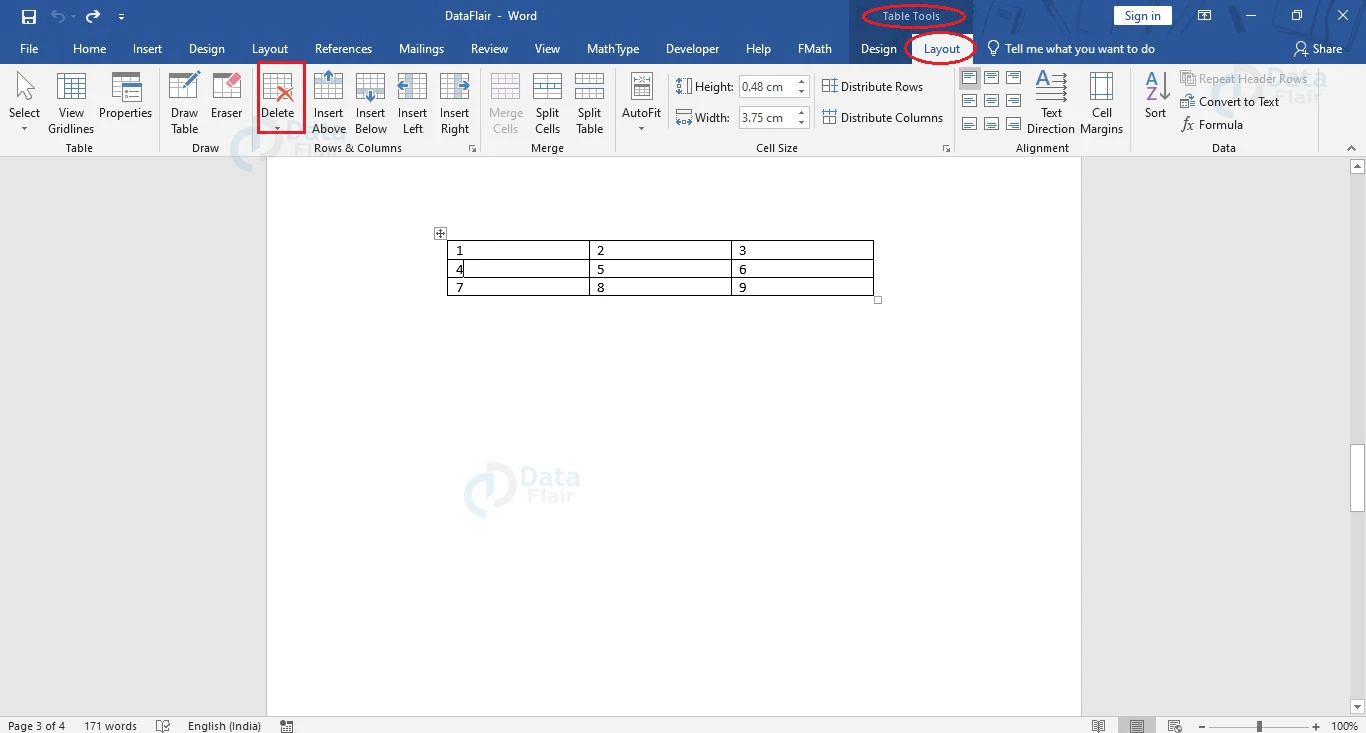
3. Choose the most appropriate choice from the drop-down menu that appears.
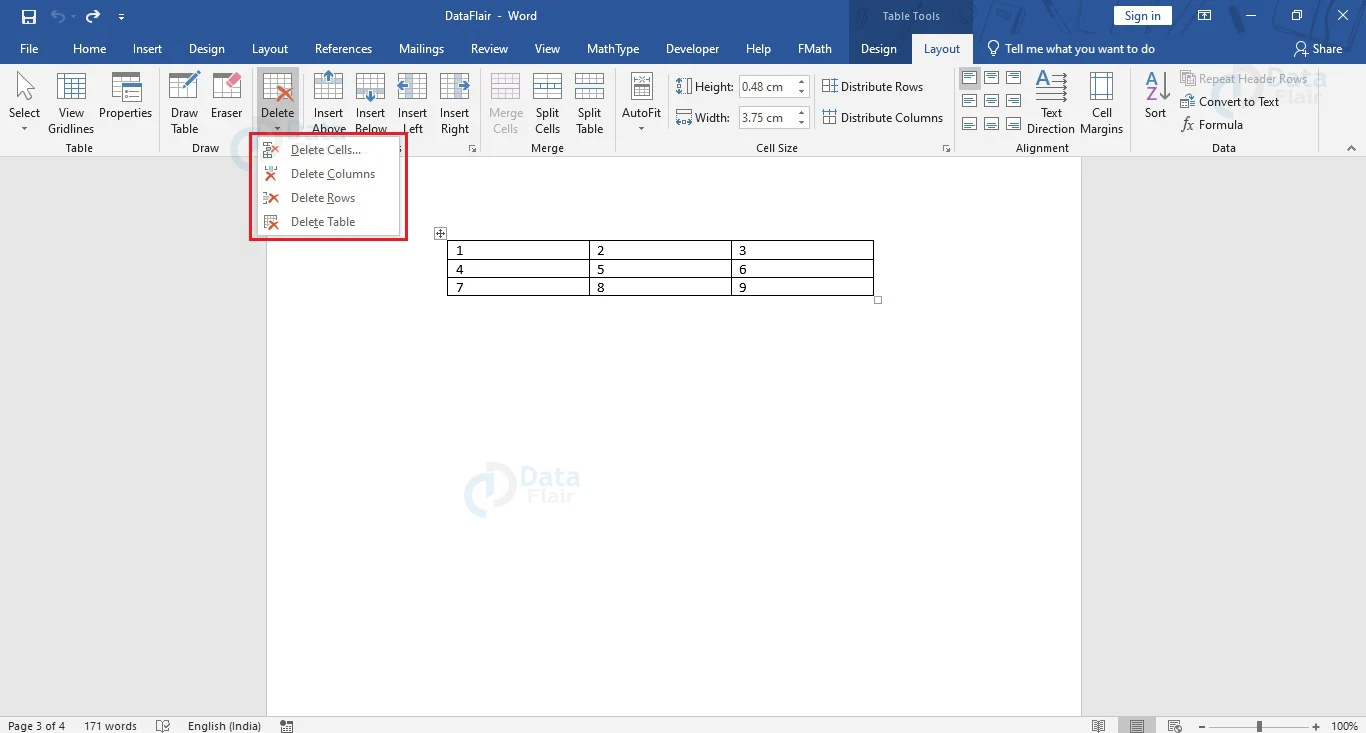
a. Delete Cells…: Deletes the cell you are currently in. On selecting this option, the Delete Cells dialog box appears, where you can choose to Shift cells left, Shift cells up, Delete entire row or Delete entire column.
b. Delete Column: Deletes the entire column.
c. Delete Rows: Deletes the entire row.
d. Delete Table: Allows you to delete the entire table.
The steps below show how you can add a cell from the Table Tools contextual tab.
1. Place your cursor in the table where you wish to insert a new cell.
2. Go to the Layout tab of Table Tools contextual tab and click on the downward arrow in the Rows and Columns group. This opens the Insert Cells dialog box.
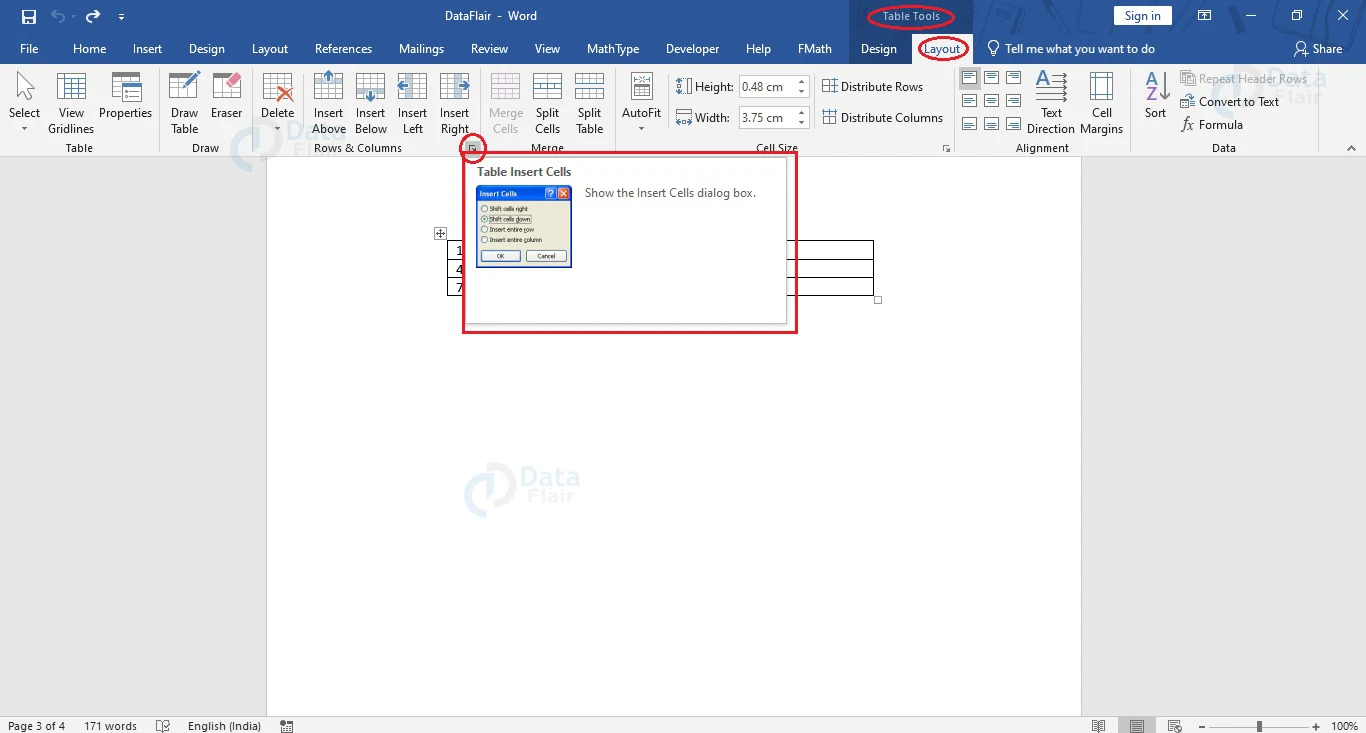
3. Choose one of the options among the following.
a. Shift cells right: Inserts a new cell by shifting all succeeding cells to the right.
b. Shift cells down: Inserts a new cell by shifting all cells below the current cursor position down by one cell.
c. Insert entire row: Inserts a new row at the cursor position by shifting the original row down.
d. Insert entire column: Inserts a new column at the cursor position by shifting the original column to the right.
4. Click on the OK button to finalize your selection.
Conclusion:
As you can see, Word allows you to add and delete rows and columns in tables. Organizing and presenting data becomes very easy due to tables in Word. Follow the steps mentioned here and try inserting and deleting rows and columns in tables in Word to understand the feature better. Tables in Word have a variety of purposes and have been popular since its introduction as a Word feature.