


Git, a powerful version control system, has become an essential tool for developers to manage and track changes in their code repositories. The good news is that Git can be easily installed on the most common operating systems, including Windows, Mac, and Linux. In this blog, we’ll guide you through the installation process for each platform.
Checking for GIT
Before we jump into the installation process, let’s first check if you already have Git installed on your system.
You can do this by opening your terminal application:
- If you’re using a Mac, look for the “Terminal” application.
- On Windows, you can open either the Windows command prompt or “Git Bash.”
Once you have the terminal open, simply type –
"git version"
and hit enter. If you see the version of Git installed, you’re good to go. If not, don’t worry; we’ll walk you through the installation steps.
Installing GitHub Desktop
For those who are just starting with Git and prefer a user-friendly interface, GitHub Desktop is an excellent choice. It not only provides a graphical user interface (GUI) but also comes with the latest version of Git bundled. GitHub Desktop offers an intuitive collaboration tool for Git. You can find more information about GitHub Desktop on their official website.
Installing GIT on Windows

If you’re a Windows user, follow these simple steps to install Git:
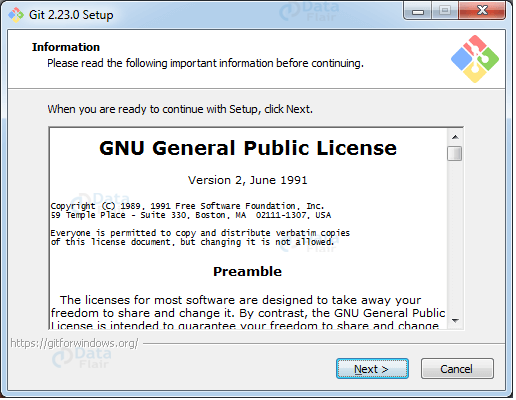
- Start by going to the latest Git for Windows installer and downloading the most recent version.
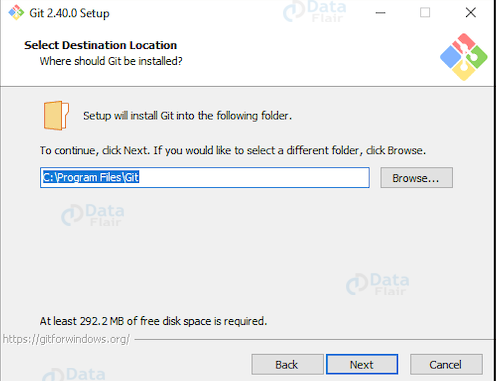
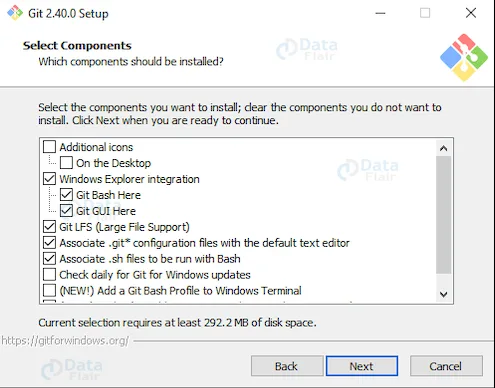
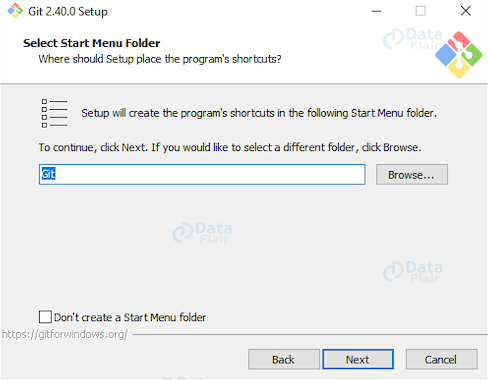
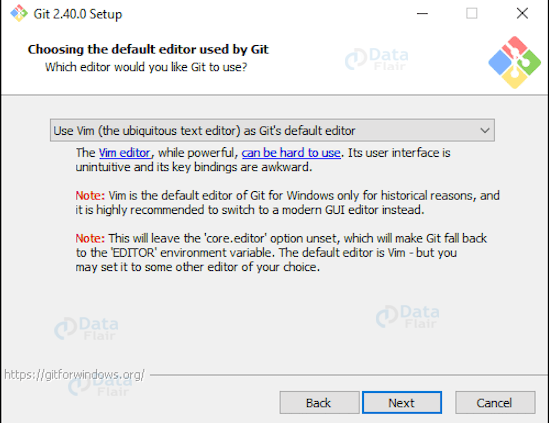
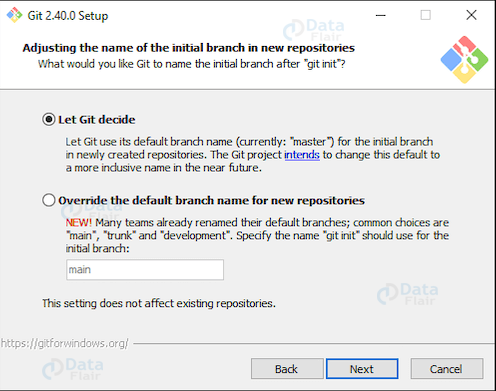
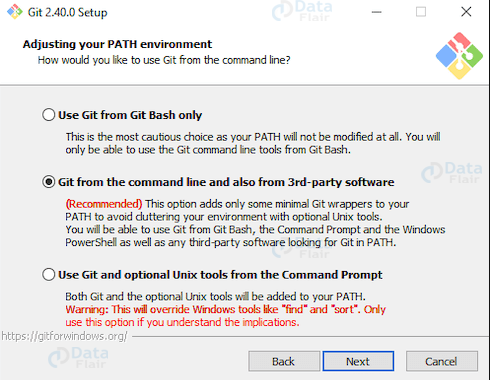
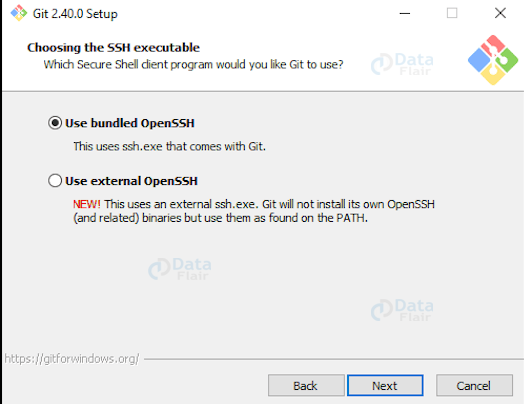
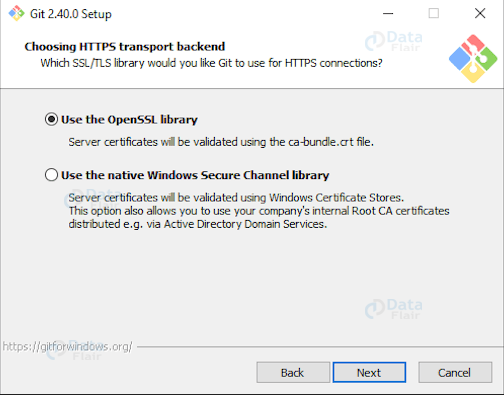
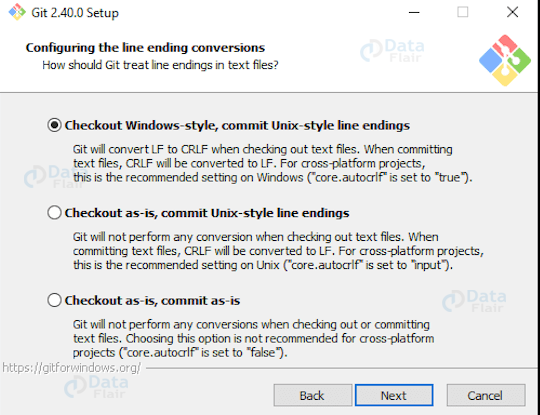
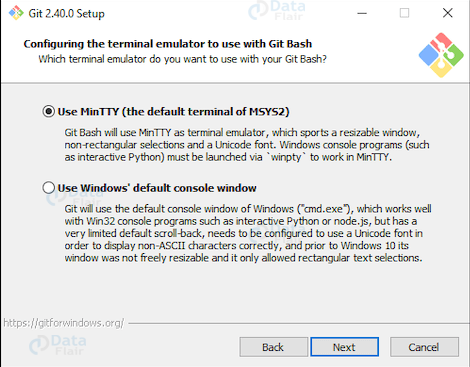
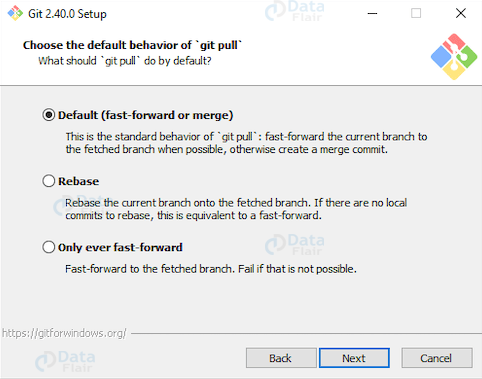
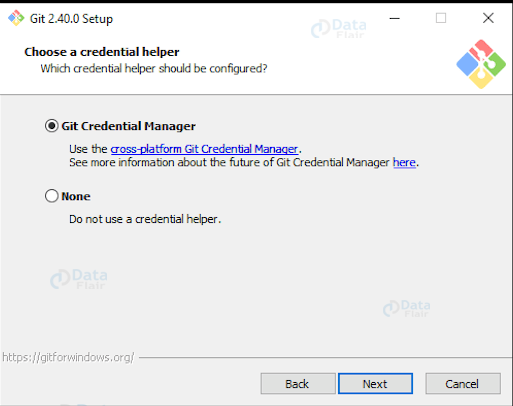
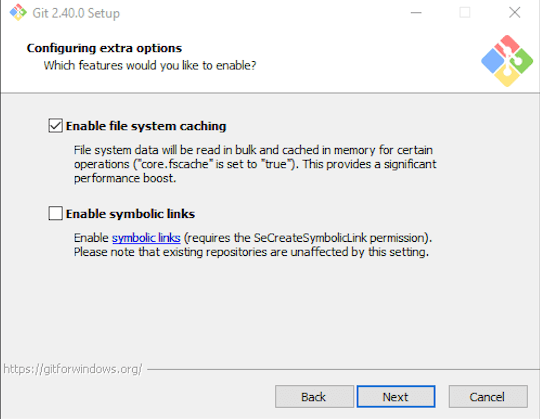
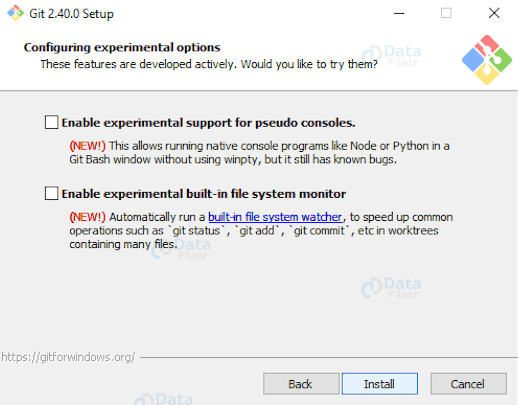
- Once the installer is downloaded, run it and follow the instructions provided in the Git Setup wizard until the installation is complete.
- After the installation, open the Windows command prompt (or use Git Bash if you prefer).
- To confirm that Git is successfully installed, type “git version” in the command prompt.
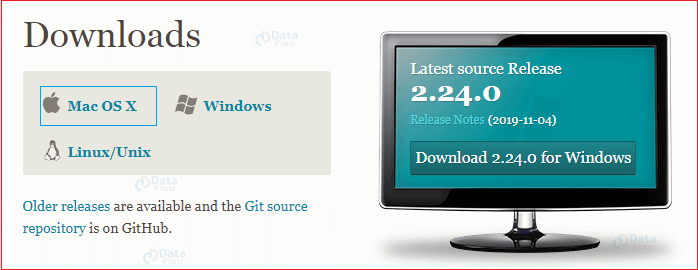
As an alternative, you can also download Git for Windows from “git-scm.” The advantage of using this source is that it includes the latest version of Git along with the recommended command prompt, Git Bash.
Installing GIT on Mac
In the world of modern software development, Git, the versatile version control system, is an indispensable tool. Below, we’ll guide you through the process of getting Git up and running on your macOS system. It’s worth noting that if you’ve already got XCode or its Command Line Tools installed, Git might already be there. To verify, just fire up a terminal and type in
‘git --version’.
If it’s not installed, no worries; you can install the latest version using either of these methods:
Installing Git from Mac Installer:
- Head to the latest macOS Git Installer and download the newest version.
- Run the installer and follow the provided instructions to complete the installation.
- To ensure everything went smoothly, open the terminal and type “git version.”
git --version
Set up your Git username and email with these commands (just replace “Your Name” and “your.email@example.com” with your own details):
git config --global user.name "Your Name"
git config --global user.email "your.email@example.com"
Installing Git from Homebrew:
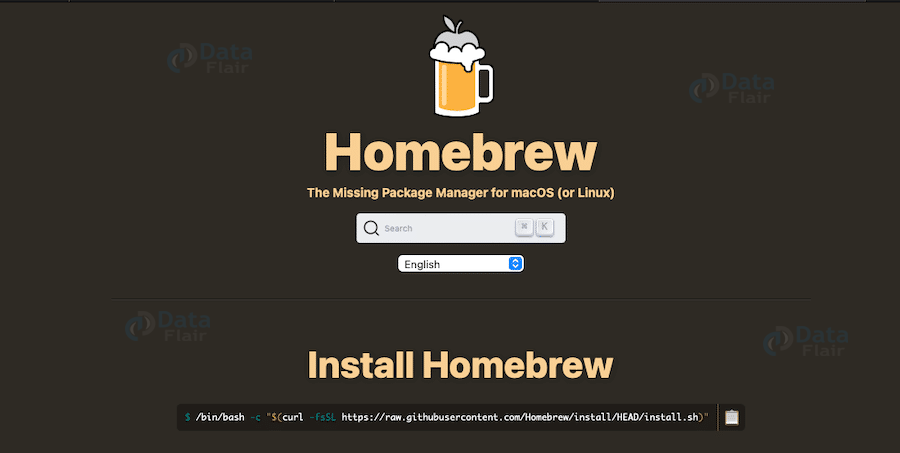
Homebrew is a popular package manager for macOS. If you already have it installed, you can easily get Git by typing “brew install git” in the terminal.
brew install git
Confirm the installation by typing “git version.”
git --version
Sort out your username and email:
git config --global user.name "Your Name"
git config --global user.email "your.email@example.com"
As with the Windows installation, you can also download the latest version of Git from “git-scm.”
Installing GIT from MacPorts
Open your terminal and give MacPorts a little nudge to update:
$ sudo port selfupdate
Scout around for the latest Git ports and versions:
$ port search git
$ port variants git
Install Git along with bash completion, OS X keychain helper, and documentation:
$ sudo port install git +bash_completion +credential_osxkeychain +doc
Configure your Git username and email:
$ git config --global user.name "Your Name"
$ git config --global user.email "your.email@example.com"
Leveraging the git-credential-osxkeychain Helper –
This little helper makes life smoother by letting you stash your Git credentials in the macOS keychain. Here’s how to get it
Make sure the helper isn’t already in place:
$ git credential-osxkeychain
If it’s not there, grab the git-credential-osxkeychain file, and park it in ‘/usr/local/bin’:
$ curl -O http://github-media-downloads.s3.amazonaws.com/osx/git-credential-osxkeychain
$ sudo mv git-credential-osxkeychain /usr/local/bin/
Give the file a green light to run:
$ chmod u+x /usr/local/bin/git-credential-osxkeychain
Tell Git to rely on the osxkeychain credential helper:
$ git config --global credential.helper osxkeychain
Installing GIT on Linux
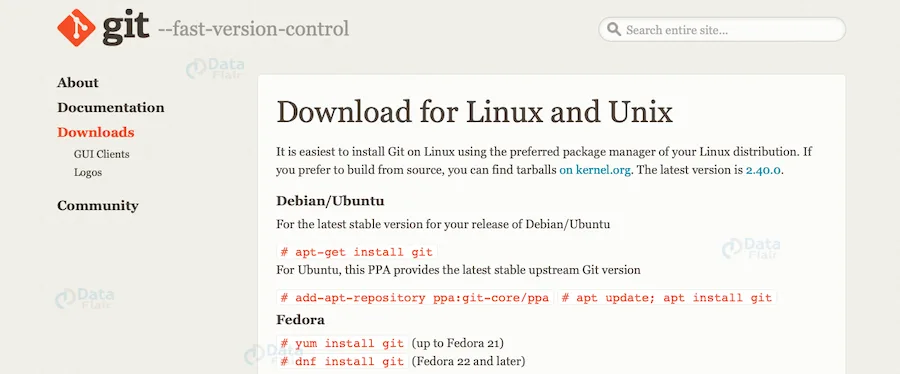
Since Git was originally developed for versioning the Linux operating system, it’s no surprise that installing Git on Linux is straightforward. You can use your distribution’s package management tool to do it.
For Debian/Ubuntu:
- Git packages are available using apt.
- Start by updating everything with “sudo apt-get update” in the terminal.
$ sudo apt-get update
$ sudo apt-get install git
- Install Git with “sudo apt-get install git-all.”
- Confirm the installation with “git version.”
For Fedora:
- Git packages are available using dnf.
- Install Git with “sudo dnf install git-all.”
$ sudo apt-get update
$ sudo apt-get install git
Confirm the installation with “git version.”
$ git --version
For more detailed instructions on installing Git on specific Linux systems, such as Ubuntu or Fedora, you can find additional resources in the documentation provided by “git-scm.”
Conclusion
With Git successfully installed on your system, you’re now ready to harness the power of this version control system for your development projects. Happy coding!