


Placement-ready Online Courses: Your Passport to Excellence - Start Now
Hey Everyone, welcome back to our tutorials. In this tutorial, you will learn to integrate Facebook into your Android Application. So here I’ll tell you the important steps for Facebook integration in Android. Let’s begin to learn it step-wise.
So, to integrate the Facebook login you will begin with Facebook Developers.
Implementation of Facebook Integration in Android
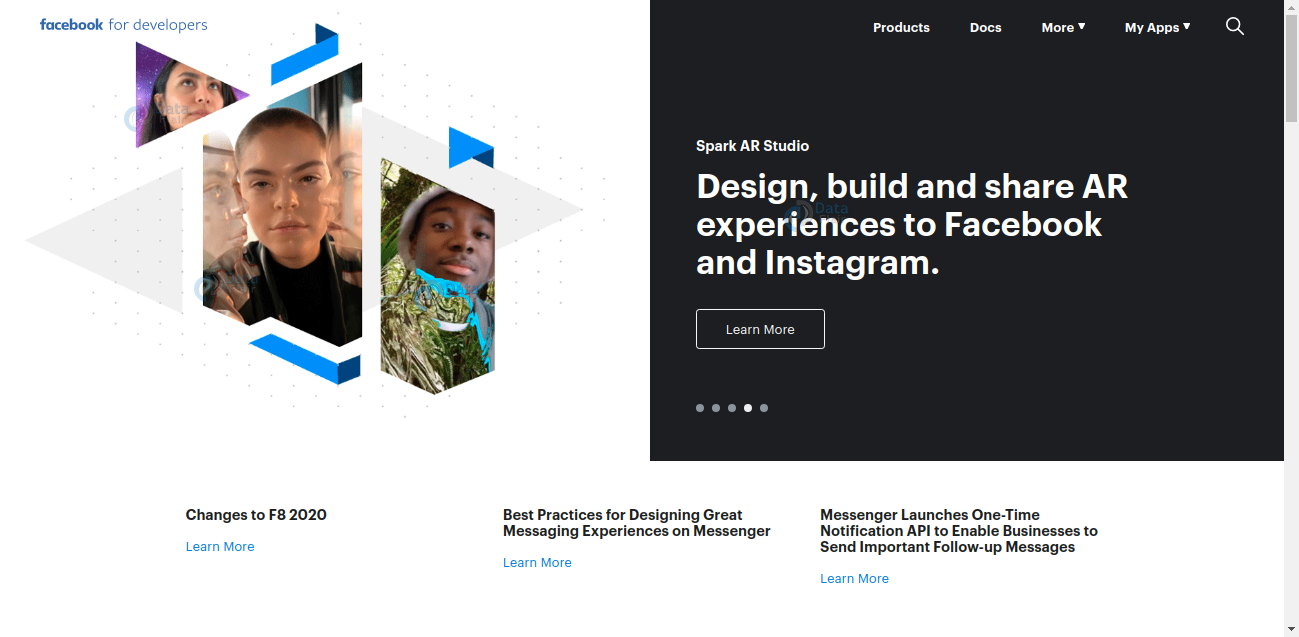
1. Here you first need to register your application on the Facebook Developers website. This allows Facebook to authenticate the requests that are generated from your app. Now you will begin with opening the Facebook Developers site.
2. After opening the Facebook Developers site, you will create a new application or select an existing one, for that you should do the following:

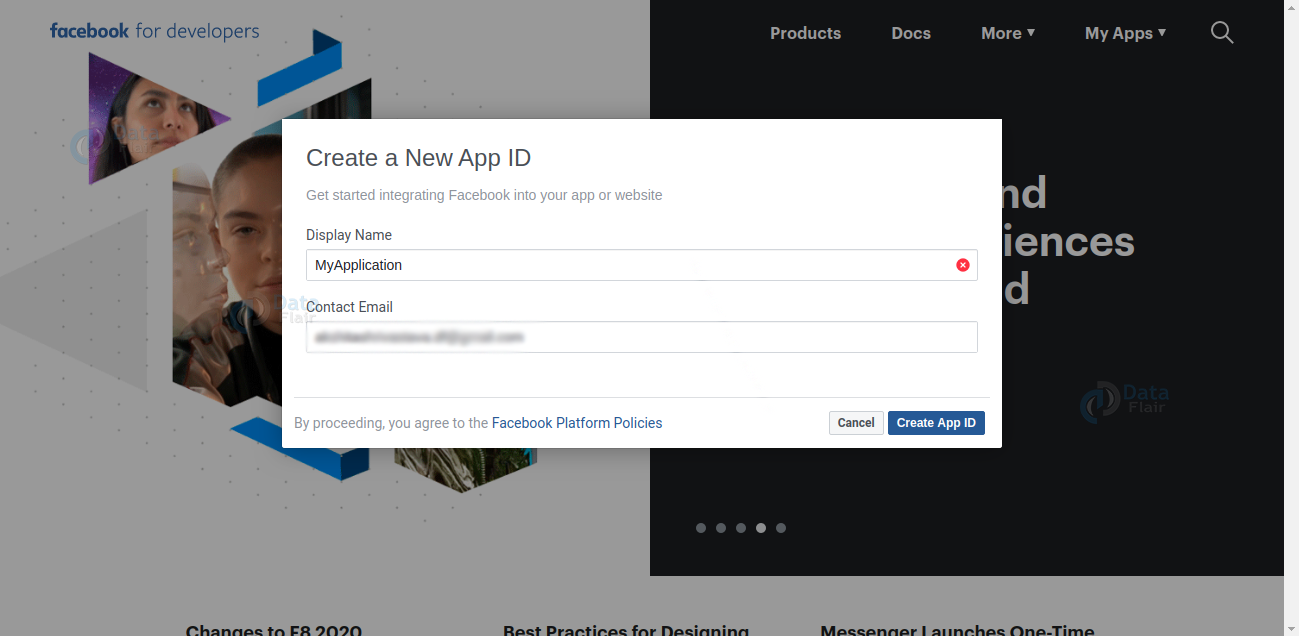
3. Next, you would have to create a New App ID in the following:
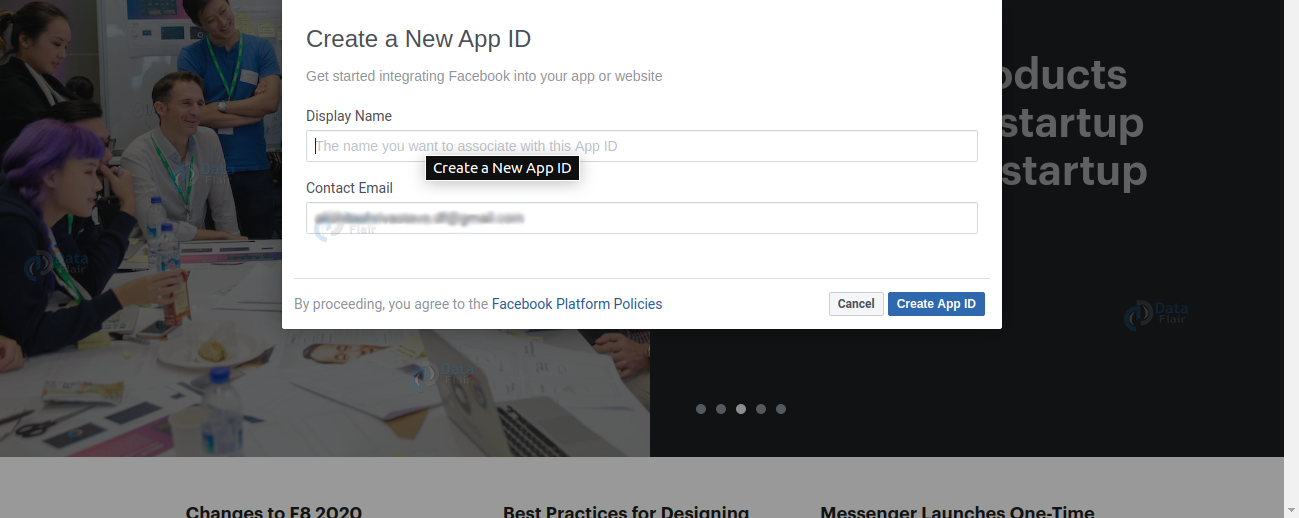
Note- Please note that you cannot use any such name that has Facebook in it, or the word face within.
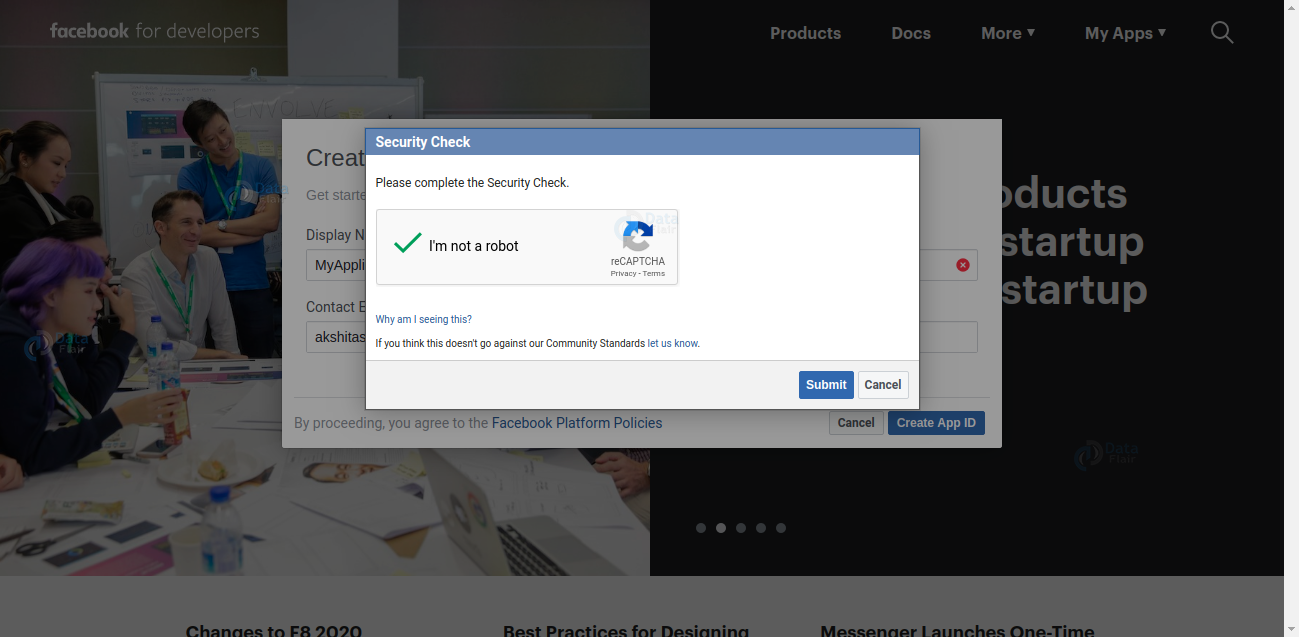
4. After that, you need to verify and complete the Security Check.
5. After you are done with the above steps, the next thing you would do is add the product you like.
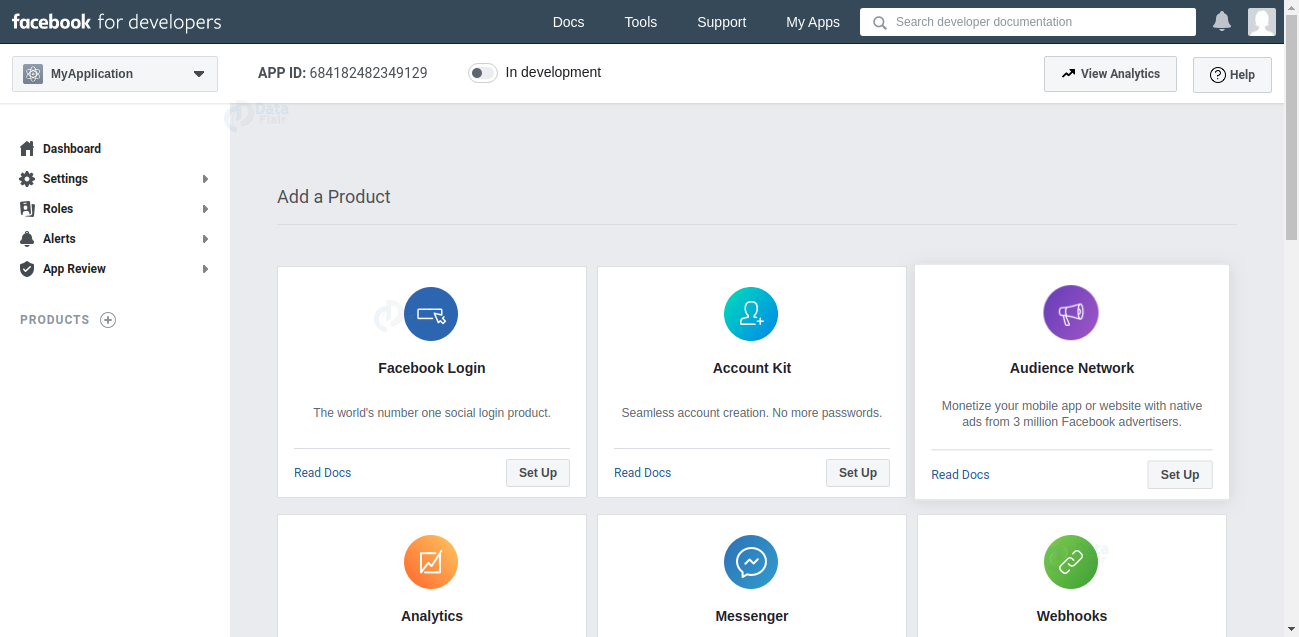
Choose the Facebook Login. It will be added to the product list.
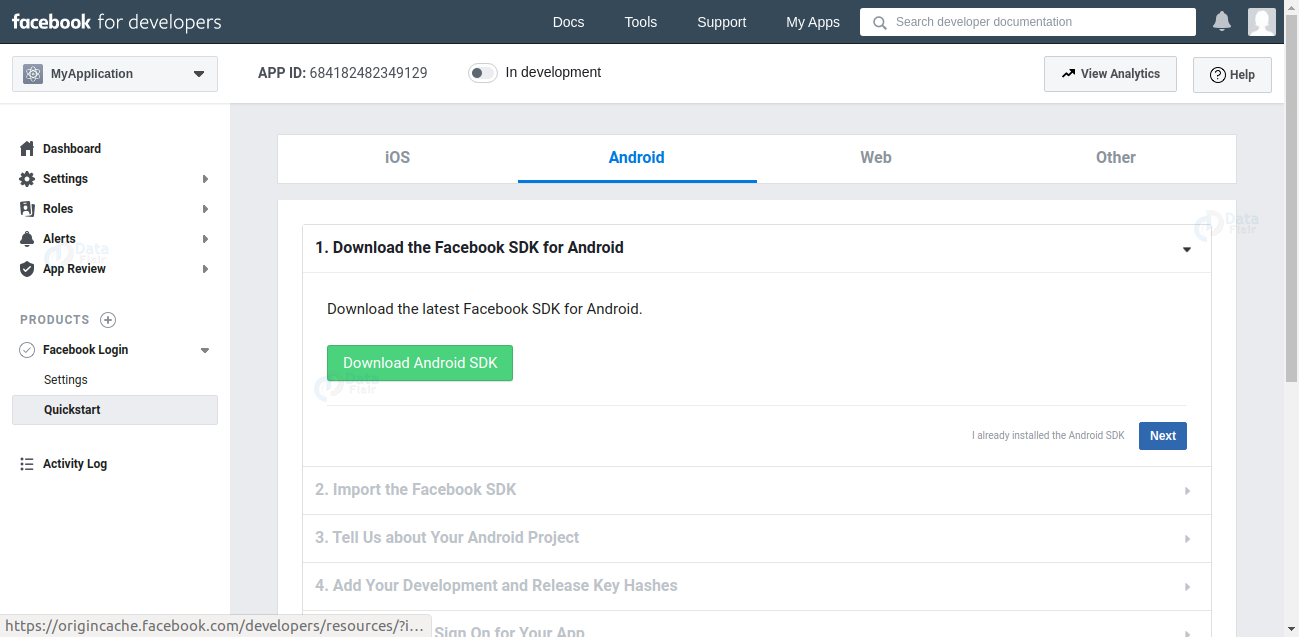
6. The next step is to download the Facebook SDK.
7. Now to integrate the Facebook SDK, you need to make it a dependency in Maven.
a) For this open App > Gradle Scripts > build.gradle(project) file.
Here in buildscript { repositories {} write the following code in the mavenCentral()
b) Next for this open App > Gradle Scripts > build.gradle(Module:app) file.
Here you need to add-
implementation 'com.facebook.android:facebook-login:[5,6)'
c) After that you have to build your project.
d) Then to import the Facebook SDK packages add the following:
import com.facebook.FacebookSDK;
import com.facebook.appevents.AppEventsLogger;
8. After that we need to add the following details:
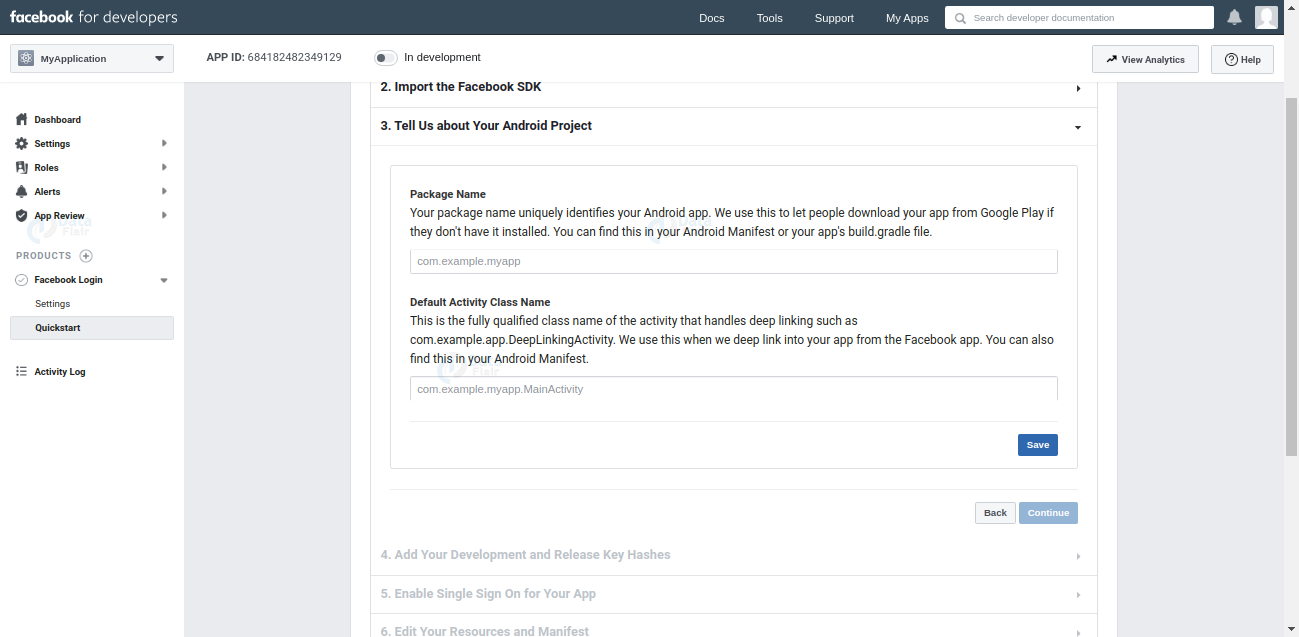
As you can see above, here you have to enter the Package Name and the Activity class name.
You can find both of them in the Manifest file.

Then you will see the following:
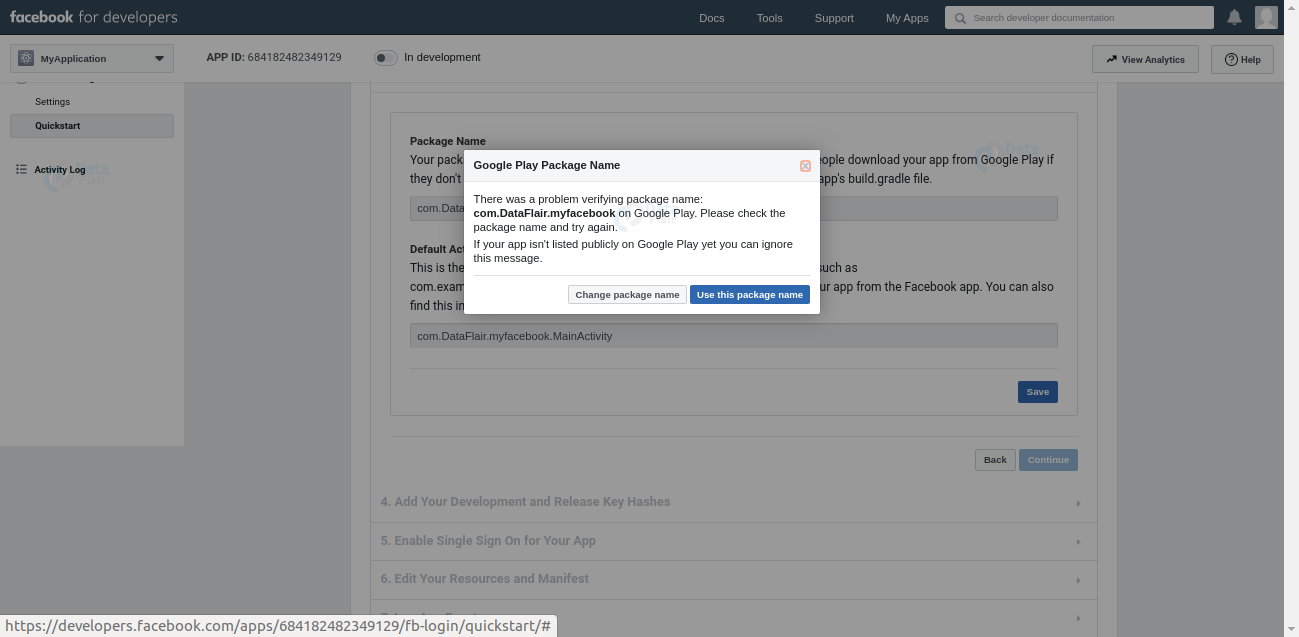
Here click on the Save button and then on the use this package name button.
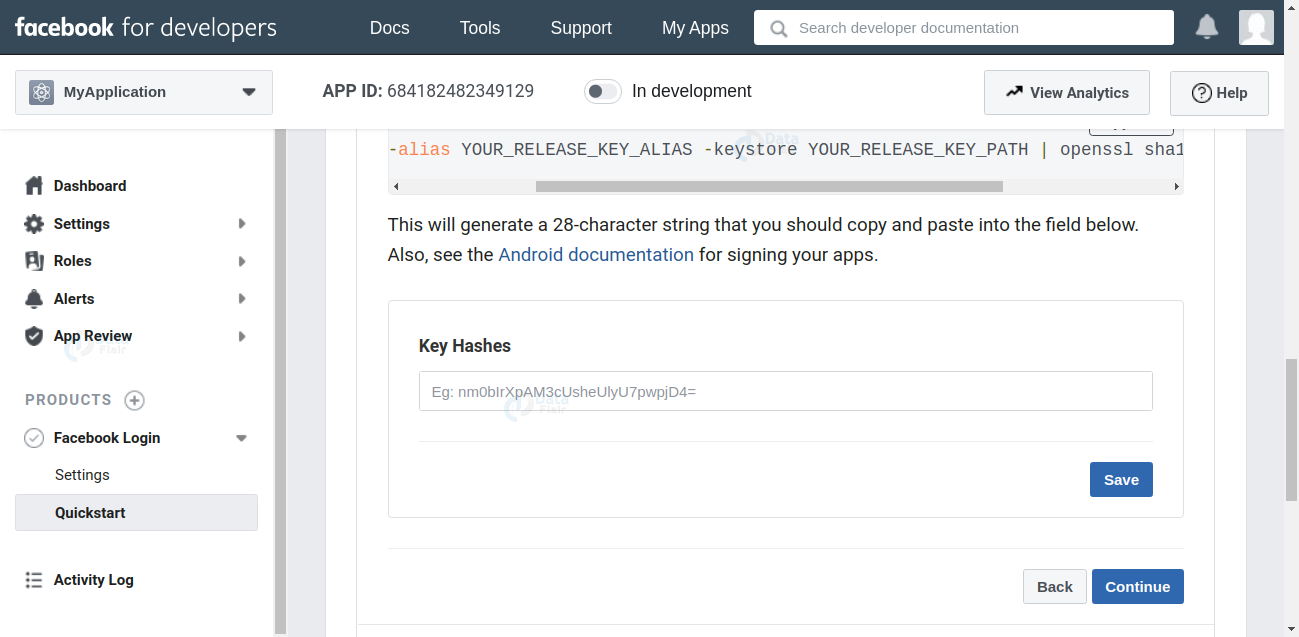
9. This is a very crucial step, this is to ensure the authenticity of the interactions between Facebook and the application. Here we have to add the development key hash for the Development environment.
Generating Development Key Different OS
Mac OS
keytool -exportcert -alias androiddebugkey -keystore ~/.android/debug.keystore | openssl sha1 -binary | openssl base64
Windows
keytool -exportcert -alias androiddebugkey -keystore "C:\Users\USERNAME\.android\debug.keystore" | "PATH_TO_OPENSSL_LIBRARY\bin\openssl" sha1 -binary | "PATH_TO_OPENSSL_LIBRARY\bin\openssl" base64
Linux/Ubuntu
keytool -exportcert -alias androiddebugkey -keystore ~/.android/debug.keystore | openssl sha1 -binary | openssl base64
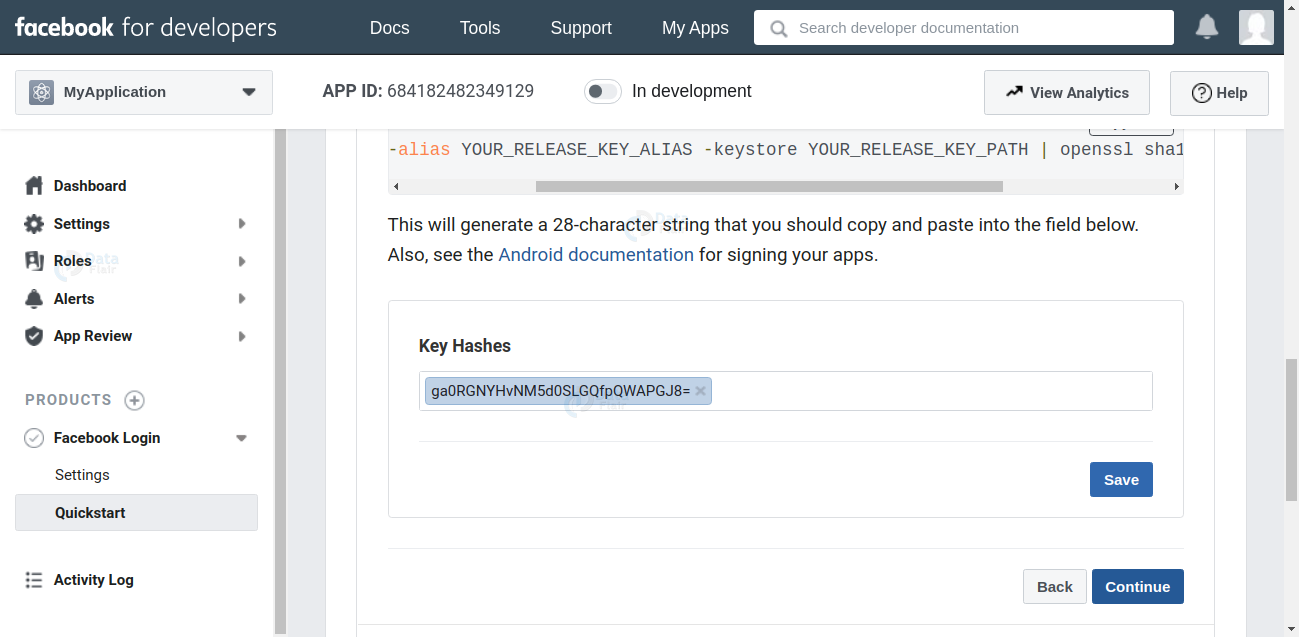
It will generate a 28 digit key that you have to enter here:
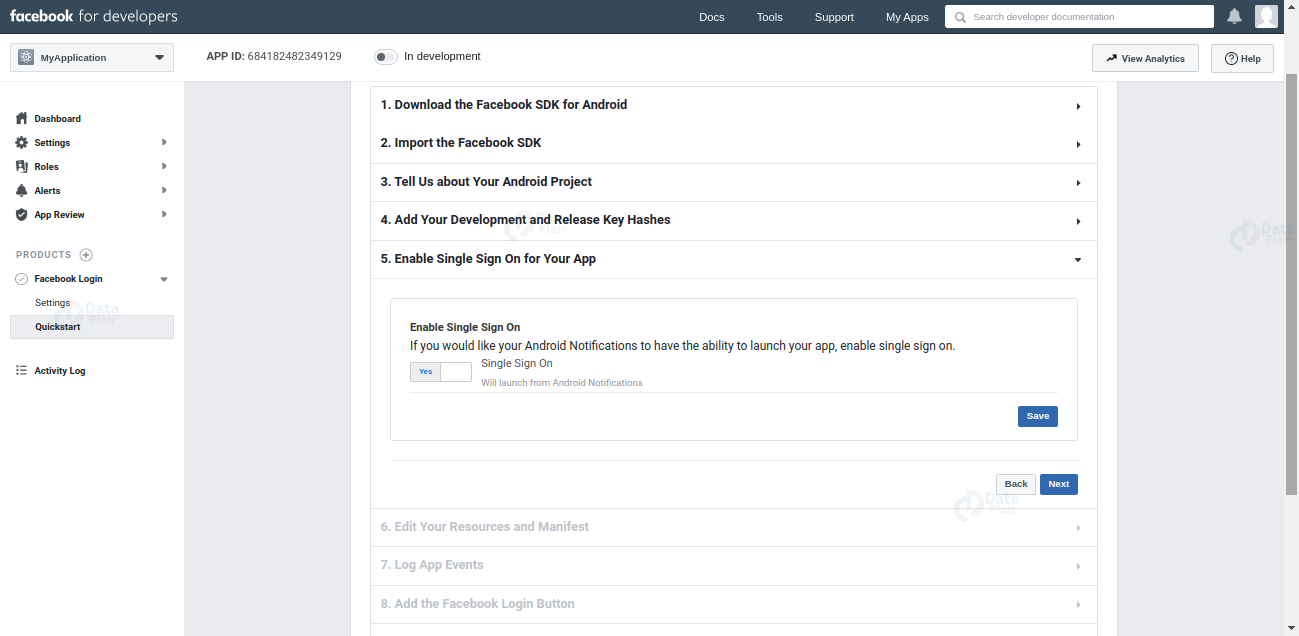
10. Next, Enable Single Sign-On for your App and save and continue:
11. Our next step is to add the following to the Resources and Manifest files:
a) Open /app/res/values/strings.xml file.
i) Add these in the strings.xml file
<string name="facebook_app_id">684182482349129</string>
<string name="fb_login_protocol_scheme">fb684182482349129</string>
b) Open /app/manifest/AndroidManifests.xml file.
i) Add the following permission just below the <application> element.
<uses-permission android:name="android.permission.INTERNET"/>
ii) Now you have to add the meta-data in the manifest file inside the <application> element.
<meta-data android:name="com.facebook.sdk.ApplicationId"
        android:value="@string/facebook_app_id"/>

    <activity android:name="com.facebook.FacebookActivity"
        android:configChanges=
                "keyboard|keyboardHidden|screenLayout|screenSize|orientation"
        android:label="@string/app_name" />
    <activity
        android:name="com.facebook.CustomTabActivity"
        android:exported="true">
        <intent-filter>
            <action android:name="android.intent.action.VIEW" />
            <category android:name="android.intent.category.DEFAULT" />
            <category android:name="android.intent.category.BROWSABLE" />
            <data android:scheme="@string/fb_login_protocol_scheme" />
        </intent-filter>
    </activity>
12. The next step is to add the Facebook login button in the application. You can add it in the layout file i.e activity_main.xml as:
<?xml version="1.0" encoding="utf-8"?>
<LinearLayout xmlns:android="http://schemas.android.com/apk/res/android"
   android:layout_width="match_parent"
   android:layout_height="match_parent"
   android:paddingLeft="20dp"
   android:paddingRight="20dp"
   android:orientation="vertical" >

   <com.facebook.login.widget.LoginButton
       android:id="@+id/login_button"
       android:layout_width="wrap_content"
       android:layout_height="wrap_content"
       android:layout_gravity="center_horizontal"
       android:layout_marginTop="30dp"
       android:layout_marginBottom="30dp" />
</LinearLayout>
13. After this, You need to create and register a CallBack method using-
CallbackManager.Factory.create.
Callbackmanager = CallbackManager.Factory.create();
To handle the login responses you have set the permission using the setReadPermissions() method.
You can register the callback either by using LoginManger or the Login Button. For this add the following in the onCreate() method of MainActivity.java.
While you add a Login button, you can customize it accordingly through the onCreate() or onCreateView() method.
package com.DataFlair.myfacebook;

import android.content.Intent;
import android.os.Bundle;

import androidx.appcompat.app.AppCompatActivity;

import com.facebook.CallbackManager;
import com.facebook.FacebookCallback;
import com.facebook.FacebookException;
import com.facebook.login.LoginResult;
import com.facebook.login.widget.LoginButton;


public class MainActivity extends AppCompatActivity {
   CallbackManager callbackManager;

   @Override
   protected void onCreate(Bundle savedInstanceState) {
       super.onCreate(savedInstanceState);
       setContentView(R.layout.activity_main);
       callbackManager = CallbackManager.Factory.create();
       LoginButton loginButton = findViewById(R.id.login_button);
       loginButton.setPermissions("email");
       loginButton.registerCallback(callbackManager, new FacebookCallback<LoginResult>() {
           @Override
           public void onSuccess(LoginResult loginResult) {
               // App code
           }

           @Override
           public void onCancel() {
               // App code
           }

           @Override
           public void onError(FacebookException exception) {
               // App code
           }
       });
   }

   @Override
   protected void onActivityResult(int requestCode, int resultCode, Intent data) {
       super.onActivityResult(requestCode, resultCode, data);
       callbackManager.onActivityResult(requestCode, resultCode, data);
   }
}
14. Then you have to check the Login Status. Since only one person can log in at a time, use LoginManager to set the AccessToken and Profile for that person. To check if someone is already logged in, you can use-
AccessToken.getCurrentAccessToken()
and
Profile.getCurrentProfile()
To check its validity in onCreate() method of MainActivity as:
AccessToken access_Token = AccessToken.getCurrentAccessToken();
Boolean isLoggedIn = acess_Token != null && !accessToken.isExpired();
To perform a login, through the button’s OnClickListener:
LoginManager.getInstance().logInWithReadPermissions(this, arrays.a_list“public_profile”));
With this, the Facebook login would be added to your app.
Summary
In this article, we have learned about Facebook Integration in Android. We have gone through various important steps that are required for Integrating Facebook. We also saw how we can generate the development key for it in various Operating Systems. Now it’s your time to go through these steps.
Create your First Android Application with DataFlair
If you have any queries regarding Facebook integration in Android, please ask in the comment section. Our experts will get back to you.
Keep Learning ![]()
