


Machine Learning courses with 110+ Real-time projects Start Now!!
Step into the fascinating world of computer vision and unleash your creativity with OpenCV! In this visual journey, we’ll explore the magical realm of drawing circles, lines, and rectangles on digital canvases. Whether you’re a seasoned artist or a curious tech enthusiast, prepare to be captivated as we bring static images to life with the stroke of Python code.
Let’s embark on an exciting adventure of shapes, colours, and boundless possibilities – all powered by the remarkable capabilities of OpenCV.
Creating lines with OpenCV’s cv2.line():
OpenCV’s cv2.line() function is a powerful tool that opens up a world of visual expression, allowing you to draw lines on images and create compelling graphics effortlessly. Whether you’re enhancing images, building computer vision applications, or exploring the realm of digital artistry, cv2.line() is an essential function in your creative toolkit.
Syntax :
cv2.line(img, pt1, pt2, color, thickness)
Parameters:
- Img: The input image or canvas on which you want to draw the line.
- Pt1: The starting point of the line, specified as a tuple (x1, y1) representing the coordinates of the first endpoint.
- pt2: The ending point of the line, specified as a tuple (x2, y2) representing the coordinates of the second endpoint.
- Color: The color of the line in BGR format (Blue, Green, Red). For example, to draw a green line, use (0, 255, 0).
- Thickness: The thickness of the line. A positive integer value determines the line thickness. If you specify a negative value or use cv2.FILLED, the shape will be filled.
Code with Explanation:
Let’s walk through a simple example to illustrate how cv2.line() works:
import cv2
import numpy as np
# Create a blank canvas (black image) of size 800x600
canvas = np.zeros((600, 800, 3), dtype=np.uint8)
# Define the start and end points of the line
start_point = (100, 200)
end_point = (600, 400)
# Define the color of the line in BGR format (Green color)
color = (0, 255, 0)
# Set the thickness of the line
thickness = 2
# Draw the line on the canvas
cv2.line(canvas, start_point, end_point, color, thickness)
# Display the canvas with the drawn line
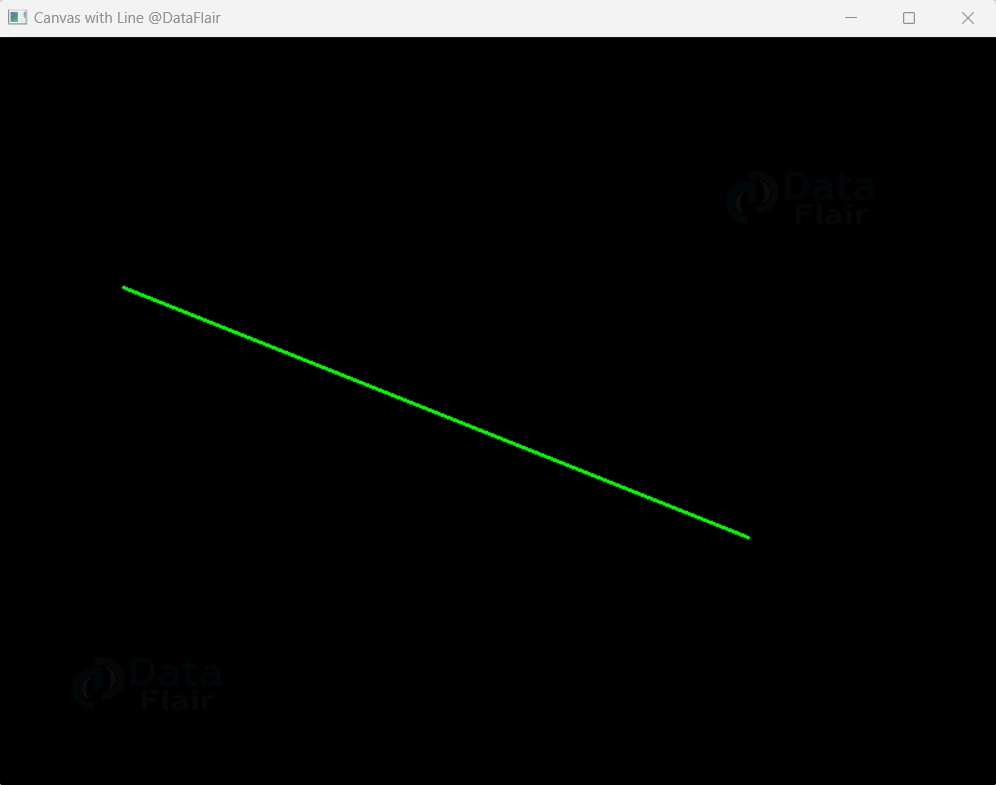
cv2.imshow('Canvas with Line', canvas)
cv2.waitKey(0)
cv2.destroyAllWindows()
- In this example, we begin by importing the necessary libraries, including OpenCV and NumPy.
- We then create a blank canvas using NumPy – a 600×800 pixel black image.
- Next, we define the start and end points of the line we want to draw. The line starts at coordinates (100, 200) and ends at coordinates (600, 400).
- We also choose the color of the line as green (BGR value of (0, 255, 0)) and set the line thickness to 2 pixels.
- By calling `cv2.line()`, we draw the line on the canvas with the specified parameters.
- In this case, the result will be a green line starting from (100, 200) and ending at (600, 400).
- Finally, we display the canvas with the drawn line using `cv2.imshow()`.
- With cv2.line() at your command, you can effortlessly add lines to your images, unlocking endless possibilities for visual expression, artistic creation, and innovative computer vision applications.
- Embrace the beauty of lines and paint your vision on the canvas of imagination with OpenCV’s cv2.line().
Creating Rectangle in OpenCV with cv2.rectangle() :
OpenCV’s cv2.rectangle() function empowers you to breathe life into your images by effortlessly adding rectangles to your canvas. The ability to draw rectangles is a fundamental yet crucial skill for various applications, including object detection, image annotation, and creative artwork.
In this section, we’ll delve into the syntax, parameters, and a practical code example to master the art of geometric design with cv2.rectangle().
Syntax:
cv2.rectangle(img, pt1, pt2, color, thickness)
Parameters:
- Img: The input image or canvas on which you want to draw the rectangle.
- Pt1: The coordinates of the top-left corner of the rectangle, specified as a tuple (x1, y1).
- Pt2: The coordinates of the bottom-right corner of the rectangle, specified as a tuple (x2, y2).
- color: The colour of the rectangle in BGR format (Blue, Green, Red). For example, to draw a blue rectangle, use (255, 0, 0).
- Thickness: The thickness of the rectangle border. A positive integer value determines the line thickness. If you specify a negative value or use cv2.FILLED, the shape will be filled.
Code with Explanation :
Let’s explore a practical example to understand how cv2.rectangle() works :
import cv2
import numpy as np

# Create a blank canvas (black image) of size 800x600
canvas = np.zeros((600, 800, 3), dtype=np.uint8)

# Define the top-left and bottom-right points of the rectangle
top_left = (100, 200)
bottom_right = (600, 400)

# Define the color of the rectangle in BGR format (Blue color)
color = (255, 0, 0)

# Set the thickness of the rectangle border
thickness = 2

# Draw the rectangle on the canvas
cv2.rectangle(canvas, top_left, bottom_right, color, thickness)

# Display the canvas with the drawn rectangle
cv2.imshow('Canvas with Rectangle', canvas)
cv2.waitKey(0)
cv2.destroyAllWindows()

- In this example, we start by importing the necessary libraries – OpenCV and NumPy.
- Next, we create a blank canvas using NumPy, which is a black image with dimensions 600×800 pixels.
- Then, we define the top-left and bottom-right points of the rectangle. The top-left corner is located at coordinates (100, 200), and the bottom-right corner is positioned at coordinates (600, 400).
- We chose the color of the rectangle as blue, indicated in BGR format with the tuple (255, 0, 0). The thickness of the rectangle border is set to 2 pixels.
- By calling `cv2.rectangle()`, we draw the rectangle on the canvas with the specified parameters.
- In this case, a blue rectangle is formed with the top-left corner at (100, 200) and the bottom-right corner at (600, 400).
- Finally, we showcase the canvas with the drawn rectangle using `cv2.imshow()`.
- With cv2.rectangle() at your disposal, you can unlock a world of possibilities in geometric design and visual expression.
- Whether you’re enhancing images, building computer vision applications, or delving into the realms of creative artwork, mastering the art of rectangles with OpenCV will undoubtedly be a valuable asset in your journey.
Creating Circle in OpenCV with cv2.circle():
OpenCV’s cv2.circle() function introduces you to the enchanting world of circles, where curves speak volumes and elegance knows no bounds. Drawing circles on images can breathe life into your visual creations, be it for object detection, image annotations, or artistic expression.
In this section, we’ll unravel the syntax, parameters, and a practical code example to help you embrace the beauty of curves with cv2.circle().
Syntax:
cv2.circle(img, center, radius, color, thickness)
Parameters:
- img: The input image or canvas on which you want to draw the circle.
- Center: The center coordinates of the circle, specified as a tuple (center_x, center_y).
- The circle’s radius is measured in pixels and expressed as a positive integer.
- Color: The color of the circle in BGR format (Blue, Green, Red). For example, to draw a green circle, use `(0, 255, 0)`.
- Thickness: The thickness of the circle’s outline. Use a positive integer for the outline thickness or a negative value for a filled circle.
Code with Explanation :
Let’s immerse ourselves in a practical example to understand how cv2.circle() works:
import cv2
import numpy as np
# Create a blank canvas (black image) of size 800x600
canvas = np.zeros((600, 800, 3), dtype=np.uint8)
# Define the center coordinates of the circle
center = (400, 300)
# Define the radius of the circle in pixels
radius = 100
# Define the color of the circle in BGR format (Green color)
color = (0, 255, 0)
# Set the thickness of the circle's outline
thickness = 2
# Draw the circle on the canvas
cv2.circle(canvas, center, radius, color, thickness)
# Display the canvas with the drawn circle
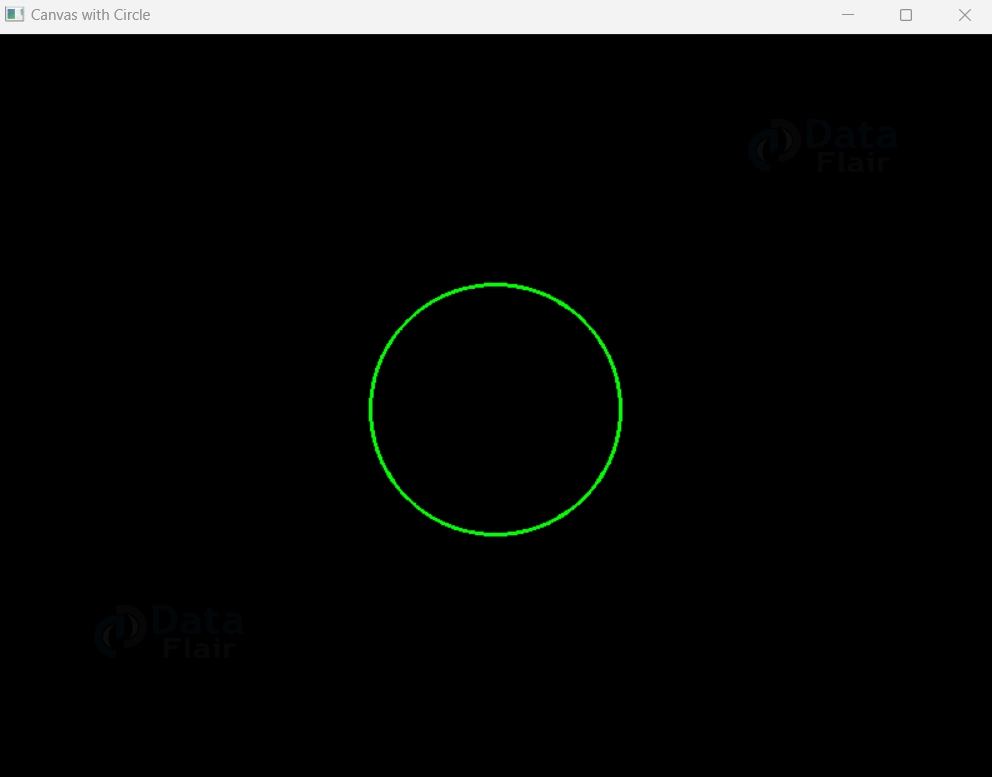
cv2.imshow('Canvas with Circle', canvas)
cv2.waitKey(0)
cv2.destroyAllWindows()
- In this example, we begin by importing the required libraries, namely OpenCV and NumPy.
- We then create a blank canvas using NumPy, representing a black image with dimensions 600×800 pixels.
- Next, we define the center coordinates of the circle using the tuple (400, 300). The circle will be centered at the point (400, 300) on the canvas.
- We also specify the radius of the circle as 100 pixels and the color of the circle as green, indicated in BGR format with the tuple (0, 255, 0). The thickness of the circle’s outline is set to 2 pixels.
- By calling `cv2.circle()`, we draw the circle on the canvas with the specified parameters. In this instance, a green circle with a radius of 100 pixels is created, centered at (400, 300).
- Finally, we showcase the canvas with the drawn circle using `cv2.imshow()`.
- With cv2.circle() in your repertoire, you can gracefully adorn your images with captivating curves and discover the infinite allure of circles in the world of visual artistry and computer vision. Embrace the beauty of curves, and let your creativity flow boundlessly with OpenCV’s cv2.circle().
Creating Ellipses in OpenCV: Crafting Curves of Elegance
In the realm of computer vision, shapes are the building blocks of understanding the visual world. Among these, ellipses stand as elegant symbols of symmetry and grace. OpenCV, with its versatile toolkit, provides us with the means to not only detect but also to create these graceful curves.
In this exploration, we delve into the art of Creating Ellipses in OpenCV, where we’ll unravel the syntax, parameters, and code that enable us to craft curves that transcend pixels and echo the language of beauty.
cv2.ellipse() – Syntax and Parameters :
cv2.ellipse(image, center, axes, angle, startAngle, endAngle, color, thickness)
- image: The image on which to draw the ellipse.
- center: The coordinates of the center of the ellipse.
- axes: The lengths of the major and minor axes.
- angle: The rotation angle of the ellipse in degrees.
- startAngle: The starting angle of the ellipse arc in degrees.
- endAngle: The ending angle of the ellipse arc in degrees.
- color: The color of the ellipse.
- thickness: The thickness of the ellipse boundary line.
Code Example – Creating Ellipses :
import cv2
import numpy as np

# Create a black image
image = np.zeros((400, 400, 3), dtype=np.uint8)

# Define ellipse parameters
center = (200, 200)
axes = (100, 50)
angle = 30
startAngle = 0
endAngle = 360
color = (0, 255, 0)
thickness = 2

# Draw the ellipse on the image
cv2.ellipse(image, center, axes, angle, startAngle, endAngle, color, thickness)

# Display the image
cv2.imshow('Ellipse', image)
cv2.waitKey(0)
cv2.destroyAllWindows()

In this code example, we start by creating a black image using NumPy – a canvas for our ellipse. We then define the parameters of the ellipse, including the center coordinates, lengths of major and minor axes, rotation angle, and arc angles.
Using cv2.ellipse(), we draw the ellipse on the image with the specified parameters. The ellipse will be green (color (0, 255, 0)) and have a boundary line thickness of 2.
Finally, we display the image using cv2.imshow(), and the ellipses’ graceful curves come to life.
Creating ellipses in OpenCV isn’t merely about drawing shapes; it’s about crafting curves that encapsulate symmetry and elegance. Through the cv2.ellipse() function, we mold pixels into forms that mirror the beauty found in the natural world. As we master the art of creating ellipses, we unlock the potential to enhance our understanding of shapes and patterns, enriching our connection with the visual tapestry that surrounds us.
Summary
In this enlightening journey, we have delved into the fascinating world of computer vision and the boundless artistic potential of OpenCV. Through the use of three fundamental functions – cv2.circle(), cv2.line(), and cv2.rectangle() – we’ve harnessed the power to draw captivating circles, lines, and rectangles on digital canvases.
OpenCV has unveiled a realm of creative expression, offering a seamless blend of technology and artistry. So, wield the brush of code, let your creativity flow, and paint your imagination with the art of geometric design. OpenCV has ignited the spark, and the canvas of possibilities awaits your next stroke of brilliance.