


Top AWS Course for AWS Certified Cloud Practitioner (CLF-C01) Start Now!!
Expert-led Courses: Transform Your Career – Enroll Now
In Azure, it is beneficial to businesses to move data as quickly as feasible. Learn about Azure disc performance, how caching may assist in optimizing read and write access to storage, and how to activate cache to help Azure VM discs perform better. So, in today’s article, we will teach you about Disk Caching in Azure. Let us begin.
What is Disk Caching?
A cache is a specialized component that stores data, usually in memory, to make it easier to access. The data in a cache is frequently data that has already been read or data that is the result of a prior calculation. The idea is to access data more quickly than it takes to read it off a drive.
Caching makes use of specialized, and often expensive, temporary storage that performs better than permanent storage in terms of read and write performance. Because cache storage is frequently restricted, it is necessary to make decisions about which data activities will benefit the most from caching. Even in cases where the cache can be made broadly available, such as in Azure, knowing the workload patterns of each disc is still vital before determining which caching type to utilize.
The goal of read caching is to make data retrieval faster. The data is read from the quicker cache rather than from permanent storage. Following conditions cause data read to hit the cache:
- The data has already been read and is stored in the cache.
- The cache has enough space to hold all of the data.
It’s worth noting that read caching improves when the read queue has some regularity, such as a series of sequential reads.
Caching will be of little or no use for random I/O since the data you’re accessing is dispersed throughout storage and can even impair disc performance. Write caching aims to reduce the time it takes to write data to persistent storage. The programme can consider the data to be saved by employing a write cache.
In actuality, the data is waiting to be written to disc in a cache. This approach, as you might expect, can be a source of failure if a machine goes down before the cached data is written.
Some systems, such as SQL Server, manage the process of writing cached data to permanent disc storage.
What is Azure disk Caching?
When it comes to disc storage, there are two forms of disc caching:
- Storage caching in Azure
- Disk caching for Azure virtual machines (VMs)
- Caching services for Azure Blob storage, Azure Files, and other Azure content is provided via Azure storage caching. This module does not cover the configuration of these sorts of caches.
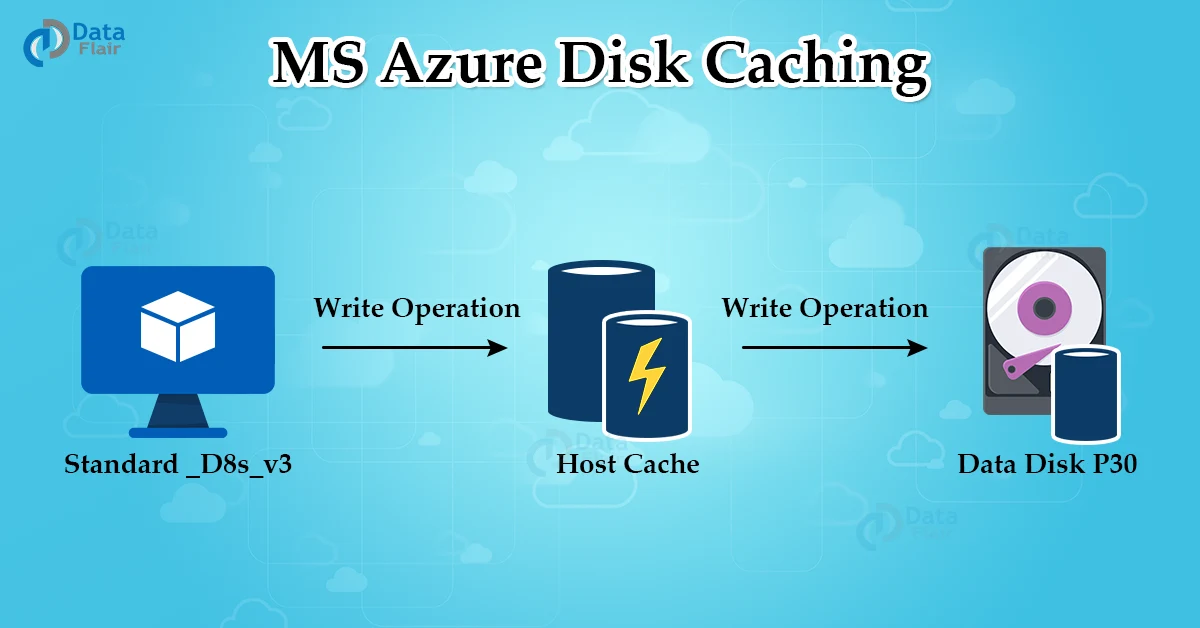
The virtual hard disc (VHD) files associated with Azure VMs are optimized for read and write access using Azure virtual machine disc caching. In this module, we’ll concentrate on disc caching.
Azure Virtual Machine Disk Types
Azure VMs employ three different types of discs:
1. OS Disc: Azure automatically attaches a VHD for the operating system when you build an Azure VM (OS).
2. Temporary disc: When you build an Azure VM, Azure creates a temporary drive for you. Data, such as page and swap files, are stored on this disc. During maintenance or a VM redeploy, the data on this drive may be lost. It should not be used to store long-term data such as database files or transaction logs.
3. Data discs: A data disc is a virtual hard disc (VHD) that is associated with a virtual machine and used to store application data or other data.
Azure VM disc caching is used for both OS and data discs. The size of a VM disk’s cache is determined by the size of the VM instance and the number of discs mounted on the VM. Caching is only available for drives with a capacity of up to 4 terabytes.
Cache Options for Azure VMs
There are three common VM disc caching options:
1. Write-back cache (read/write) – Only use this option if your application is capable of writing cached data to persistent drives as necessary.
2. Read-only – All reads are performed using the cache.
3. There isn’t any cache because there isn’t any. For write-only and write-heavy discs, select this option. Because log files require a lot of writing, they’re a strong contender.
For each type of drive, not every caching option is available. The choices for caching for each disc type are listed in the table below:
| Read-only | Read/write | None | |
| OS disk | yes | yes (default) | yes |
| Data disk | yes (default) | yes | yes |
| Temp disk | no | no | no |
Performance considerations for Azure VM disk caching
So, how do your cache settings affect the performance of your Azure VM-based workloads?
1. OS disk
The default behavior for a VM OS disc is to use the cache in read/write mode. Consider relocating data files to a data disc with the caching turned off if you have applications that store data files on the OS disc and execute a lot of random read/write operations to data files.
What is the reason for this? Caching will be of little or no use if the read queue does not contain sequential readings. Maintaining the cache as though the data were sequential has the potential to degrade disc performance.
2. Data disks
Data discs should be used instead of the OS disc for performance-sensitive applications. You can configure the proper cache settings for each drive by using different discs.
Enabling Read-only caching on the data discs (for regular and TempDB data) on Azure VMs running SQL Server, for example, can result in significant speed benefits. Log files, on the other hand, are ideal candidates for non-cached data drives.
Any of the following tools can be used to configure virtual machine disc cache settings:
- Azure portal
- Azure CLI
- Resource Manager templates
- Azure PowerShell
Using Azure Portal for Configuring Caching
You can’t alter the default cache configuration for the OS disc from read/write until the VM is deployed when you create a new VM using the Azure portal.
You can configure the cache option when adding a data disc to an existing VM before the disc is deployed.
Changing an Azure disk’s cache setting detaches and reattaches the target disc. The VM is restarted if it’s the operating system disc. Before modifying the disc cache setting, shut down any applications or services that might be affected.
Let’s use the Azure portal to create a VM and alter the cache settings.
Impact of Caching on Azure Disc Performance
Virtual machine performance is generally linked to how quickly it can read and write data, just like your local machines.
To understand how to improve that performance, we must first comprehend how it is measured, as well as the settings and choices that influence it.
We’re primarily interested in the underlying discs and storage that VMs use. Keep in mind that when evaluating performance, you must also consider the application layer.
If you’re running a database in a VM, for example, you’ll want to check the database’s performance settings to make sure it’s optimized for the VM and storage you’re using.
I/O Operations Per Second
The speed of your discs is determined by the storage type you choose (standard or premium). This performance is measured in IOPS (I/O operations per second) (pronounced “eye-ops”).
The number of requests that the disc can process in one second is measured in IOPS. A read or write operation is included in a single request. This measurement is immediately applied to storage. For example, a disc with a 5000 IOPS rating can potentially handle 5,000 reads and write operations per second.
IOPS has a direct impact on the performance of your application. High IOPS are required by some applications, such as retail websites, to handle all of the little and random I/O requests that must be completed quickly to make the site responsive.
IOPS in Azure
Azure guarantees a certain number of IOPS when you attach a premium storage disc to your high-scale VM, based on the disc specification.
A P50 disc, for example, provides 7500 IOPS. Each high-scale VM size has a maximum number of IOPS it can handle. A Standard GS5 VM, for example, is limited to 80,000 IOPS.
IOPS is a measurement of storage devices, but it’s only a theoretical limit; throughput and latency are two other parameters that can affect actual application performance
What is Throughput?
The quantity of data that your application sends to the storage devices in a certain interval is known as throughput (also known as “bandwidth”) (typically per second). High throughput is required if your application performs I/O with huge blocks of data.
Azure allocates throughput to premium storage drives according to their specifications. A P50 disc, for example, provides 250 MB per second disc throughput.
Each high-scale VM size has a maximum throughput it can handle. Standard GS5 VM, for example, has a maximum throughput of 2,000 MB per second.
IOPS vs Throughput
Because throughput and IOPS are inextricably linked, modifying one will have an immediate impact on the other. The formula IOPS x I/O size = throughput can be used to calculate a theoretical throughput limit. When preparing your application, it’s critical to keep both of these values in mind.
What is Latency?
It takes time to read and write data. This is where latency enters the picture. The time it takes for your software to send a request to the disc and receive a response is known as latency.
Latency describes how long it takes for a single read or write I/O request to be processed.
IOPS are limited by latency. If our disc can support 5000 IOPS but each operation takes 10 milliseconds to process, our software will be limited to 500 operations per second owing to processing time.
This is a simplistic example; in most cases, latency will be significantly lower. The latency and throughput of your app will ultimately determine how quickly it can process data from storage.
Premium Storage provides persistent low latencies, and caching can help you reach even lower latency when needed.
Testing Disk Performance
By choosing the correct VM size and storage type, you can alter and balance the IOPS, throughput, and latency of your VM discs.
The maximum IOPS and throughput guarantees are often higher for larger or more expensive VM sizes.
When you include the differences between standard and premium storage, as well as HDD vs. SSD options, you have a lot of variables to play with.
Understanding your application’s requirements is crucial to choosing the optimal combination. High-I/O applications, such as database servers or online transactional processing systems, will require more IOPS.
whereas computationally intensive applications may be able to get away with far fewer. Furthermore, the sorts of actions performed by the applications will have an impact on your throughput. Long sequential reads are slower than high random access I/O.
After you’ve chosen your configuration, you can evaluate your disc performance on Linux and Windows VMs with tools like Iometer.
This will give you a better idea of what to expect in terms of performance. It can also assist you in identifying ways to optimize the storage use of your program.
For example, a single-threaded I/O program is likely to suffer from lower I/O performance due to delay.
Enabling and configuring Azure VM disk cache with Azure Portal
Follow the below steps to enable and configure Azure VM Disk Cache:
1: Log in to the Azure portal
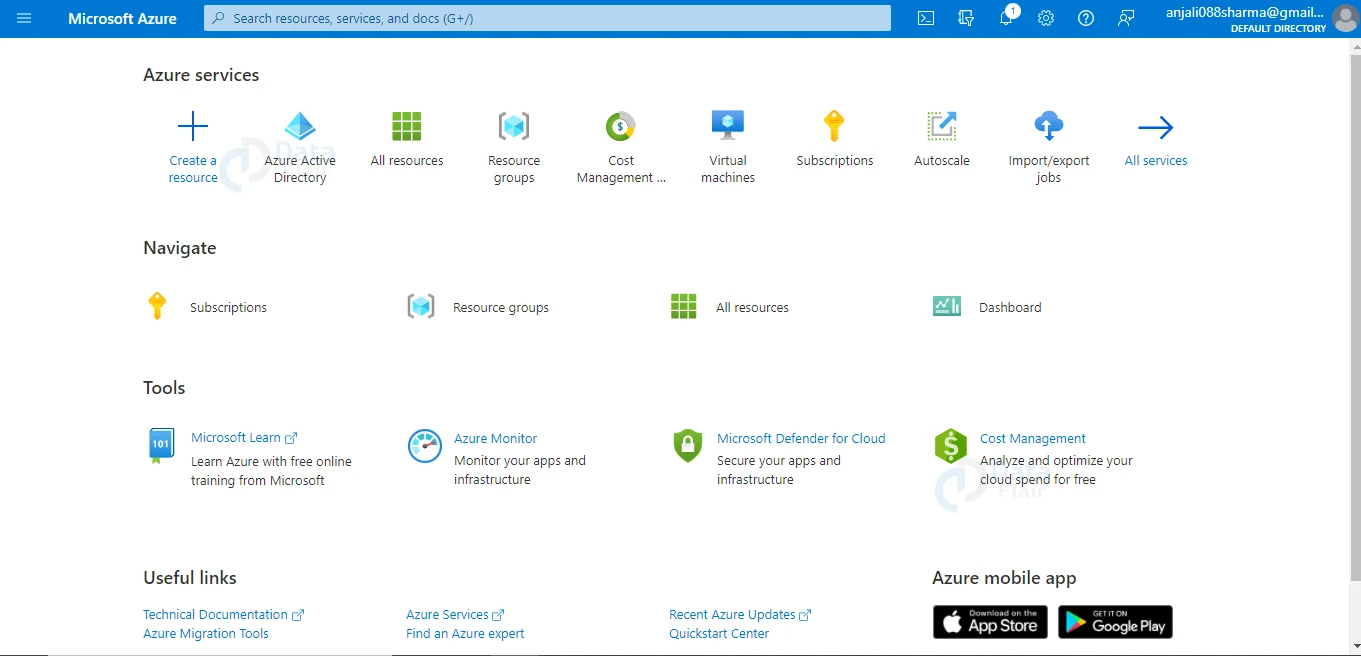
2: Select Create a resource under Azure services from the Azure portal menu or the Home page. The pane to create a resource appears.
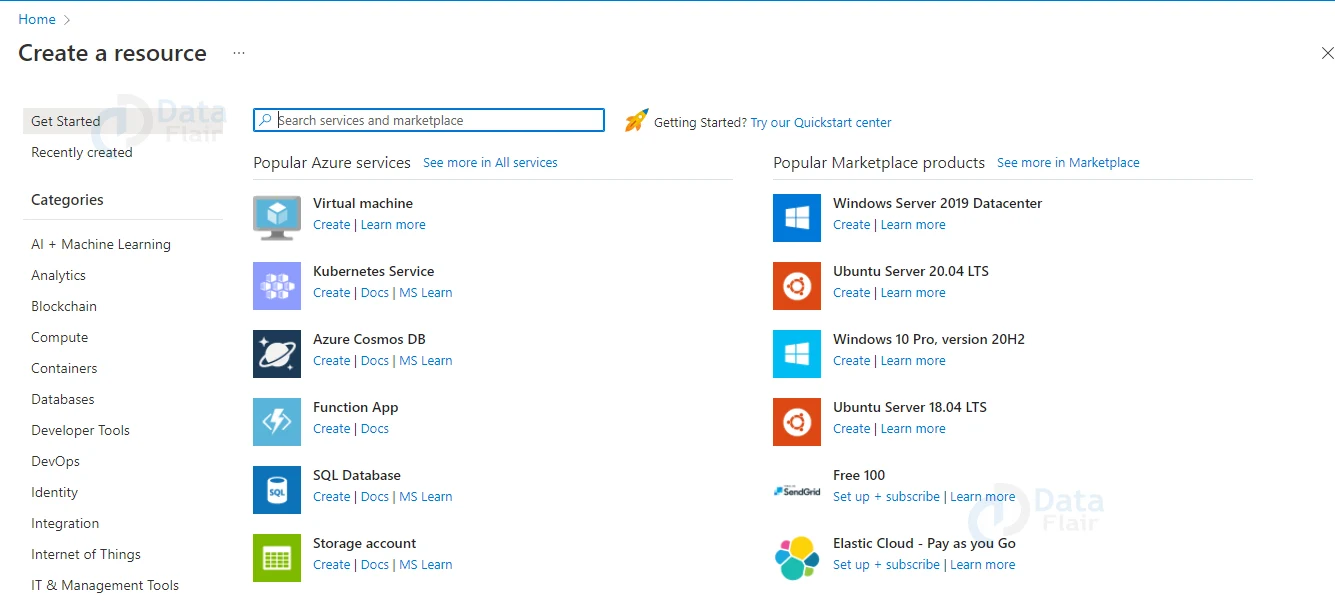
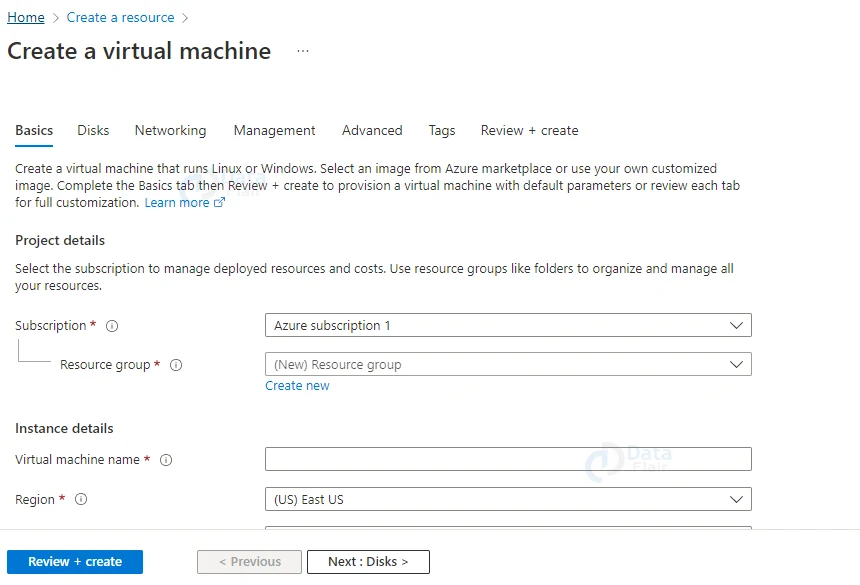
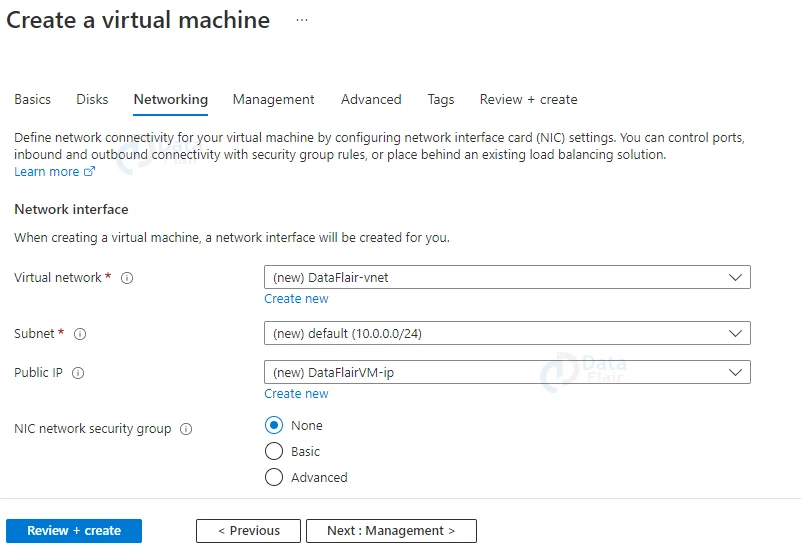
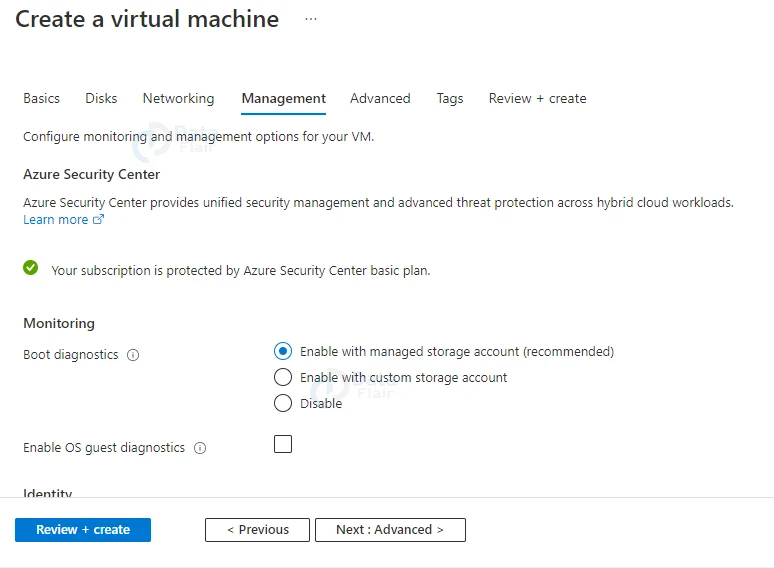
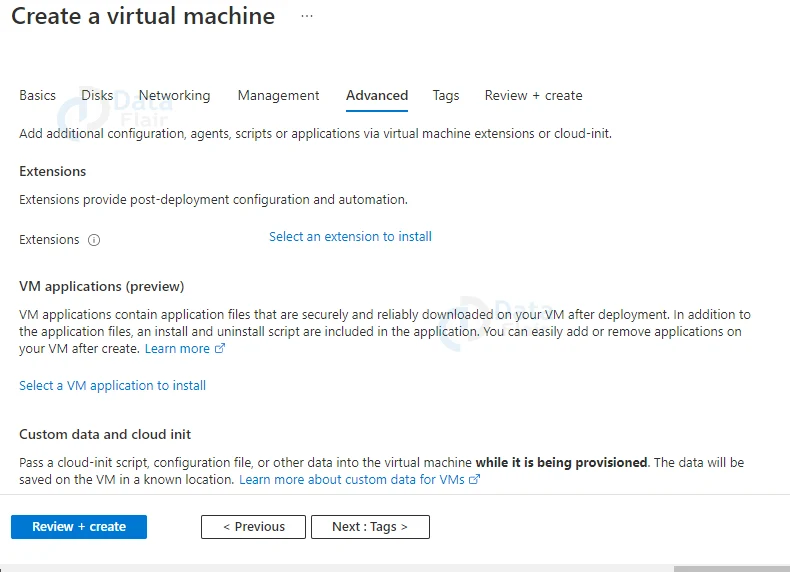
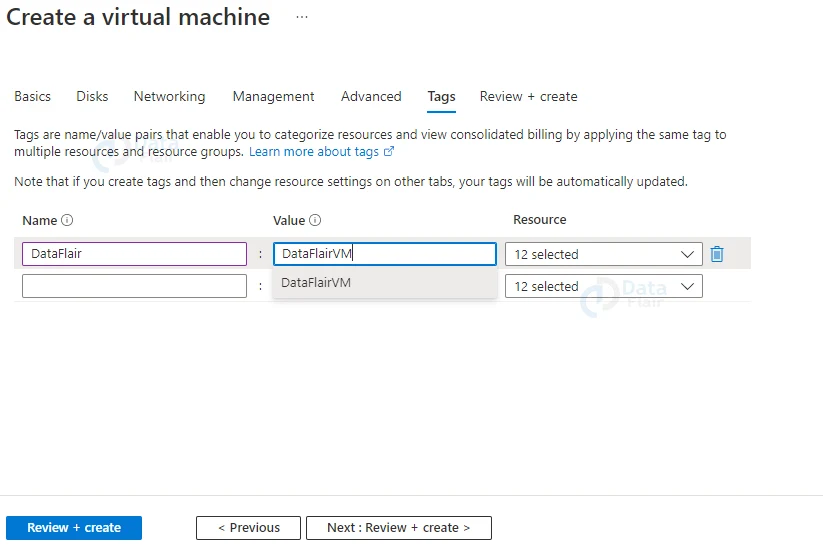
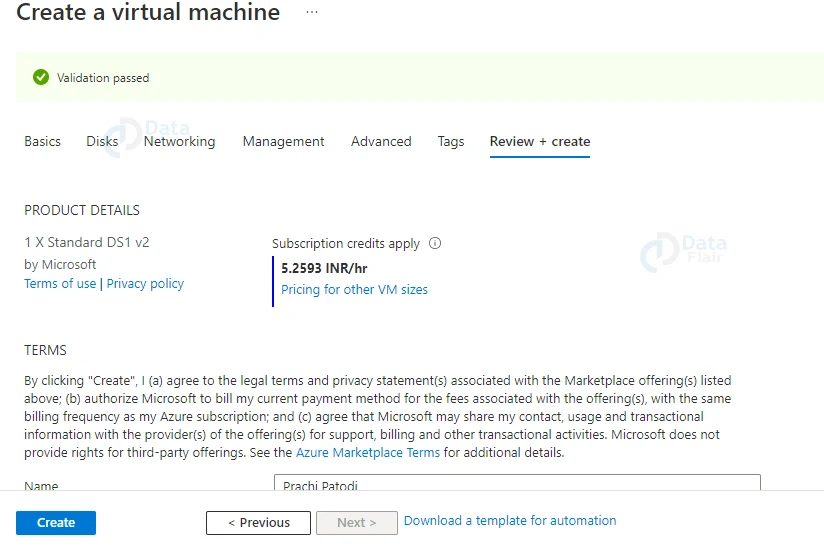
3: Go to Virtual Machine. The pane for creating a virtual machine appears. Now, create a VM.
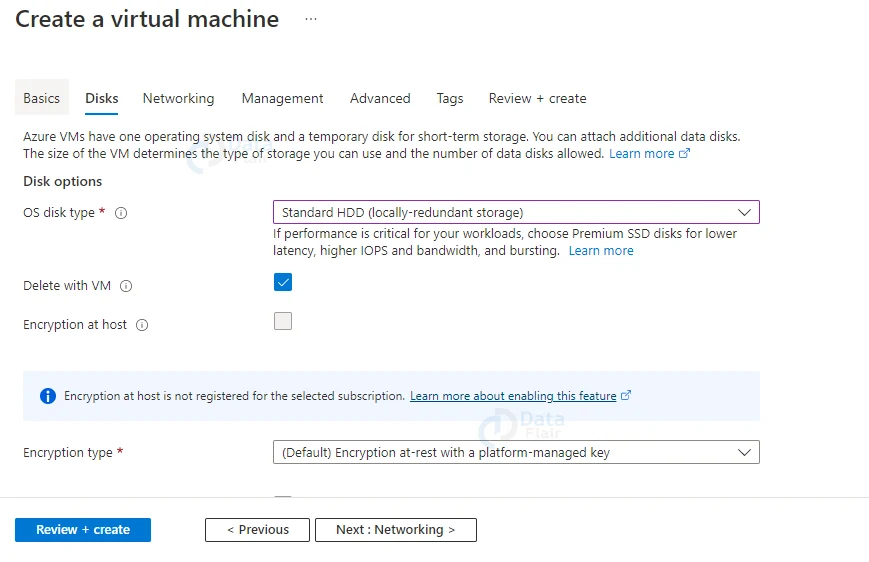
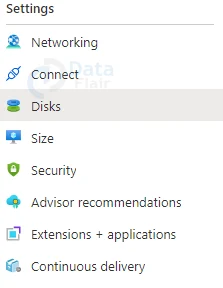
4: Once the VM is deployed select Disks from the left menu pane’s Setting search for Disks pane.
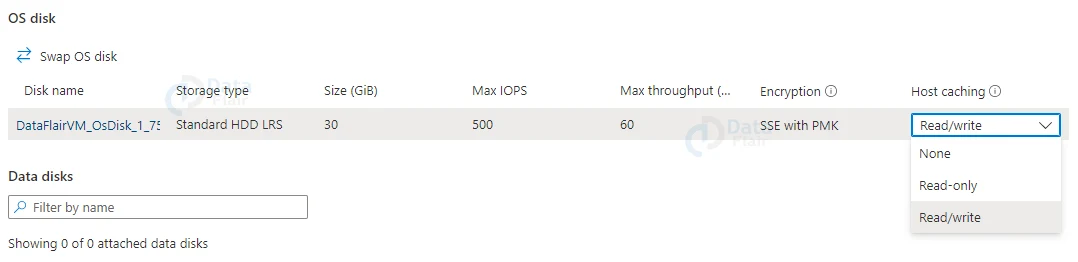
5: The OS disc is the only disc in the VM. Its cache type is currently set to read/write, which is the default.

6: Change the Host caching value for the OS disc to Read-only from the dropdown list, and then pick Save from the top menu bar.

7: Select Create and attach a new disc under Data discs.

8: Select Create and attach a new disc under Data discs.
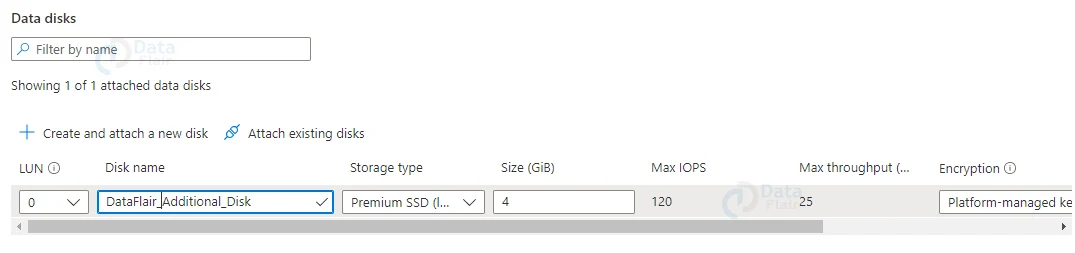
9: Select Save from the top menu bar.
![]()

10: Change the Host caching value for our new data drive to Read-only from the dropdown list, and then click Save from the top menu bar.
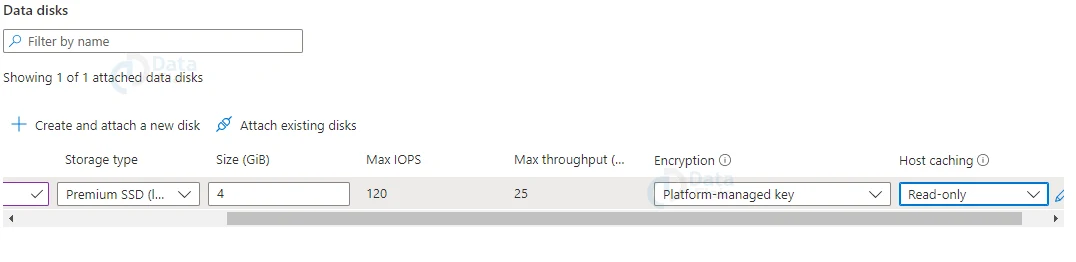
We utilized the Azure portal to set up caching on a new VM, update cache settings on an existing disc, and set up caching on a new data drive in this experiment. The final setup is shown in the image below.
PowerShell cmdlets for Managing Azure Disk Caching
PowerShell cmdlets for managing VMs and drives are available in Azure PowerShell.
| Command | Description |
| Get-AzVM | Gets the virtual machine’s attributes. |
| Update-AzVM | The status of an Azure virtual machine is updated. |
| New-AzDiskConfig | Creates a disc object that can be customized. |
| Add-AzVMDataDisk | A data disc is added to a virtual machine. |
Conclusion
We learned about Azure disc caching and how it can help with performance in this article. To handle disc caching for our VM, we used the Azure interface and Azure PowerShell commands.
Once you’ve established an Azure VM disc caching strategy, you can use scripts and templates to rapidly and easily deploy new VMs and discs using the best disc cache settings.