


Master Python with 70+ Hands-on Projects and Get Job-ready - Learn Python
Job-ready Online Courses: Click, Learn, Succeed, Start Now!
In this Django tutorial, we will be creating, installing and deploying our first Django app. We will also learn to add the app in urls.py file and create the views.py file for the Django project. This tutorial will also let you grasp the concept of web application more easily.
Firstly, let’s discuss the process of creating a Django app.
How to Create a Django App
The main reason we are using web applications in the first place is to implement Django’s code reusability feature.
This enables us to not only migrate the pre-built apps in our project but also customize web applications made by us.
All the commands are given in our root directory or in the directory where we have the manage.py file.
Also, before creating our Django application just execute this command on your system inside the project/root directory.
python manage.py makemigrations
After completion of this command execute this command:
python manage.py migrate
Creating a Django project is very simple you will just need to write some commands that will be executed on your system.
Here, both the PowerShell and terminal users have the same commands.
$ django-admin startapp application-name
The command execution:
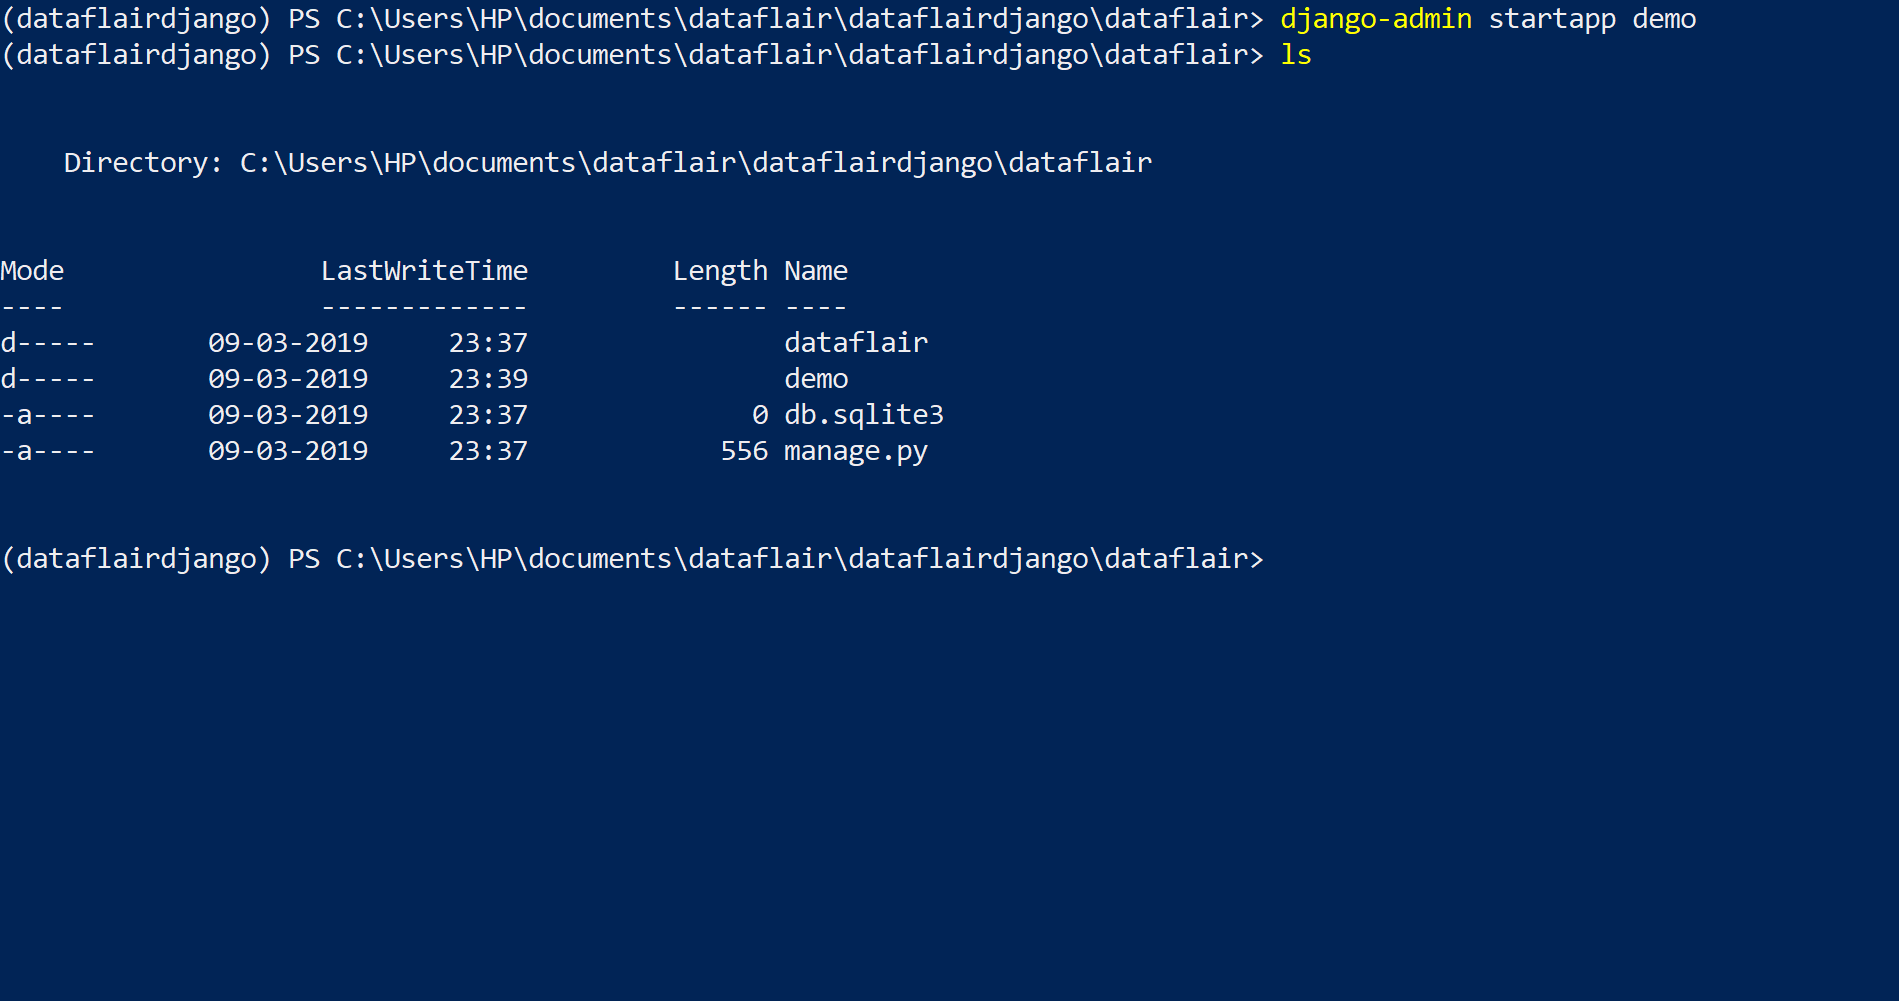
As you can see here, in our root directory we have a new directory as a demo(application-name) the application we just created. This directory contains all the files that our new application may need and we will be modifying them to achieve our goals.
Here, you should follow some tips:
- Always name your applications based on very specific tasks that they are going to perform.
- Always create applications whenever the task can be achieved with a different application.
Following these tips will bring modularity to your project. This practice will not only help you in companies or in general practice but whenever you will be building future projects you can be very specific as to which apps you want to add in your current project.
Thus, increasing your development speed and decreasing your workload without losing any quality in your work.
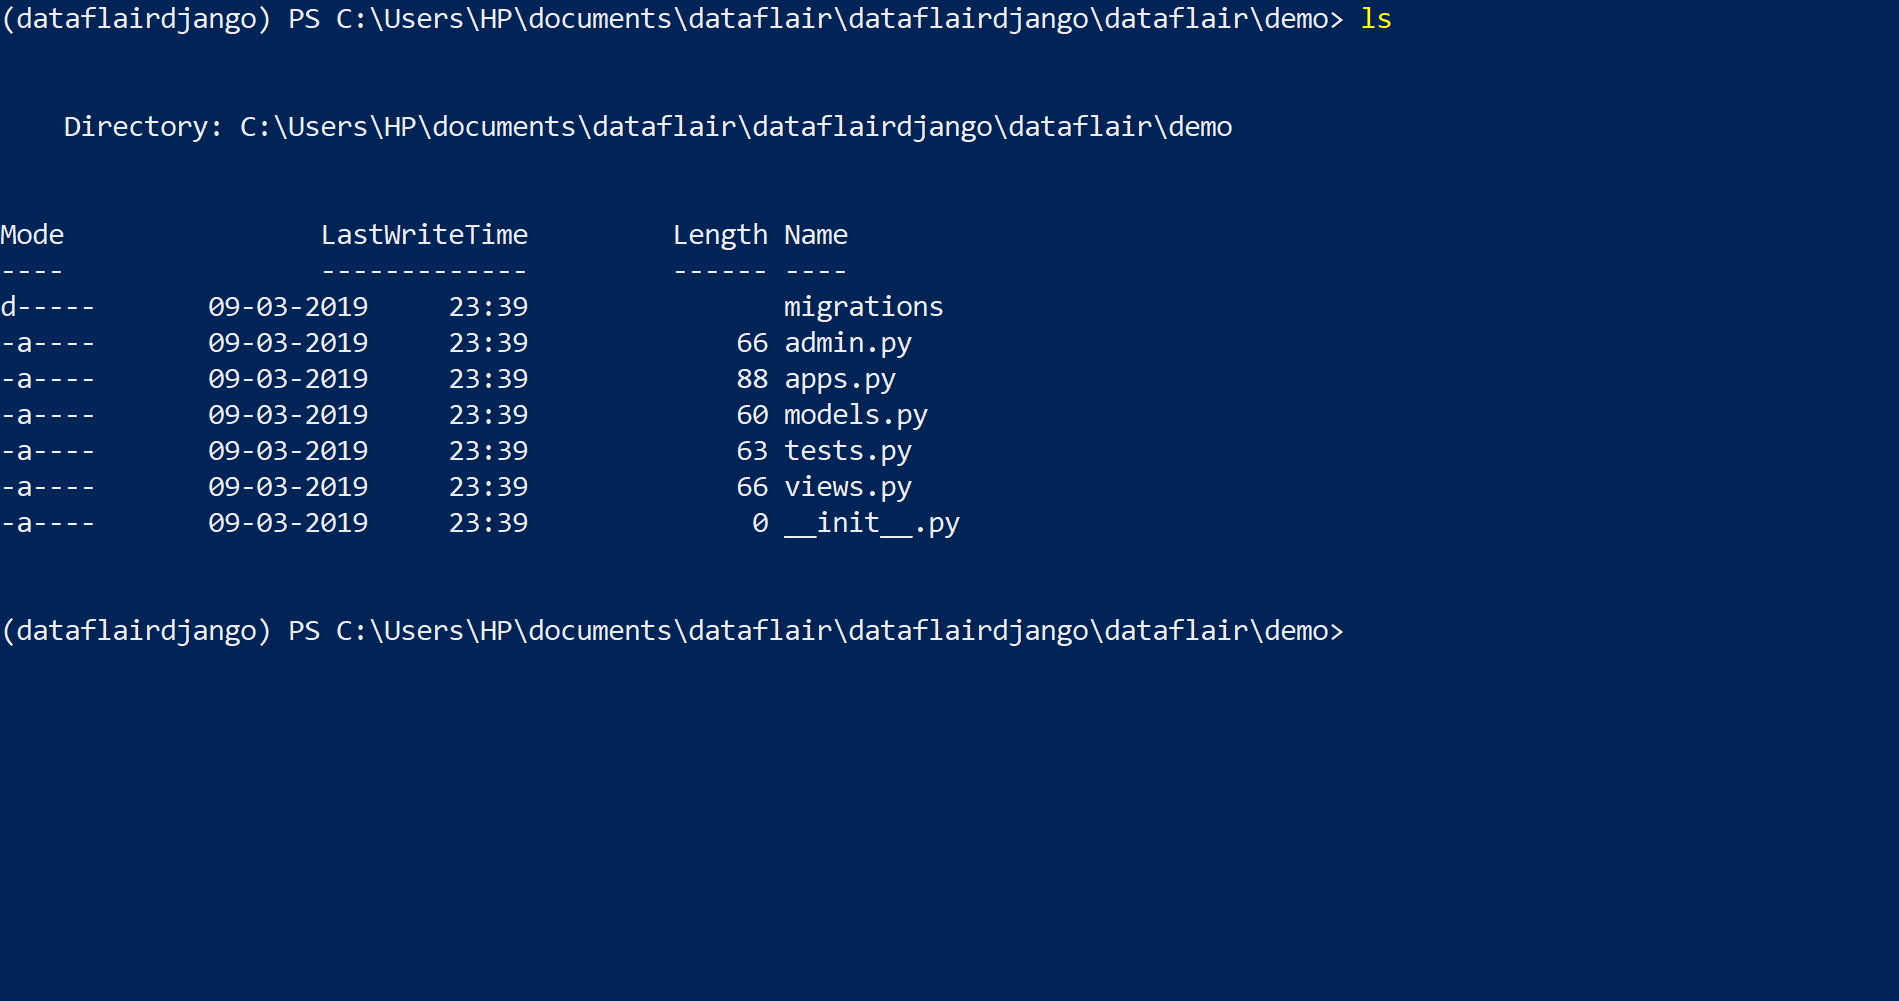
These are the files which come pre-installed when your application is created and the formats of each file for each application remains the same, that’s the Django Way.
Installing Django App
Once we have created our application, even though it’s in the same folder as the main Django project, the application needs to be installed.
To install the Django application in the project, we will first open settings.py and modify it.
Remember we will be modifying the main settings.py file of our Django project, not the one inside app directory.
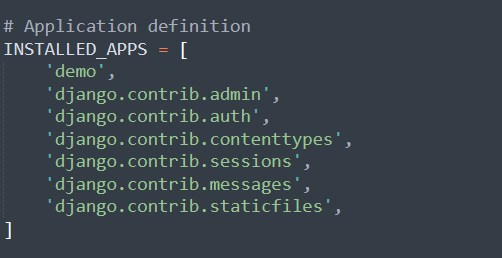
You will just have to type your app-name in the INSTALLED_APPS list as in the image, after adding our application in this list of Installed Apps.
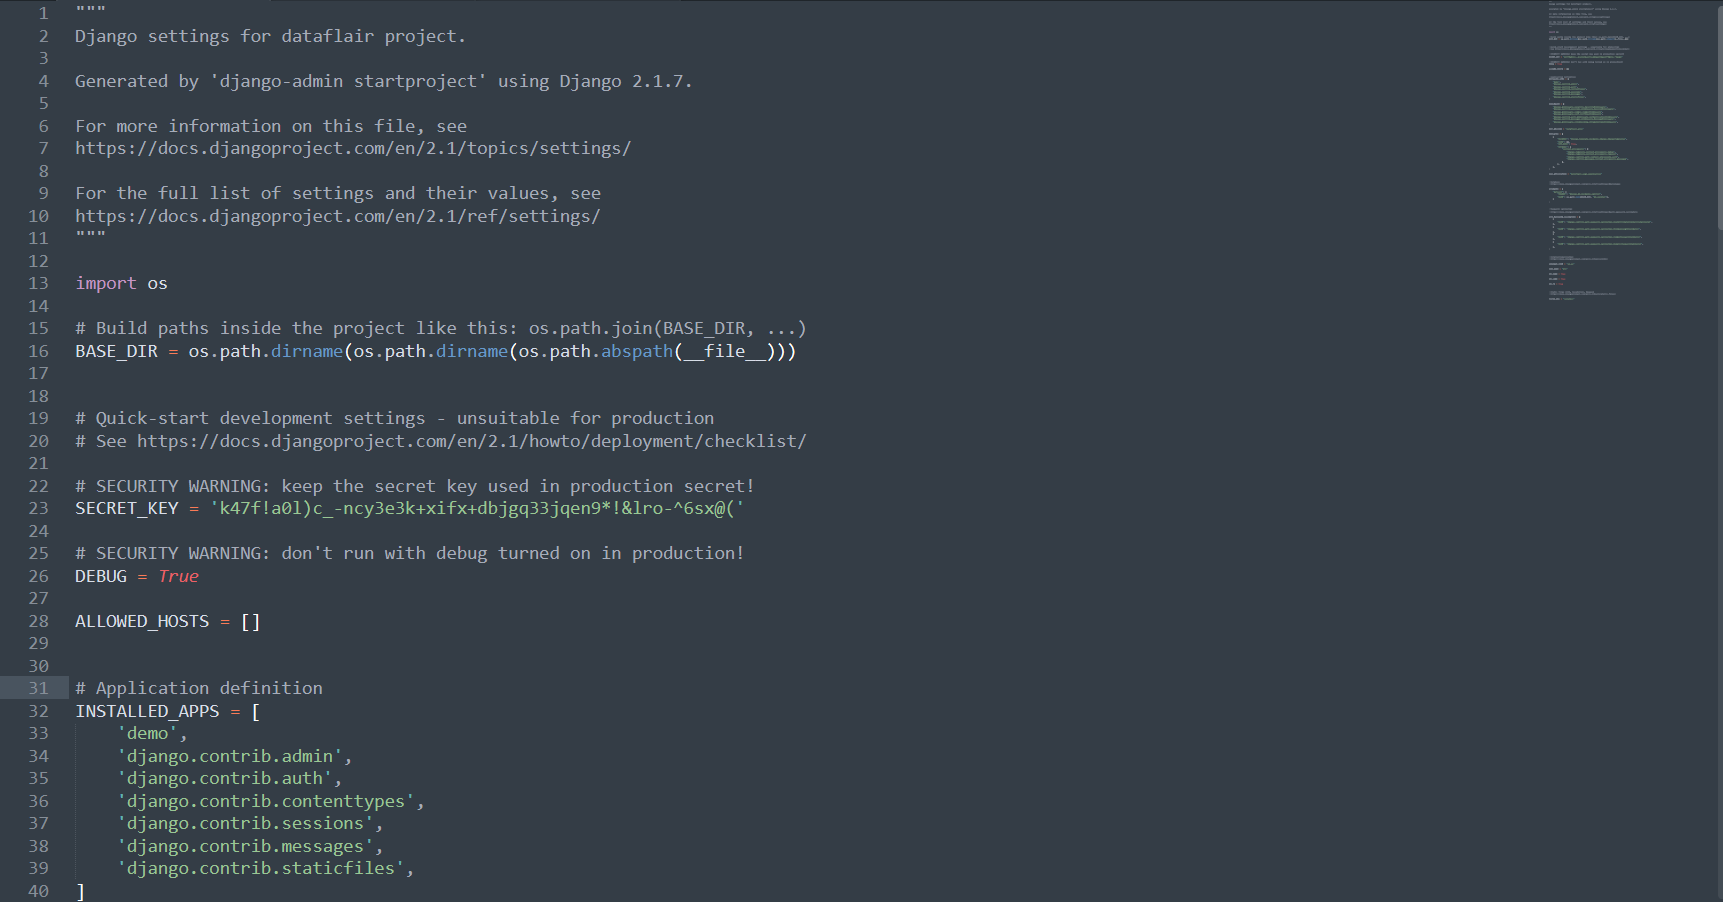
Hence, we have installed our first custom Django Application.
Now we will be adding the app to our urls.py file so that when anyone searches the URL of the app in the browser it will open this app.
Adding App in urls.py File
To add the app in the urls.py, you will again have to write some code. We will first need to create a new python file in the demo directory (app directory) and just paste this code in that file.
from django.urls import path
from.import views
urlpatterns = [
path('', views.index, name='index'),
]
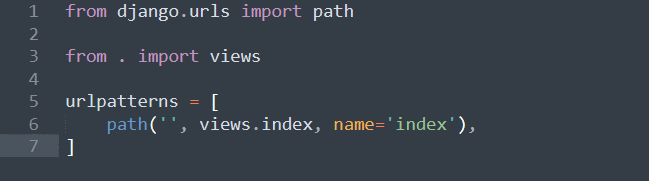
Here in the code, we are just telling our Django project that you have to initiate this function in the views.py file.
Don’t worry we will be modifying that file too.
Here we have imported the django.urls package and path function from there. The path() function is a new function in the Django 2.0. If you are using any prior versions then please upgrade otherwise don’t worry.
We have passed 2 arguments here, first, the URL which was searched and was passed to the URL bar from the browser, the other argument is to execute the file or function which is index function in our case.
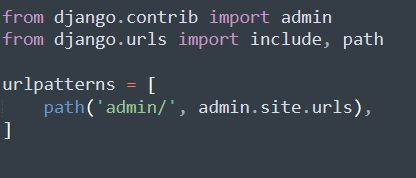
Now, we will be modifying the urls.py file in our main Django project.
There is only one item in the list and you will just have to add the new data.
from django.contrib import admin
from django.urls import include, path
urlpatterns = [
path('admin/', admin.site.urls),
]
After adding the apps urls.
urlpatterns = [
path('demo/', include('demo.urls')),
path('admin/', admin.site.urls),
]
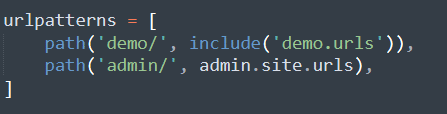
By doing this you are telling the system to direct your server to check the URL for demo keyword. After that, direct the URL to the urls.py file inside demo application directory.
Creating the views.py File
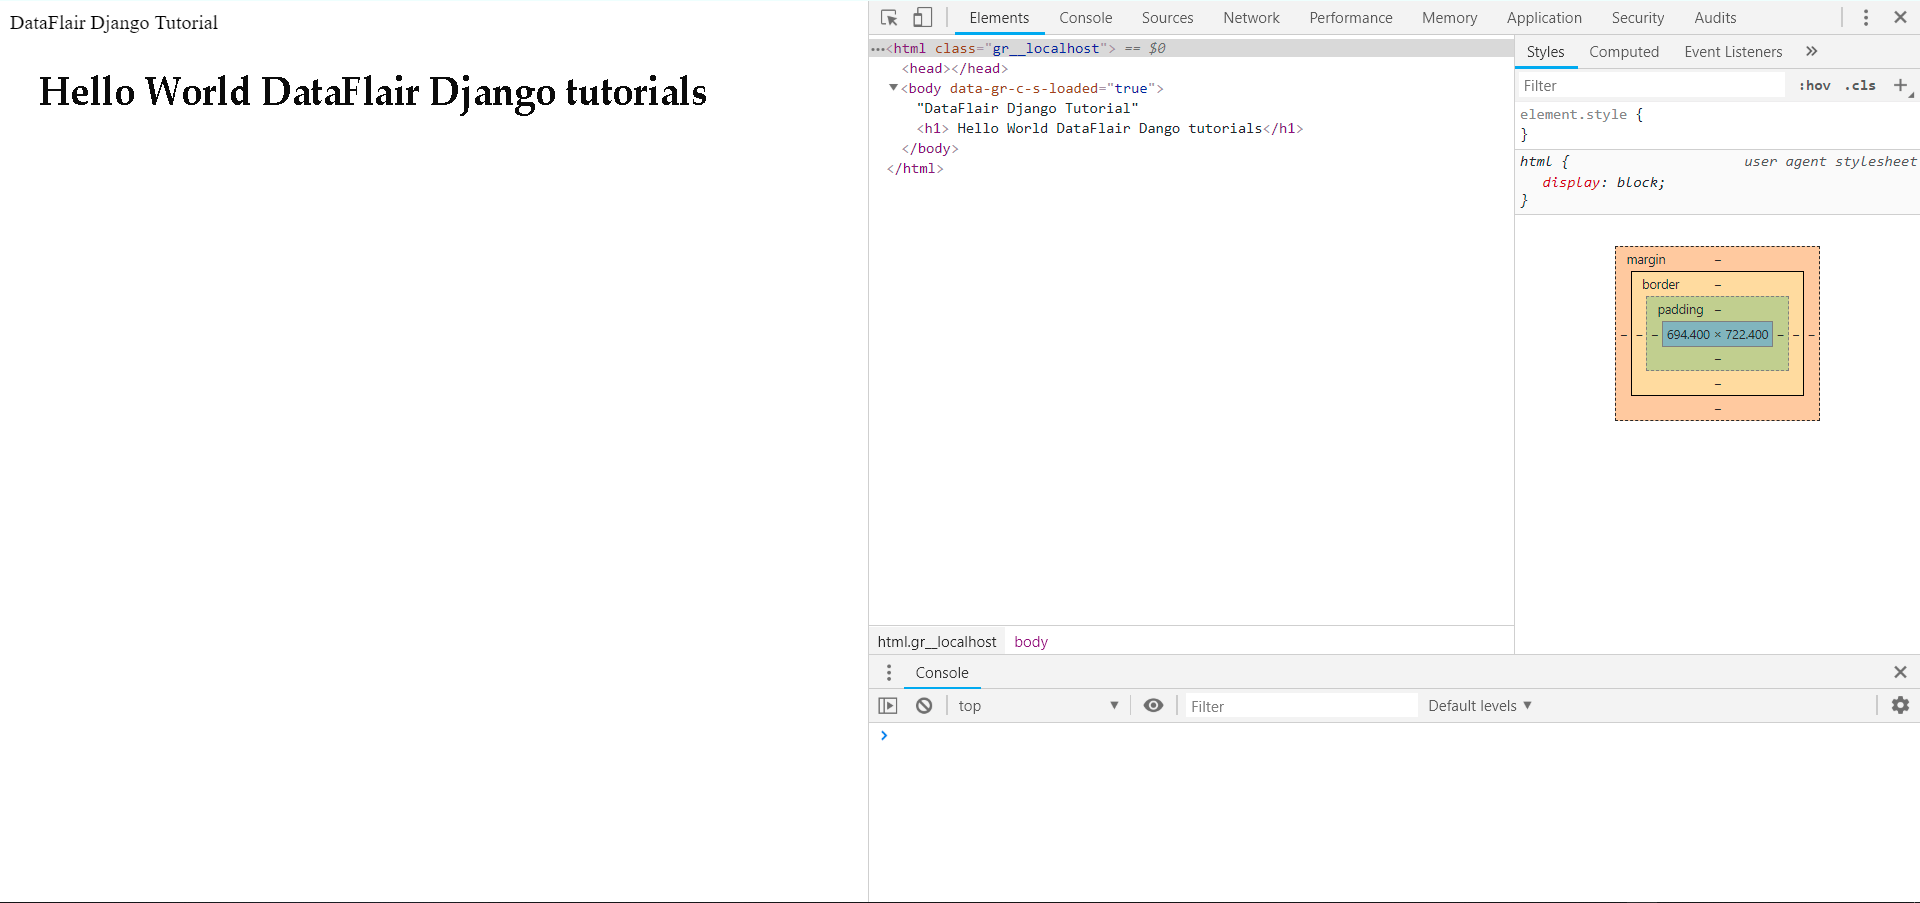
Finally, we will be creating the views file of our Django project. This file will make the view on the browser. Just copy this snippet of code, and paste it as it is in the demo directory and views.py file.
from django.http import HttpResponse
def index(request):
return HttpResponse("DataFlair Django Tutorial<html><body><h1> Hello World DataFlair Dango tutorials</body></html>")

As the name suggests, this file is where we will create views which the browser will render.
As you can see the code there, we are importing a function of HttpResponse and we also created a function named index which we have used in the urls.py file.
That function takes the request just like a server would interact with the server. We are returning HttpResponse() and inside that whatever we are writing in the argument of this function that browser will render.
There are more responses than the HttpResponse and we will be using those in the future. That’s it, we have just created our first Django app and also a web page.
If you want, we can also open the admin app but we will be covering that in the next tutorial.
Note: If your app doesn’t start then just write like this in URL.
![]()

This will run your app in Django.
Summary
In this Django app tutorial, we learned more about the Django file structure and created our first app. Don’t worry if the app didn’t start there can be some errors. Just go through this articles code again.
In the upcoming tutorial, we will cover more information about inbuilt apps and more Django ways. Furthermore, if you have any queries or feedbacks related to the Django app tutorial, you can simply enter in the comment section.