


This Pig tutorial briefs how to install and configure Apache Pig. Apache Pig is an abstraction over MapReduce.
Pig is basically a tool to easily perform analysis of larger sets of data by representing them as data flows. To learn more about Pig follow this introductory guide. This tutorial contains steps for Apache Pig installation on Ubuntu OS.
So, let’s start Pig Installation on Ubuntu.
Apache Pig Installation on Ubuntu
i. Pre-Requisite to Install Pig
You must have Hadoop and Java JDK installed on your system. Hence, before installing Pig you should install Hadoop and Java by following the steps given in this installation guide.
ii. Downloading Pig
You can download Pig file from the below link:
https://archive.cloudera.com/cdh5/cdh/5/
hadoop-2.5.0-cdh5.3.2 is already installed on the system hence the supported pig version will be downloaded from here which is pig-0.12.0-cdh5.3.2.
iii. Installing Pig
The steps for Apache Pig installation are given below:
Step 1:
Move the downloaded pig-0.12.0-cdh5.3.2.tar file from Downloads folder to the Directory where you had installed Hadoop.
Step 2:
Untar pig-0.12.0-cdh5.3.2.tar file by executing the below command on your terminal:
[php]dataflair@ubuntu:~$ tar zxvf pig-0.12.0-cdh5.3.2.tar[/php]
Step 3:
Now we need to configure pig. In order to configure pig, we need to edit “.bashrc” file. To edit this file execute below command:
[php]dataflair@ubuntu:~$ nano .bashrc[/php]
And in this file we need to add the following:
[php]export PATH=$PATH:/home/dataflair/pig-0.12.0-cdh5.3.2/bin
export PIG_HOME=/home/dataflair/pig-0.12.0-cdh5.3.2
export PIG_CLASSPATH=$HADOOP_HOME/conf[/php]
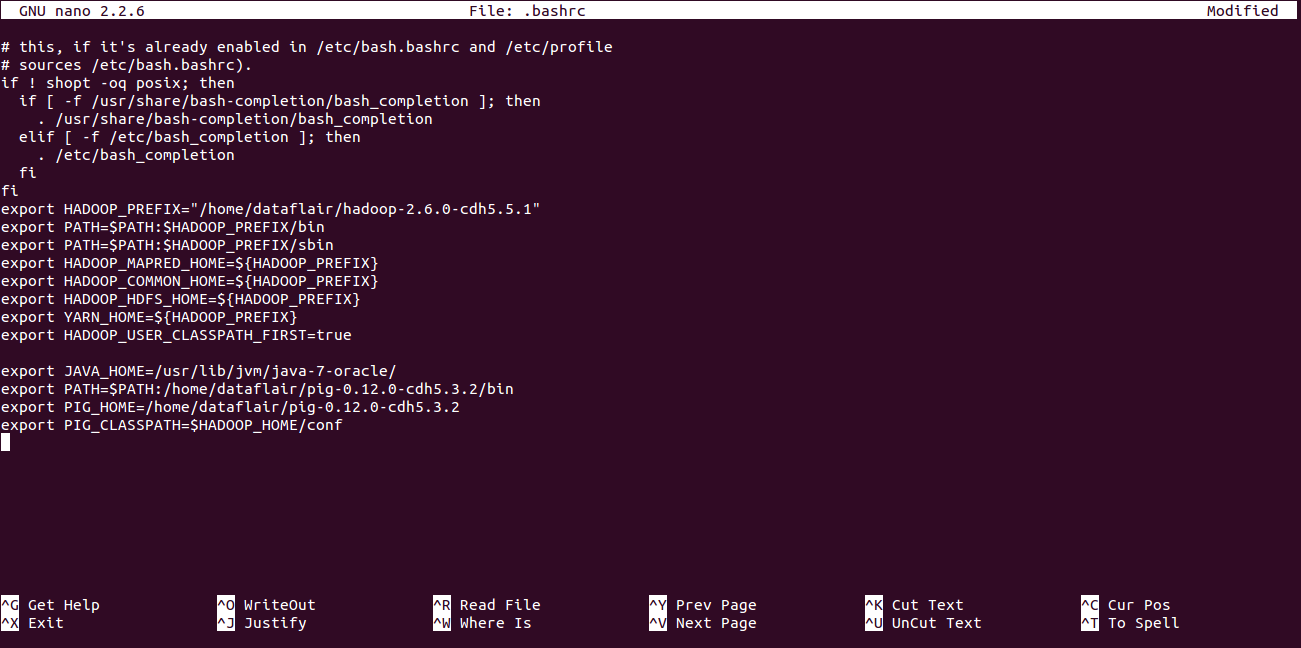
Apache Pig Installation_Bashrc File
After adding the above parameters save this file by using “CTRL+X” and then “Y” on your keyboard.
Step 4:
Update .bashrc file by executing below command:
[php]dataflair@ubuntu:~$ source .bashrc[/php]
After refreshing the .bashrc file Pig gets successfully installed. In order to check the version of your Pig file execute the below command:
[php]dataflair@ubuntu:~$ pig -version[/php]
If the below output appears means you had successfully configured Pig.

Apache Pig Version
iv. Starting Pig
We can start Pig in one of the following two modes mentioned below:
- Local Mode
- Cluster Mode
To start using pig in local mode ‘-x local’ option is used whereas while executing only “pig” command without any options, Pig starts in the cluster mode.
While running pig in local mode, it can only access files present on the local file system. Whereas, on starting pig in cluster mode pig can access files present in HDFS.
To start Pig in Local Mode execute the below command:
[php]dataflair@ubuntu:~$ pig -x local[/php]
And if you get the below output that means Pig started successfully in Local mode.
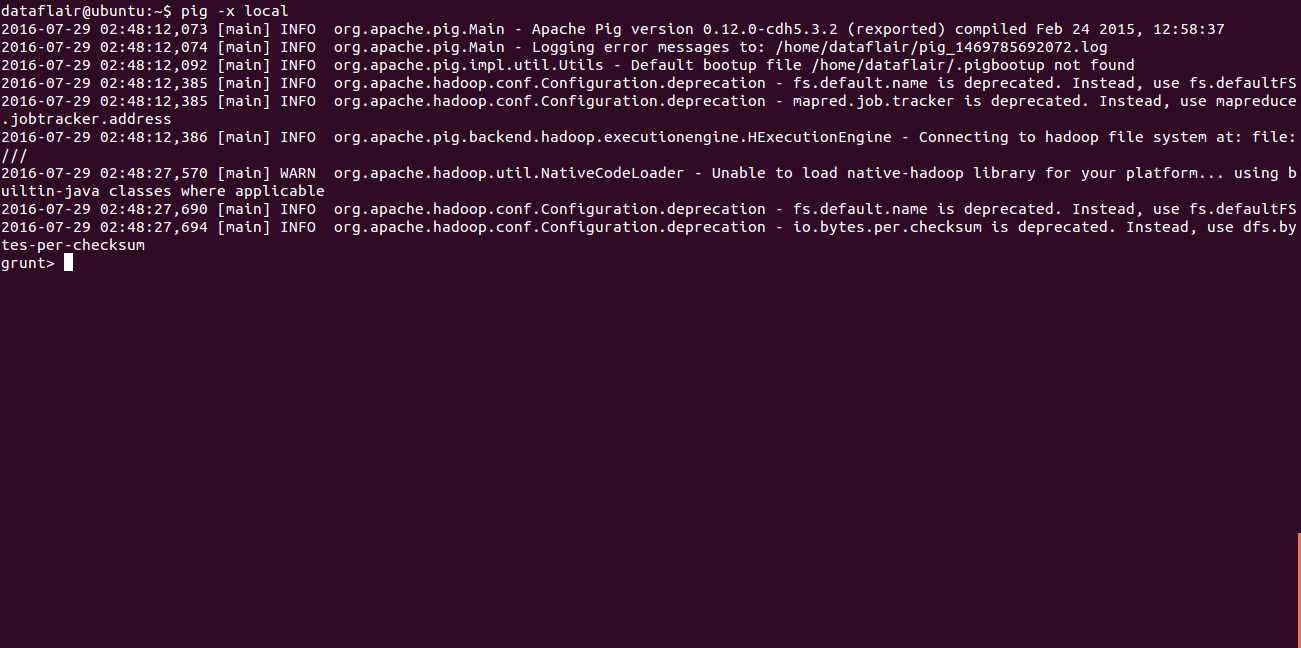
Running_Pig_Local_mode
To start Pig in Cluster-Mode execute the below command:
[php]dataflair@ubuntu:~$ pig[/php]
And if you get the below output that means Pig started successfully in Cluster mode.
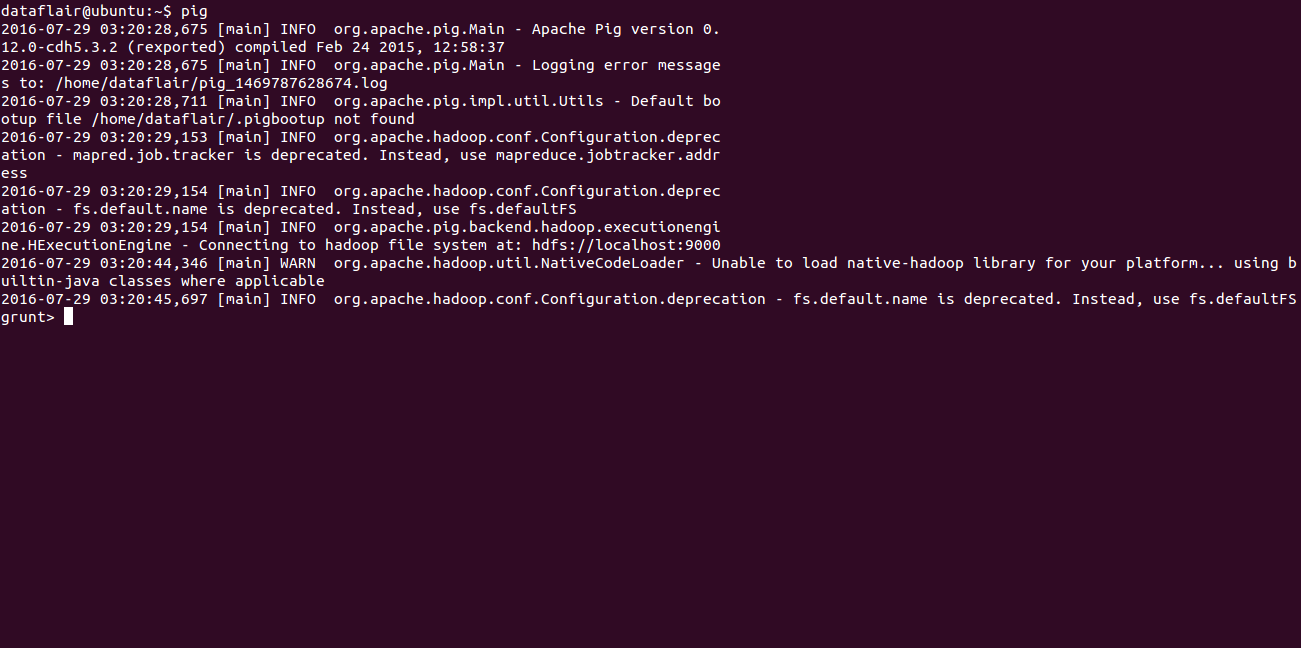
Running_Pig_Cluster_mode
So, this was all in Apache Pig Installation. Hope you like our explanation.
Conclusion
So, finally, we have seen how to install Apache Pig on Ubuntu. We will learn Pig Programming in our further Pig tutorials. Feel free to ask your queries in the comment section.