

Free Angular course with real-time projects Start Now!!
In Angular, components play a very important role. The whole structure of the application is built using different components. Components help in maintaining the modularity of the application as they are reusable. Components control the view, i.e. components are the classes that interact with the HTML file and ultimately resulting in controlling what is displayed in the browser. In this article, you will get to know about all the various components present in the angular application by default and how you can add or remove components.

Default Angular Components
- § app.component.css
- § app.component.html
- § app.component.spec.ts
- § app.component.ts
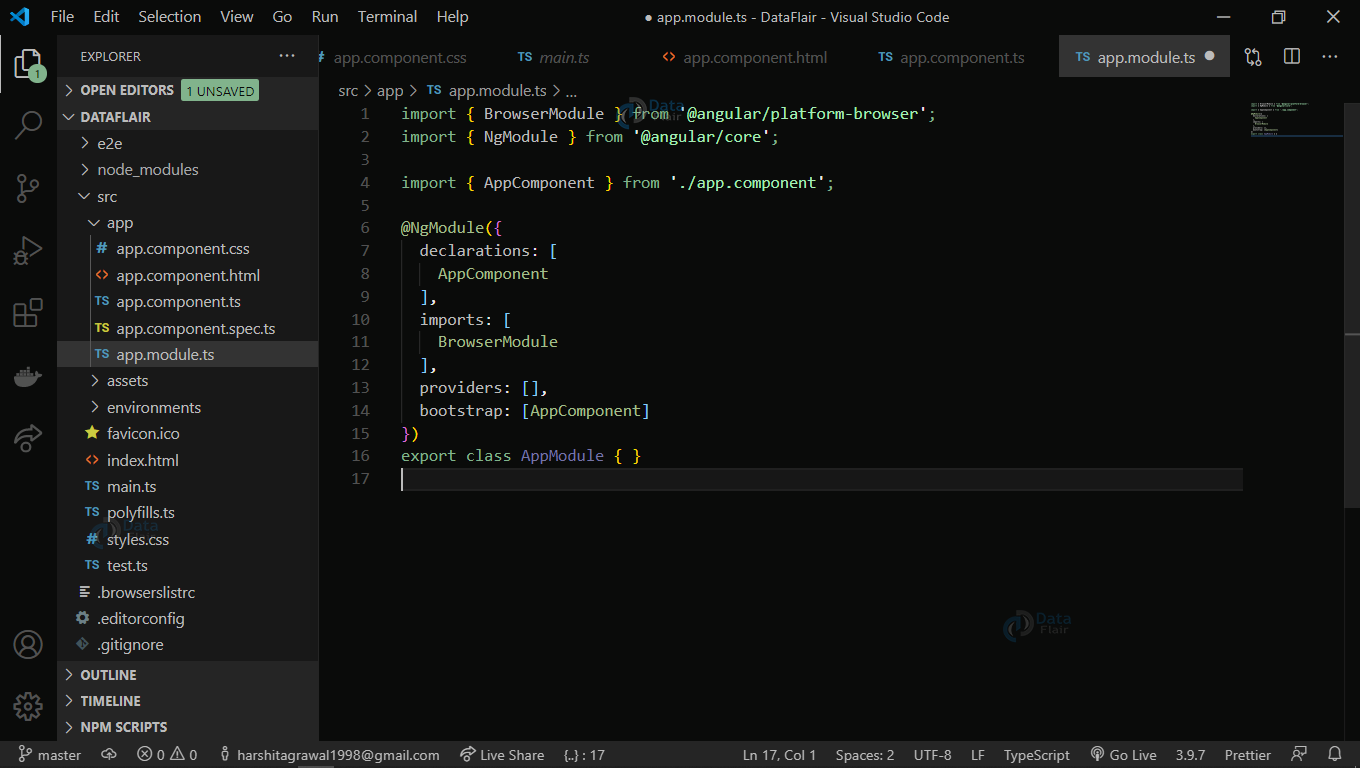
- § app.module.ts
These are the component files that get created by default when you create an application in Angular. When you create an Angular Application using Node Package Manager(npm), an App.module.ts file is created in the Application which has “import libraries” statements, and also, there are declarations where AppComponent is assigned.
For example:
Types of Components in Angular
Now, there are two types of component in Angular:
- Parent
- Child
The Parent Component is the one that is predefined and imported when you create the App. The Child component, however, is the one that you can create according to your needs and demand.
Metadata of Angular Component

As you can see in the image, there are three configuration options in Component which are most useful:
- Selector: This tells angular where to create and insert the instance of this component. It is a CSS selector. The selector inserts the instance in the HTML wherever it finds the tag of the component. In this case <app-root> </app-root>
- templateURL: There are two ways to declare this.
– You can provide the module relative address of the components HTML template.
OR
– You can also provide the HTML template directly inline. It can be provided as the value of the template property.
This template is responsible for defining the view of the host of the component. - Providers: It contains an array of providers1. They are all the services which a component needs. (** provider1 : It is an object that implements the interface of one of the providers. The object defines how you can obtain an injectable dependency with a DI token)
- Template: A template is a combination of regular HTML and Angular. i.e. HTML and typescript. It contains both, the <html> tags and {angular} scripts.
The angular Template Syntax augments the app logic which you have used in your HTML and also alters the data of DOM.
The template uses the property of Data binding to link and connects your app to the DOM data. It uses pipes to decide the view of the data when it is being displayed. Also, the template uses directives to control what gets displayed using the app logic.
You will learn about Data binding, Pipes and directives in upcoming articles.
How to Create an Angular Component
To create a new component, type the following command in the terminal:
ng g component cmp-one
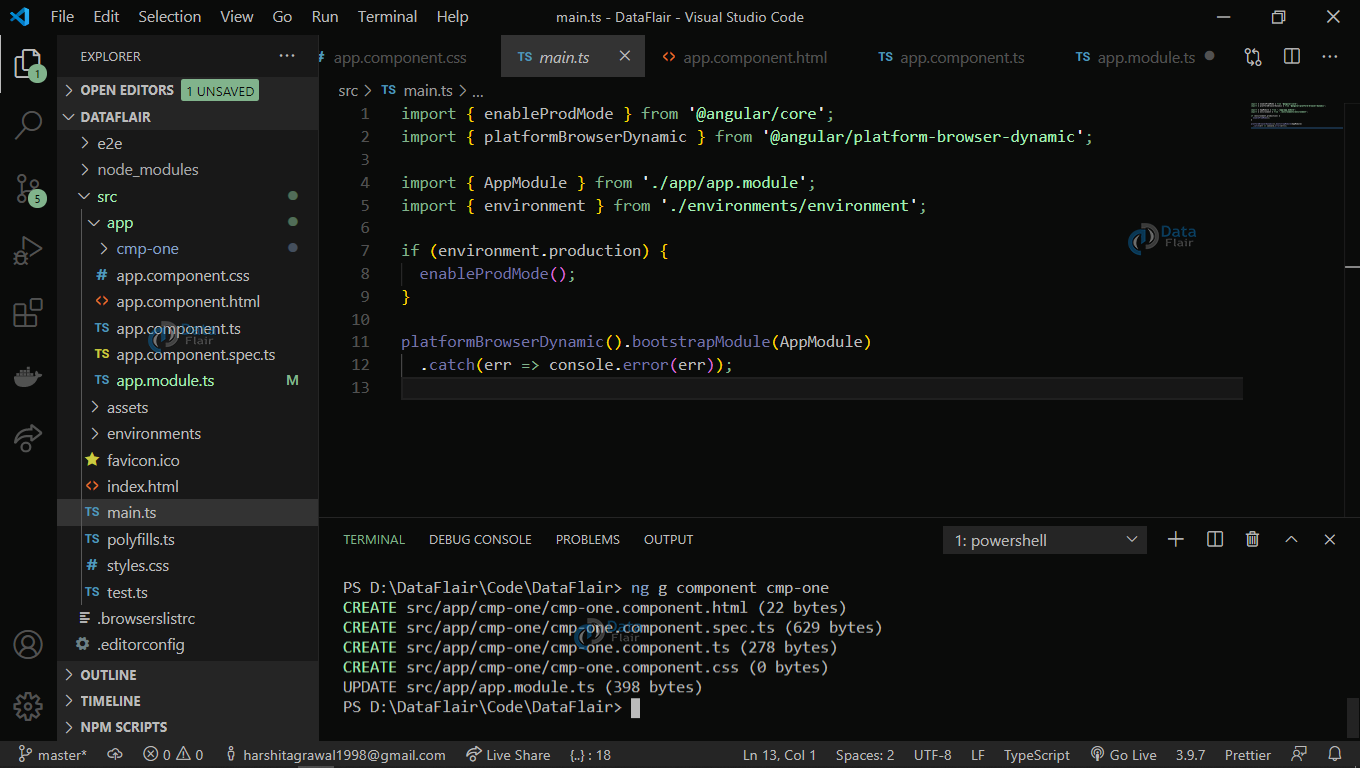
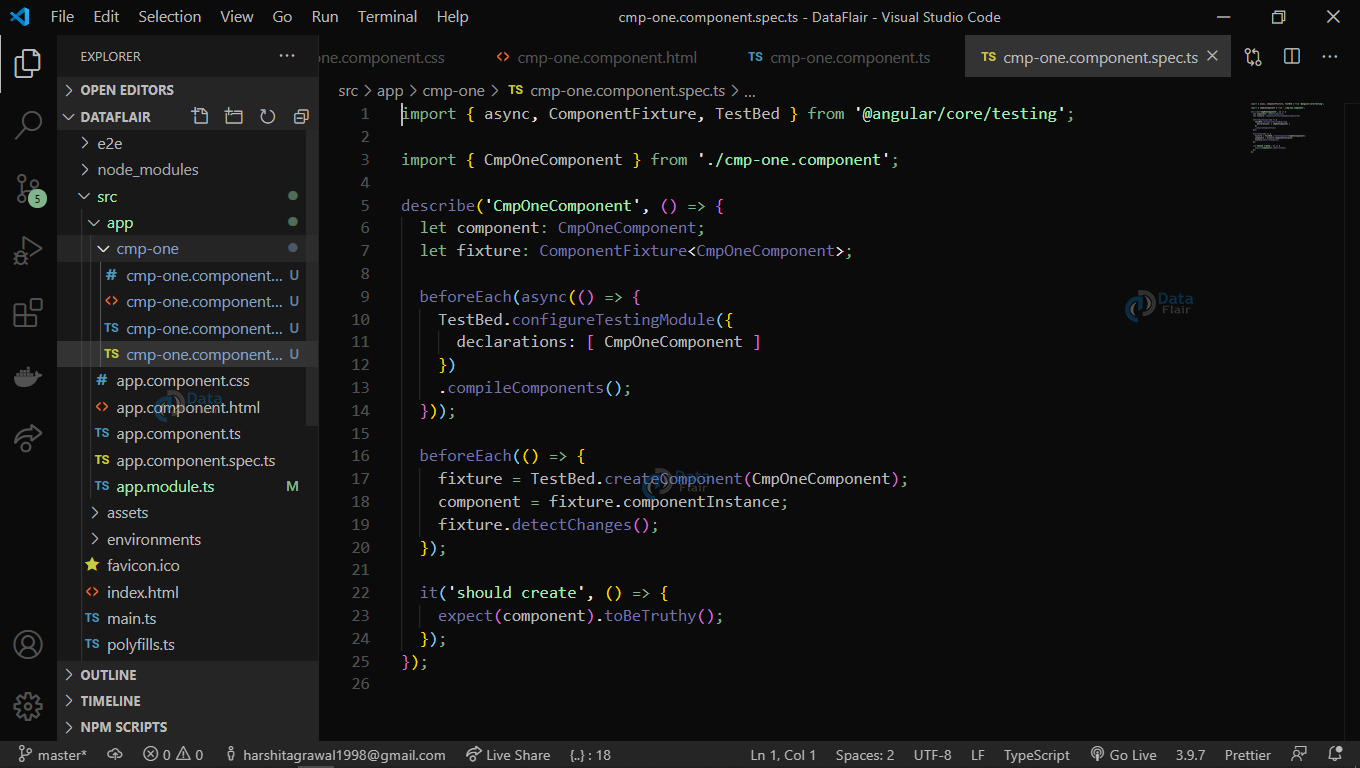
After this command executes successfully, cmp-one folder creates and four files are present in it.
- cmp-one.component.css
- Cmp-one.component.html
- Cmp-one.component.specs.ts
- Cmp-one.component.ts
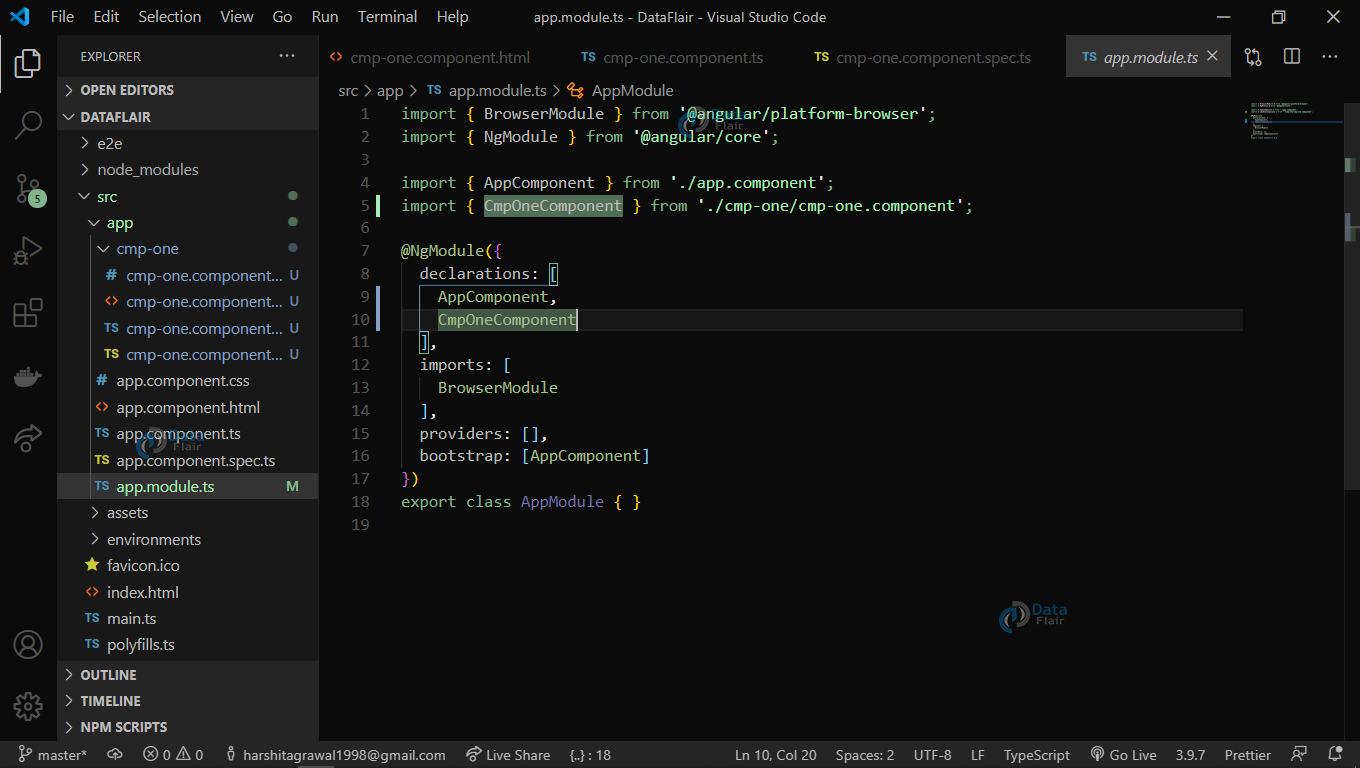
In the app.module.ts, the reference of the cmp-one adds automatically.
To see the component you just created using GUI, type ng serve in the terminal.
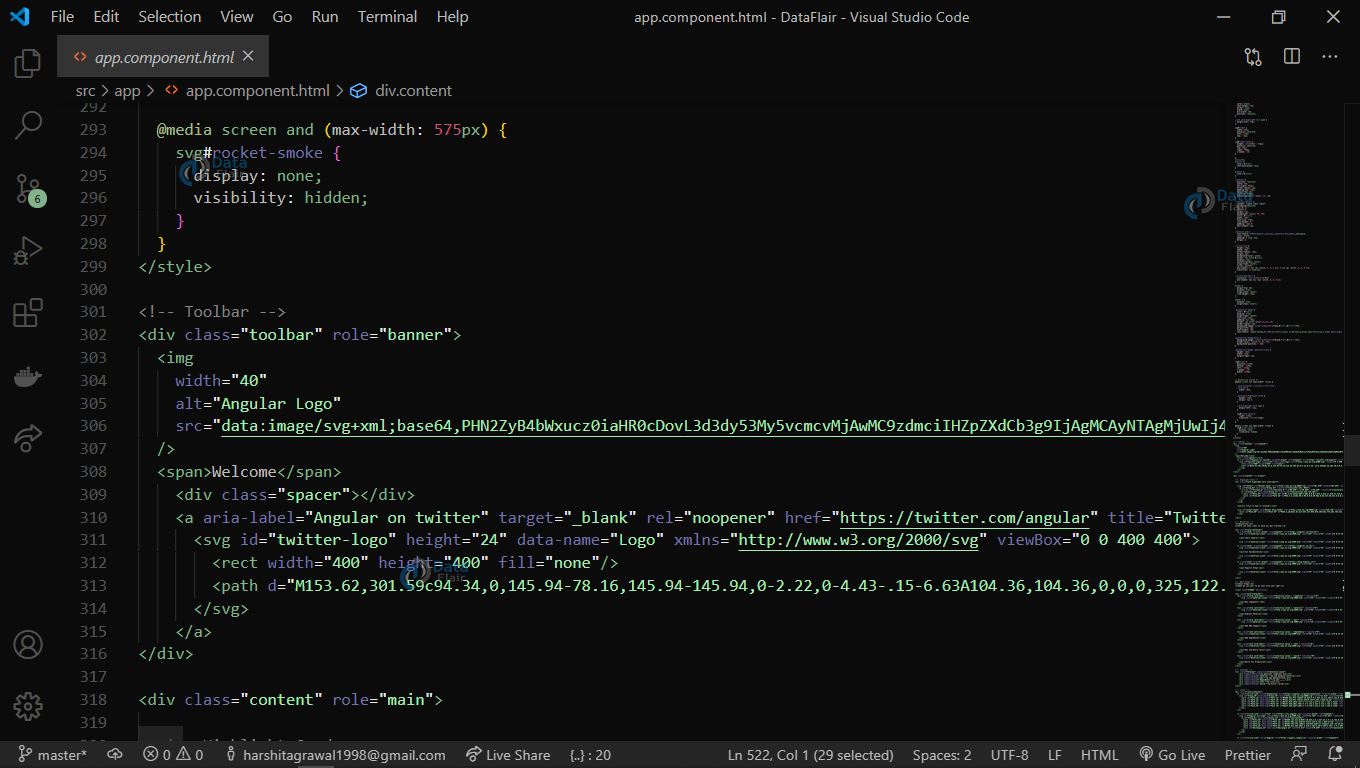
A browser window will open. Now to actually see the changes here, navigate to your app.component.html file. Here, before the ending of </div> tag, add the reference of your component. The reference in my case is :
<app-cmp-one></app-cmp-one>

Now, go to the new cmp-one folder created. Here, you will find the file cmp-one.component.html. In this file, write the content you want to display on your application. For example:
<h1>Hey!!. Our new Component Works 🔥✔ </h1>
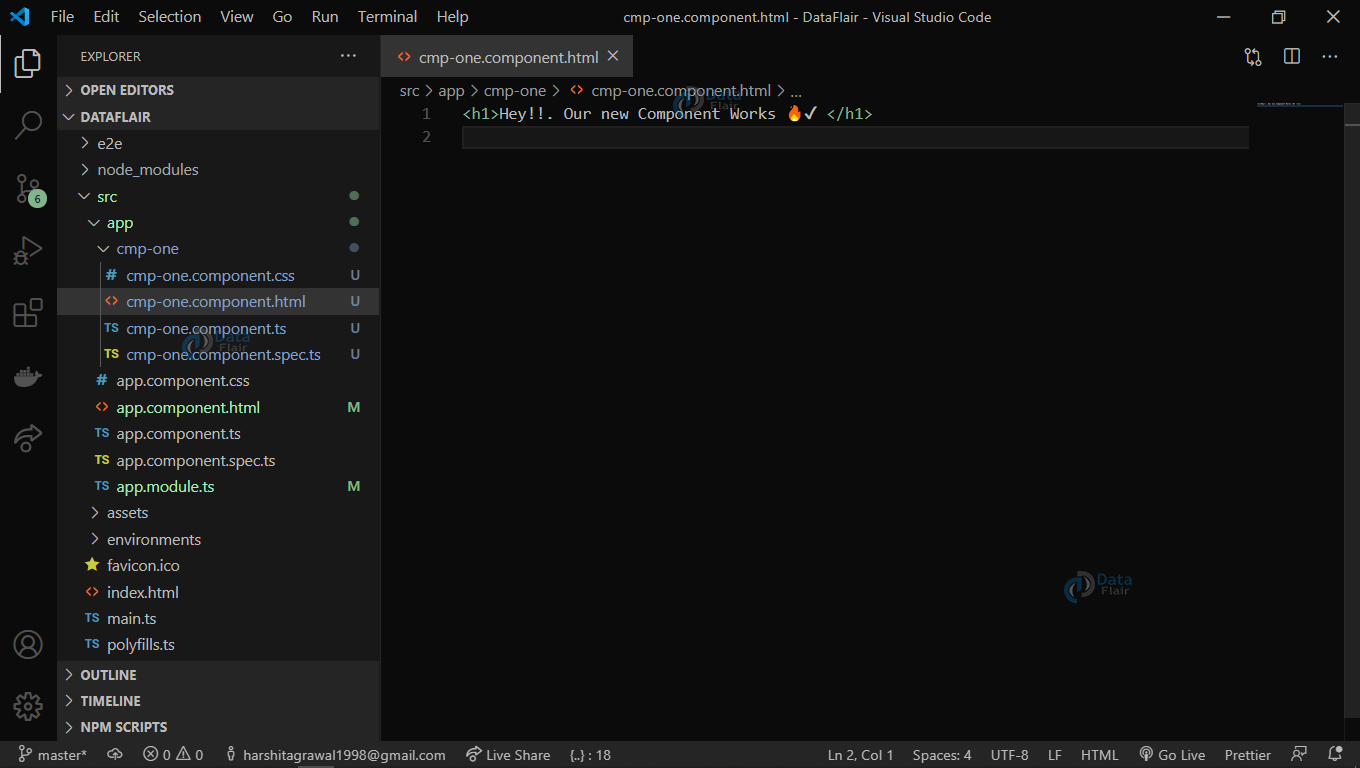
When you finish editing it, Save the file by pressing ctrl/cmd + s. Now in the browser, navigate to the bottom of the page. Here, you can see that the content you wrote in the cmp-one.component.html is displayed.
This is how you create a component in Angular.
Summary
Finally, we saw Components play a vital role in your Angular application. Components and modules work hand in hand to make your application work. There are parent and child components in angular, and both have their unique roles and properties. A template is a combination of both HTML and Agular’s typescript. It plays a role in defining how the content you have provided in the application will look like. Creating a component in Angular is easy as it only requires a single command and the rest of the work Angular does itself.