


Master Python with 70+ Hands-on Projects and Get Job-ready - Learn Python
Job-ready Online Courses: Dive into Knowledge. Learn More!
AJAX has now become an important part of web applications. AJAX also helped Django a lot to increase efficiency and save the time of users. All the popular services out there use it in some way or the other.
Applications like Facebook, Twitter, Instagram, Gmail, Google Maps, Spotify, etc cannot function without AJAX.
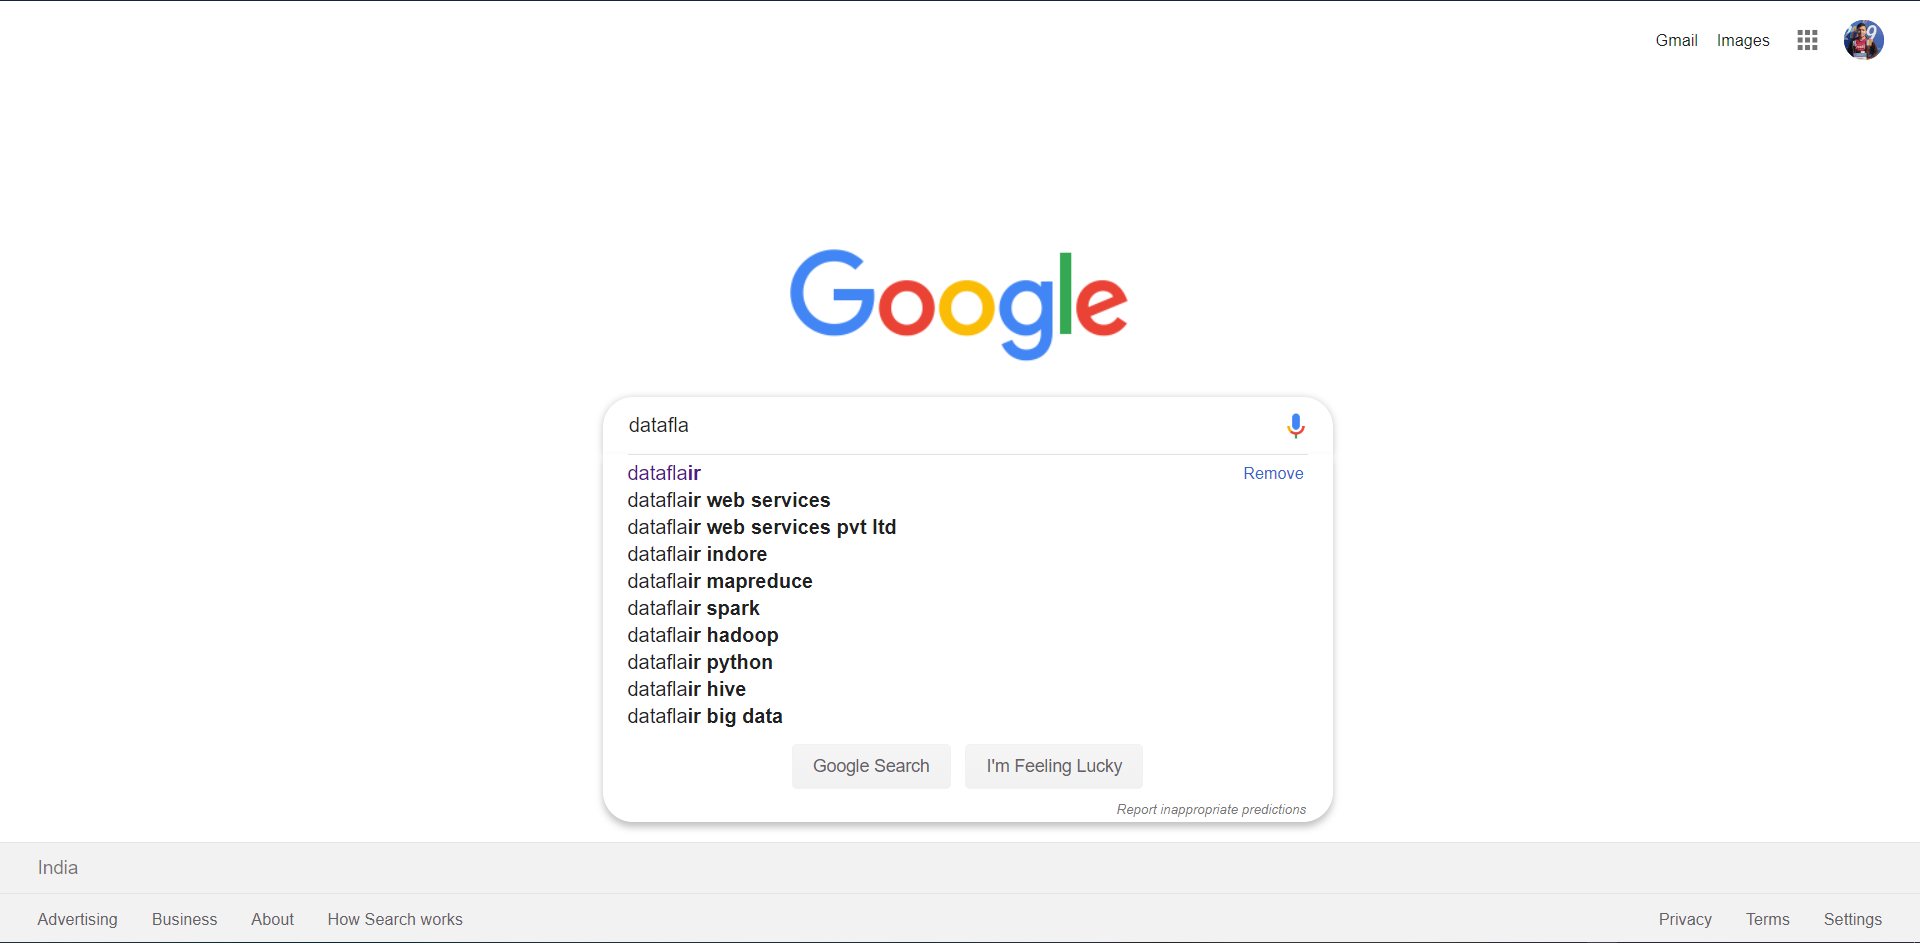
You will have to deal with AJAX code at some point. Even Google search uses AJAX. You must have seen those predictions down the search bar while typing, those are AJAX generated results. We are going to learn the implementation of AJAX in Django in this tutorial.
This tutorial will become easy to understand if you know JavaScript. It will be amazing if you also have some experience with DOM (Document Object Model).
AJAX in Django
We talked about AJAX and how it is present in our web pages. Now, let’s learn why we need AJAX in Django. AJAX is an acronym of Asynchronous JavaScript and XML.
It is a mixture of technologies implemented to solve a very serious problem. It utilizes XMLHttpRequest objects to transmit and receive data.
The Problem that AJAX Solved
Imagine that you are reading your emails. Now, think that for every new mail received, you have to reload the entire page which involves some steps:
- Request from your browser to reload the page.
- The server receives and responses accordingly with new mails added.
- The process continues every time you want to read a new mail.
This approach is very time-consuming and unproductive. The problem becomes more serious when urgent replies are demanded by the recipient. Apparently, it was a real situation for websites before 2003.
In late 2003, all the browsers solved the above problem by using XHR. XHR is acronym for XMLHttpRequest Objects. Browsers use the XHR object to communicate with the server. This transmission happens without reloading the whole page.
XMLHttpRequest API is behind the scenes handling the XHR requests.
Now, almost all browsers have XMLHttpRequest APIs. This made applications like Gmail, Google Maps become a reality.
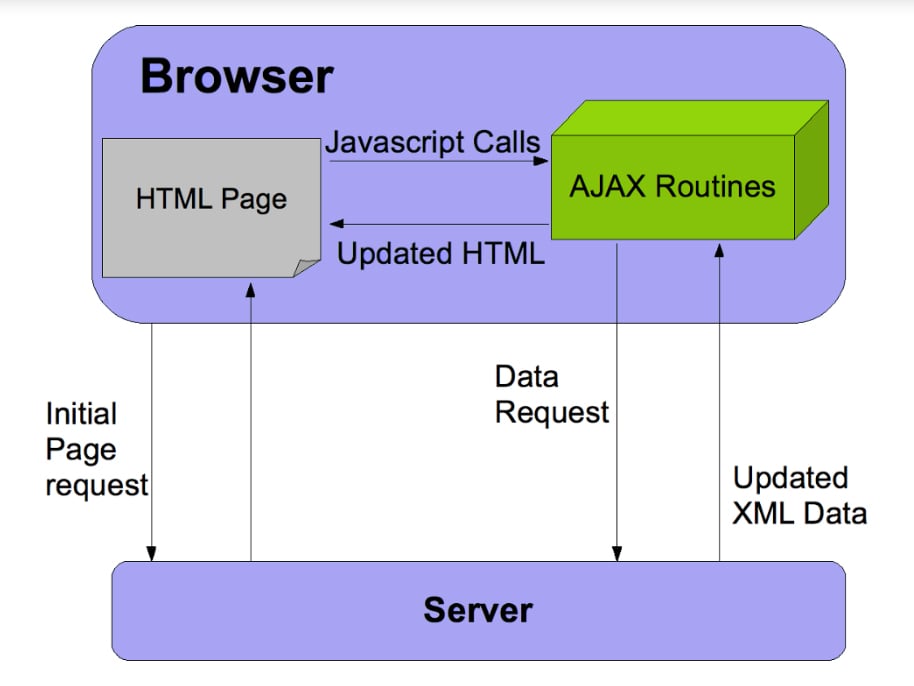
How AJAX works in Django
AJAX is nothing but a combination of JavaScript and XHR object. The concept is simple:
- JavaScript Code on the client – Side/ browser makes a request when an event occurs on the web page. The JavaScript code will generate an XHR object and is sent as a request object to the server. The XHR object contains some JavaScript data/ object.
- The XHR object also contains the URL or name of the call-back function on server.
- The request is handled by the server with a callback function – The appropriate view function or callback function handles the request. It will send a success or failure response. Since the request is asynchronous, the rest of the code executes without interruptions.
- At that time, the server processes the request.
- The response is received as success and failure – The success response can contain some server data in multiple formats like:
1. Text Format
Html Format (This contains HTML elements).
2. JSON Format
JSONP Format (It is JSON but only when the response comes from a different domain).
Script (This contains some JavaScript to be changed in page).
3. XML Format
Similarly, a failure response can be formatted.
- The JavaScript will execute according to the response received – The AJAX routine will now execute according to data from the server. We can change the HTML elements or run some JavaScript. Many things are possible using it. The best example is Facebook’s like button.
AJAX has multiple implementations but this is the common flow.
Example of AJAX in Real World
AJAX is very common in web applications. For example – when you like a post on LinkedIn, there are certain actions performed at the back-end but at the front-end, the color of Like button changes.
When you clicked that button, an XHR object was sent to the server. The server receives the request and registers a like for that post. Then, the server sends a success response and the Like button turns to Blue

Using jQuery for AJAX in Django
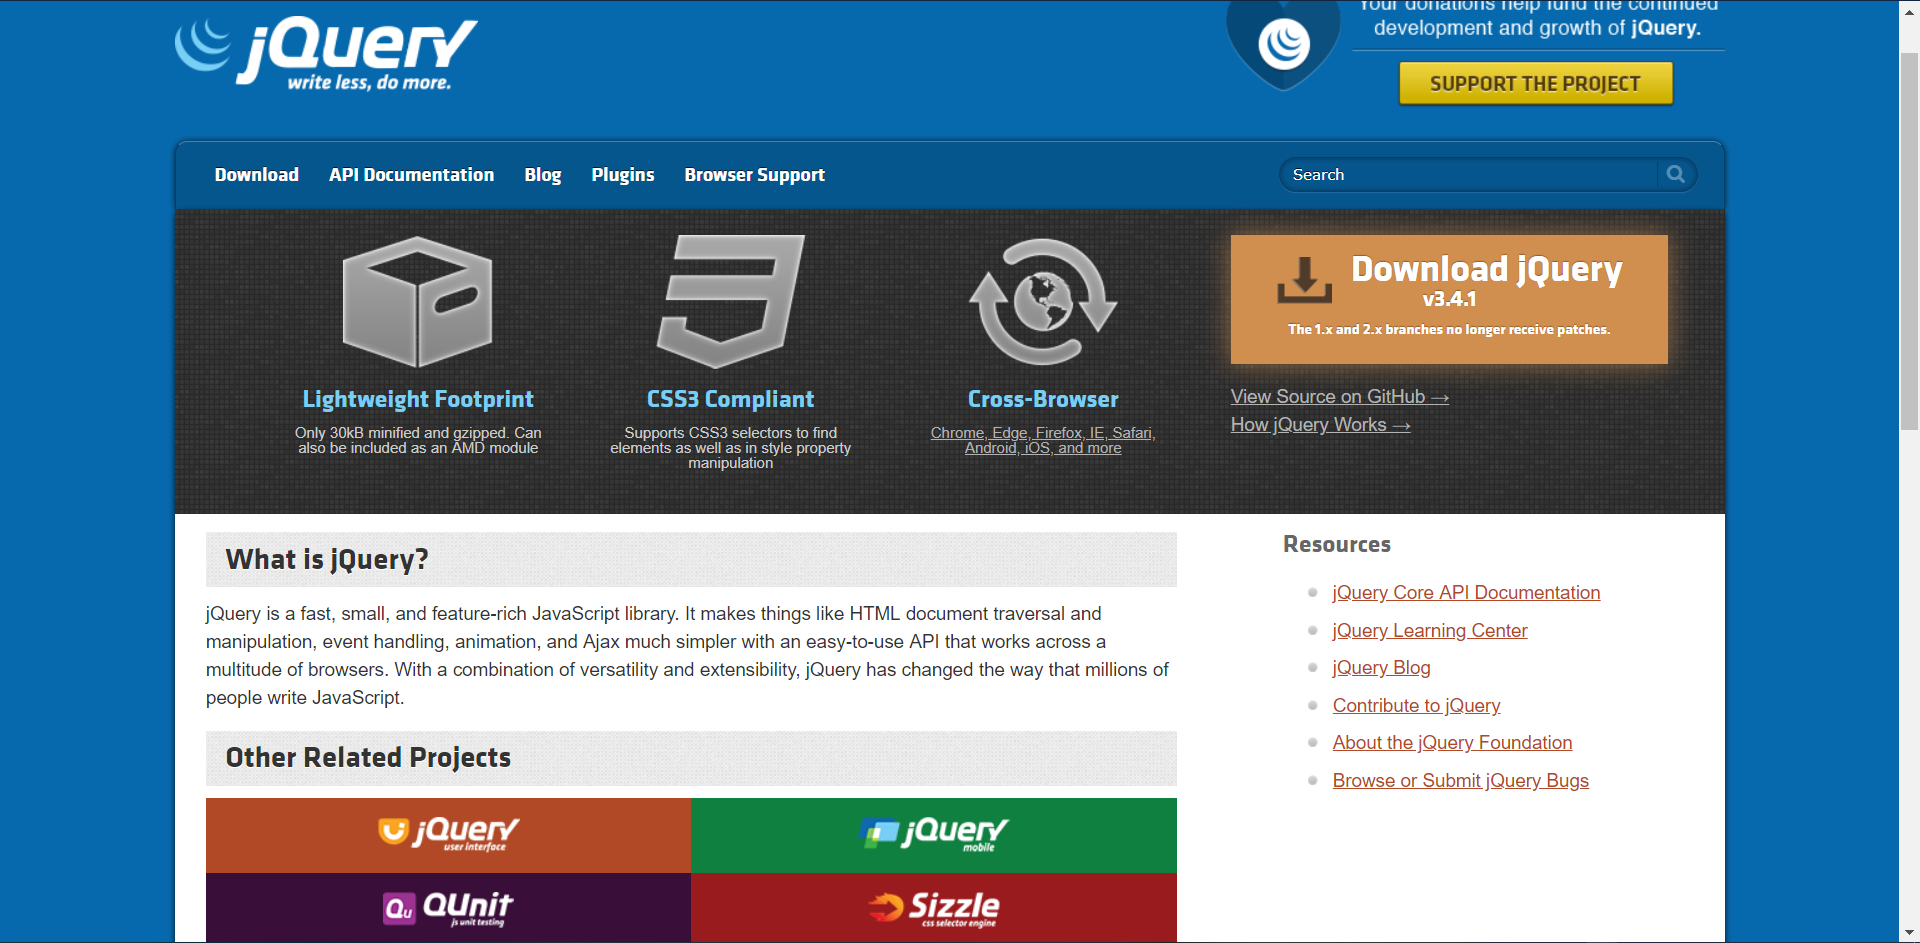
jQuery is one of the most popular libraries of JavaScript. Many advanced frameworks like Angular JS, React, etc are based on jQuery. It is a very useful library providing functions with DOM of web pages. To use bootstrap’s JavaScript part, jQuery is essential.
We are using jQuery for the following reasons:
- AJAX implementation is different on multiple browsers
There are many browsers which use different XHR APIs. These APIs parse request and response in a slightly different manner. Keeping your code up-to-date while also making it platform independent can be difficult. jQuery provides you with a built-in solution and takes care of all these things for you.
Since jQuery is actively developed thus, the code is kept updated frequently.
- jQuery provides a vast range of methods using DOM
jQuery contains many DOM objects and related methods. These objects can be used as per your need and jQuery makes it more convenient to use.
- jQuery is very popular
jQuery is heavily used in the IT industry. For any web developer, they will deal with jQuery at some point. jQuery has many features and it will be an important skill for you in the long run.
- jQuery is basic for many popular frameworks
There are many popular frameworks like Angular Js, react js based on jQuery. Bootstrap JavaScript is also based on jQuery. jQuery is basically everywhere on JavaScript frameworks.
These reasons are good enough for anyone to learn and use jQuery. There are more ways by which we can use AJAX in Django like, dajax, dajaxice, etc. These applications are made such that there is minimal JavaScript for AJAX.
In the real world, developers prefer jQuery, therefore, we are going to make an application based on that.
Simple Post App and Like Button
We are going to create a simple project where users can like a post. For this, we will be adding posts through admin model. Let’s follow these steps:
- Make a new app ‘post’
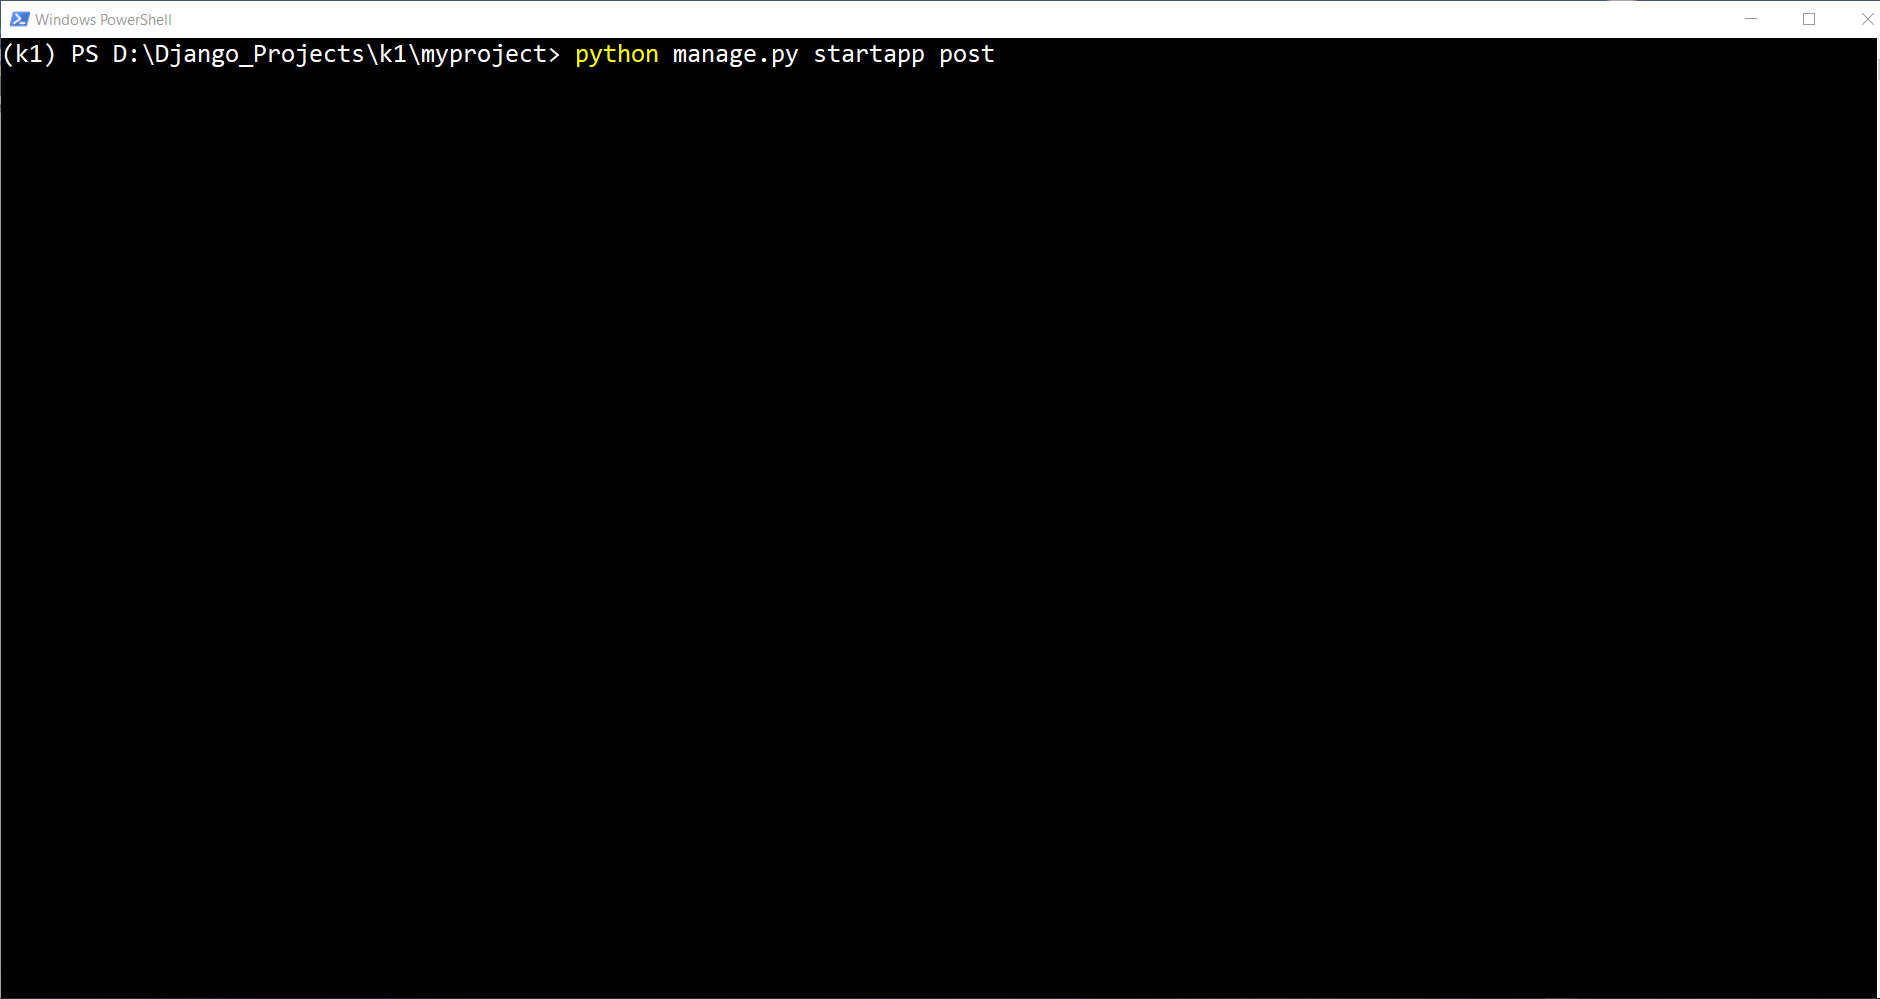
We all know how to create a new application in Django. In your PowerShell/ Terminal, execute this command:
python manage.py startapp post
Code Display:
Now, install the application in settings.py of project. Add the name of the application in INSTALLED_APPS list.

- Creating models – ‘Post’ and ‘Like’
Models are the tables in our databases. Paste this code in post/ models.py file.
Code:
from django.db import models

# Create your models here. #DataFlair class Post(models.Model): post_heading = models.CharField(max_length = 200)
        post_text = models.TextField()
        post_author = models.CharField(max_length = 100, default = 'anonymous')


class Like(models.Model):
post = models.ForeignKey(Post, on_delete = 'CASCADE')
Output:
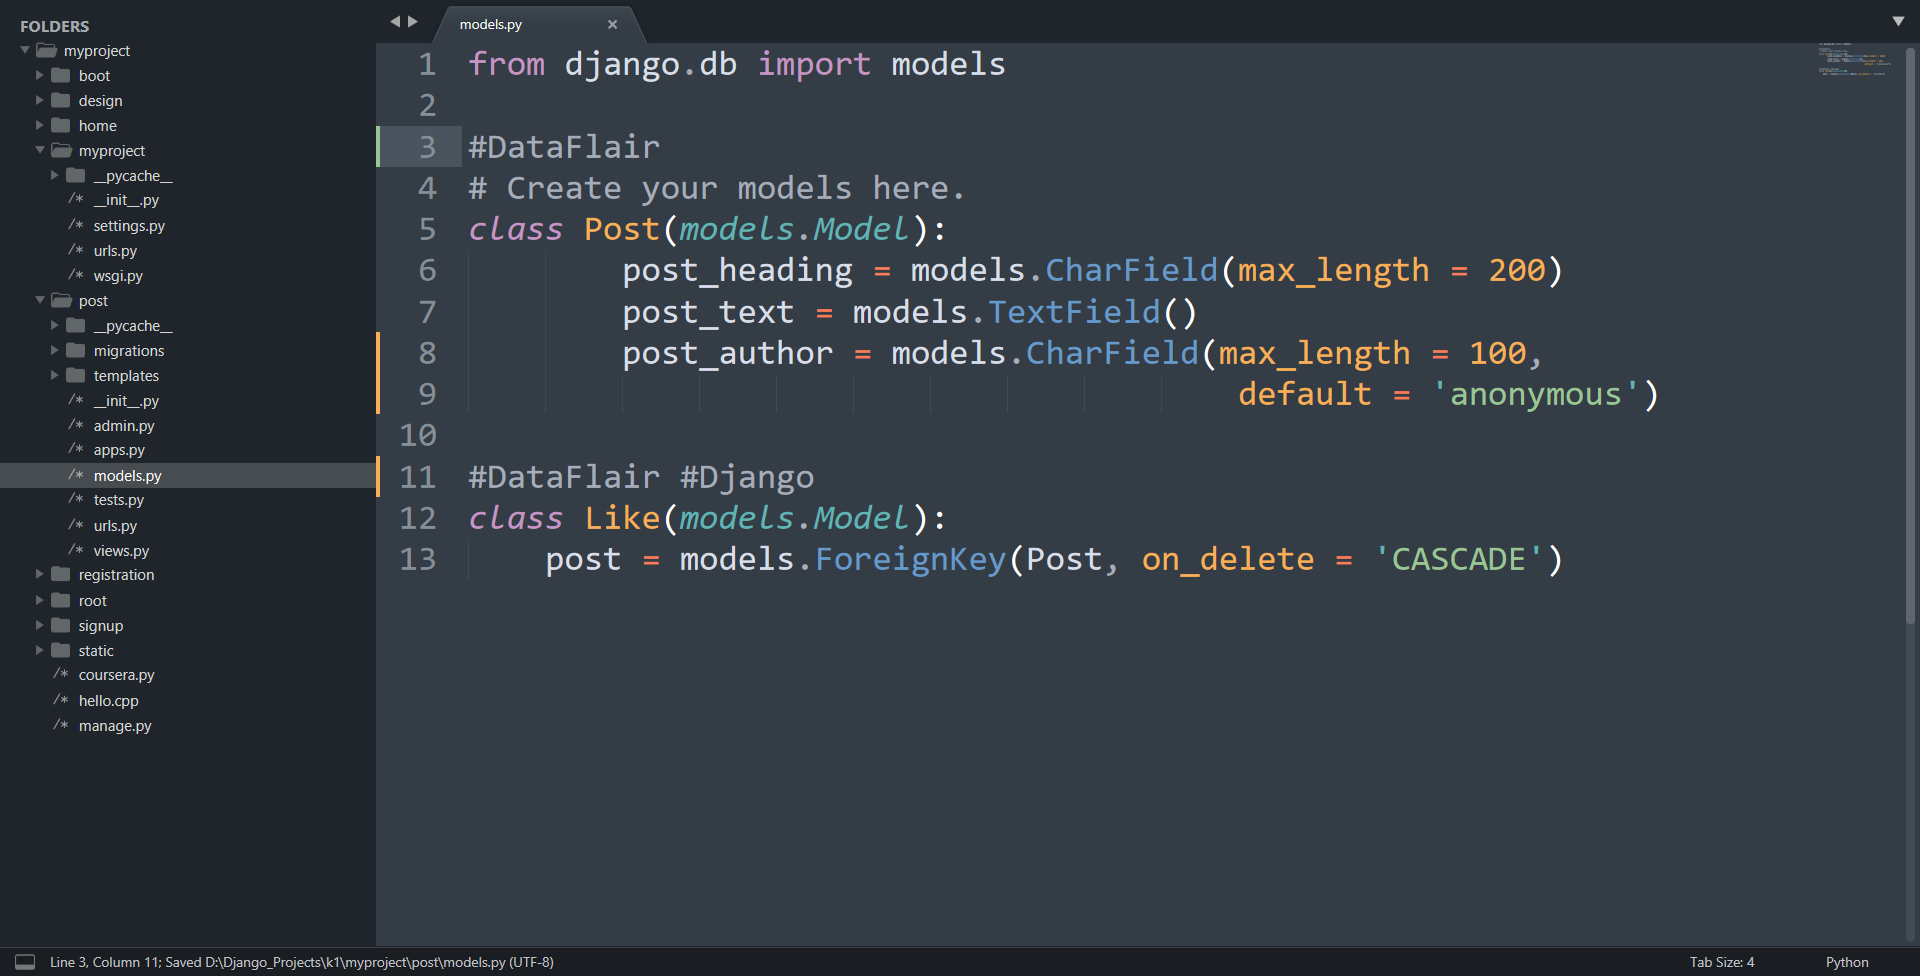
Here, Post and Like are two models. We are using the Foreign Key Field. It is used to define many-to-one relationships between models. The post variable in Like model will contain the primary key of the post that we added. Thus, we can then refer to that post’s data.
We are not using it in this example though.
- Creating view functions – ‘index’ and ‘like’
Open post/ view.py file and paste this code in it.
Code:
from django.shortcuts import render
from .models import Post, Like
from django.http import HttpResponse
# Create your views here.

#DataFlair #AJAX_tutorial
def index(request):
    posts = Post.objects.all()
    return render(request, 'post/index.html', { 'posts': posts })

def like(request):
    if request.method == 'GET':
        post_id = request.GET['post_id']
        likedpost = Post.objects.get(id = post_id )
        m = Like( post=likedpost )
        m.save()
        return HttpResponse('success')
    else:
        return HttpResponse("unsuccesful")
Output:

We created two view functions. The first one is to render all the posts and the second one is for the like function.
The like function exists to handle the AJAX request from like button. As you can see, it is similar to the function that we use in forms.
The like function will first check for the request. If it is the GET method, then it will read the data. The data is the id of the post we liked. Then, we create a Like class object and save its id equal to data. Then, we store the object in our database.
At last, we are returning an HttpResponse. This response will do nothing in our code as we are not printing the same. We could have just passed a script. These can be utilized according to one’s use case.
- Creating templates – ‘index.html’
Here comes the main part, templates, as AJAX is a front-end technology. To implement this, create some directories.
- Inside post directory, create templates directory.
- Inside the templates directory, create post directory.
- Create index.html inside post/templates/post directory/folder.
Now, paste the html in index.html
Code:
<!DOCTYPE html>
<html>
<head>
    <title>Like Post App</title>
    <link rel="stylesheet" href="https://stackpath.bootstrapcdn.com/bootstrap/4.3.1/css/bootstrap.min.css" integrity="sha384-ggOyR0iXCbMQv3Xipma34MD+dH/1fQ784/j6cY/iJTQUOhcWr7x9JvoRxT2MZw1T" crossorigin="anonymous">
<script src="https://code.jquery.com/jquery-3.4.1.js" integrity="sha256-WpOohJOqMqqyKL9FccASB9O0KwACQJpFTUBLTYOVvVU=" crossorigin="anonymous"></script>
</head>
<body>
    <div class = "display-3 color-red"><center>DataFlair AJAX Tutorial<br>Post APP</center></div>
    {% for post in posts %}
        <div class = 'container jumbotron'>
        <h3 class="display-5">{{ forloop.counter }}. {{ post.post_heading }}</h3>
<p class="lead">{{ post.post_text }} </p>
        <p>
        <div type="text/css" class = "container">Author : {{ post.post_author }}</div>
        <a class="likebutton btn btn-primary btn-lg" id="like{{ post.id }}" href="#" data-catid="{{ post.id }}">Like</a> </p> <p id="message{{post.id}}">
</p>
</div>
{% endfor %}

<script type="text/javascript">
$('.likebutton').click(function(){
var id;
id = $(this).attr("data-catid");
$.ajax(
{
    type:"GET",
    url: "like",
    data:{
             post_id: id
},
success: function( data )
{
    $( '#like'+ id ).removeClass('btn btn-primary btn-lg');
    $( '#like'+ id ).addClass('btn btn-success btn-lg'); } }) });
</script>
</body>
</html>
Output:
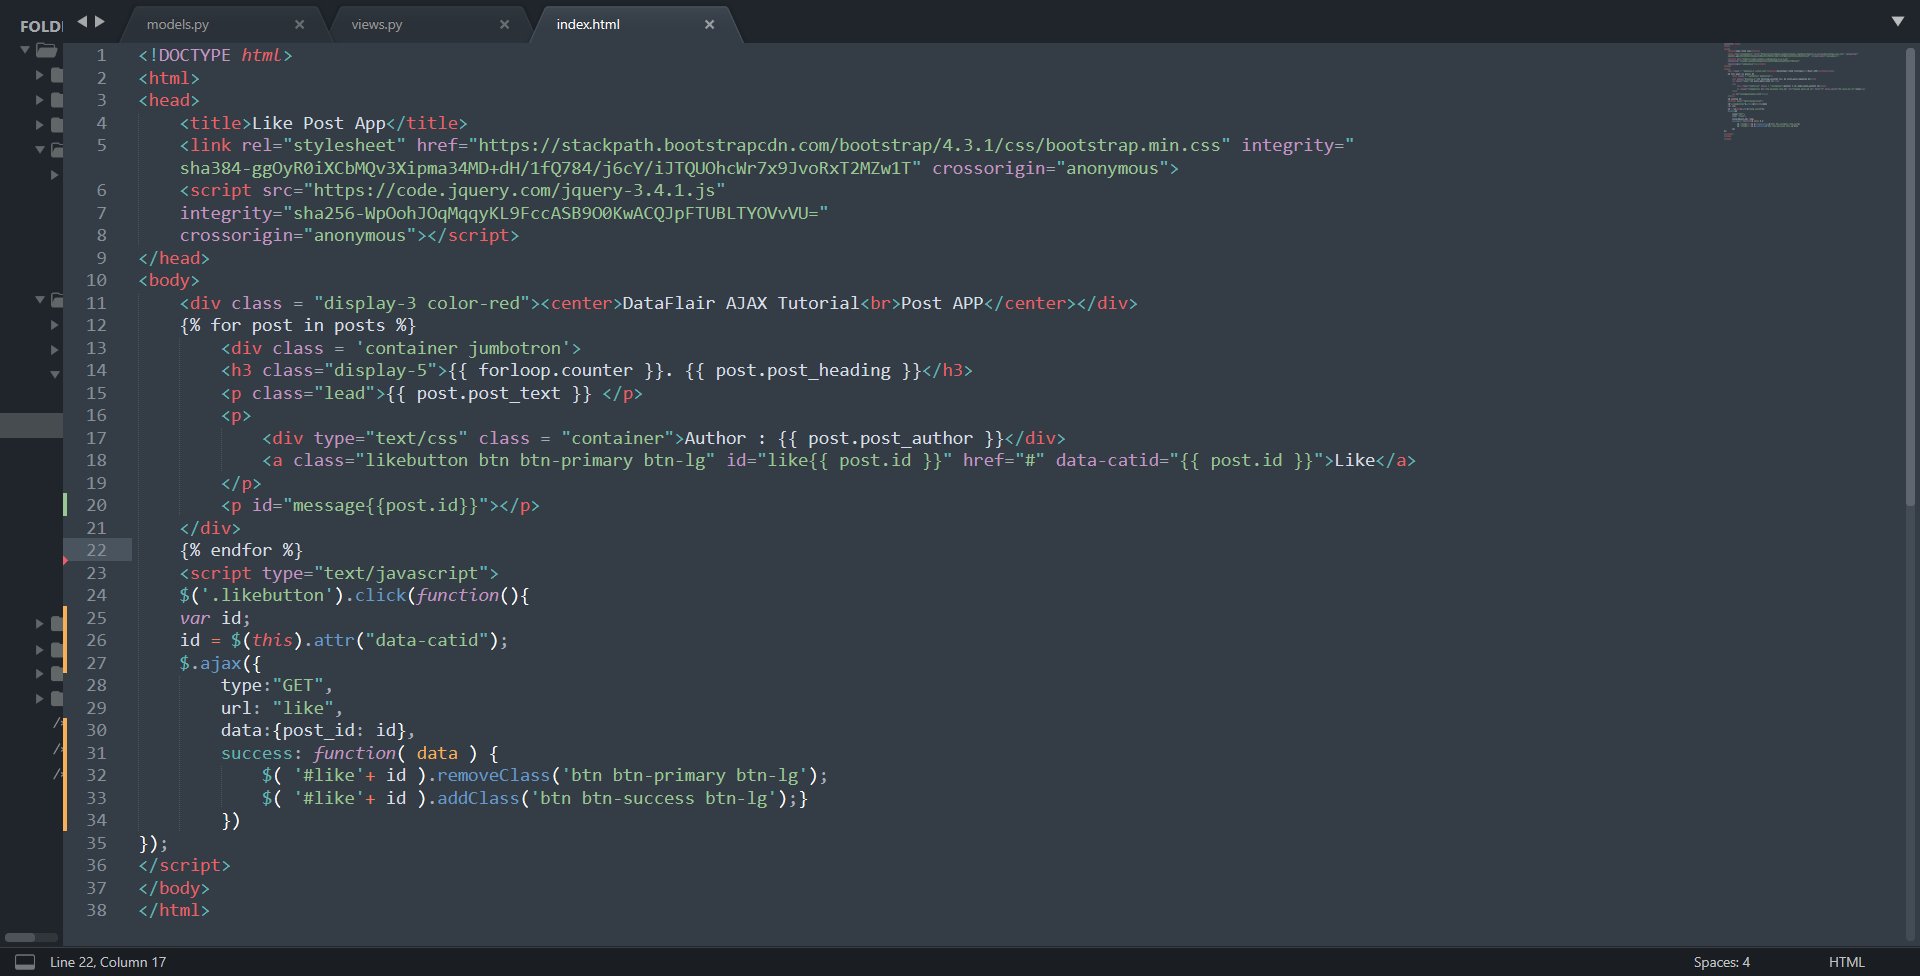
There are two important parts in this HTML file.
- Importing jQuery and Bootstrap
Since jQuery is a JavaScript library, so it is essentially a static file for the server. It can be imported the same as bootstrap and other files. We chose to use it directly from CDN. The link can be found on jQuery’s official website.
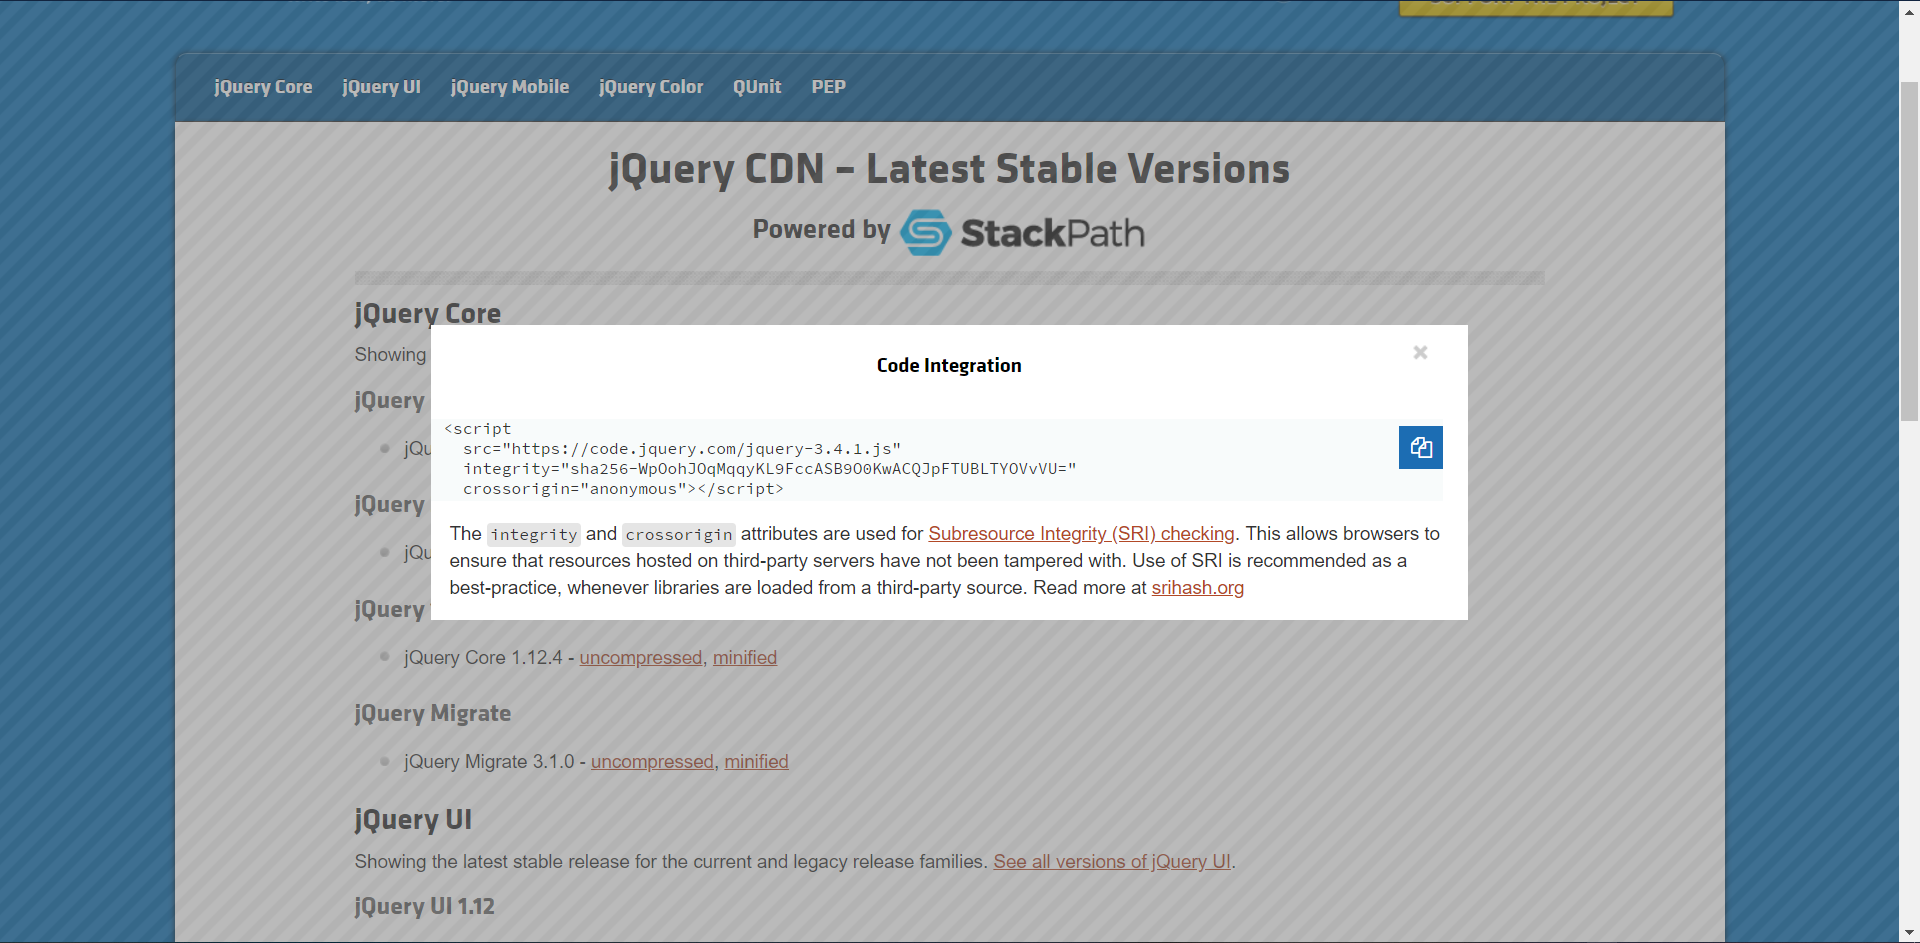
Similarly, we used the link tag with bootstrap.
- Generating AJAX request from JavaScript
Here, is the important part. If you have no idea of DOM, JavaScript Objects, then this might be difficult to understand. We will try our best to make it relatable.
Focus on <script></script> at the end of document. We have put our AJAX code there.
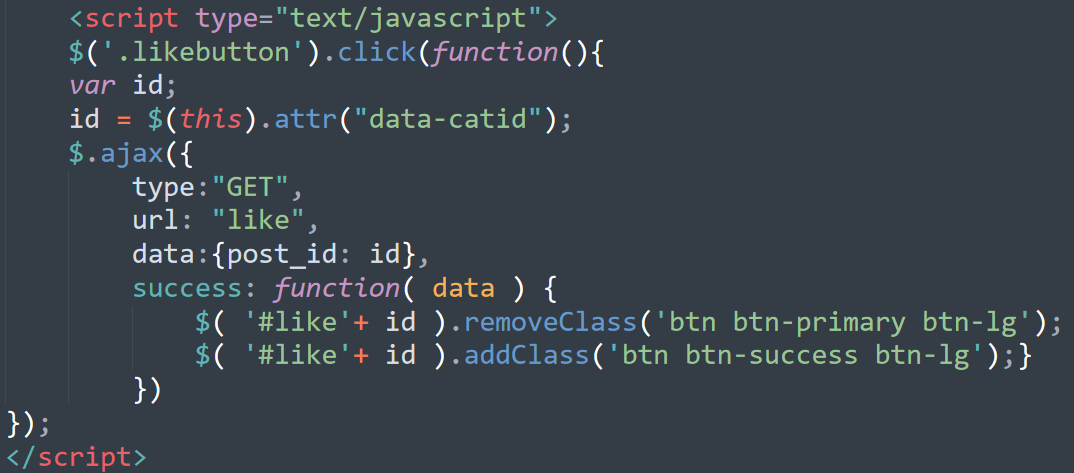
We are using some of the properties of jQuery to call the object. The like button is the class of button that we are going to click. When the button is clicked, the function inside it is executed. That function has some objects in it.
This is an XHR object. Actually, this is the speciality of $.ajax() method. It is what will make our code run on multiple browsers. Inside that, there is a JavaScript Object Datatype. JavaScript Object is similar to dictionaries in Python. This is for Pythonistas who don’t know JavaScript.
Now, you can relate it easily.
1. Type key: It takes in the method of request that we will send. Here, XHR is sent over the GET request.
2. URL key: This is the URL of the call back function on the server. Remember the view function we created? This code will call that function without reloading the page.
3. Data key: This key contains the data that we are sending to call back function. In this example, it contains the id of the post. It can be an object and can contain multiple values. You can also pass it in a JSON. It depends on your use case.
4. Success method: JavaScript Objects have methods too. You can define methods like this easily. The methods are called properties of Objects. Success is a built-in response for $.ajax() method. This method will be executed when the AJAX request returns with a success response. It is one of the conveniences that jQuery provides to programs.
5. Inside Success: There are two methods that we are executing inside success. The first one will remove the class inside the parenthesis (). Similarly, the other one will add the class.
It is as simple as that. No, worries if you didn’t get it right the first time.

- Connecting it with urls-config
Now, comes the Python part. You just created a very beautiful app. Now we have to link all the components together.
Make a new python file in post directory.
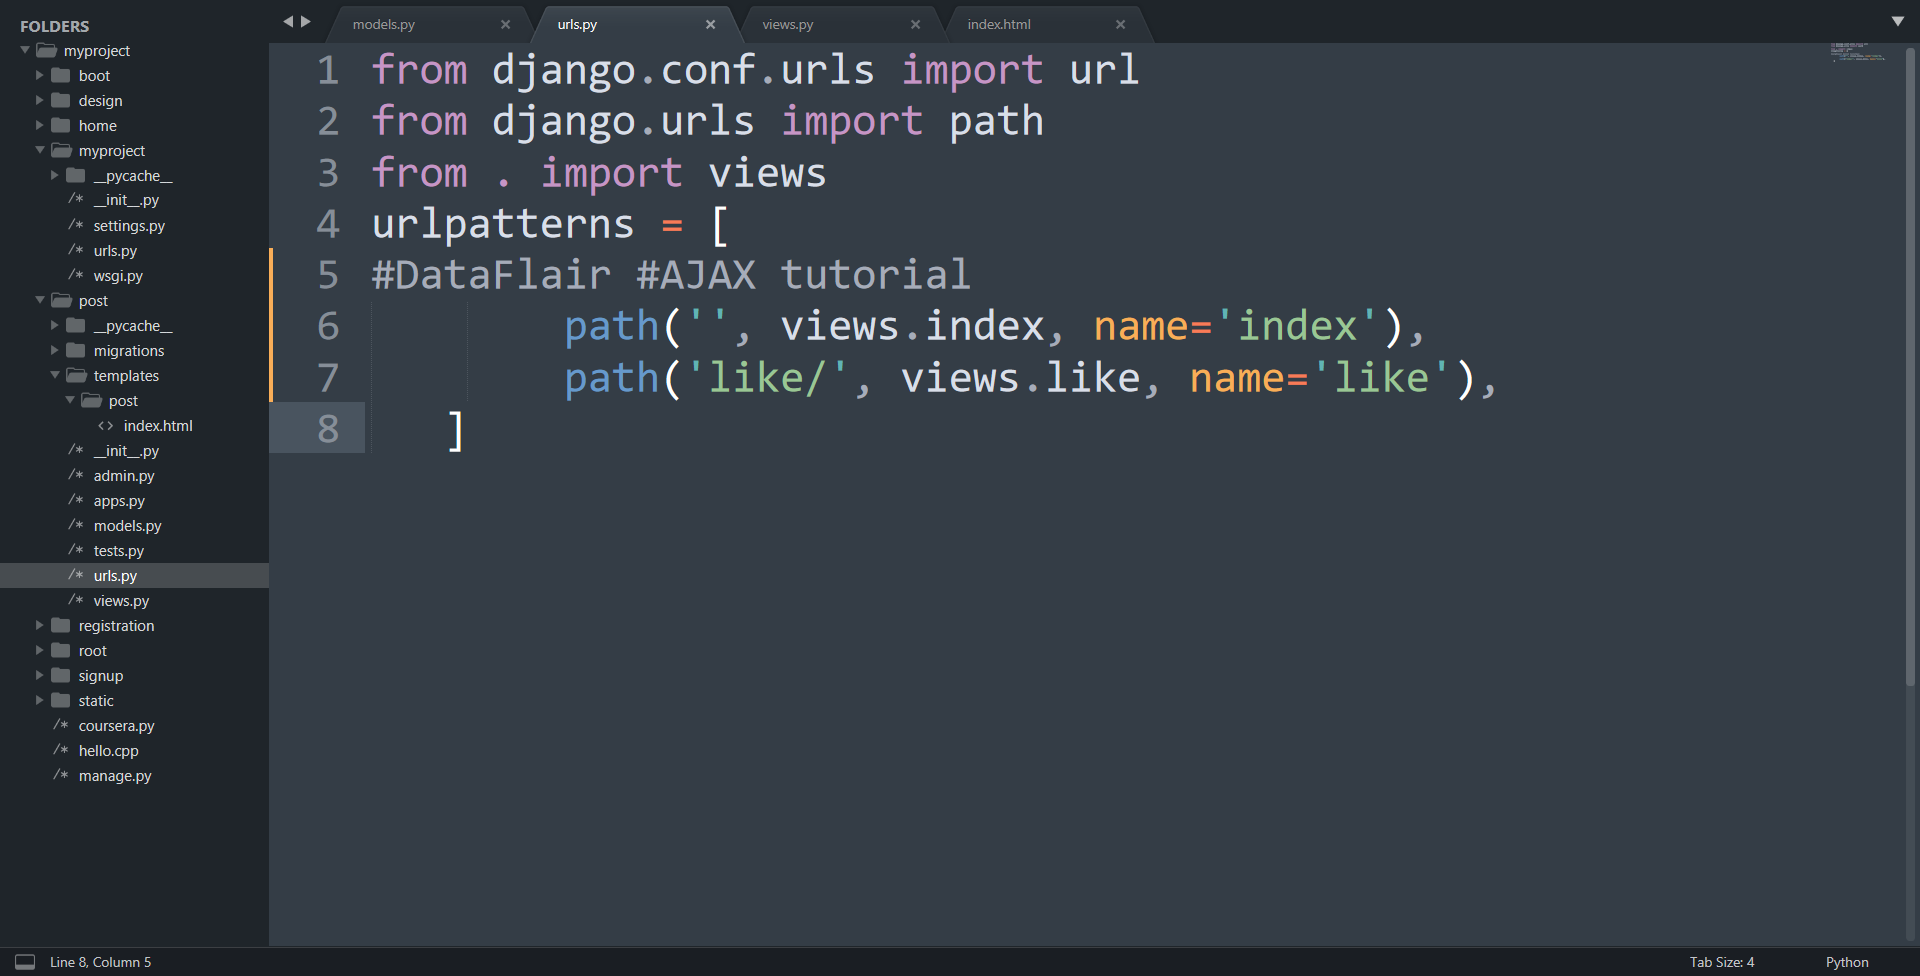
Inside post/urls.py, paste this Code:
from django.conf.urls import url
from django.urls import path
from . import views
urlpatterns = [
#DataFlair #AJAX tutorial
        path('', views.index, name='index'),
        path('like/', views.like, name='like'), ]
Output:
Now, configure your main urls.py file.
Add this to your urlpatterns list:
path('ajax/', include('post.urls')),
Output:

- Populating the database via admin
Now, open post/admin.py file.
Paste this code:
from django.contrib import admin
from .models import *
# Register your models here.
#DataFlair #AJAX
admin.site.register(Post)
admin.site.register(Like)
Output:
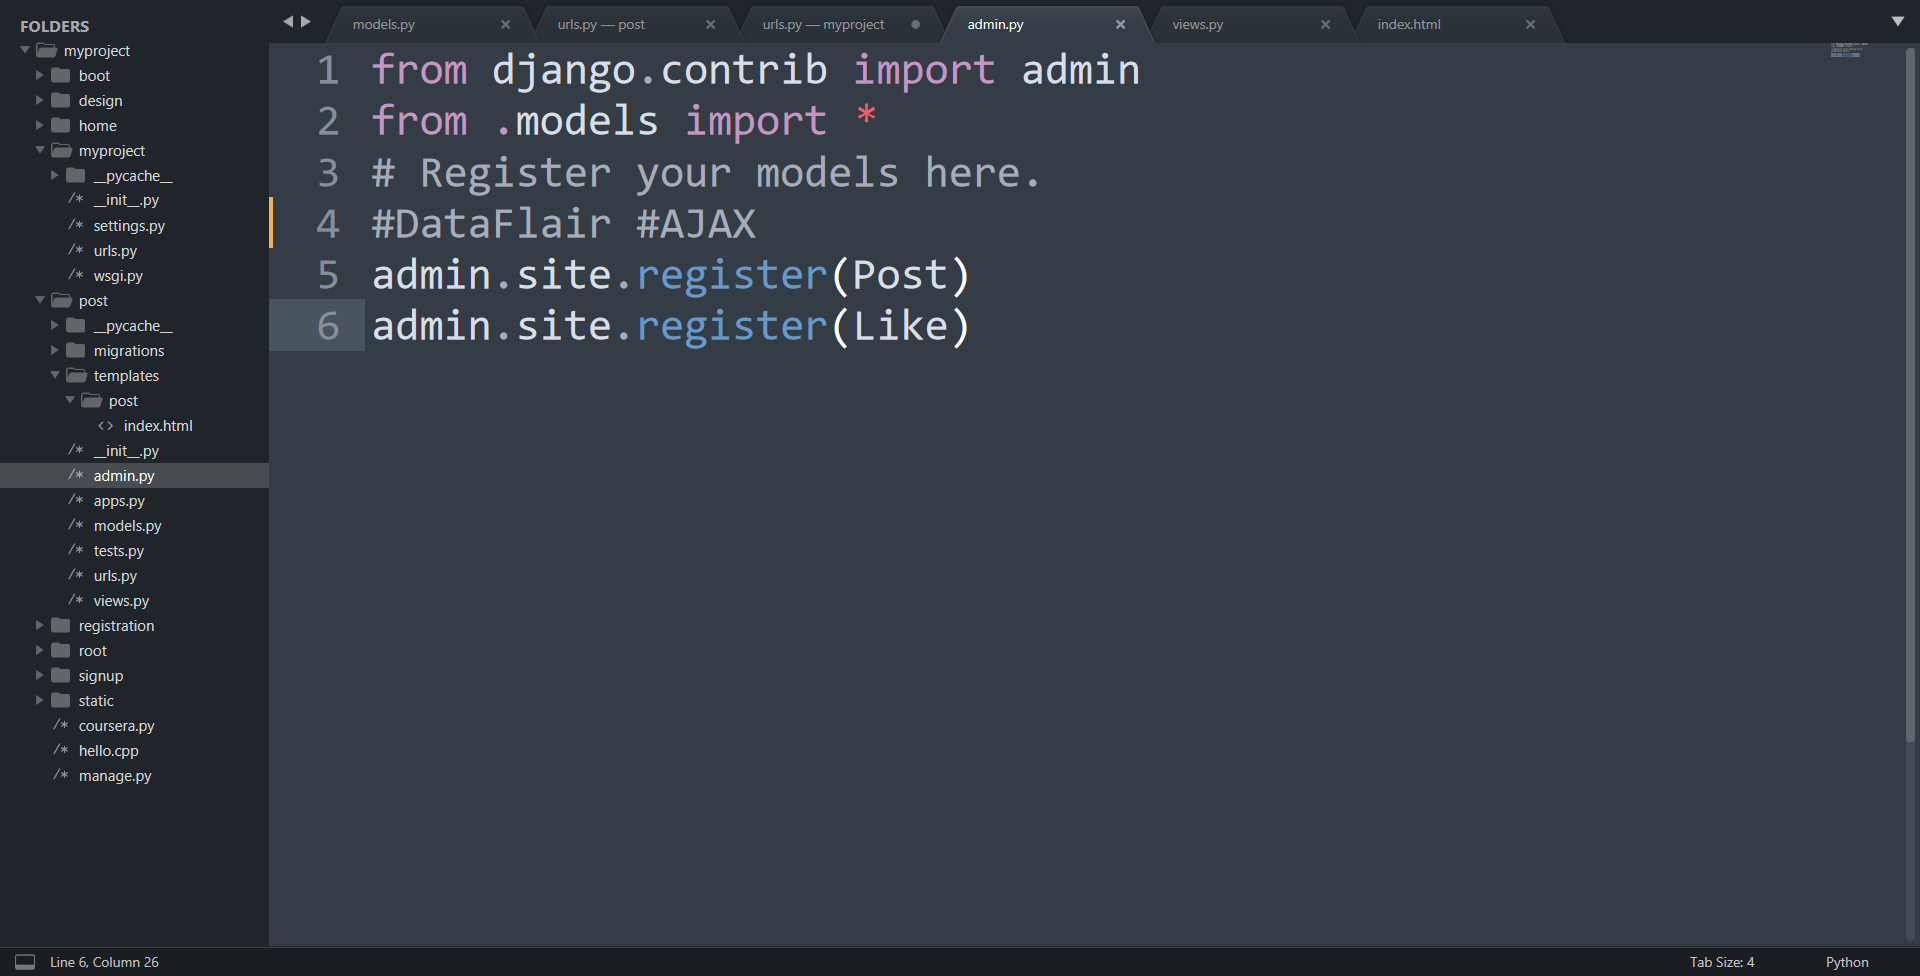
We are just registering our models in Django admin.
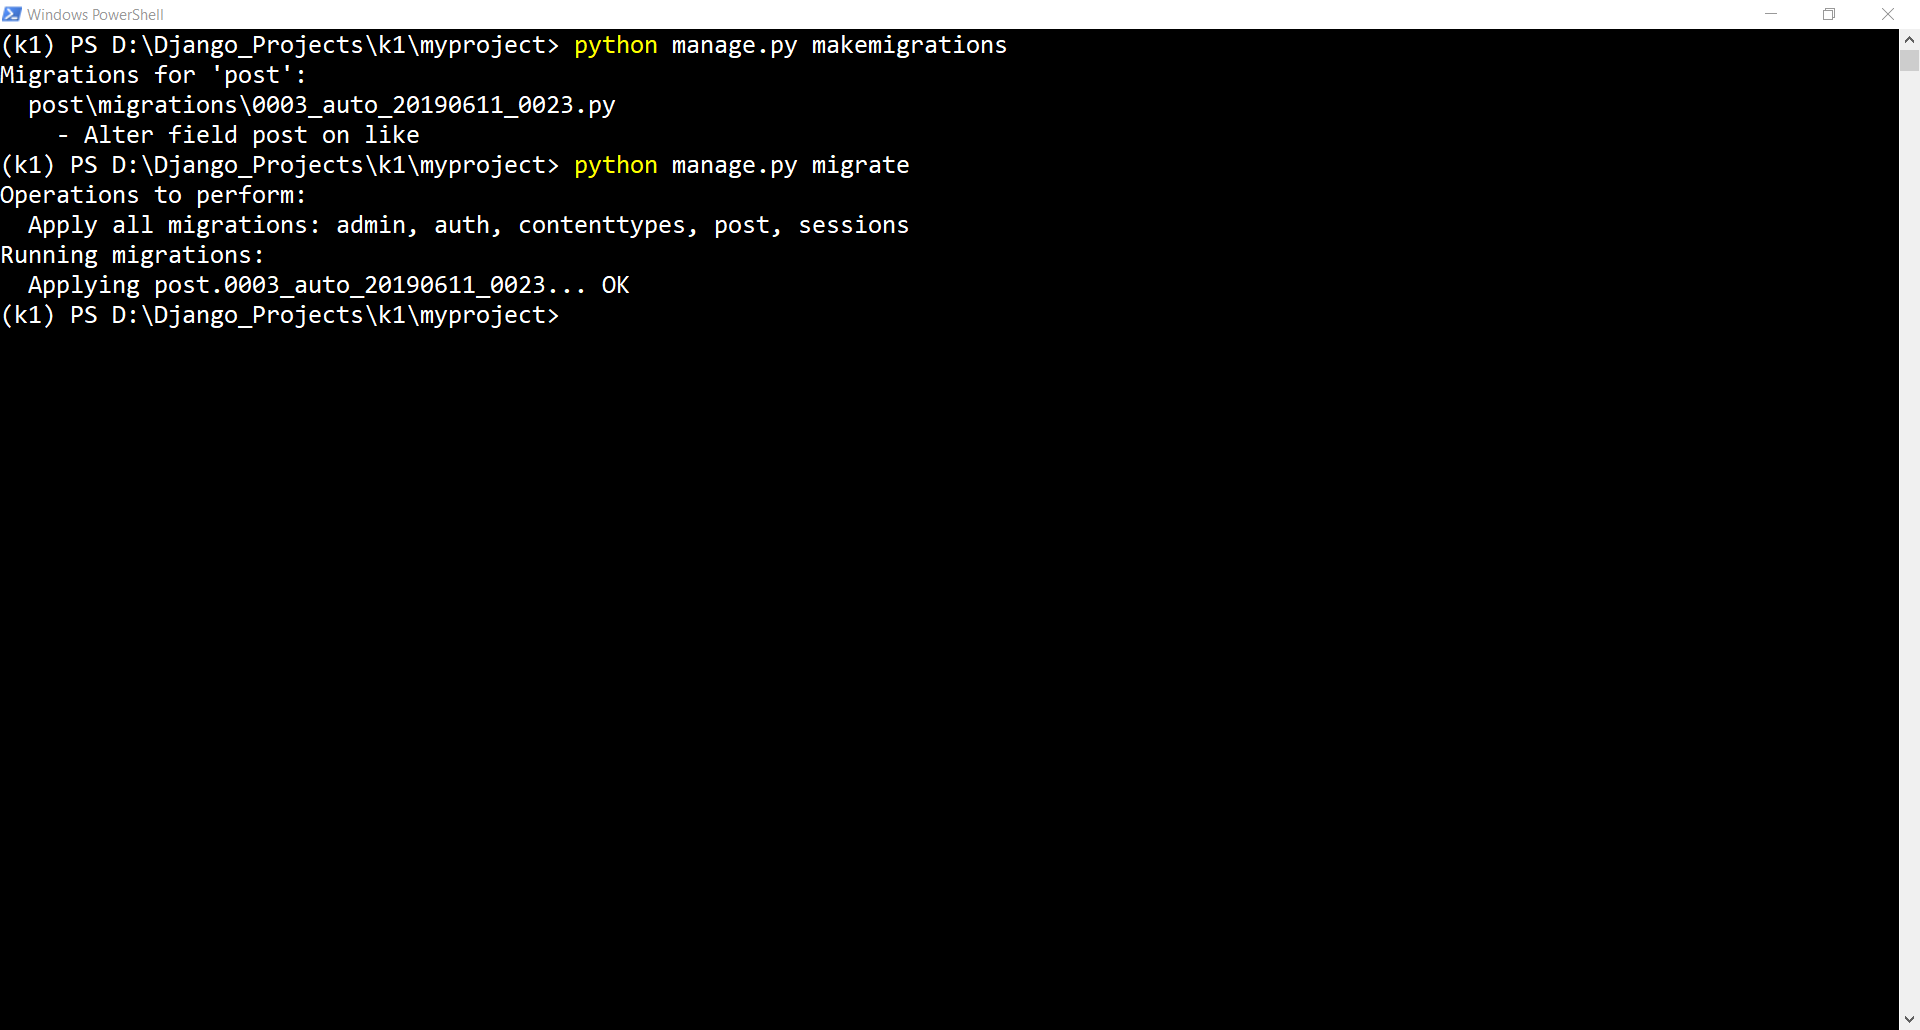
Now, open console/ PowerShell/ Terminal and run these commands in order.
python manage.py makemigrations
python manage.py migrate
Code Display:
Start your server and add some posts from admin.
URL: http://localhost:8000/admin/

Populate your database with some posts.
- Running server
We already started the server. Now, search for URL:
http://localhost:8000/ajax/
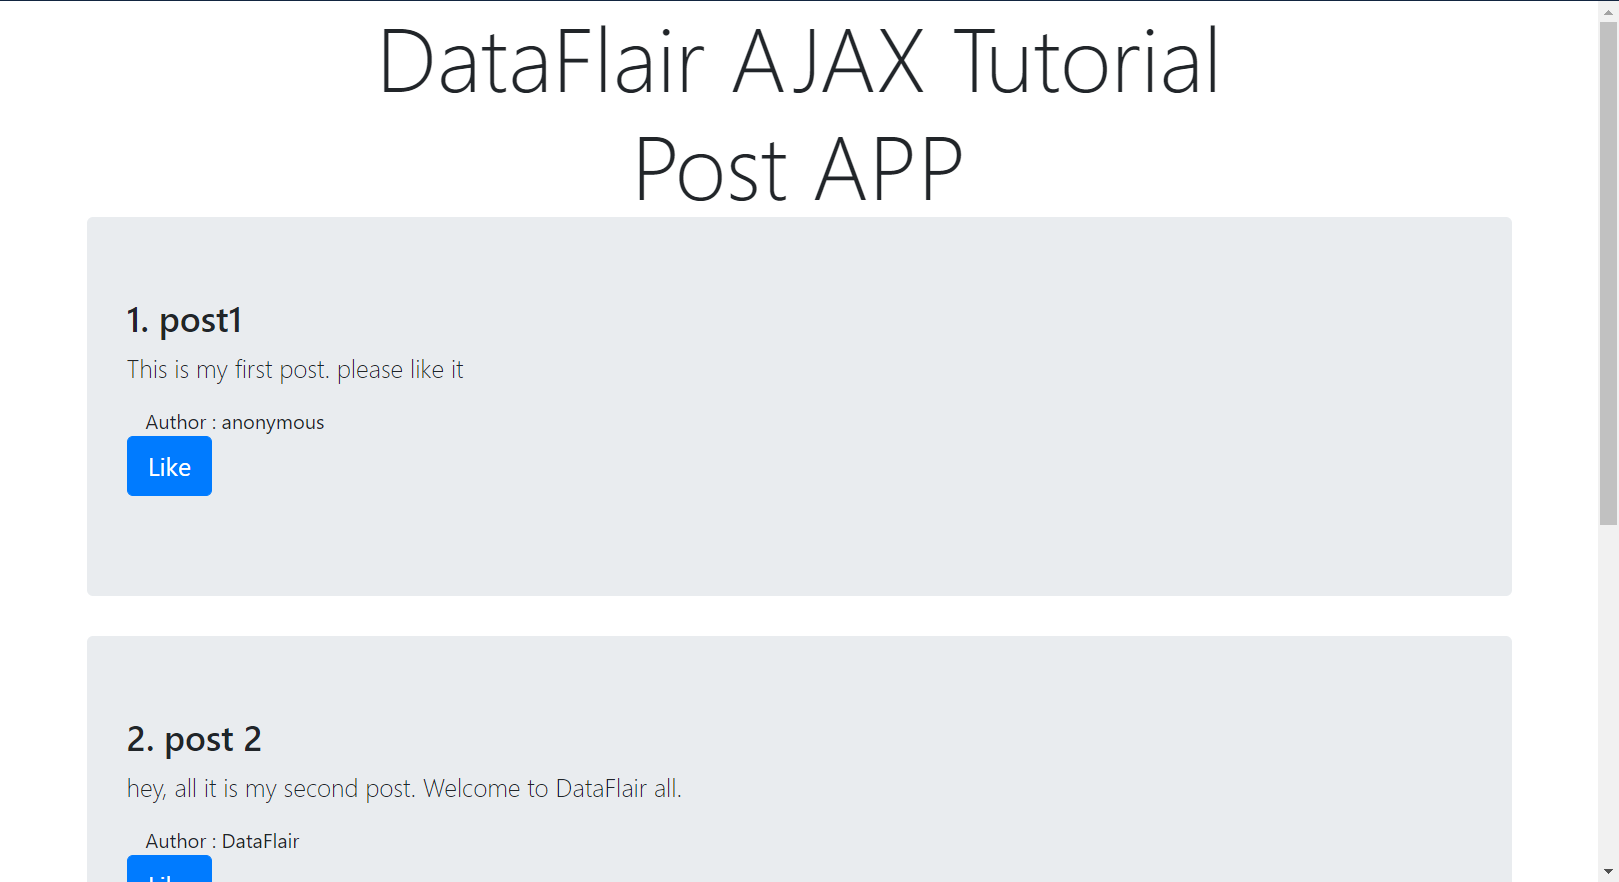
Isn’t it great? We just created a very beautiful web page with AJAX functionality. Try clicking on one of the like buttons.

Awesome, it turned to green. Now, you can actually build something amazing with Django which also looks good. Our Like button works. !! Awesome !!
Summary
I appreciate that you completed the tutorial. There were some parts which I think can be difficult for people who don’t know JavaScript. In this tutorial, we took a brief look at AJAX in Django. We have observed AJAX real life problems, solutions and also how it works in Jquery.
Do let us know your opinion on this tutorial through comments.