Joins in Tableau – Learn the rules to join tables in Tableau
FREE Online Courses: Click, Learn, Succeed, Start Now!
Let us extend our knowledge in Tableau and learn about joins and how to create them. Creating joins in Tableau is an important functionality used to join two or more tables having common fields. Here, we are going to learn about rules to create a join, how we can create joins in Tableau and how many types of joins are available in Tableau.
Before moving ahead, have a look on Tableau date functions with DataFlair.
What are Joins in Tableau?
In Tableau, when we work with vast data sets, it is natural that data sets will have multiple tables with different data fields. This means that data does not reside on a single table instead, there are different tables. However, some tables might have common fields. We can join such tables by means of columns that are common or related. Such related fields or identifiers used to form joins are known as Key fields or records.
Thus, related tables are joined or combined from the same or different sources to form a single virtual table which is an extended table having added columns from different tables. It is convenient for the users to use this joined table in data analysis works.
Rules to Perform a Join in Tableau
- Make sure that the data types of the tables you are joining are the same. If you create a join of tables with different data types, the join will break.
- The tables that you are joining should have at least one common field or column.
- Determine the right join type and join clause for your join to optimize the performance of Tableau with your data. If the join type you select is not appropriate for the tables, the join formed will not be proper and won’t give efficient data analysis results.
Types of Joins in Tableau
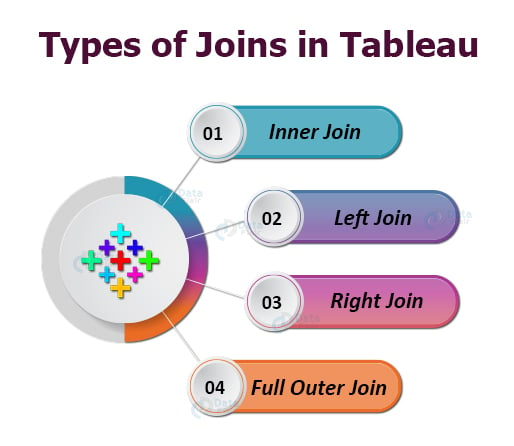
There are several types of joins from which we can select as per our requirement and situation while working with data in Tableau. Broadly, joins are categorized into two categories; Equi joins and non-equi joins. The equi joins are the joins where we use “=” operator in the join condition. Such types of joins are Inner, Outer and Self joins. The outer join is further divided into three types; Left outer, Right outer and Full outer joins.
Whereas the joins that use operators other than equality operators such as <,>, <>, <=,>=, etc are known as non-equi joins.
Let us now discuss some commonly used joins in Tableau. Refer to the two tables containing sample data in order to better understand different types of joins.
Table 1: Customer_Info
| Customer_ID | Technology is evolving rapidly! Customer_Name |
| CT1 | Rajesh Sharma |
| CT2 | Sameer Khanna |
| CT3 | Neeti Rana |
| CT4 | Nimish Kapoor |
Table 2: Order_Details
| Order_ID | Customer_ID | Product_Name | Total_Units |
| 1101 | CT1 | iPad | 300 |
| 1102 | CT1 | MacBook | 200 |
| 1103 | CT2 | Fridge | 500 |
| 1104 | CT3 | LED TV | 650 |
| 1105 | CT5 | Camera | 800 |
1. Inner Join
When an inner join is formed between two tables (that is, left and right), the resulting or joined table contains only the values or columns that are common between those tables.
For instance, when we do an inner join in the tables shown above (Customer_info and Order_details), the data related to only the customers CT1, CT2 and CT3 is taken in the final table because only these three are common between the left and right table.
2. Left Join
When a left join is formed between two tables, the resulting or joined table contains all the values from the left table and only matching or common values from the right table. If there are no joins or matches in the right table, null values are present in the data grid.
For instance, all the rows and columns from the left table, that is, CUSTOMER_INFO will be fetched and joined with only the matching records in the right table, that is, ORDER_DETAILS performing a left or left outer join. The fields from the left table that do not have a corresponding value in the right table have Null showing in those places.
3. Right Join
When a right join is formed between two tables, the resulting or joined table contains all the values of the right table and only the matching values from the left table. The values that do not find a match in the left table are left as null in the resulting table.
For instance, all the records or values from the right table, that is, ORDER_DETAILS are taken and only the matching or associated records from the left table, that is, CUSTOMER_INFO are taken. Just like in the left join, the fields from the left table that do not have a corresponding value in the right table have Null showing in those places.
4. Full Outer Join
When a full outer join is formed between two tables, the resulting table contains all the data values from both the left and right tables. Also, the values that do not find a match in both the tables are shown as null in the resulting table. The tables CUSTOMER_INFO (Table 1) and ORDER_DETAILS (Table 2) will have all their records in the resulting table when a left outer join is performed.
5. Union
The union of tables is done by appending rows of data from one table to another. However, the union is not a join type but it is widely used in Tableau to combine tables.
How to Create Joins in Tableau?
Follow the steps given in this section to learn how to create a join in Tableau. From the purpose of explanation, we are only showing how to create an inner join from our sample data. You can explore more join options available in Tableau and join your data tables as per your requirements.
Step 1: Select Data Tables
To begin with, select different tables that you would like to join in Tableau. To explain creating joins in Tableau to you, we select three data tables; Orders, Managers, and Returns. All three of these tables are excel tables. You can have a look at the contents of the tables in the screenshots provided below.
This is the look of the order table.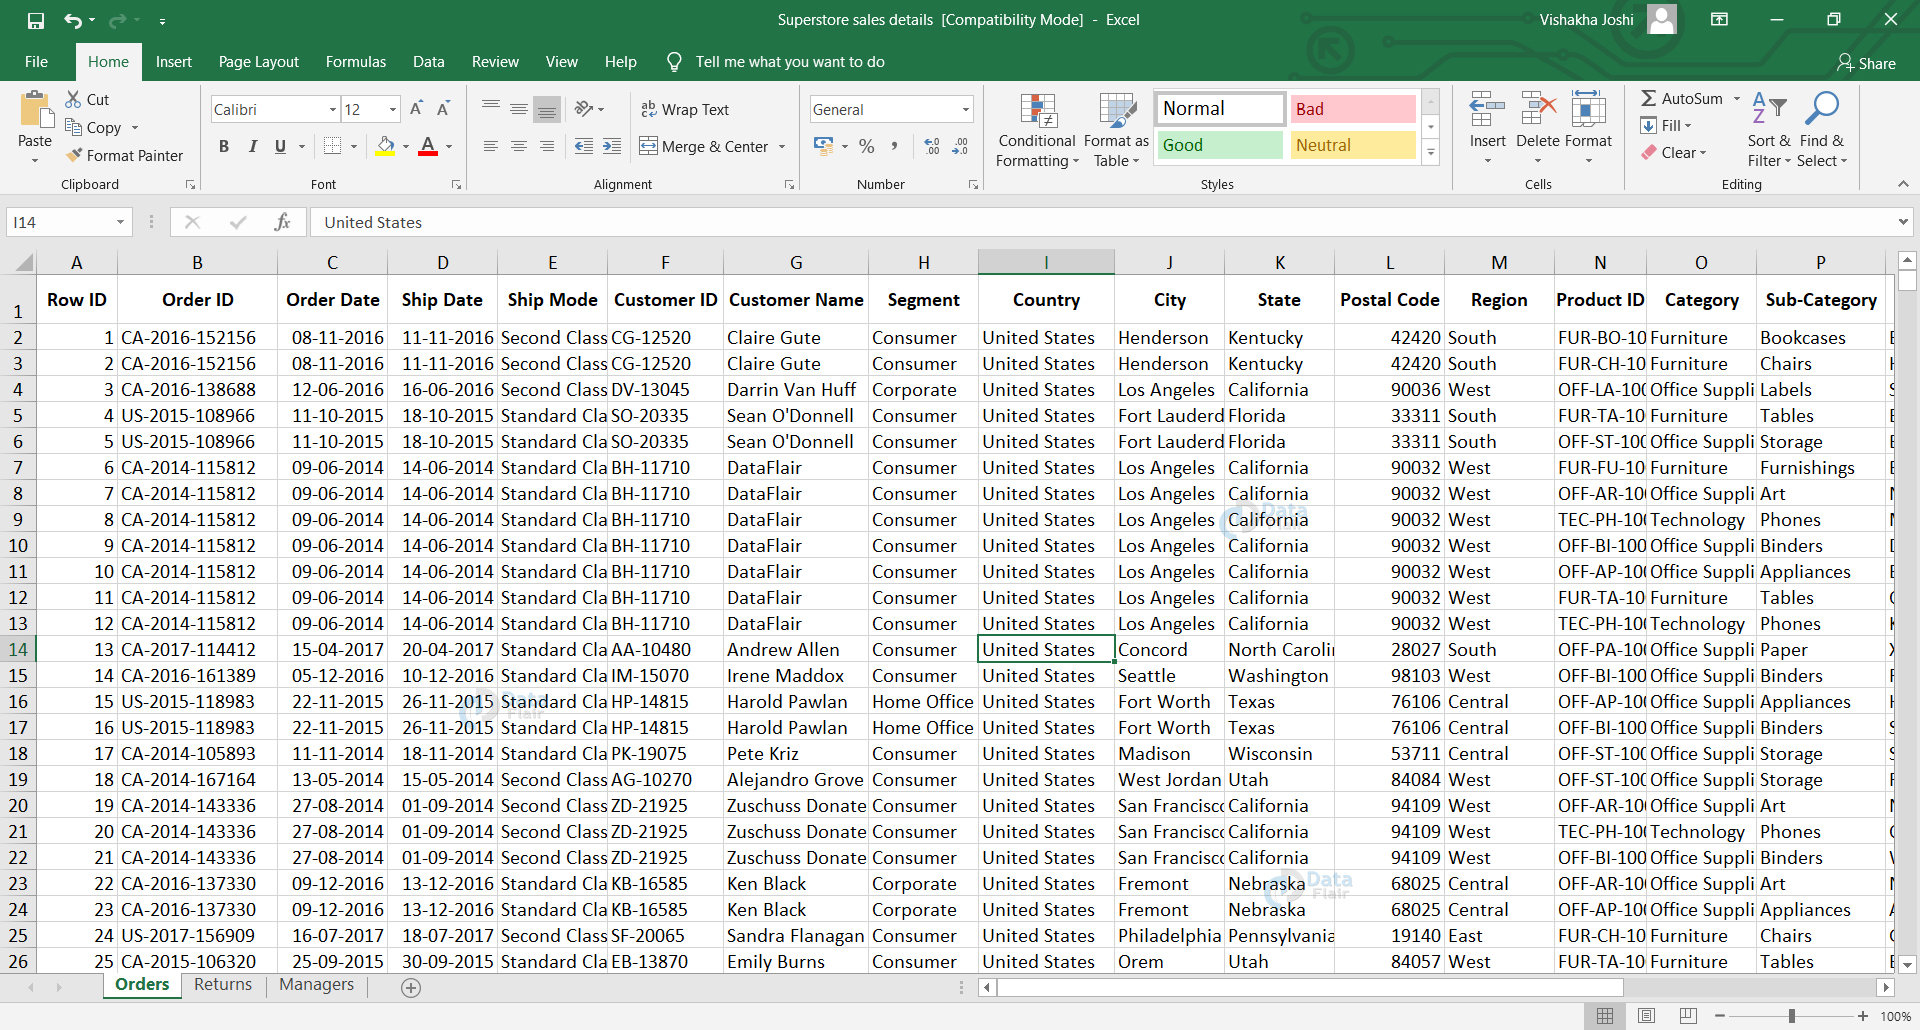
Now, we will see the look of manager’s table.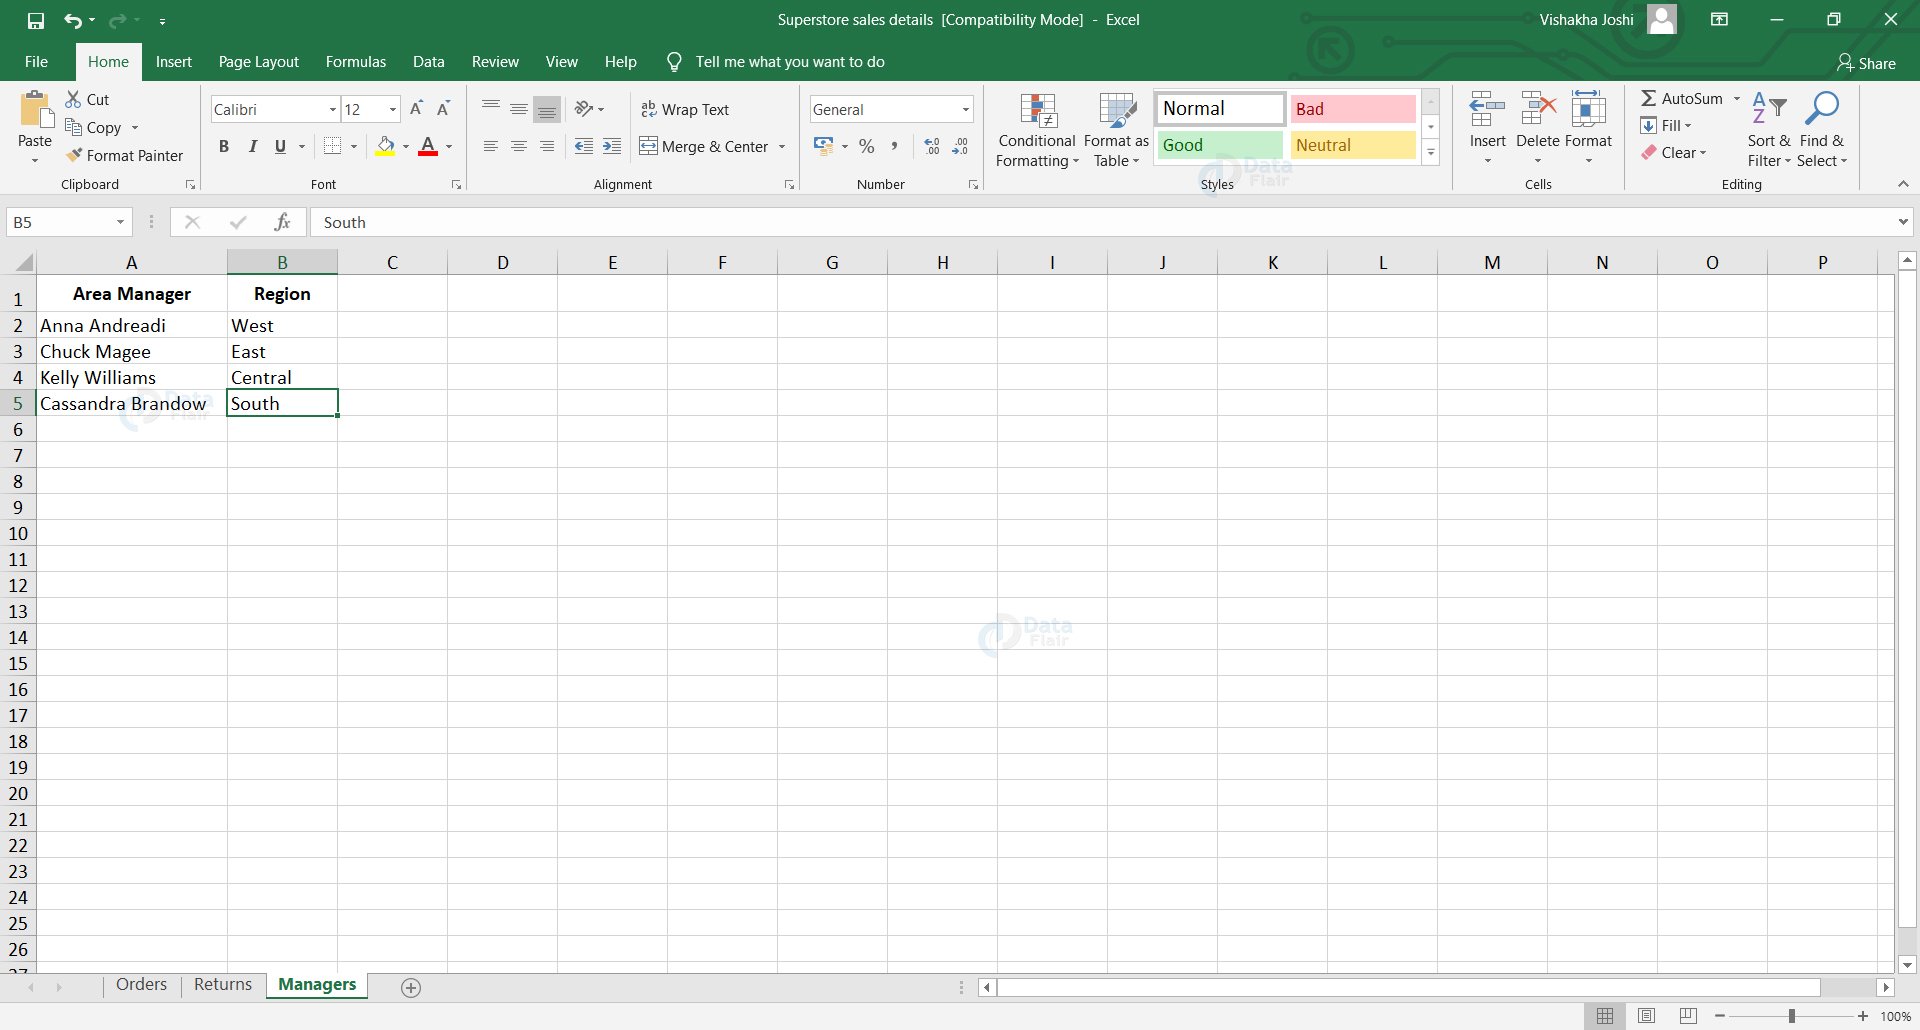
This is the look of return table.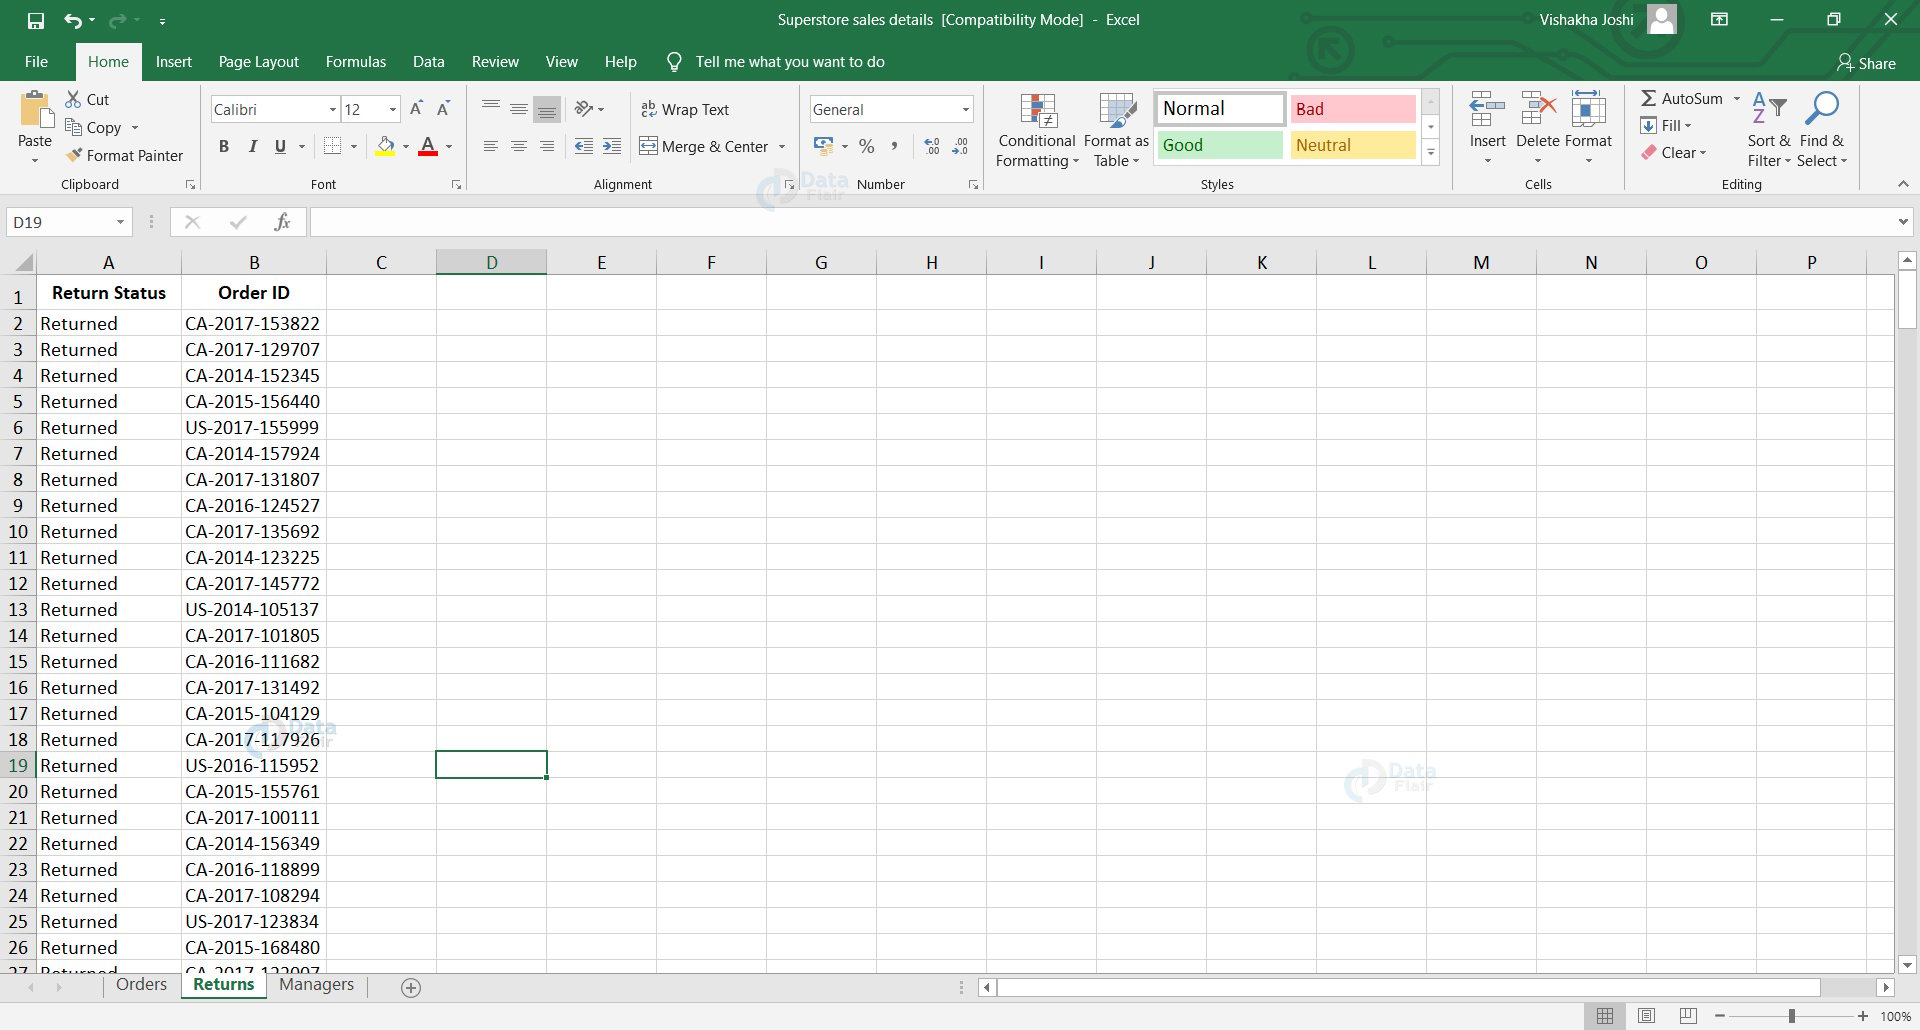
Step 2: Tables in Data Pane
Once we load all these data tables in Tableau, we can see them in the Data pane of our Tableau worksheet. Along with the table names, we can see the contents or fields contained in each table from the data pane.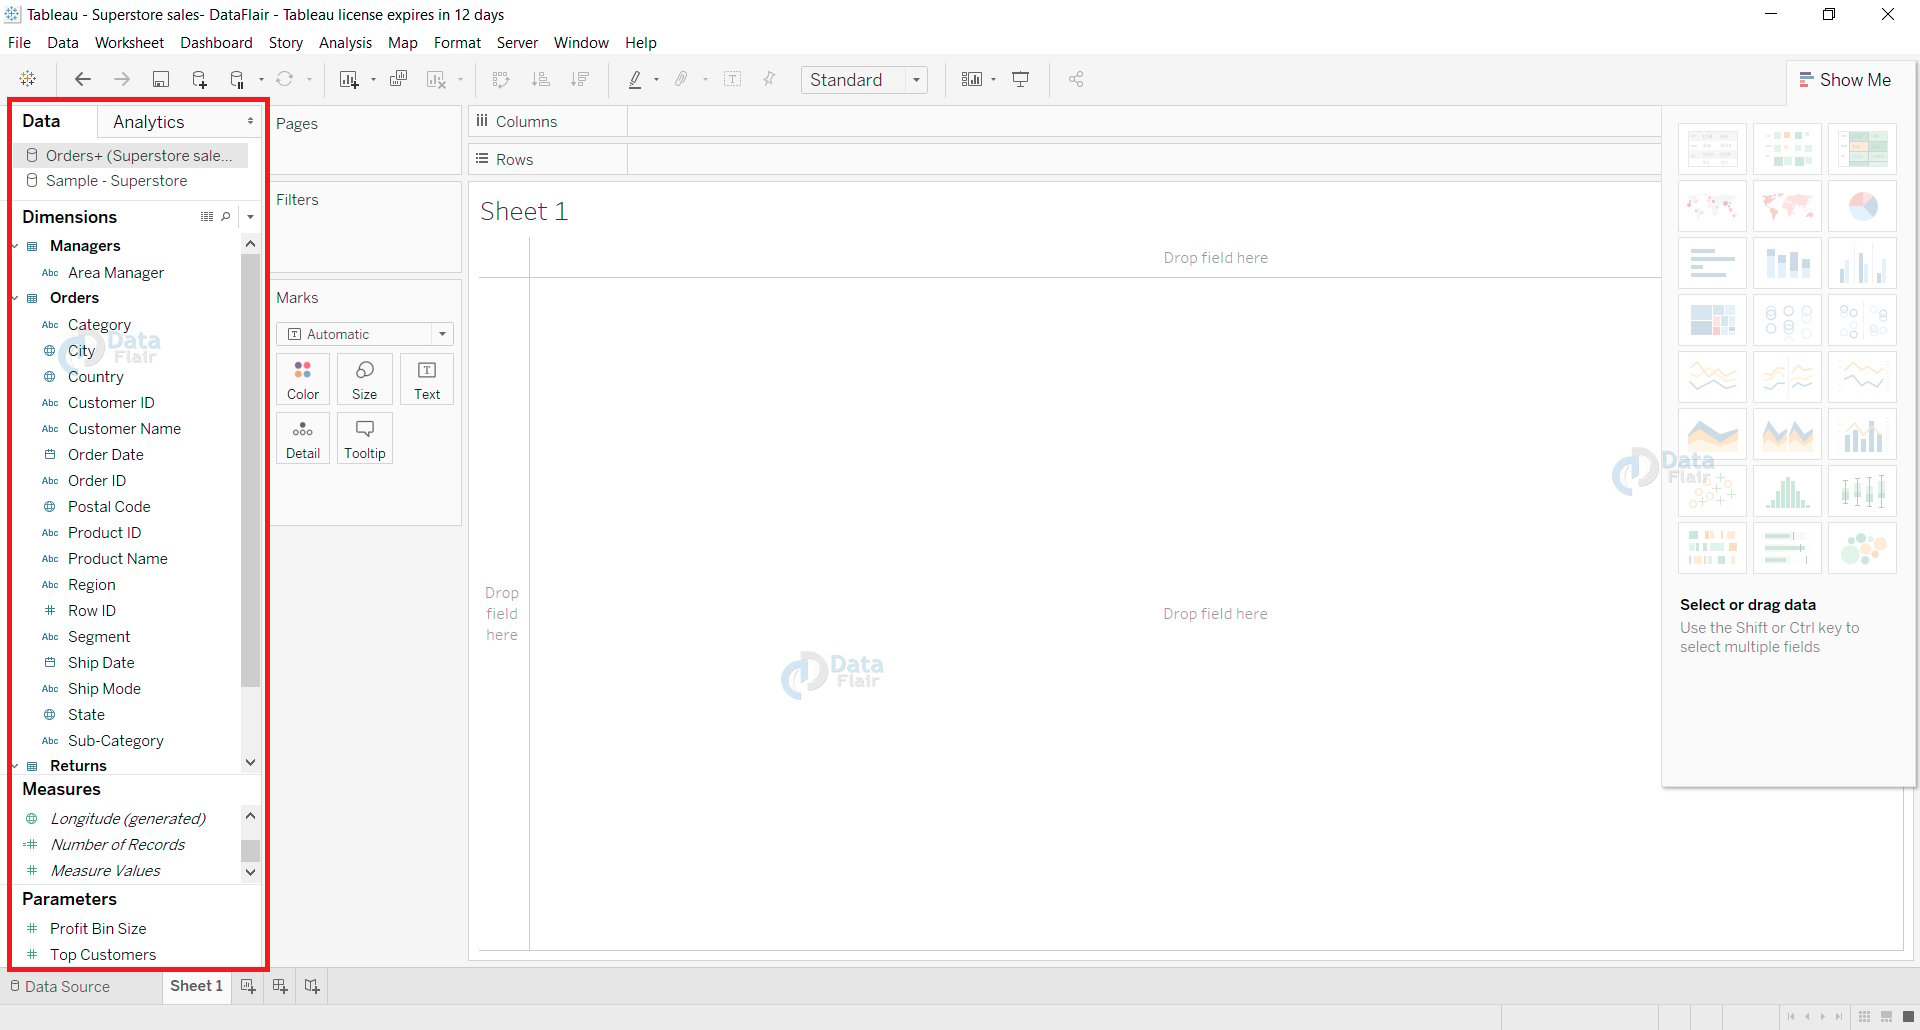
Step 3: Drag Tables in Data Source Tab
In order to create a join between data tables, we need to open the data source tab in Tableau. In the data source tab, we will have all our loaded tables under the Sheets section. Drag and drop tables from this section to the upper center of the Data source window as shown in the screenshot below.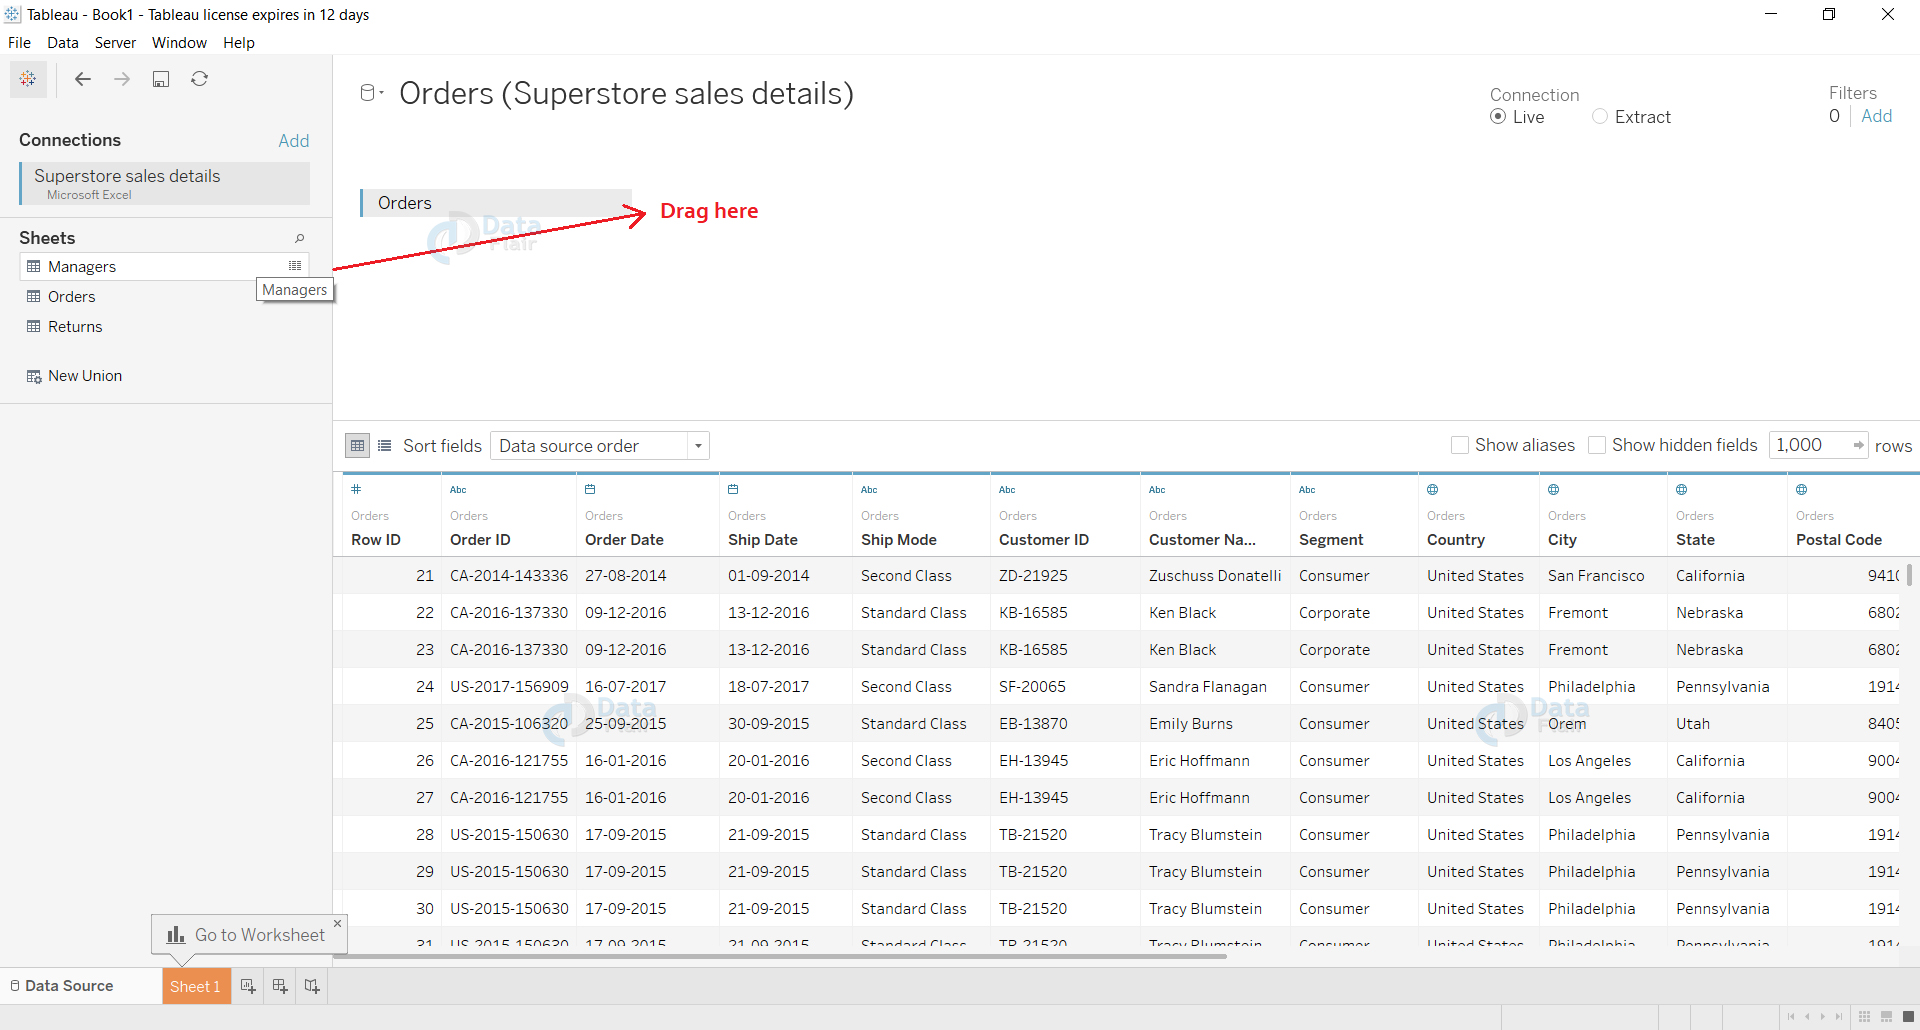
Step 4: Select the Join Type
When you drag a sheet or table to the center area and drop it close to the other table, it will ask you to select from four join types; Inner, Left, Right and Full Outer. Select from here the type of join you want to create between the two tables.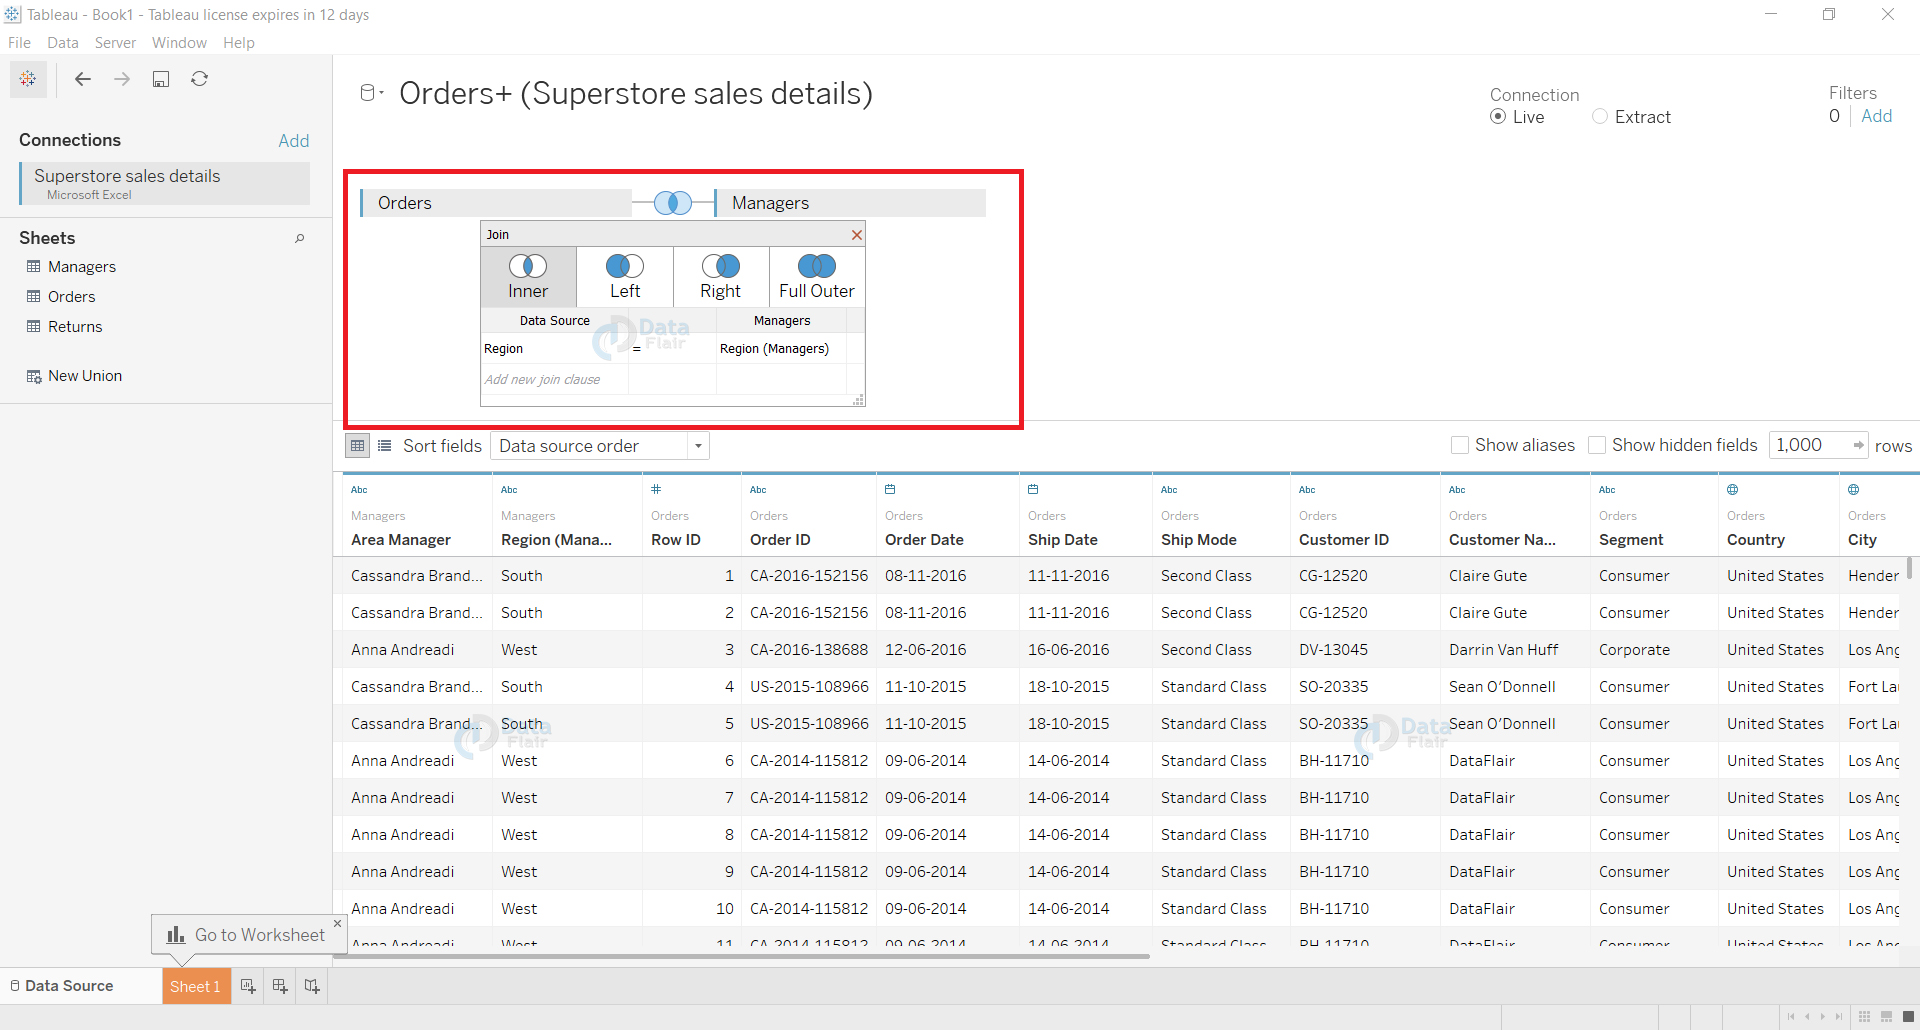
Step 5: New Join Clause
While creating a join, we can also add a new join clause from the space shown by the red arrow. From here, we can select the field names from the tables and set an operator or join clause for them.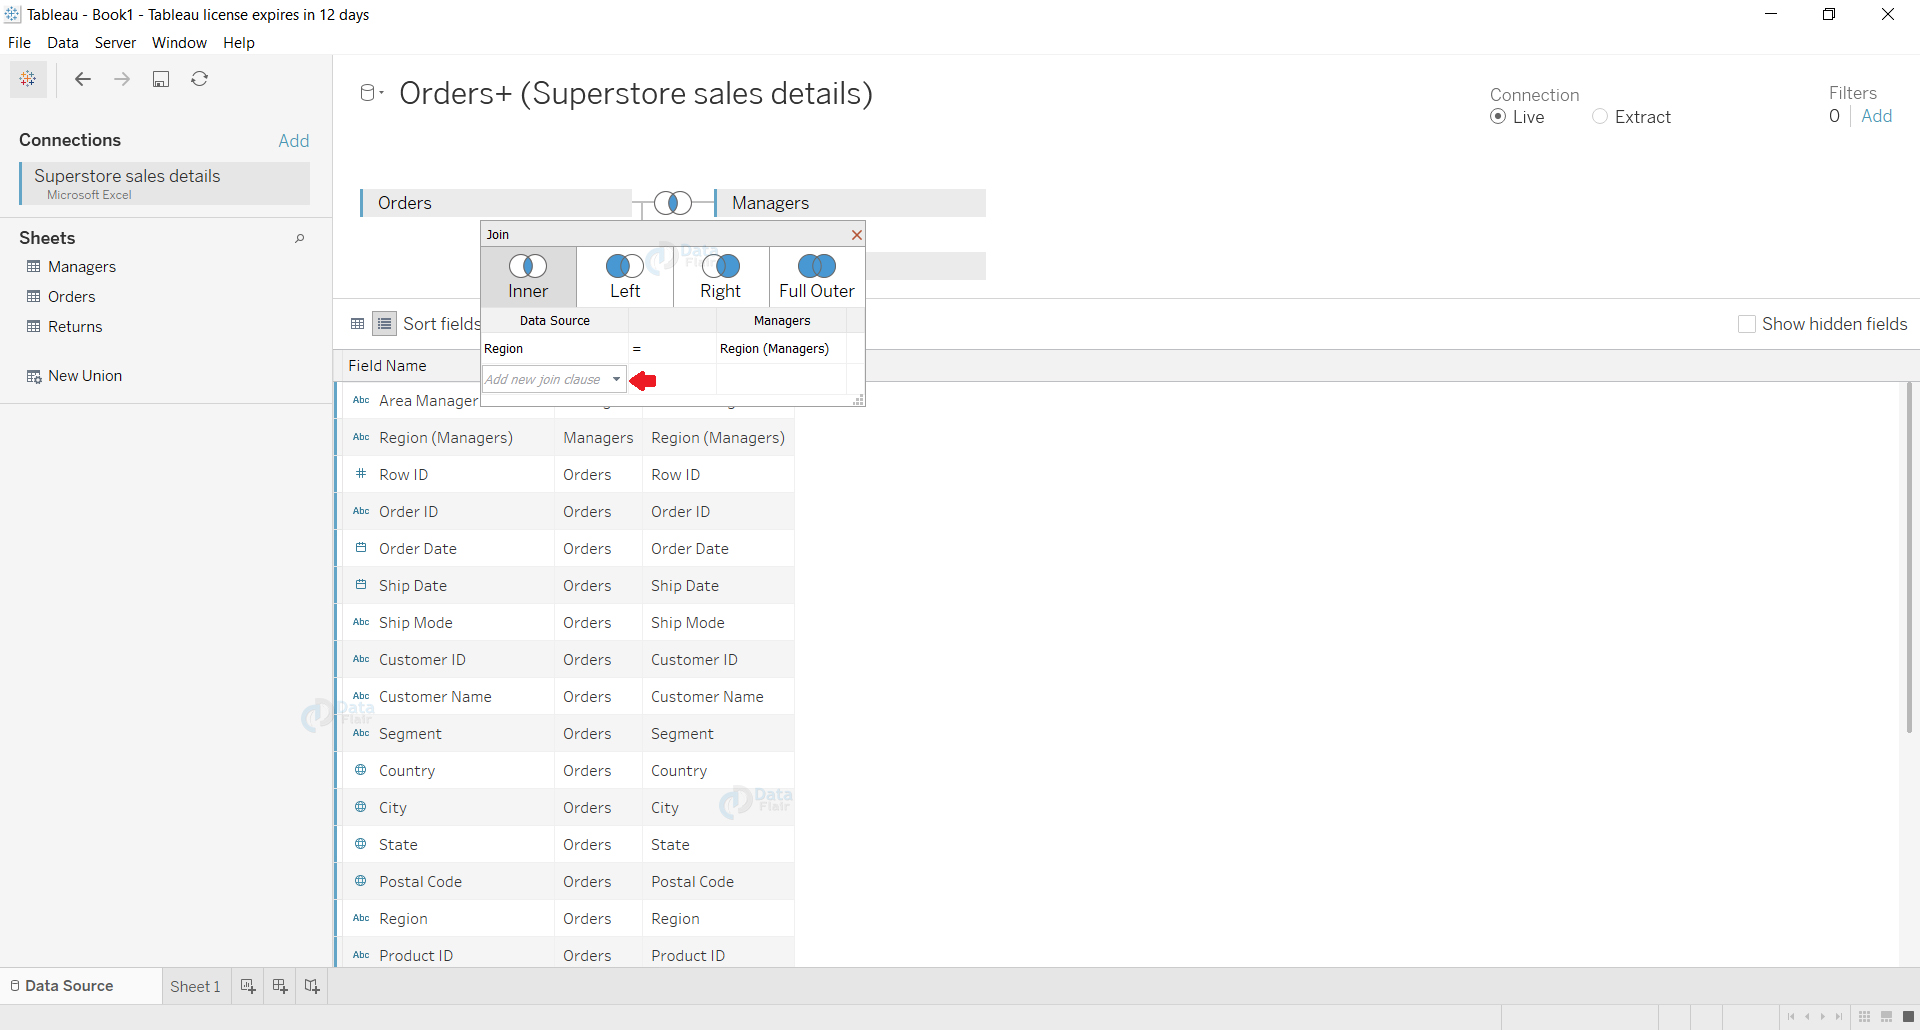
In the screenshot given below, we are selecting a field from our table “Orders” in order to create a new join clause as per our requirements.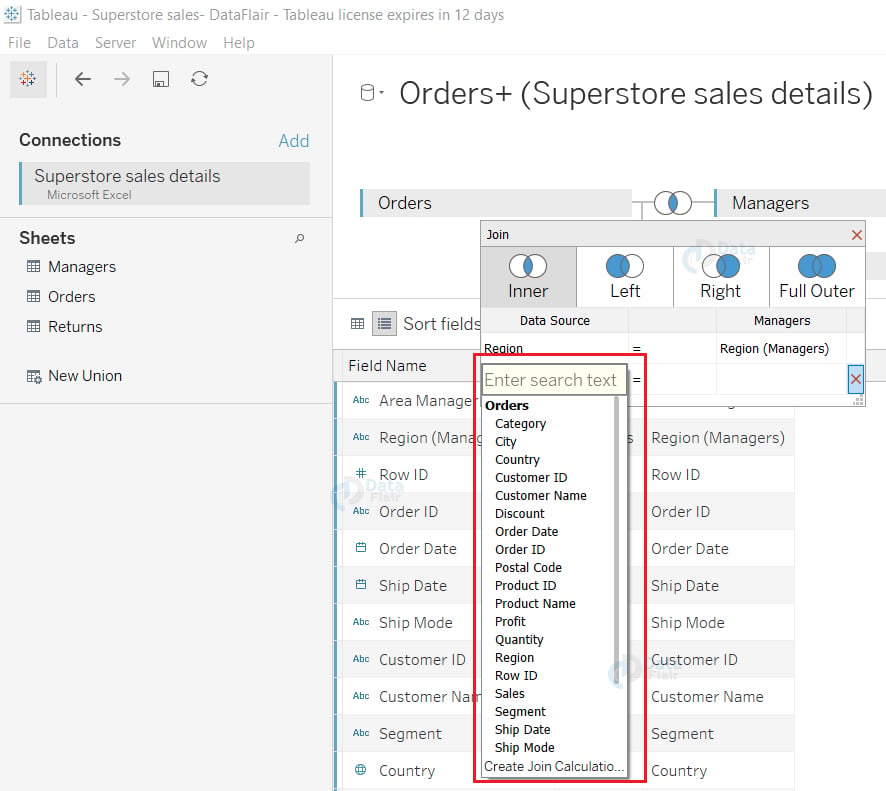
Step 6: Join Formed
From the above steps, we have successfully created a join between two tables. You can see the details of the join formed in the data source pane. The join type will be shown by its specific icon and its information is displayed when we hover the cursor over the join icon.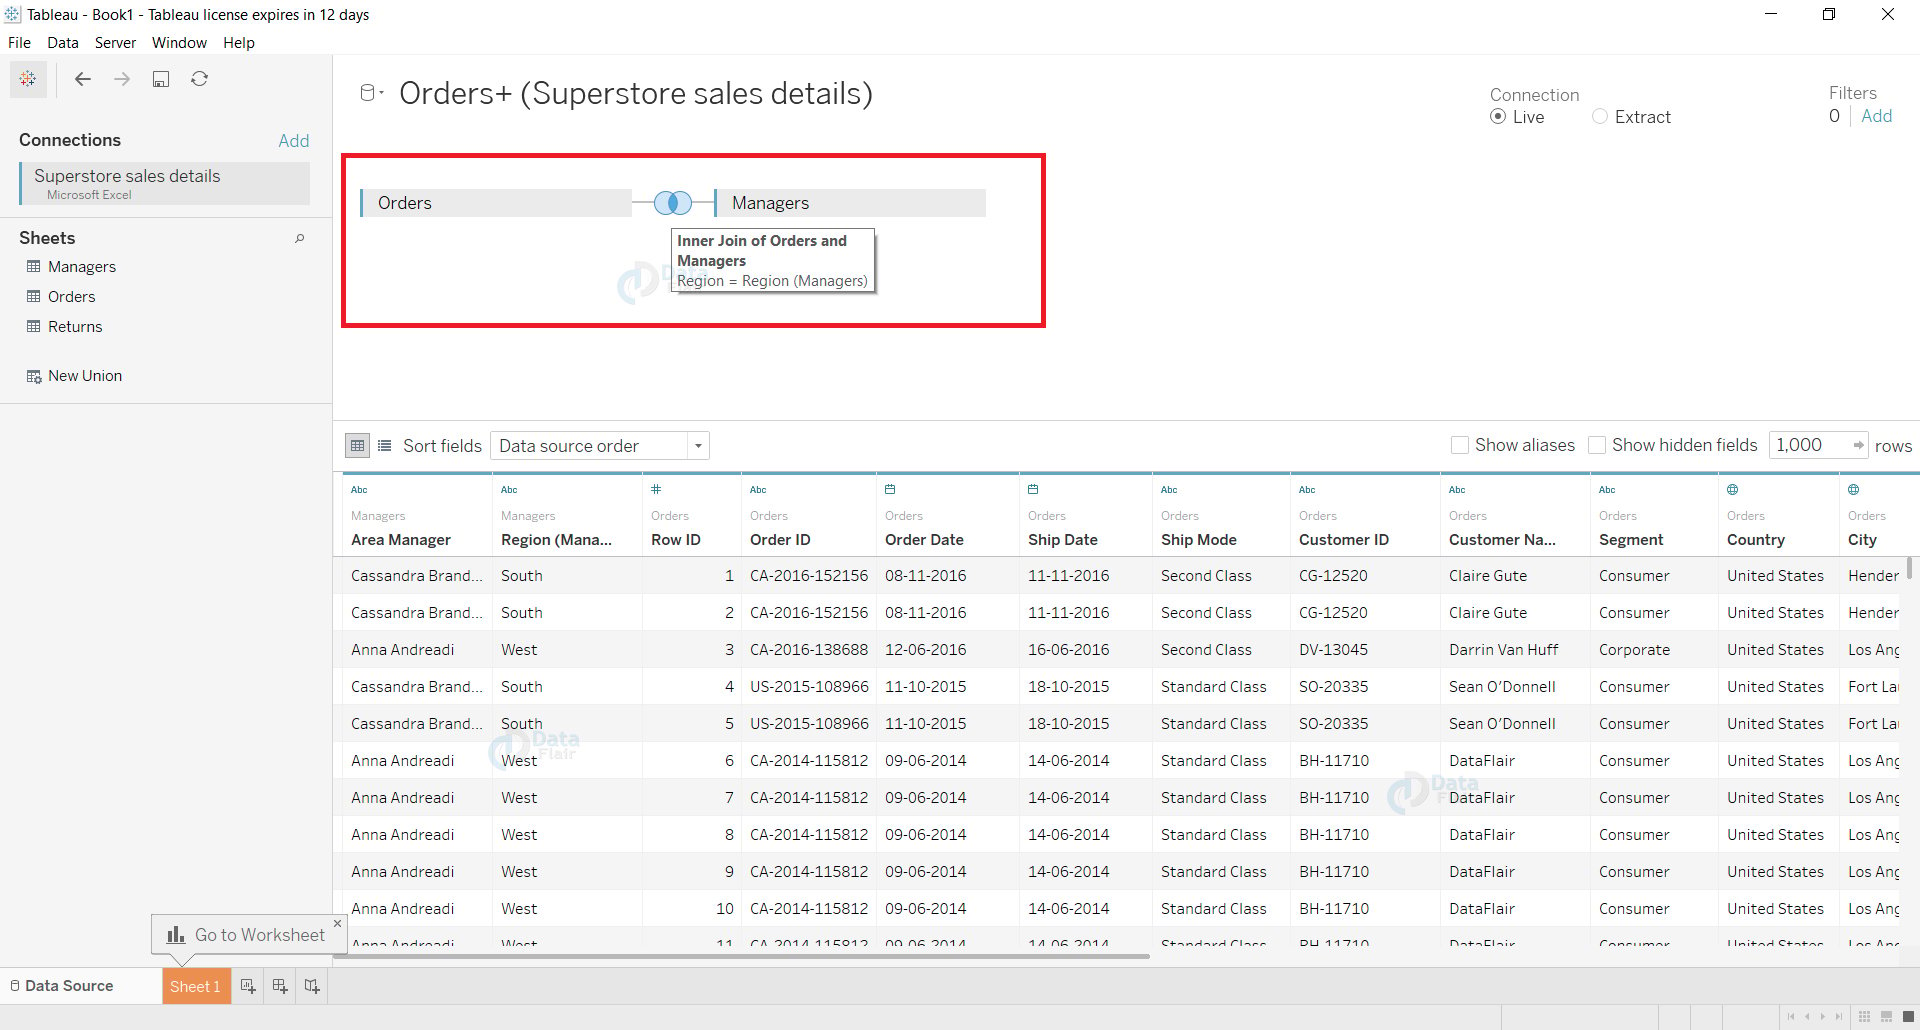
Step 7: Form Another Join
Following the basic steps that saw to create a join, you can join another table with our first table from the data source pane. You can see that we joined the table “Returns” with Orders while the table “Managers” is already joined to it.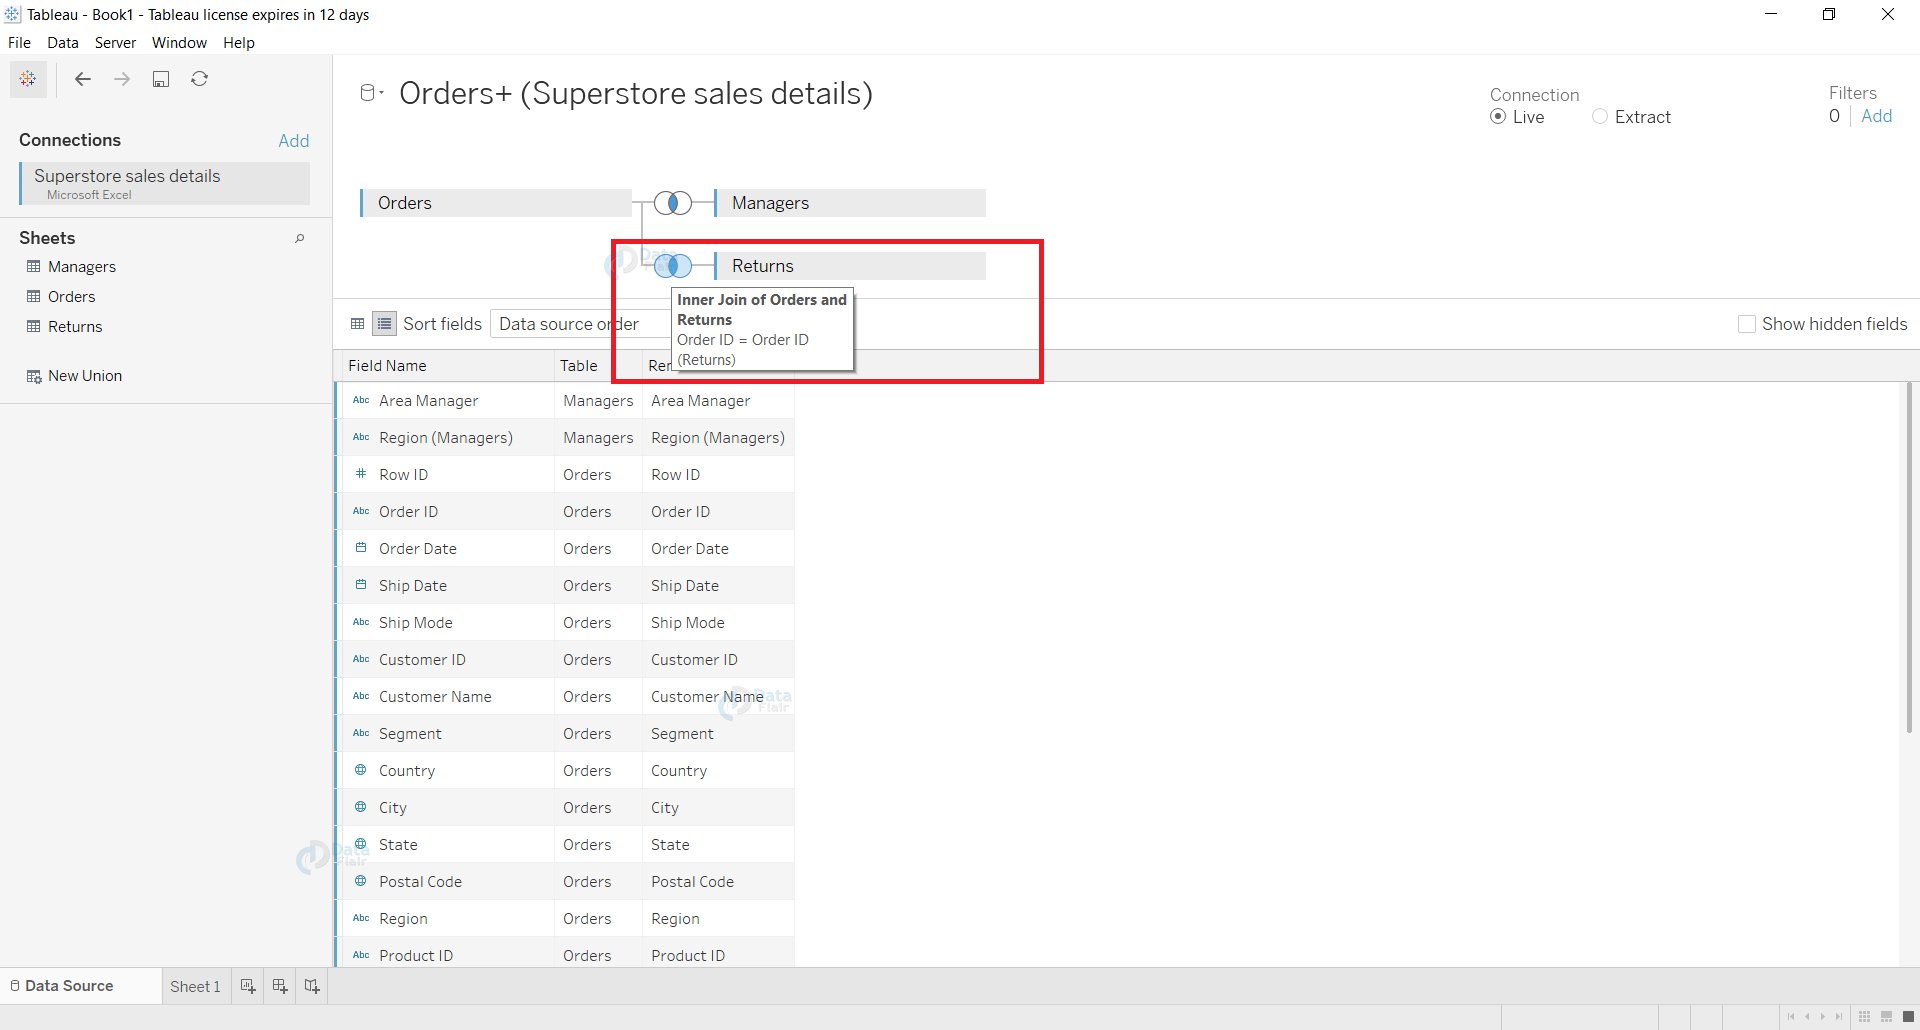
Step 8: View Field Name List
From the data source pane, we can also view the list of fields and see which table they belong to, that is, their origin table. The joined fields are also present in the list view.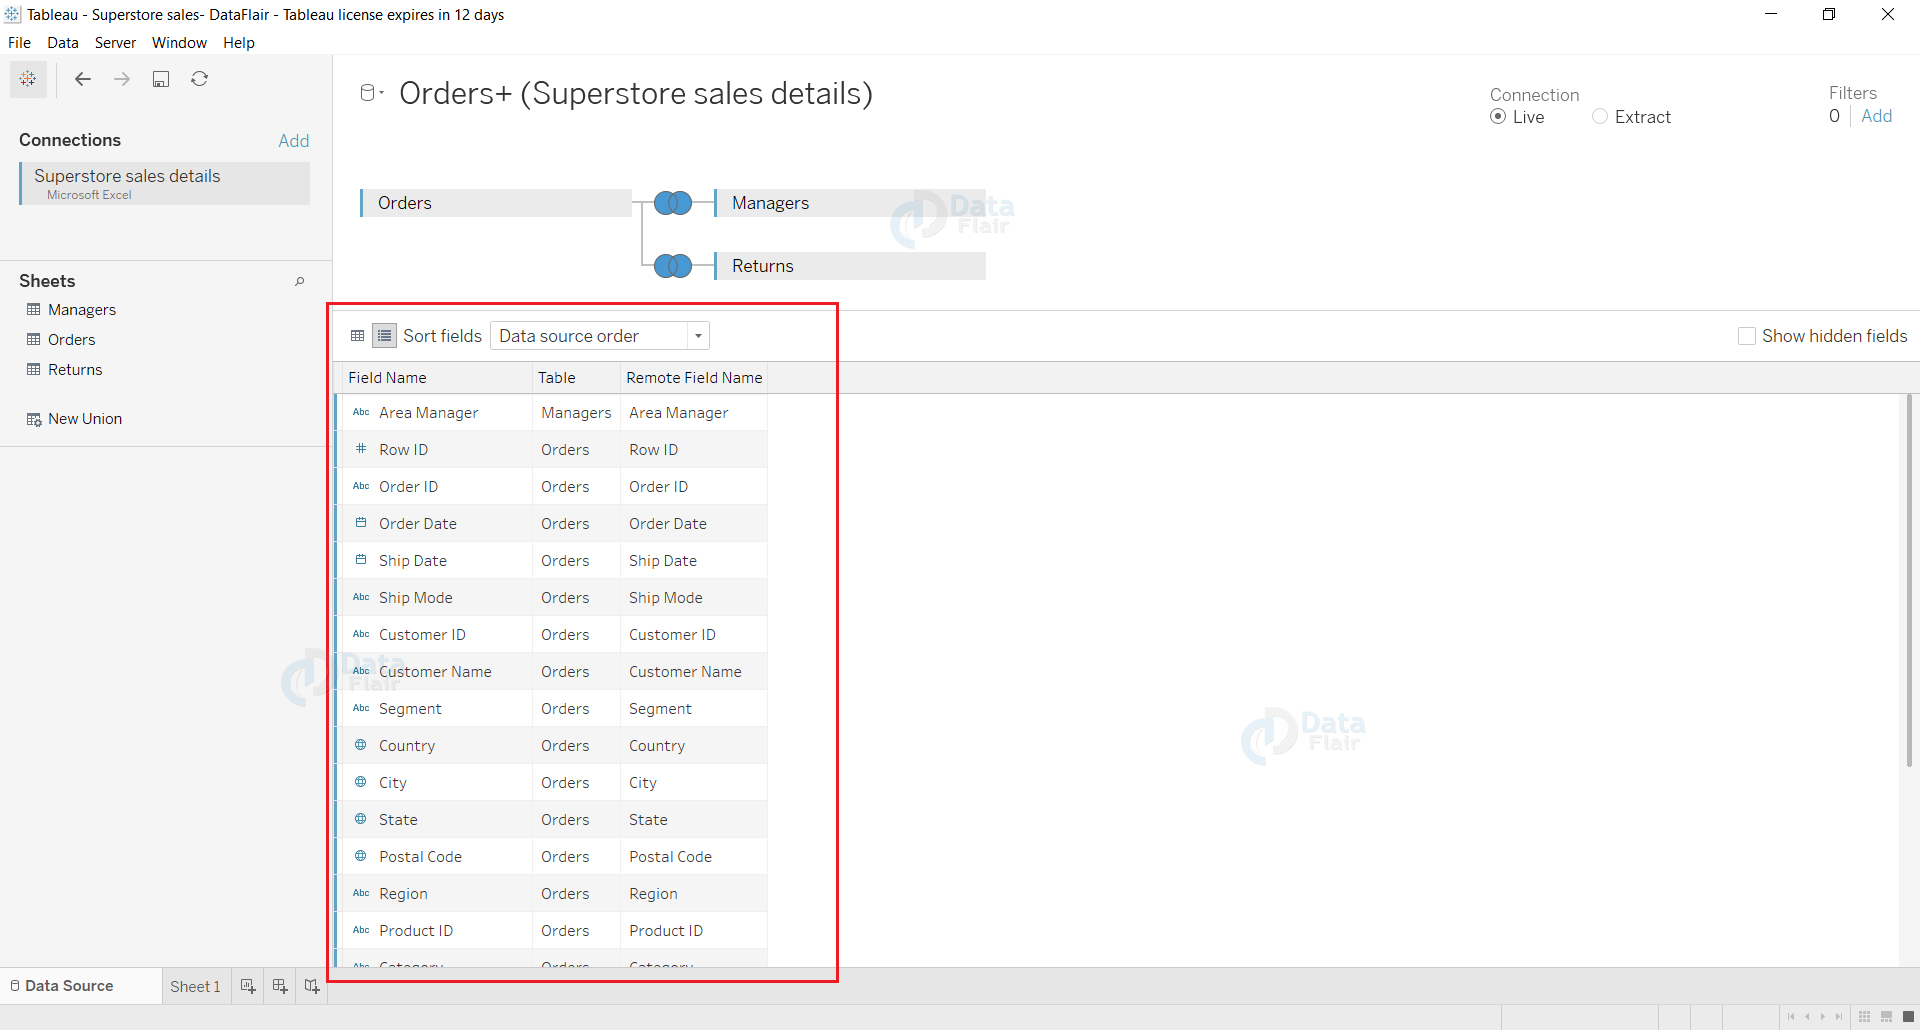
Going back to the final table view, we can have an elaborated view of the tables and the joined columns with it from other tables.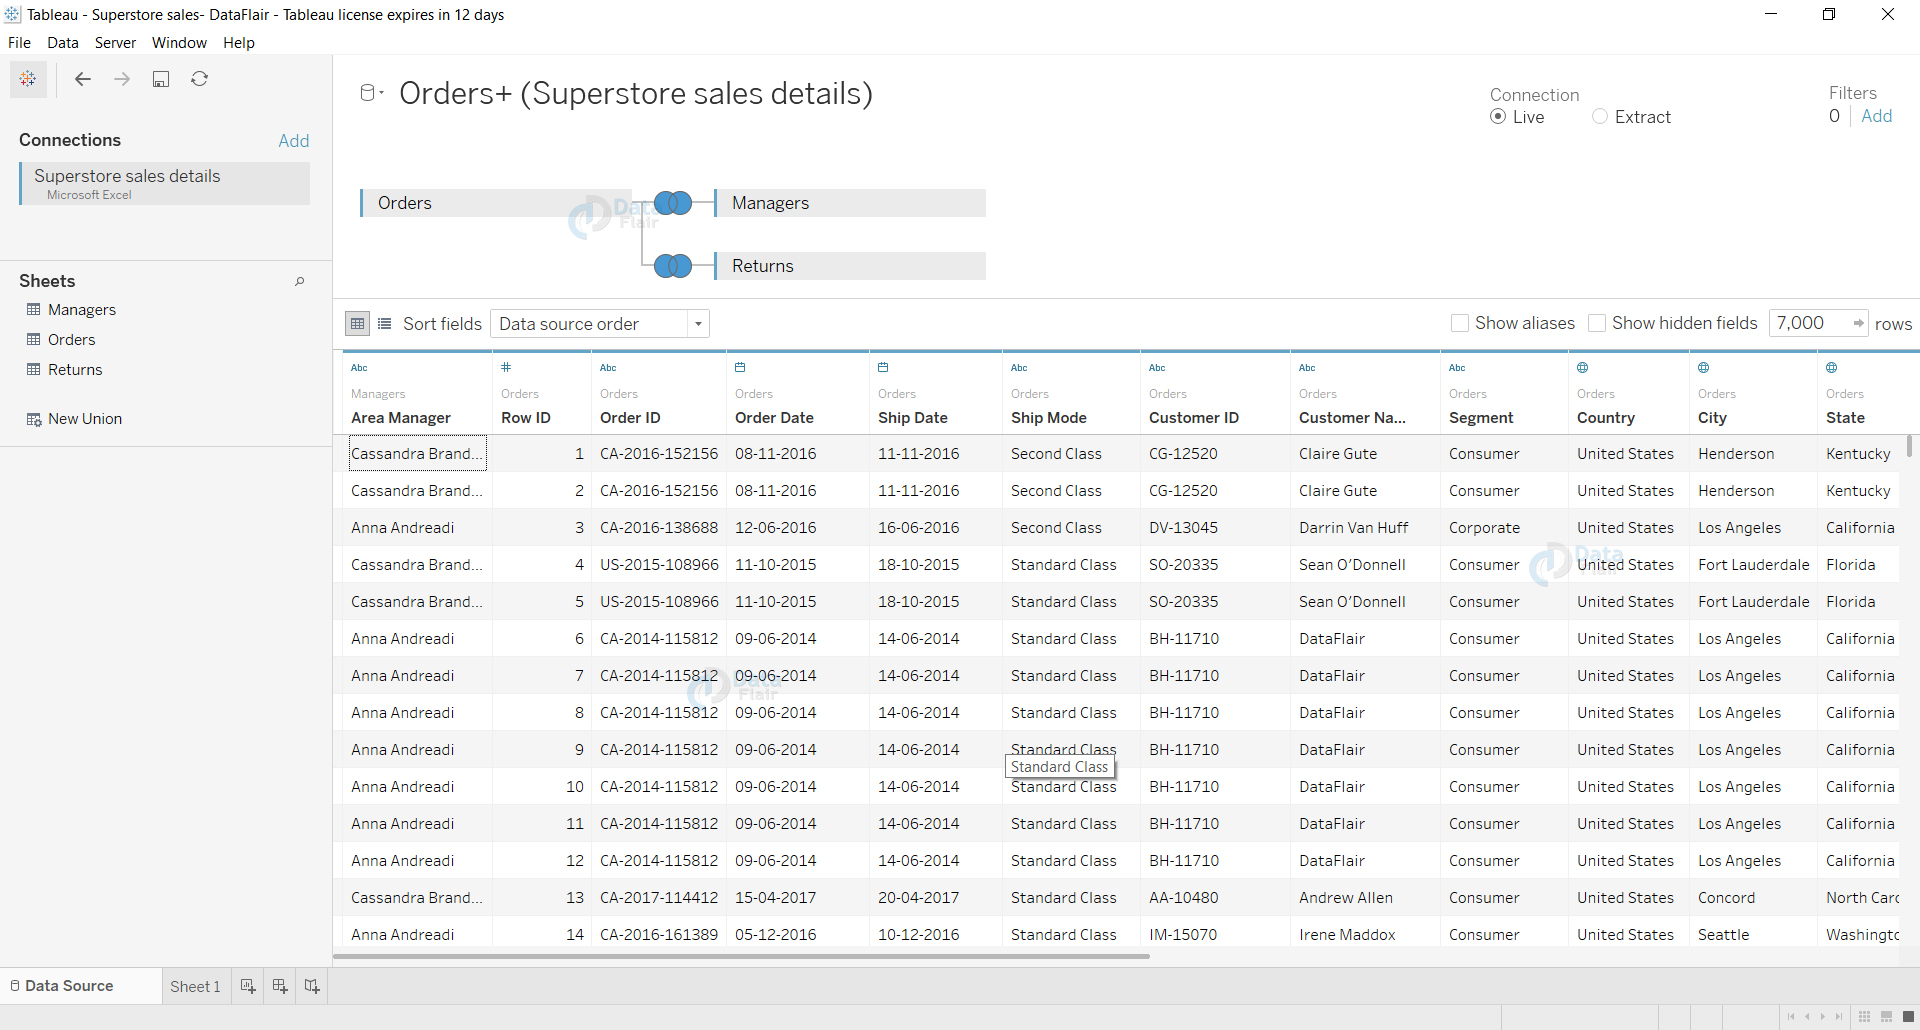
Summary
In this way, we conclude our tutorial on joins in Tableau. We hope you found this tutorial helpful and are able to create joins in Tableau using your data for analysis. In this tutorial, we learned about joins in Tableau, rules to create a join in Tableau, types of joins and how to create a join in Tableau.
Time to know how to extract data in Tableau.
If you have any queries in DataFlair’s joins in Tableau tutorial, mention in the comment section.
Happy Learning😃
Your 15 seconds will encourage us to work even harder
Please share your happy experience on Google


Hello , Can you just tell like why can’t we join data from to different data source .Suppose if there is a table which is retrieved through sql database and other through excel and is they have common column where join can take place can we join them if not then why?