Apache Flume Installation Tutorial – A beginners guide
In this article, we will see how to install Apache Flume on Ubuntu. The article provides you the complete guide for installing Apache Flume 1.9.0 on Ubuntu.
This article explains each step of the flume installation in detail along with the Screenshots. You will also know how to configure Flume for copying data into the Hadoop Distributed File System.
Let us now start with the step-by-step guide for Apache Flume installation.
Flume Installation Prerequisite
1. For installing Apache Flume we must have Hadoop installed and configured on our system.
2. Java must also be installed on your system.
If Hadoop is not installed on your system, then you can refer to the Hadoop 3 installation article to install Hadoop.
Step-by-step guide for Flume installation on Ubuntu
1. First we have to download Apache Flume 1.9.0. So let’s Download Apache Flume.
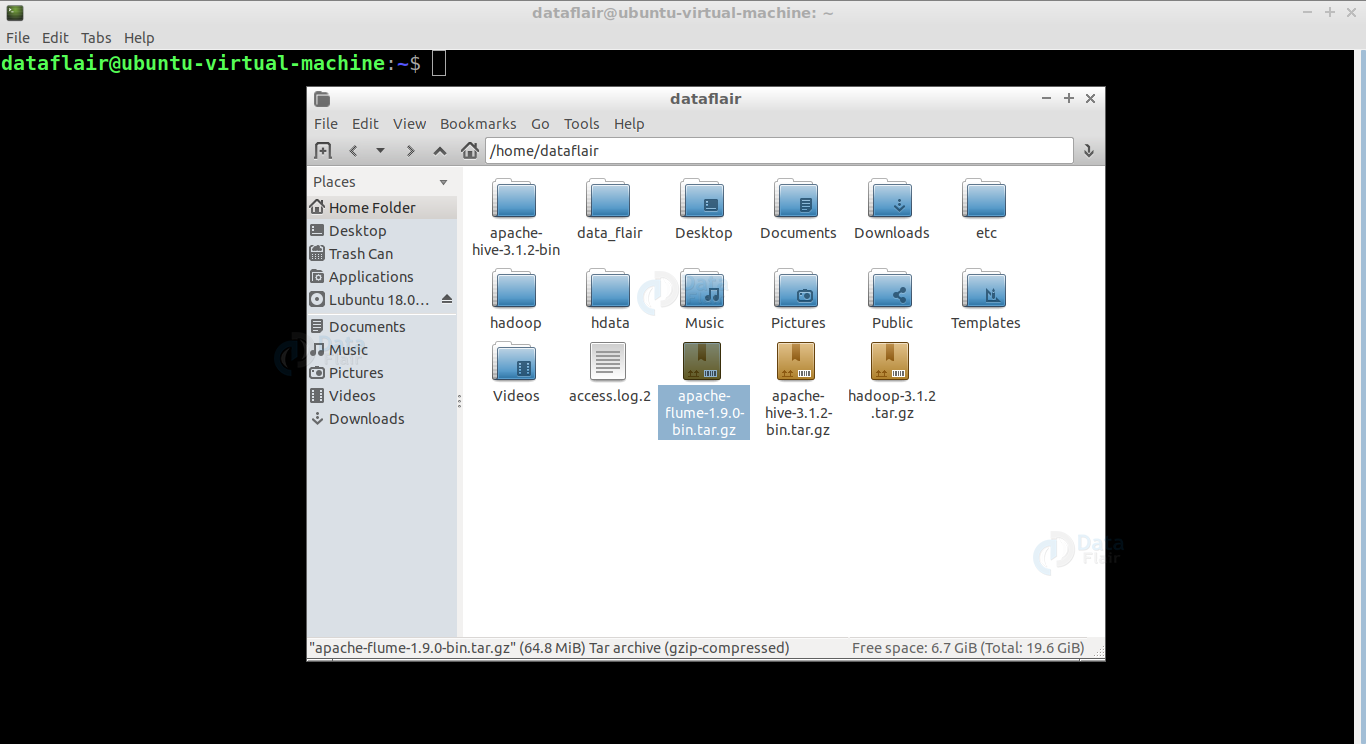
2. Locate the tar file that you have downloaded.
3. Extract the tar file using the below command:
tar xzf apache-flume-1.9.0-bin.tar.gz

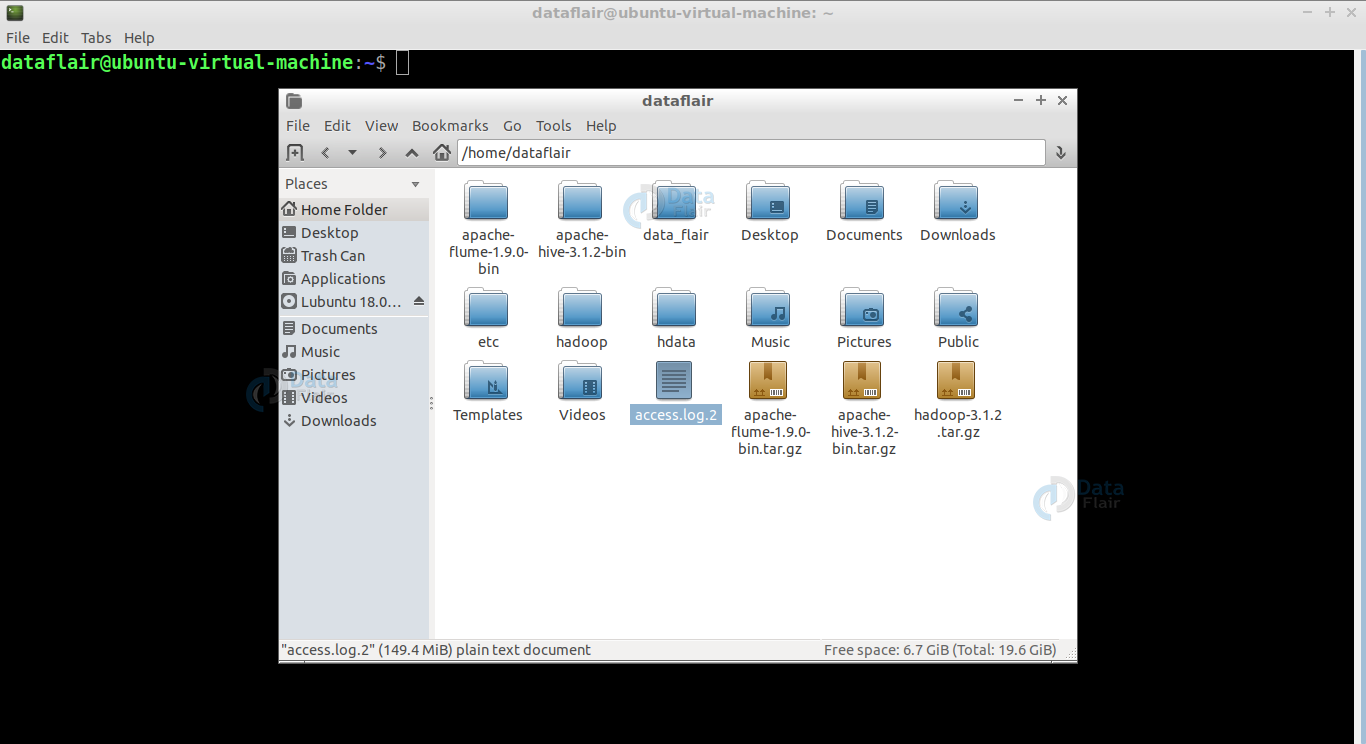
Now we have successfully extracted apache-flume-1.9.0-bin.tar.gz. Use ls command to enlist files and directories.

4. Now we have to set the FLUME_HOME path in the .bashrc file. For this open .bashrc file in nano editor.

Add below parameters in the .bashrc file.
export FLUME_HOME=/home/dataflair/apache-flume-1.9.0-bin
export PATH=$PATH:$FLUME_HOME/bin

Note: “/home/dataflair/apache-flume-1.9.0-bin” is the path of my Flume directory and apache-flume-1.9.0-bin is the name of my flume directory. You must provide the path where your flume directory is located.
Press Ctrl+O to save the changes and press Ctrl+X to exit.
5. Refresh the .bashrc file by using the below command:
source .bashrc

6. The flume has now successfully been installed on our system. To verify Flume installation use below command:
flume-ng version


Congratulations!!!! We have successfully installed Apache Flume 1.9.0 on Ubuntu.
Now, we have to Configure Apache Flume for copying data to HDFS. Follow the below steps to do so.
Configuring Apache Flume
1. Locate the access log file in your local file system which you want to move to HDFS.
2. Now, we have to create a file named flume.conf inside the /home/dataflair/apache-flume-1.6.0-bin/conf directory. Use the below-mentioned command for creating the file “flume.conf”:
touch flume.conf
 Open file in nano editor and add the below mentioned parameters in it:
agent1.sources = tail
agent1.channels = Channel-2
agent1.sinks = sink-1
agent1.sources.tail.type = exec
agent1.sources.tail.command = cat /home/dataflair/access.log.2
agent1.sources.tail.channels = Channel-2
agent1.sinks.sink-1.channel = Channel-2
agent1.sinks.sink-1.type = hdfs
agent1.sinks.sink-1.hdfs.path = hdfs://localhost:9000/flume01
agent1.sinks.sink-1.hdfs.fileType = DataStream
agent1.sinks.sink-1.hdfs.rollInterval = 60
agent1.sinks.sink-1.hdfs.rollSize = 0
agent1.sinks.sink-1.hdfs.rollCount = 0
agent1.channels.Channel-2.type = memory


Note: Here “/home/dataflair/access.log.2” is the path for the data file which I am copying from the local file system to HDFS. You must provide the path of your “access.log” file.
3. Now we will start the Flume for copying files using the below command:
bin/flume-ng agent –conf ./conf/ -f conf/flume.conf -n agent1 -Dflume.root.logger=DEBUG

Now, we have successfully copied the data from the access log file to HDFS.
4. We can check whether data gets copied in HDFS or not by either using a web console (http://localhost:9870) or view the files in HDFS by using the command prompt. On the web console you can view your files in the “/flume01” directory.
Summary
I hope now you have successfully installed and configured Apache Flume on your Ubuntu system. The article had explained and mentioned every single step you should go through for Apache Flume installation and configuration on Ubuntu.
If you face any problem in installing and configuring Flume then you can ask us in the comment box.
Did you like our efforts? If Yes, please give DataFlair 5 Stars on Google


when i ran this program , i am not able tosee the copied file as it says
“path does not exist on HDFS or WebHDFS is disabled enable WebHDFS”
where to seee
Thanks for the explanation.
I am new in this topic. I have problem access the flume directory on the web console. “Path does not exist on HDFS” How I can create a new folder into HFDS to put the data there. I think that was done with the configuration file?
Thanks.